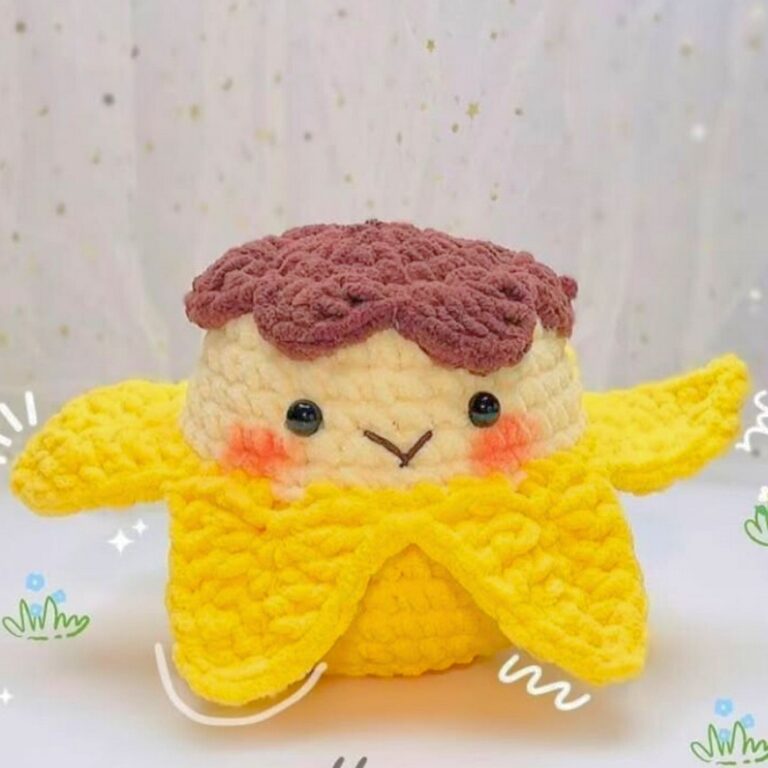
Crochet a Cute Tooth and Brush Keychain Pattern
Tiny details often create the biggest smiles, and this delightful Tooth and Brush crochet keychain proves it beautifully. This charming piece combines a cheerful tooth with a matching brush, creating a playful accessory that’s impossible to ignore.

Its compact size makes it perfect for keys, backpacks, handbags, or even a favorite zipper pull. Every stitch adds personality, turning an everyday item into something truly memorable.
Designed to be both adorable and practical, this crochet piece is enjoyable to make and even more fun to carry. It also makes a thoughtful gift for dentists, dental students, children, or anyone who appreciates creative handmade accessories. The friendly design adds a lighthearted touch while remaining useful for everyday use. With its simple construction and eye-catching appearance, this little handmade crochet piece is sure to become a favorite.
Credit Xuxu Crochet
Gather Your Supplies
- Yarn
- Milk Cotton Yarn: 50g in White (main body), Light Blue (toothbrush handle), and Black (for facial features).
- Crochet Hook: 2.5 mm.
- Stuffing: Polyester fiberfill/polyfill stuffing.
- Tools & Notions:
- Yarn needle
- Stitch markers
- Hot glue gun/glue stick
- Pink blush/makeup (for cheeks)
- Scissors
- Keychain rings with jump rings
Pattern Notes
- Joined Rounds:
- End each round with a sl st into the first stitch.
- Start the next round with ch 1
- Terminology:
- US Crochet Terms are used throughout.
Abbreviation
-
-
MR: Magic Ring
-
ch: chain
-
sl st: slip stitch
-
sc: single crochet
-
inc: single crochet increase (2 sc in same stitch)
-
dec: single crochet decrease / sc2tog
-
BLO: Back Loops Only
-
st(s): stitch(es)
-
Common Crochet Mistakes (Avoid These!)
Mistakes to Avoid
- Twisting Tooth Roots Join
Align both tooth roots properly before connecting. - Loosely Stuffed Roots
Firmly push stuffing into roots before closing the body. - Inconsistent Chain Stitch Counts
Ensure exact loops are picked up across the center 4 chains. - Brush Head BLO Error
Round 2 of the white brush head should be worked in BLO for the 3D edge. - Visible Embroidery Knots
Thread black yarn through the back/inside when embroidering the eyes.
Fixes for Common Issues
- Gaps Between Tooth Roots:
Tighten the connecting tail yarn during Round 4 - Soft/Misshapen Tooth:
Firmly stuff before closing the upper cusps - Curling Brush Handle:
Maintain light and even tension on the narrow 6-sc tube
Crochet Terms Explained
Here’s a quick explanation of the key terms you’ll encounter when crocheting your pattern:
- Magic Ring (MR): Adjustable loop for crocheting in the round.
- inc: Single crochet increase (2 sc in the same stitch).
- dec: Single crochet decrease (sc2tog).
- BLO: Work stitches into the back loop only.
Finished Size at a Glance
- Tooth Keychain: 4–5 cm (1.5–2 inches) tall.
- Toothbrush Keychain: 6–7 cm (2.5–3 inches) tall.

Customize It Your Way
- Change the toothbrush handle color (e.g., pink, mint green, lilac, yellow).
- Add safety eyes or embroider personalized expressions (e.g., sleeping or happy faces).
Follow These Easy Step-by-Step Instructions
Component 1: Tooth (White Yarn)
First Root / Leg
- Round 1:
- In a MR, ch 1, work 6 sc into loop
- Pull ring tight. Sl st to 1st sc, ch 1.
- (6 sts)
- Round 2:
- [2 sc, 1 inc] × 2 times.
- Sl st to 1st sc, ch 1.
- (8 sts).
- Round 3:
- Work 1 sc in each st across
- Sl st to 1st sc
- Fasten off and weave in tail inside the root.
(8 sts)
Second Root / Leg
- Rounds 1–3: Repeat Rounds 1–3 of First Root.
- Do NOT cut yarn.
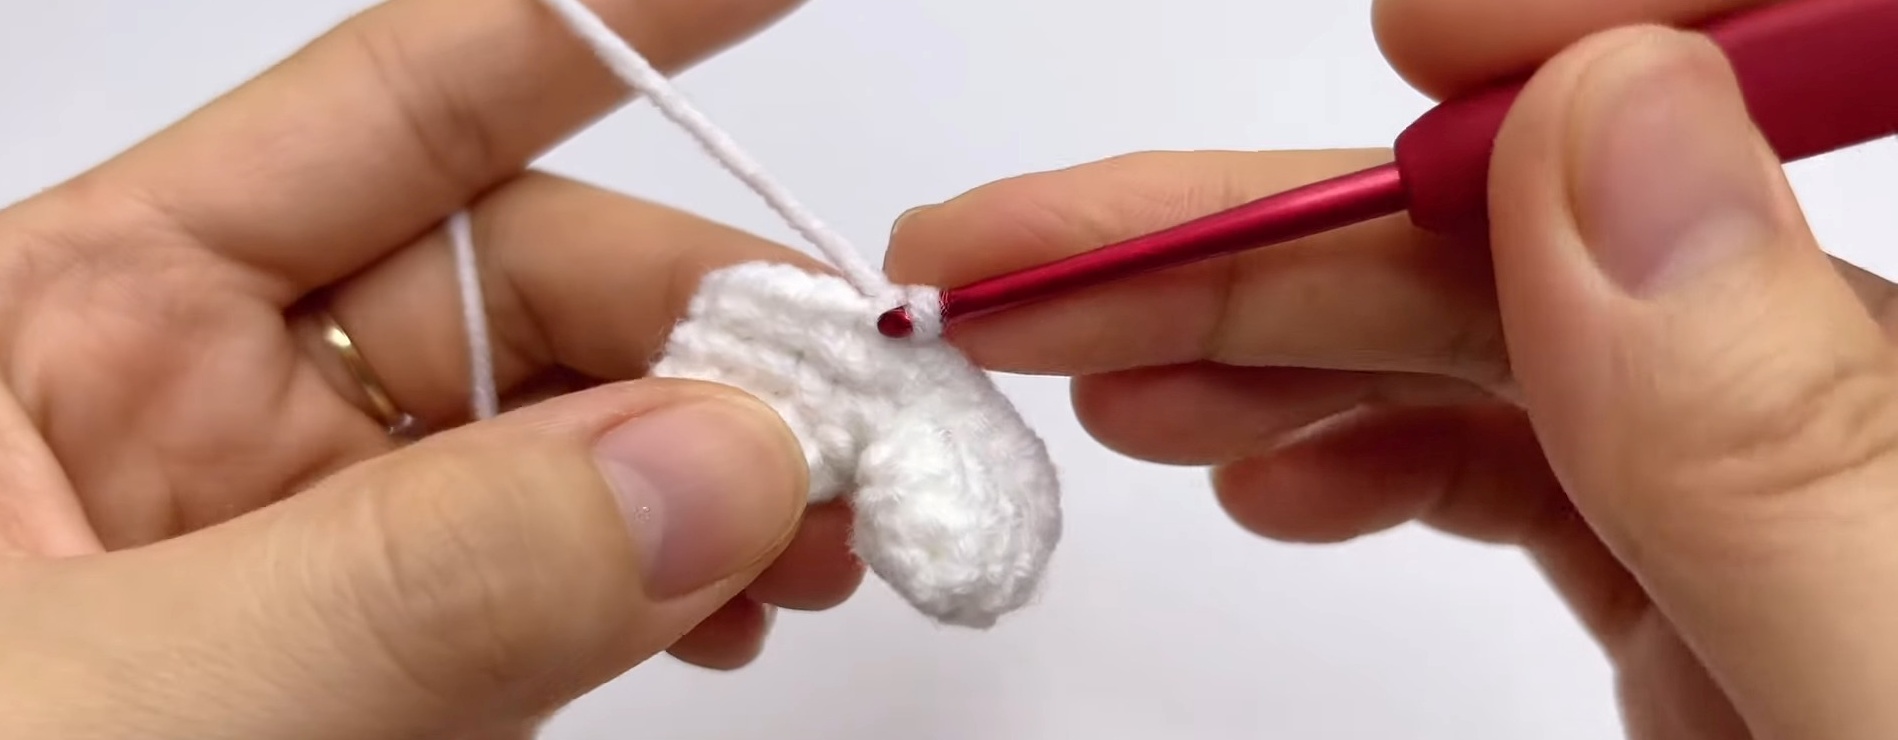
Connecting the Roots & Lower Body
- Round 4:
- Ch 1 from the 2nd root.
- Sl st into the slip-stitch base of the 1st root.
- Ch 1, work 1 sc into each of the 8 sts around the 1st root.
- Work 1 sc into the middle connecting chain
- Work 1 sc into each of the 8 sts around the 2nd root
- Work 1 sc into the remaining loop of the middle connecting chain
- Sl st to 1st sc, ch 1
- (Total: 18 sts)
- Round 5:
- [2 sc, 1 inc] × 6 times
- Sl st to 1st sc, ch 1.
- (24 sts)
- Rounds 6–11:
- Work 1 sc in each st across
- Sl st to 1st sc, ch 1.
- (24 sts for 6 rounds)
Stuffing
- Stuff fiberfill firmly into both roots and lower body
Dividing & Shaping Upper Cusps (Tooth Top)
- First Cusp (Round 12):
- Sl st into 1st st, ch 4
- Count back to the 12th st on the opposite side of the tooth body; sl st into that 12th st to divide the circle into two halves.
- Ch 1, work [2 sc, 1 dec] × 3 times around the main body section
- Work 4 sc across the 4 chain loops in the center partition
- Sl st to 1st sc, ch 1.
- (13 sts)
- First Cusp (Round 13):
- Work [1 sc, 1 dec] × 3 times
- Work 2 dec over the remaining 4 sts
- (8 sts)
- Sl st to 1st st, cut yarn leaving a long tail for sewing shut
- Second Cusp (Round 12):
- Attach white yarn to the 1st available st on the open side, ch 1
- Work [2 sc, 1 dec] × 3 times around the remaining body stitches
- Work 4 sc across the opposite loops of the 4 center partition chains
- Sl st to 1st sc, ch 1.
- (13 sts)
- Second Cusp (Round 13):
- Work [1 sc, 1 dec] × 3 times
- Work 2 dec over the remaining 4 sts
- (8 sts)
- Sl st to 1st st, cut yarn leaving a long tail for sewing
Finishing Upper Cusps
- Add final stuffing into both upper cusps
- Thread yarn tail into a yarn needle and weave through the outer loops of the 8 sts on each top cusp; pull tight to close completely and weave in ends

Component 2: Toothbrush
Brush Handle (Light Blue Yarn)
- Round 1:
- In a MR, ch 1, work 6 sc into loop
- Pull ring tight. Sl st to 1st sc, ch 1.
- (6 sts)
- Round 2:
- Work 1 sc in each st across
- Pull magic ring tail tight inside tube and cut excess. Sl st to 1st sc, ch 1.
- (6 sts)
- Rounds 3–11:
- Work 1 sc in each st across
- Sl st to 1st sc at the end of Round 11
- Fasten off, leaving a tail
- Thread tail onto yarn needle, sew the flat end of the handle closed, and weave in end

Bristles / Head (White Yarn)
- Foundation:
- Ch 6
- Round 1:
- Skip 1st ch from hook; work 1 sc in each of the next 4 chs
- In the last ch, work 3 sc in same st
- Turn to work along the opposite side of the foundation chain: work 1 sc in next 3 chs
- In the final chain loop, work 2 sc in same st
- (Total: 12 sts)
- Round 2 (BLO):
- Sl st to 1st st, ch 1
- Working in Back Loops Only (BLO), work 1 sc in each of the 12 sts around
- Sl st to 1st st, fasten off, and hide yarn tail inside

Assembly & Finishing Secrets
Embroidering Facial Features on the Tooth
- Eyes:
- Located between Rounds 9 & 10. Make French knots by wrapping yarn around the needle 4 times, reinserting into the same stitch.
- Space eyes approximately 3–4 stitches apart
- Cheeks:
- Apply pink makeup/blush lightly under each eye using a cotton swab or small brush.
- Mouth:
- Stitch a small “V” or curved smile between the eyes.
Assembling the Toothbrush
- Position the blue handle with the stitched flat end pointing downward.
- Take the white bristle block (wider curved edge facing up) and glue it onto the top front section of the handle using hot glue.
- Embroider Eyes on Toothbrush:
- Using black yarn, embroider French knot eyes between Rounds 2 & 3 of the handle

Make It Truly One of a Kind
- Add a tiny crochet heart between the tooth and brush.
- Attach matching keychain clips to create a couple’s set.
Congratulations! Your Crochet Pattern Is Complete!
- Attach jump rings and keychain hardware through the top center of both the tooth and toothbrush. Your tooth & toothbrush keychain set is complete!