crochet Tiny Frog Amigurumi: Simple Pattern
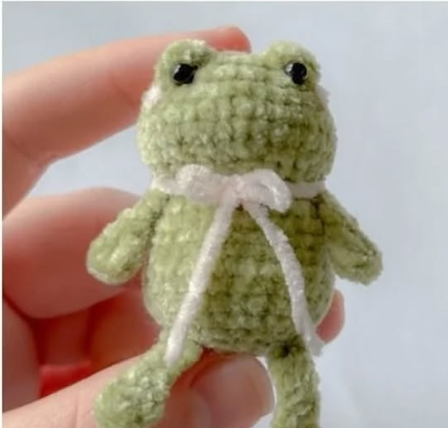
The Crochet Tiny Frog Amigurumi Pattern is perfect for crafting charming miniature frogs with expressive bead eyes, soft velvet yarn, and delicate limbs using simple techniques like single crochet and bobble stitches. With easy-to-follow instructions, beginners can confidently complete this whimsical project, while experienced crafters can explore creative upgrades like vibrant blush details or hand-sewn embellishments.

Customize your crochet frogs with colorful yarns or unique accessories, like a bow tie or a tiny hat, for special occasions! These lovable creations can serve as handmade gifts, decorative accents for shelves, or personalized keychains to add a quirky touch to everyday essentials. By adjusting the yarn type or size and incorporating imaginative ideas, this versatile pattern allows endless possibilities to suit any style or preference.
Credit lovely_amigurumi_crochet
Step-by-Step Pattern
Materials:
- velvet yarn (size 2) in greenand pink
- 2.25mm hook
- 4mm safety eyes
- polyfil (stuffing)
- tapestry needle, felt glue
- row marker
- scissors
Abbreviation:
- magic circle – MC
- single crochet – SC
- increase – INC
- decrease – DEC .
- chain – CH
- fasten off – FO .
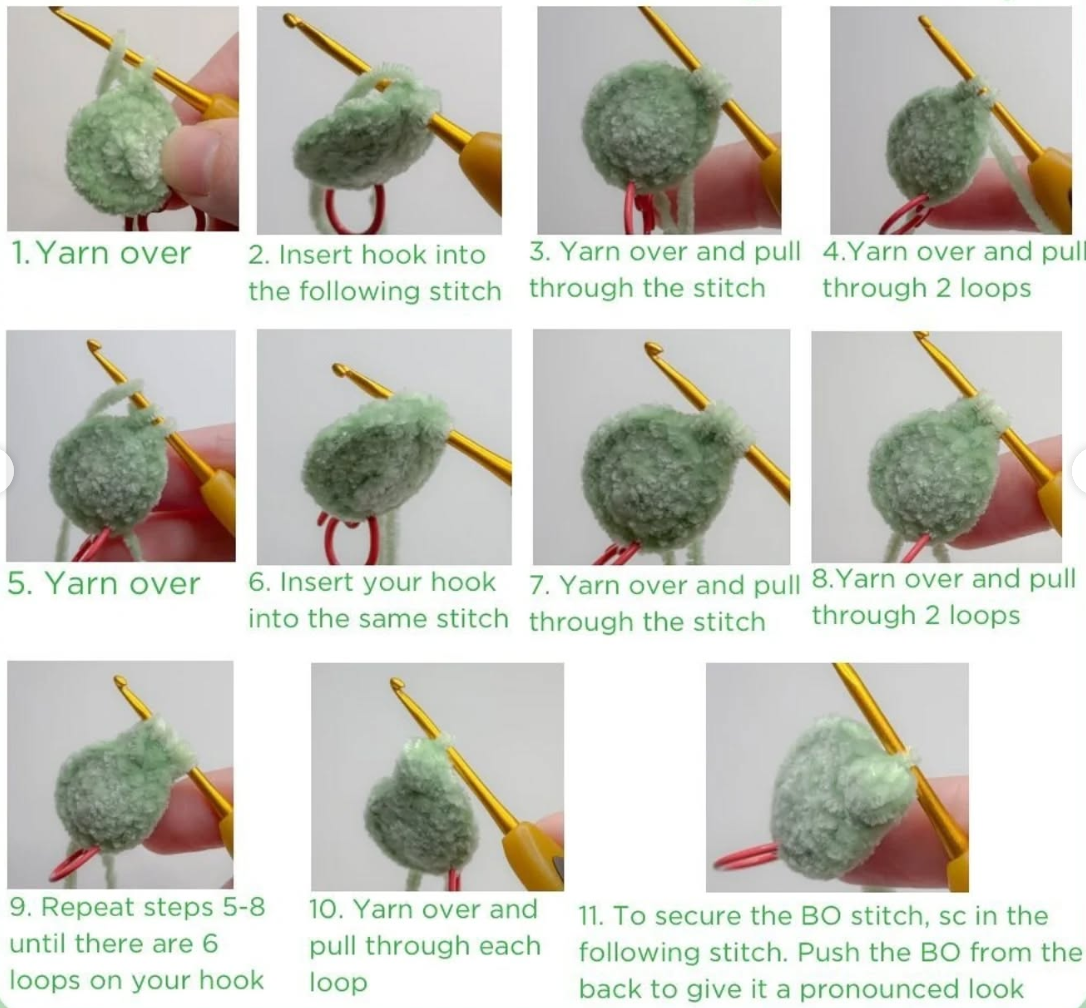
- bobble stitch – BO
- slip stitch – SL ST

Pattern Instructions
Head and body:
- R1: sc 8 in MC (8)

- R2: inc around (16)
- R3: (1 inc, 1sc)x2, 1 inc, BO, (1 inc, 1sc)x2, BO, (1 inc, 1sc)x2, 1 inc (24)
- R4: (2sc, 1 inc)x8 (32)

- R5-7 [3 rows]: sc around (32)
Before beginning row 8 move the stitch marker one stitch over. The stitch marker should be aligned between the two bobble stitches!
- R8: 6sc, (2sc, 1 dec)x5, 6sc (27)
- R9: 5sc, 1 dec, (1sc, 1 dec)x4, 1sc, 1 dec, 5sc (21)
- R10: 5sc, (2sc, 1 dec)x3, 4sc (18)
Stuff the head firmly
- R11: (1sc, 1 inc)x9 (27)
- R12-14 [3 rows]: sc around (27)
- R15: (8sc, 1 inc)x3 (30)
- R16-18 [3 rows]: sc around (30)
- R19: (3sc, 1 dec)x6 (24)

- R20: (1sc, 1 dec)x8 (16)
Stuff the body firmly
- R21: dec x8 (8)
FO, sew the hole closed.
Arms: (x2)
- Step 1: sc 5 in MC (5)
- Step 2: CH 5, (in the second stitch from the hook) sc 4 along the CH, SL ST in the MC
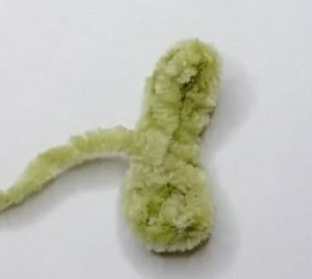
FO, leave long tail for sewing.
Legs: (x2)
- Step 1: sc 5 in MC (5)
- Step 2: CH 6, (in the second stitch from the hook) sc 5 along the CH, SL ST in the MC
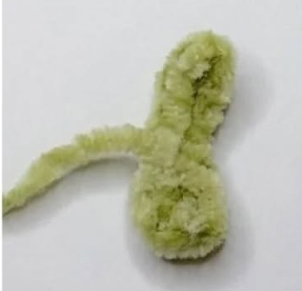
FO, leave long tail for sewing.
Assembly:
- Place the safety eyes into the bobble stitches, secure with adhesive of your choice!
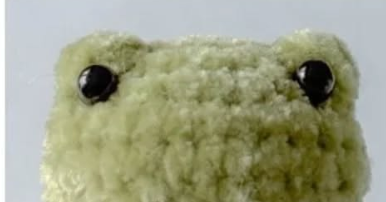
- Before sewing the arms and legs to the body, weave in the loose yarn ends. (Do not weave in the yarn tail for sewing)
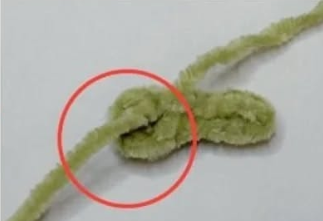
- Weave the yarn tail for sewing to the top of the arm. This allows the arm to be evenly sewn to the body. Repeat this step for the legs!

- Sew the arms between rows 10-11. The arms should be 1 stitch behind the eyes!

- Sew the legs horizontally across rows 19-21. The legs should align with the arms!

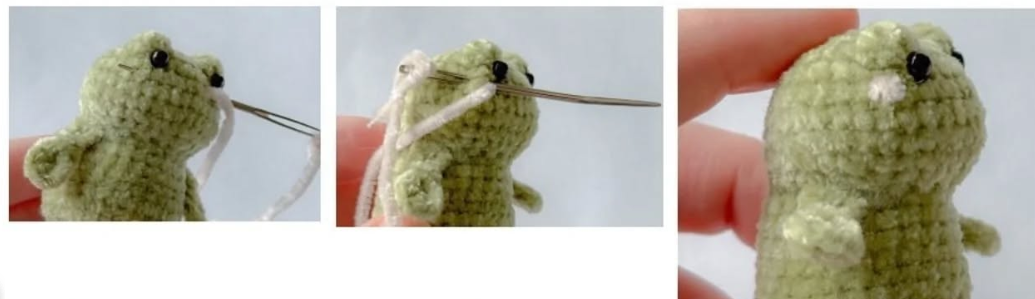
- (Optional) The final step to finishing your plush is adding blush. Begin with a strand of pink yarn, enter your needle into a random stitch near the eye. Pull the needle out between rows 4-5 directly next to the eye, sew over the stitch twice to create the appearance of blush. Repeat on the other side!
- (Optional) You can also add an accessory like a bow tie to your Fribbit!