Crochet Ruffled Scrunchie Pattern with Elastic Hair Tie
Looking for a quick crochet accessory? This ruffled scrunchie covers a simple elastic with thick, wavy layers and a delicate looped edge.
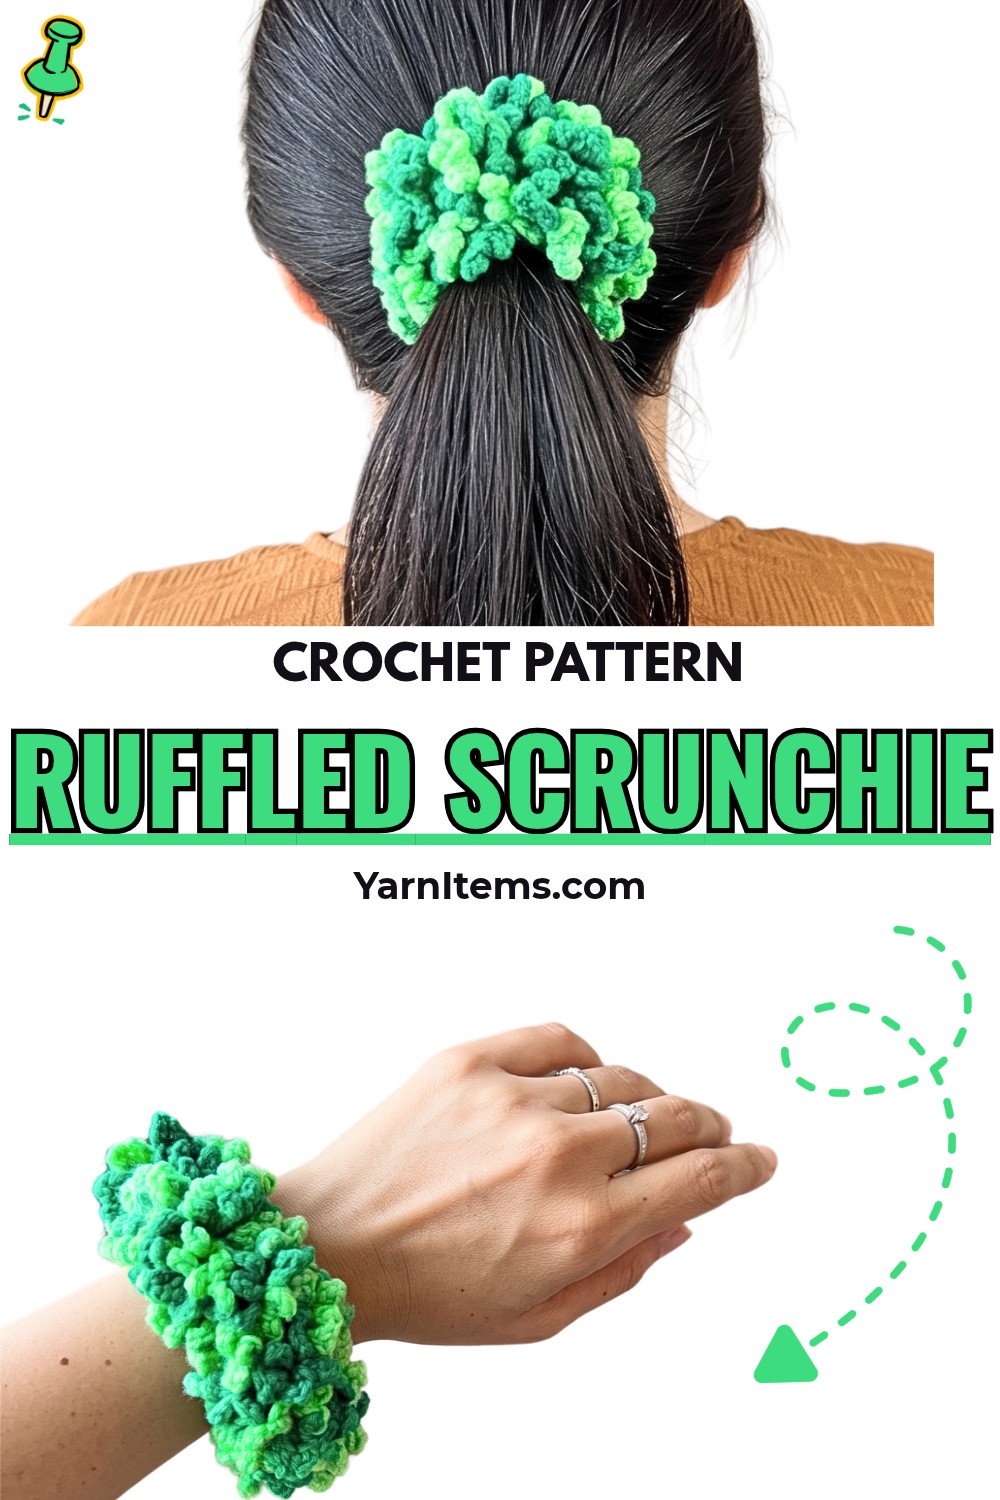
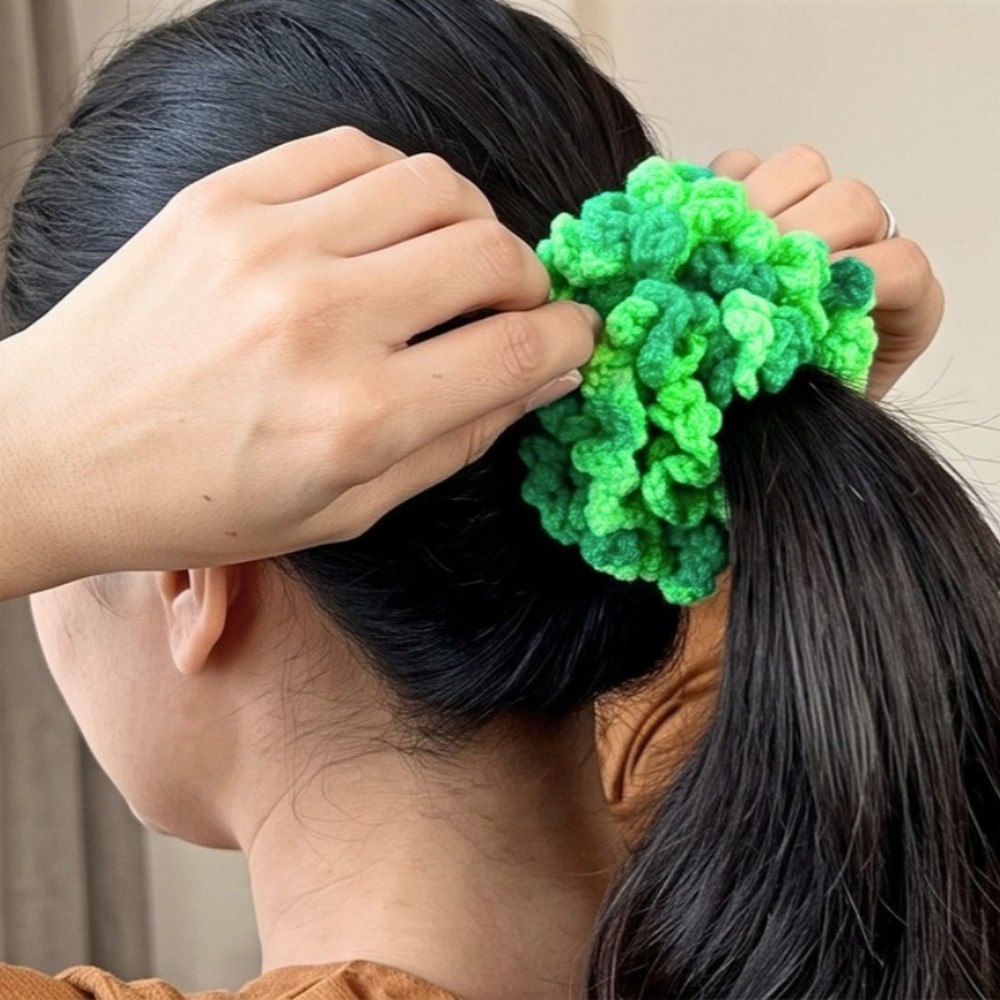
Bright, textured, and surprisingly quick to make, this crochet scrunchie turns an ordinary elastic hair tie into a much fuller accessory. The variegated green yarn gives the ruffles changing shades as they curve around the band, while solid yarn can create an equally eye-catching finish.
Starting with 64 single crochets around the elastic, the pattern builds its volume by placing a complete group of double crochets, a single crochet, and a chain loop into every base stitch. A final round of chain-5 loops adds another layer of texture around the edge, making this an easy crochet pattern to repeat for gifts, a handmade collection, or several color combinations.
Credit Rin Crochet
Materials & Tools Needed
- Yarn: 4-ply medium-weight yarn; variegated green is used in the tutorial, but solid colors work well too
- Crochet Hook: 3.00 mm (Size 5/0)
- Base: 1 standard elastic hair tie or hairband
- Tools: Scissors and a tapestry needle
Finished Size & Customization
The finished scrunchie is designed to fit a standard wrist or hair tie size and has a thick, heavily ruffled appearance.
For a different elastic size, adjust the number of single crochets in Round 1 so the elastic is completely covered. The goal is to cover the band without stretching it excessively while crocheting.
You can also create a two-color version by working Rounds 1 and 2 in one color, fastening off, and joining a contrasting color for the chain loops in Round 3.
Pattern Abbreviations
- ch: Chain
- sc: Single Crochet
- dc: Double Crochet
- sl st: Slip Stitch
- st(s): Stitch(es)
Crochet Ruffled Scrunchie Pattern
Round 1 – Cover the Elastic
Begin by securing your yarn directly around the elastic. The 64 single crochets need to sit close together because this round forms the covered foundation for all of the ruffles above it.
Round 1: Create a slip knot on your 3.00 mm hook, insert the hook through the center of the elastic hair tie, pull up a loop to secure the yarn, ch 1, then work 64 sc completely around the elastic, pushing the stitches tightly together so the elastic is fully covered; join with a sl st into the top of the first sc. [64 sc]
Before moving on, look around the entire band and check that no large sections of elastic are exposed. If the stitches have spread apart, slide them closer together before beginning Round 2.
Round 2 – Build the Ruffles
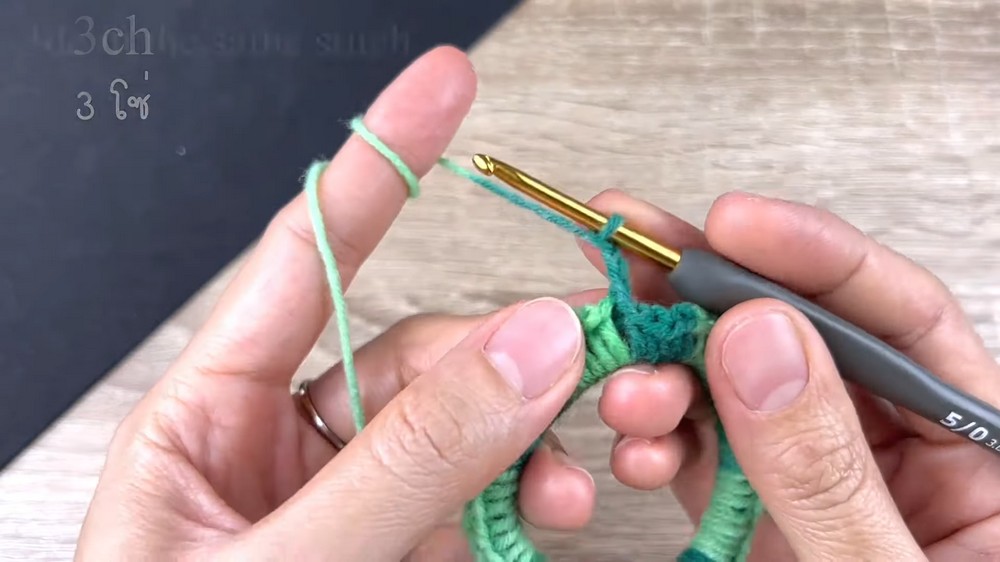
This is where the scrunchie becomes full and wavy. Every single crochet from Round 1 receives its own complete stitch cluster, so avoid skipping base stitches as you work around the elastic.
Round 2: Ch 3, in the same stitch where you joined, work 3 dc, then 1 sc, ch 3; move to the next Round 1 sc and work (3 dc, 1 sc, ch 3) all in the same stitch; repeat this exact combination in every one of the 64 base stitches around, then join with a sl st to the base of the starting chain.
As you work, the dense groups of stitches should naturally push outward and create the pronounced ruffled texture. If the edge begins looking flat, check that each Round 1 stitch has received the full 3 dc, 1 sc, ch 3 combination.
Round 3 – Add the Loopy Border
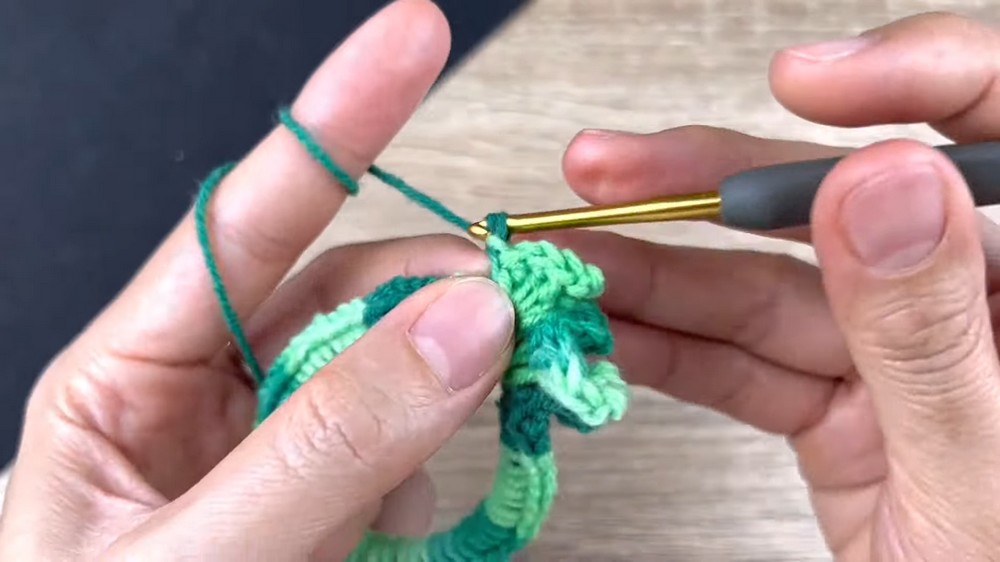
The final round sits along the ruffled edge and creates the lighter, open loops that finish the scrunchie.
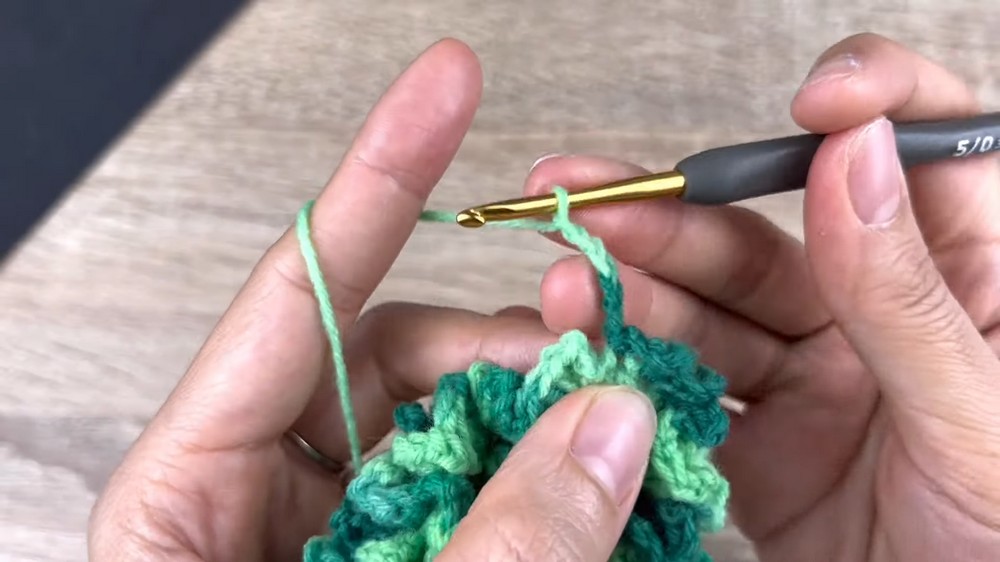
Round 3: Ch 5, sl st in the next available stitch along the ruffled edge, ch 5, sl st in the next stitch; repeat (ch 5, sl st in the next stitch) continuously around the entire top edge of the Round 2 ruffles, then make a final sl st to join, ch 1 to secure, pull tight, and fasten off, leaving a short tail for sewing.
The chain loops should form a continuous scalloped-looking border around the outside of the ruffles. Keep the slip stitches moving from one available stitch to the next so the loops remain evenly distributed.
Weave In the End
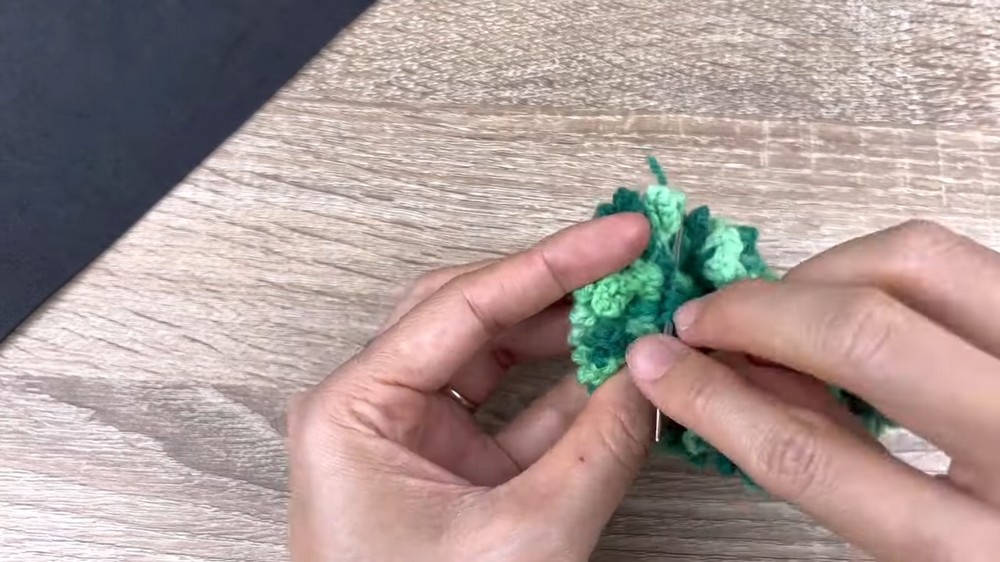
Thread the loose yarn tail onto your tapestry needle and work it back and forth through the dense stitches of Round 1 on the inside edge of the scrunchie.
Once the tail is secure and hidden within the base, trim the excess yarn close to the stitches. The ruffled layers will help conceal the finished end.