Crochet Christmas Glove Mini Bag Pattern Free
Need a tiny Christmas bag with a playful mitten shape? This crochet glove bag starts with a separate thumb, then grows into a festive little pouch with a textured cuff.
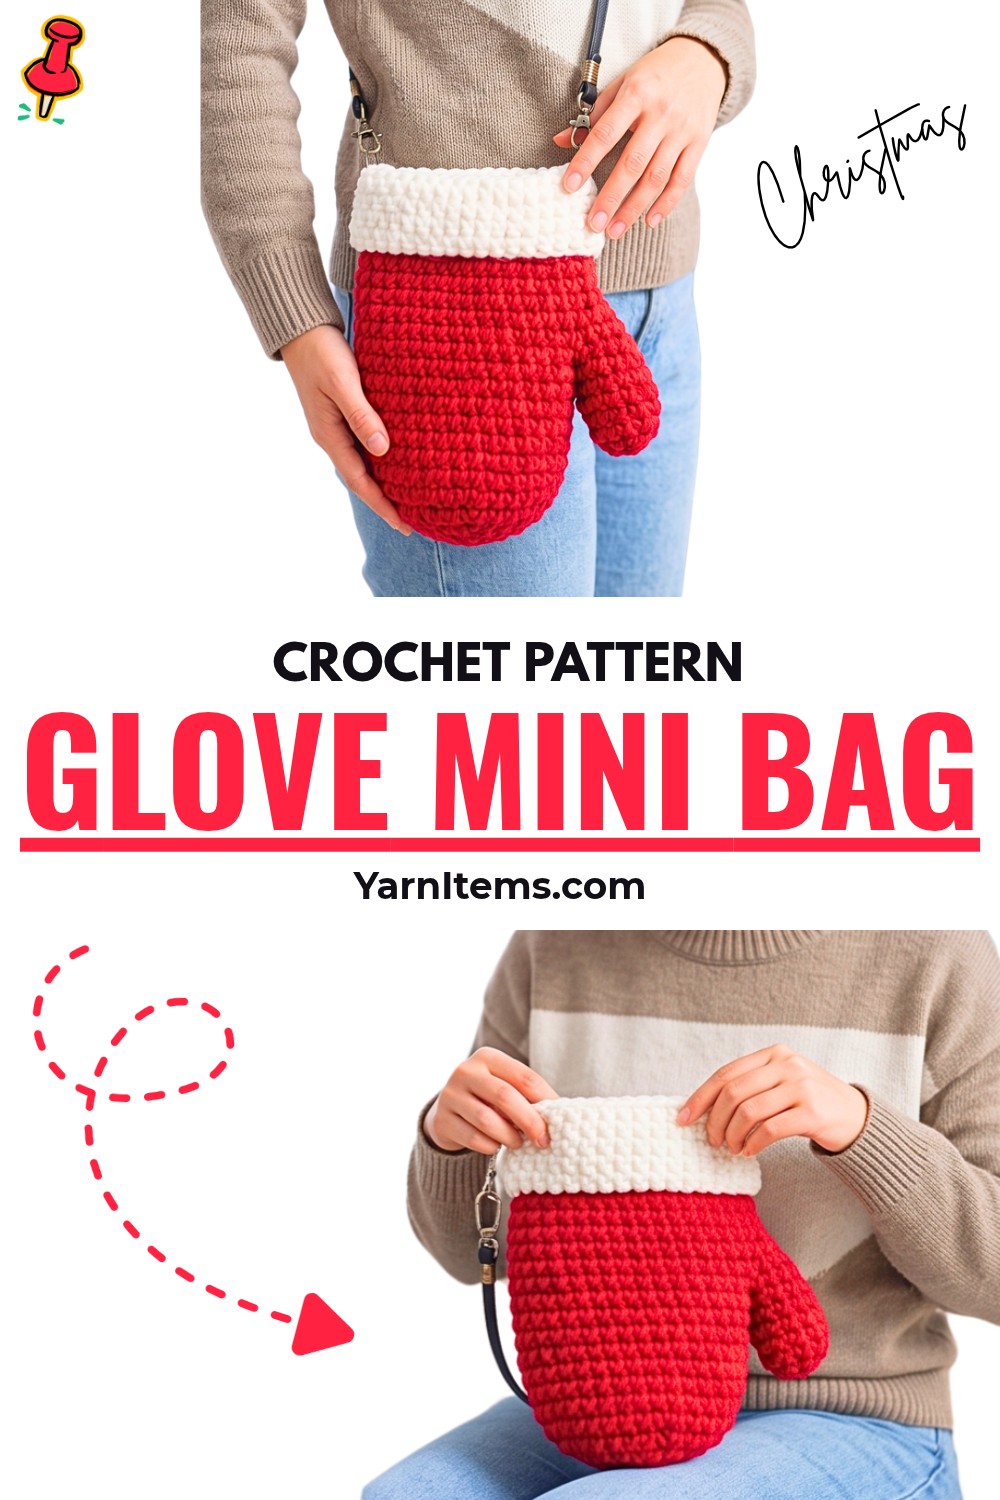
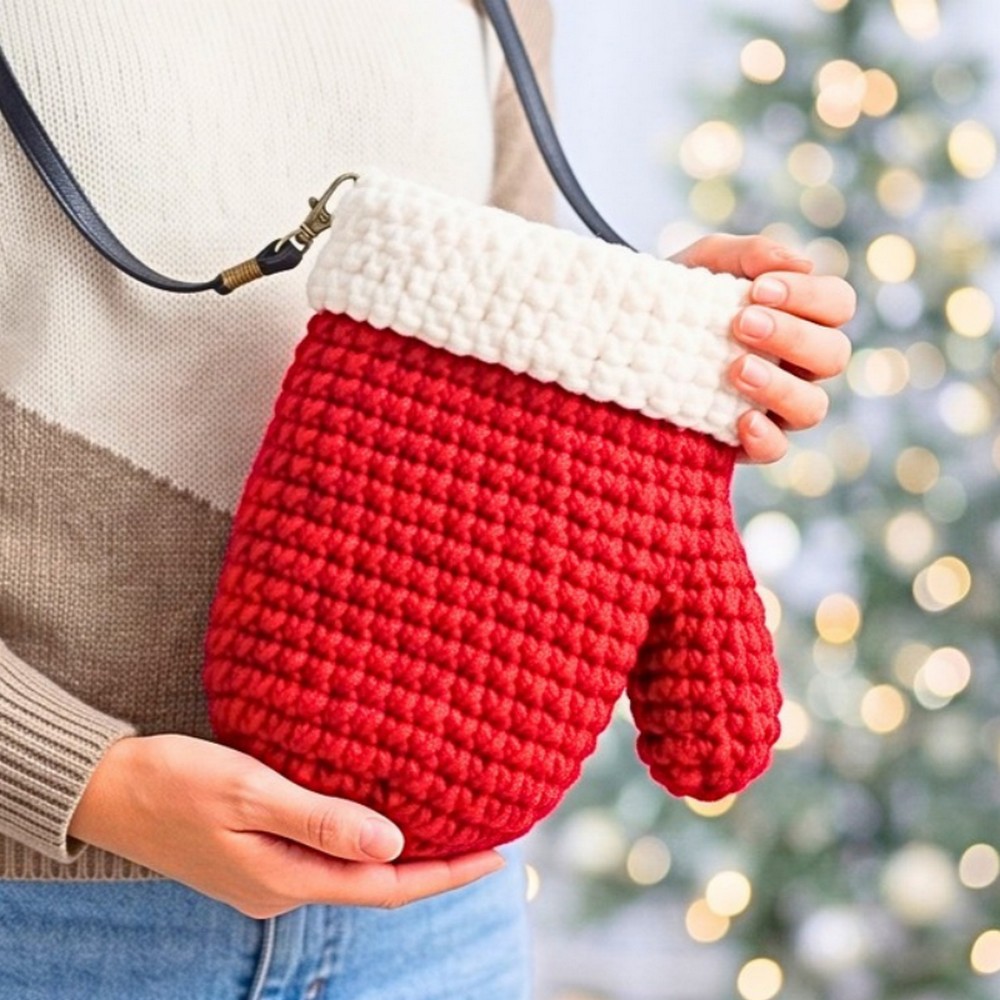
A mitten-shaped mini bag is a fun way to turn a simple round crochet body into something that feels unmistakably seasonal. The separate finger section gives the finished bag its glove-like silhouette, while the raised cuff adds a small decorative detail near the opening.
The pattern uses two strands of fine yarn held together with a 5 mm hook and works mainly in joined single-crochet rounds. You’ll first make the finger, build the circular bag body, join the two pieces, shape the upper section, and finish with a longer strap that can be adjusted for how you want to carry or display the crochet bag.
CreditCrochet Bag
The Key Shape: Joining the Finger to the Bag
The mitten effect comes from one important transition: the small finger is crocheted separately and then incorporated into the main bag during Round 13. Until that point, the bag is simply a growing round shape.
Have the finished finger nearby before starting the joining round. You’ll work partway around the bag, crochet across the finger, use a decrease to bring the join inward, and then return to the bag body. This changes the outline without requiring you to crochet the thumb directly onto the body from the beginning.
Because every round is joined with a slip stitch, remember to ch 1 at the beginning of each new round.
Materials & Tools Needed
- Yarn: Two strands of 2.5 mm yarn held together, in Sport/Fine weight
- Hook: 5.0 mm crochet hook
- Stitch markers
- Scissors
- Yarn needle: For weaving in ends
For a festive color change, use red or green for the main glove and consider switching to white for the upper cuff rounds.
Pattern Abbreviations – US Terms
- MR = magic ring
- ch = chain
- sc = single crochet
- inc = increase, 2 sc in the same stitch
- dec = decrease, single crochet two together
- sl st = slip stitch
- FLO = front loop only
- [ ] x N = repeat the instructions inside the brackets N times
- ( ) = total stitch count at the end of the round
Make the Finger First
The small finger is intentionally made separately. Once it is finished, set it aside while you crochet the main body.
Round 1: Make a MR, crochet 6 sc into the ring, sl st to join. (6)
Round 2: ch 1, 6 inc, sl st. (12)
Round 3: ch 1, 12 sc, sl st. (12)
Fasten off the finger and set it aside.
Build the Main Bag Body
The main body begins with the same 6-stitch center but expands gradually through Round 6. After reaching 36 stitches, the next rounds maintain that size so the bag develops height rather than continuing to spread outward.
Round 1: Make a MR, crochet 6 sc into the ring, sl st. (6)
Round 2: ch 1, 6 inc, sl st. (12)
Round 3: ch 1, [1 sc, inc] 6 times, sl st. (18)
Round 4: ch 1, [1 sc, inc, 1 sc] 6 times, sl st. (24)
Round 5: ch 1, [3 sc, inc] 6 times, sl st. (30)
Round 6: ch 1, [2 sc, inc, 2 sc] 6 times, sl st. (36)
Rounds 7-12: ch 1, 36 sc, sl st. (36)
At the end of Round 12, the body should have enough height for the finger to be incorporated into the next section.

Join the Finger and Shape the Glove
Bring the completed finger back to the work. Round 13 is where the two pieces become one. Keep track of which stitches belong to the bag and which belong to the finger as you work across the join.
Round 13 (Joining Round): ch 1, 18 sc (on the bag body), 5 sc (on the finger), dec, 5 sc, 18 sc (back on the bag body), sl st. (47)
The following rounds gradually reduce stitches around the joined area, refining the glove-like shape.
Round 14: ch 1, 17 sc, dec, 3 sc, dec, 4 sc, dec, 17 sc, sl st. (44)
Round 15: ch 1, 16 sc, dec, 3 sc, dec, 4 sc, dec, 17 sc, sl st.
Pattern Math Note: The supplied Round 15 transcription calls for a sequence that does not mathematically match the stated stitch counts: it indicates using 46 stitches to produce 43, while Round 14 ends at 44 and Round 16 is listed to begin from a different count. The safest approach is to follow the supplied tutorial transcription rather than silently rewriting it; if you are reproducing the tutorial exactly, keep this discrepancy noted for readers.
Round 16: ch 1, 20 sc, dec, 19 sc, sl st. (40)
Round 17: ch 1, 19 sc, dec, 19 sc, sl st. (39)
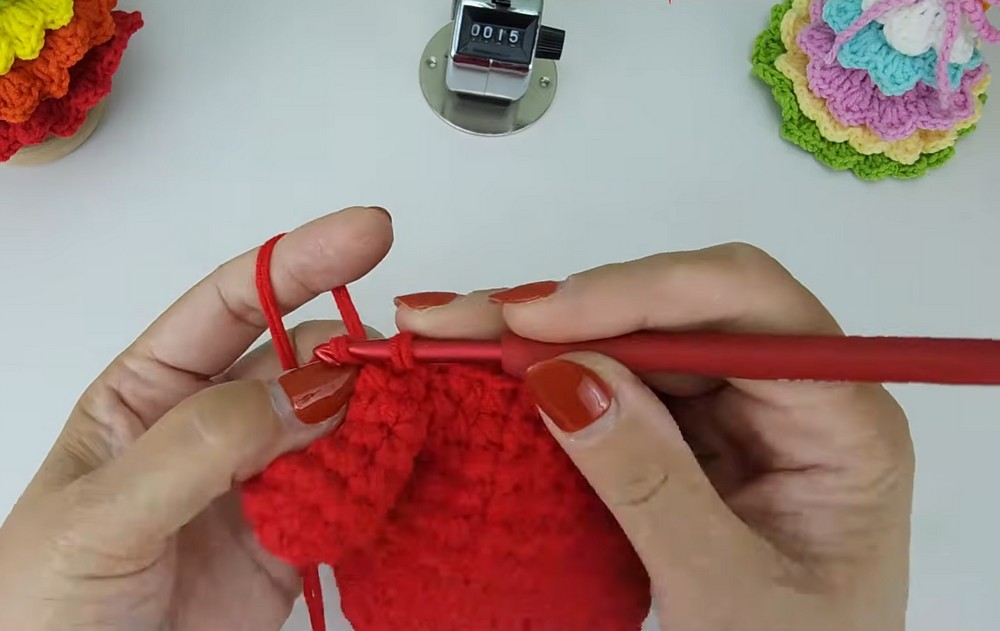
Work Up to the Cuff
With the mitten shape established, the next rounds stop decreasing and simply carry the 39-stitch circumference upward.
Rounds 18–20: ch 1, 39 sc, sl st. (39)
Rounds 21-23: ch 1, 39 sc, sl st. (39)
Round 24 introduces the one stitch-placement change that gives the cuff its decorative ridge.
Round 24: Working in the FLO, ch 1, 39 sc, sl st. (39)
Working through the front loops creates the raised line that separates the cuff area visually from the rounds below it.
Rounds 25-28: ch 1, 39 sc, sl st. (39)
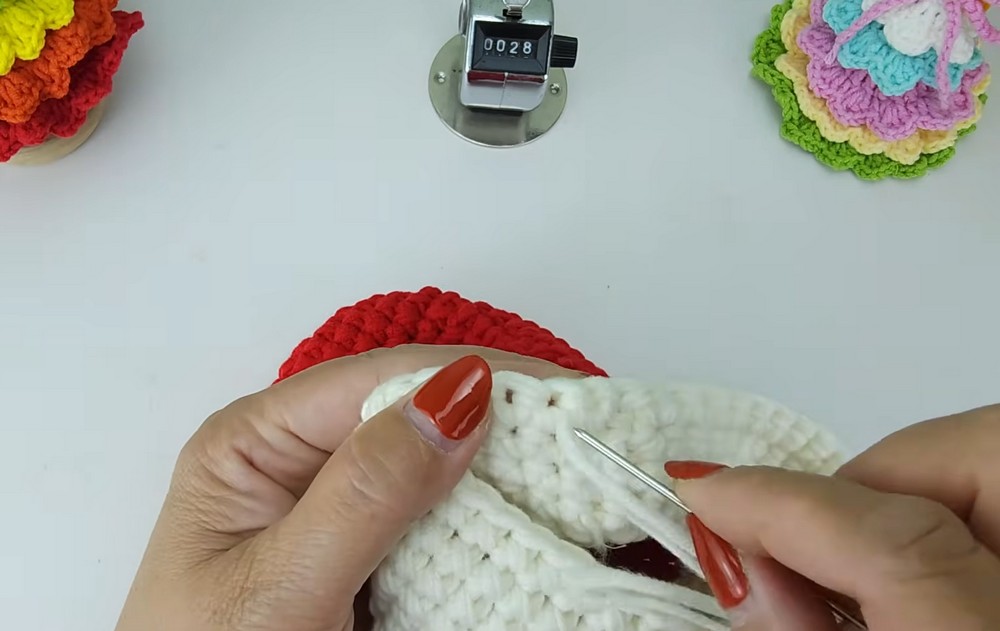
Fasten off and weave in all loose ends.
Choose the Strap Length
The bag itself is complete, so the strap is where you can adapt the finished piece to its intended use. A chain measuring approximately 85–90 cm creates a longer strap suitable for a crossbody-style mini bag.
For a shorter hanging version, make the chain shorter instead. This works especially well if you want to use the glove as a Christmas decoration rather than something worn across the body.
Attach both ends of the strap securely to the inner opposite sides of the bag’s cuff.

Small Seasonal Variations
A color change can completely alter the character of the finished mitten. A red or green body with a white cuff gives it a traditional Christmas look, while contrasting festive colors can make it feel more playful.
You can also shorten the strap to create a hanging loop for a Christmas tree, or keep the longer strap for carrying small items or giving tiny gifts.
The finished bag is small and mitten-shaped, making it useful as a festive gift holder, mini accessory bag, or seasonal decoration.