How to Crochet a Snowman Christmas Amigurumi Toy
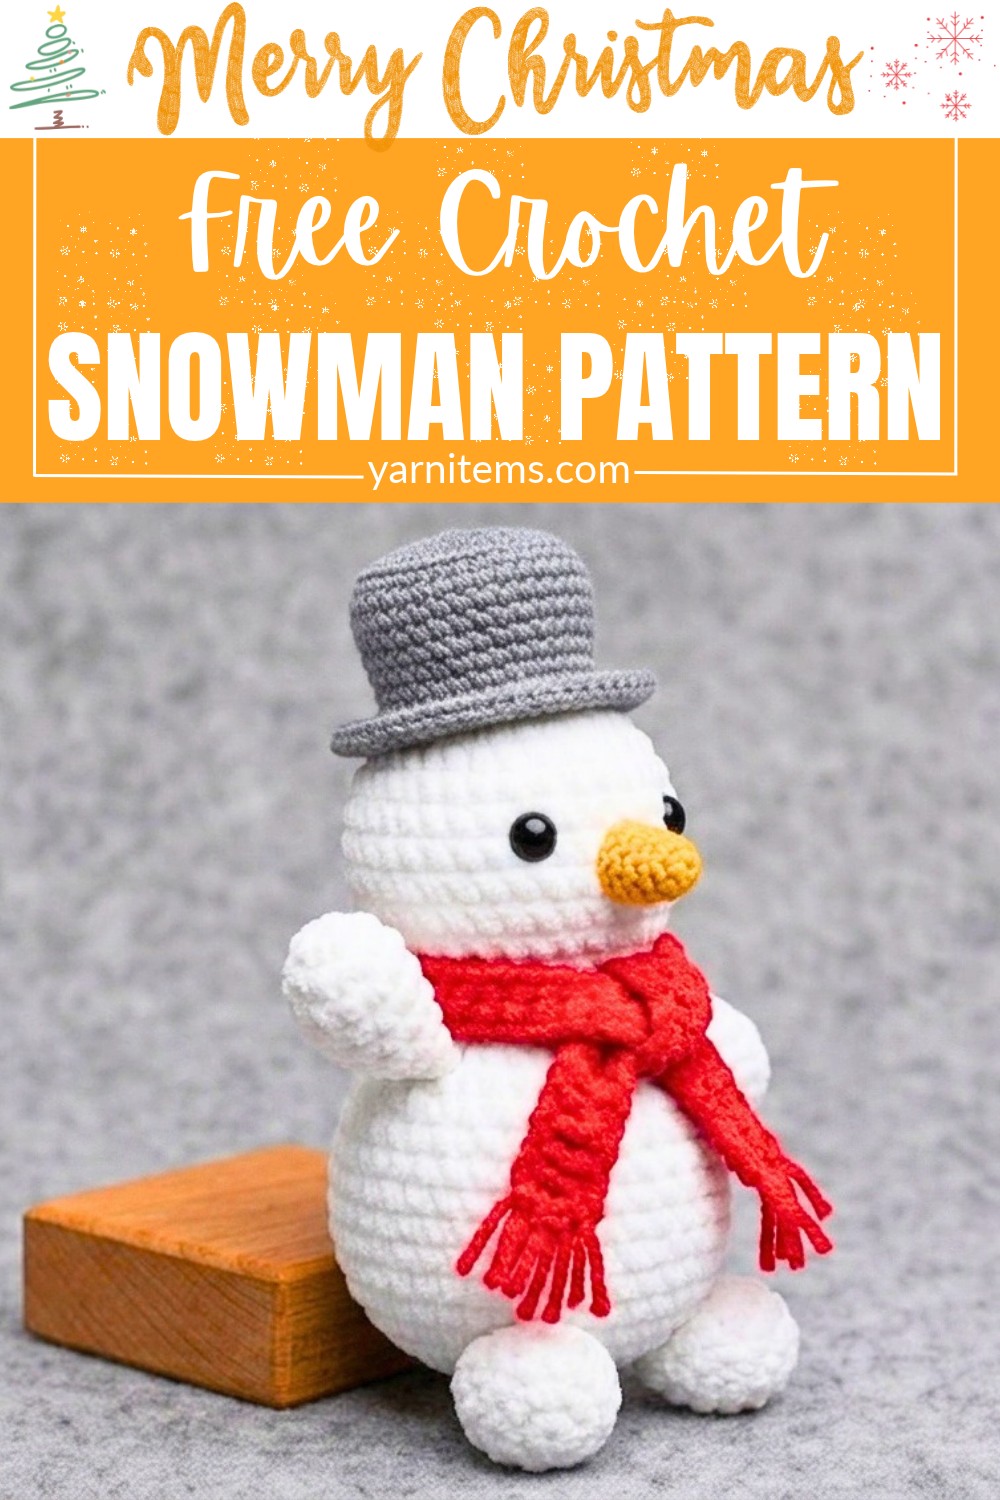
Bring winter joy to life with this adorable crochet snowman amigurumi! This sweet pattern builds a round, friendly snowman with a neat cozy hat, colorful scarf, and simple button accents.
The clear, step-by-step shape makes stitching easy and smooth, helping beginners bypass tricky assembly steps. It stands upright nicely on any flat shelf or desk, making it a wonderful piece of handmade holiday decor that brings instant cheer to your cozy home space.

Crochet a Snowman Christmas
You can easily customize your little frosty friend to suit any holiday theme or special style! Swap classic red and green yarn for bright pastel shades, bold stripes, or your favorite team colors to match your bedroom decor.
Add tiny embroidered features, attach a small ribbon hanger to turn him into a cute Christmas tree ornament, or make a whole family of snowmen in different sizes. He also makes a super charming, heartwarming gift for family, friends, or teachers.
Credit Hello Amigurumi
Materials Needed
-
Yarn: Plush, micro-polyester yarn (or any yarn of your preference)
-
Hooks: 4 mm and 2.5 mm crochet hooks
-
Safety Eyes: 10 mm
-
Notions: Toy stuffing, yarn needle, scissors, stitch marker
Abbreviations
-
rnd: round
-
sc: single crochet
-
dc: double crochet
-
inc: increase
-
dec: decrease
-
ch: chain stitch
-
slst: slip stitch
-
BLO: back loops only
-
FLO: front loops only
-
(*, *): repeat sequence
Step-by-Step Pattern
Head & Body (Worked as one piece with white yarn)
-
Rnd 1: 6 sc in a magic ring (6)
-
Rnd 2: (inc) x 6 (12)
-
Rnd 3: (1 sc, inc) x 6 (18)
-
Rnd 4: (2 sc, inc) x 6 (24)
-
Rnd 5: (3 sc, inc) x 6 (30)
-
Rnds 6–10: 30 sc around (30)
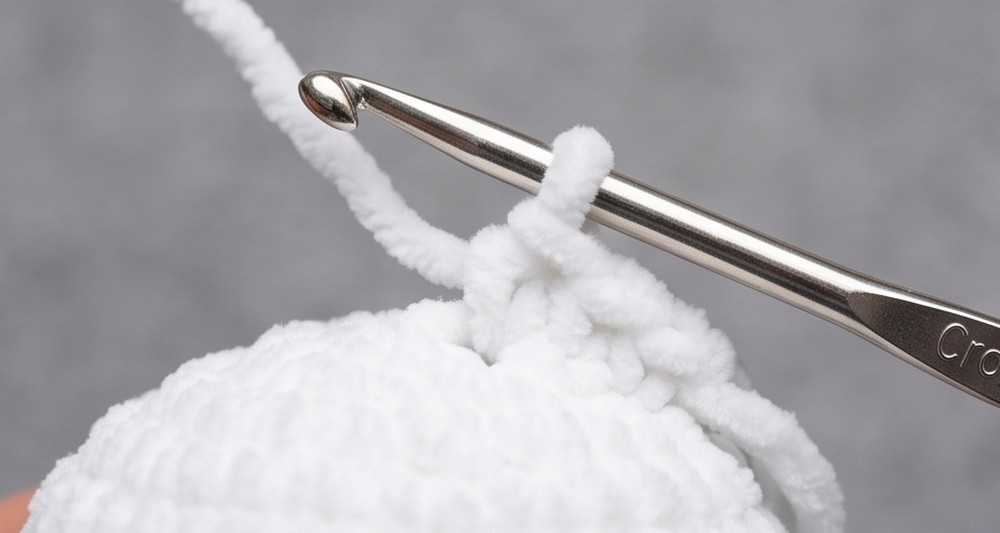
- Insert 10 mm safety eyes between Rnds 7 and 8, spaced about 5 stitches apart.
-
Rnd 11: (3 sc, dec) x 6 (24)
-
Rnd 12: (2 sc, dec) x 6 (18)
-
Rnd 13: (1 sc, dec) x 6 (12)
-
Rnd 14: (1 sc, inc) x 6 (18)
-
Rnd 15: (2 sc, inc) x 6 (24)
-
Rnd 16: (3 sc, inc) x 6 (30)
-
Rnds 17–21: 30 sc around (30)
-
-
Stuff the head firmly with toy stuffing.
-
-
Rnd 22: (3 sc, dec) x 6 (24)
-
Rnd 23: (2 sc, dec) x 6 (18)
-
Rnd 24: (1 sc, dec) x 6 (12)
-
Stuff the body firmly.
-
-
Rnd 25: (dec) x 6 (6)
-
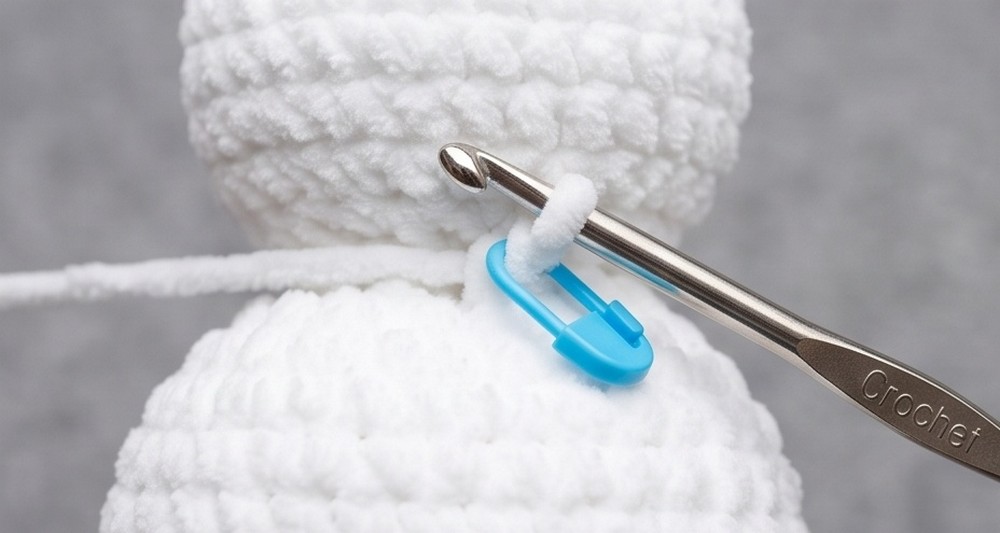
Fasten off, weave the tail through the front loops of the remaining 6 stitches, and pull tight to close.
2. Arms (Make 2 with white or brown yarn)
-
Rnd 1: 6 sc in a magic ring (6)
-
Rnds 2–5: 6 sc around (6)
-
Fasten off, leaving a tail for sewing. Do not stuff.
3. Carrot Nose (Orange yarn)
-
Rnd 1: 4 sc in a magic ring (4)
-
Rnd 2: (1 sc, inc) x 2 (6)
-
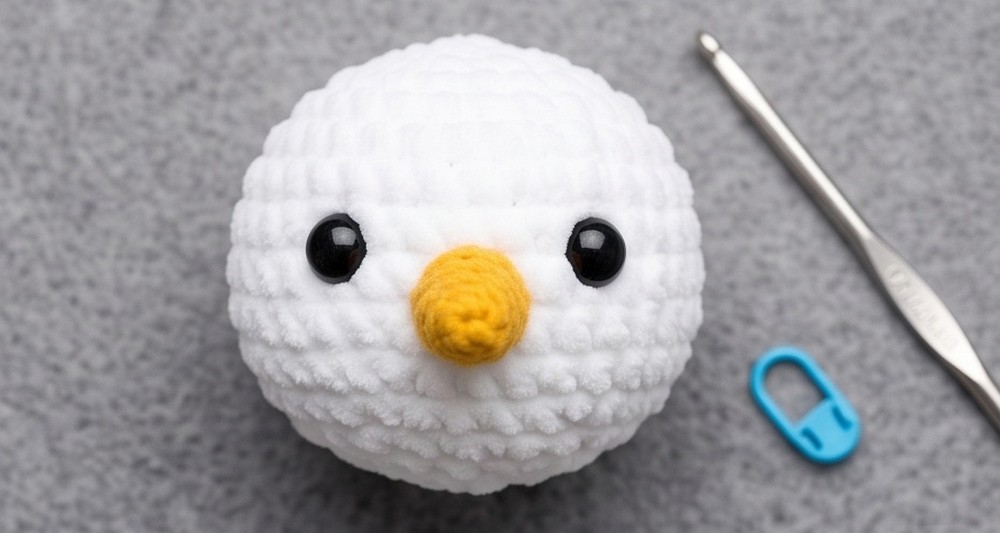
Fasten off, leaving a long tail to sew onto the face between the eyes.
4. Hat (Color of choice)
-
Rnd 1: 6 sc in a magic ring (6)
-
Rnd 2: (inc) x 6 (12)
-
Rnd 3: (1 sc, inc) x 6 (18)
-
Rnd 4: (2 sc, inc) x 6 (24)
-
Rnd 5: BLO 24 sc around (24)
-
Rnds 6–8: 24 sc around (24)
-
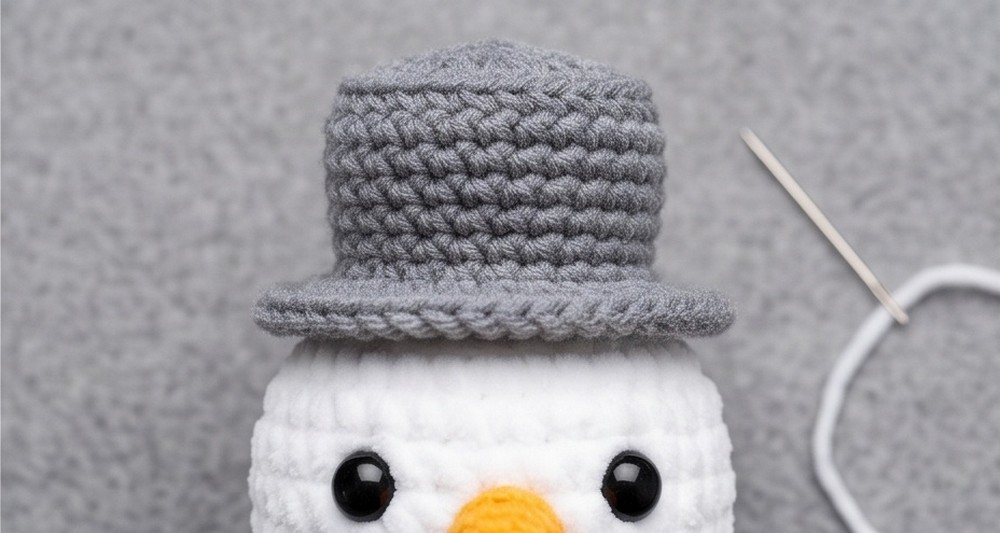
Rnd 9: FLO (3 sc, inc) x 6 (30) — creates the hat brim
-
Fasten off, weave in ends, and sew or place onto the top of the head.
5. Scarf (Color of choice)
-
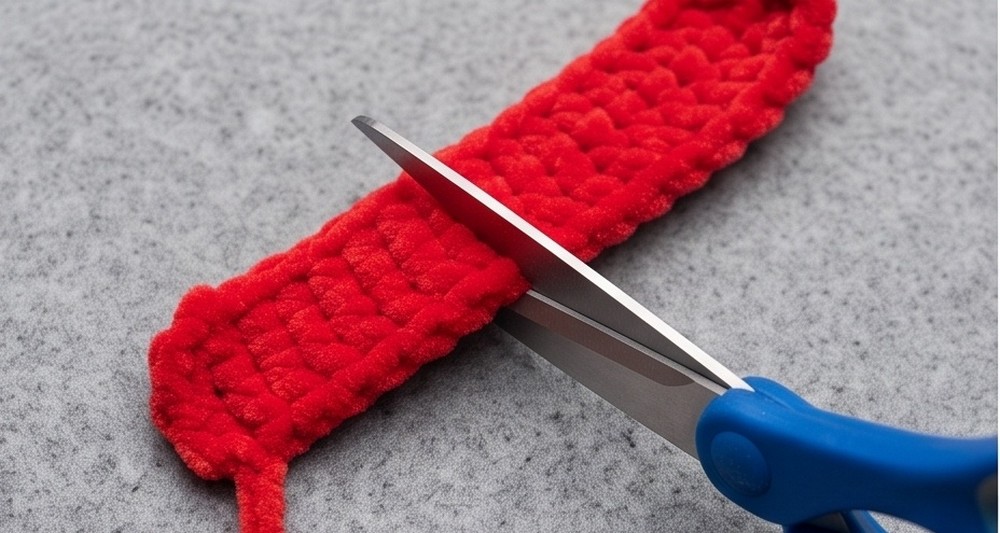
Row 1: Chain 35 (or to desired length).
-
Row 2: Starting in the 3rd chain from hook, work dc in each chain across.
-
Fasten off and tie around the snowman’s neck.
Assembly & Final Touches
-
Attach the Nose: Position the orange carrot nose centrally between the safety eyes (around Rnds 8–9). Sew securely in place using the yarn tail, then weave in the remaining end.
-
Attach the Arms: Place the arms on either side of the upper body (around Rnd 15, just below the neck line). Sew both arms flat against the body so they sit flush.
-
Add Facial Details (Optional): Using black embroidery floss or thin yarn, embroider a small curved smile centered below the nose. Lightly apply blush under the eyes for extra character.
-
Attach the Hat: Lightly stuff the top of the hat to hold its shape. Position it straight or slightly tilted on top of the head and sew around the inner loop line of Rnd 9 to secure.
-
Tie the Scarf: Wrap the finished scarf around the neck seam (between Rnds 13–14) and knot it loosely on one side, allowing the ends to drape downward.