Crochet Spider-Man Amigurumi Pattern with Hanging Web
Create a palm-sized crochet Spider-Man with bold red-and-blue shaping, a layered white web, and a hanging loop for a fun car or seasonal display.
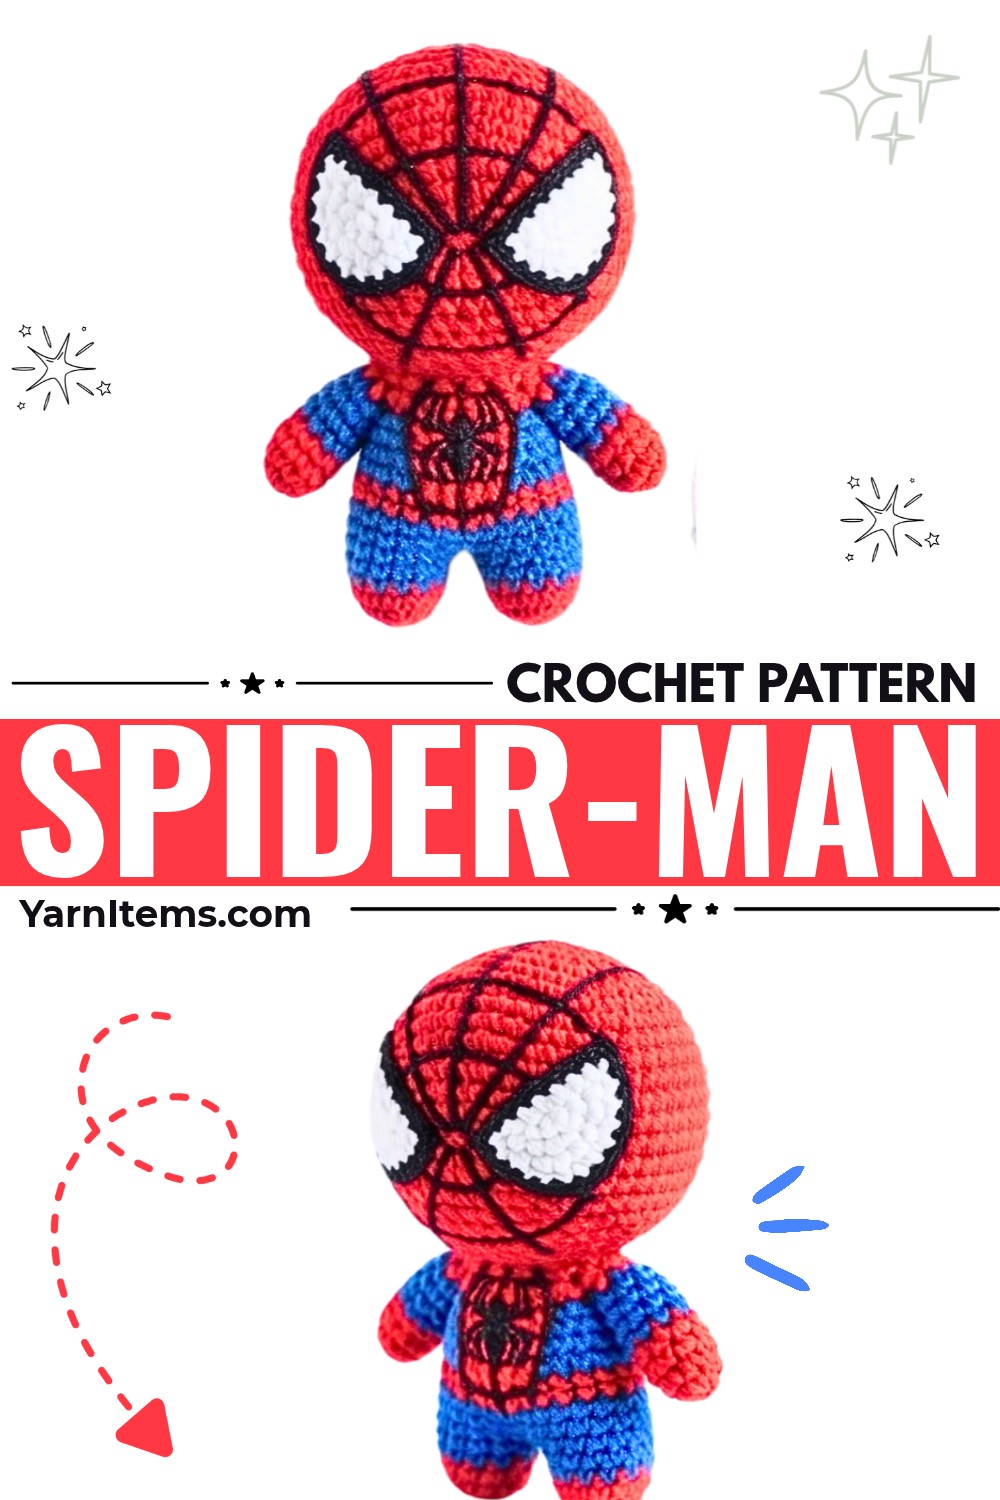
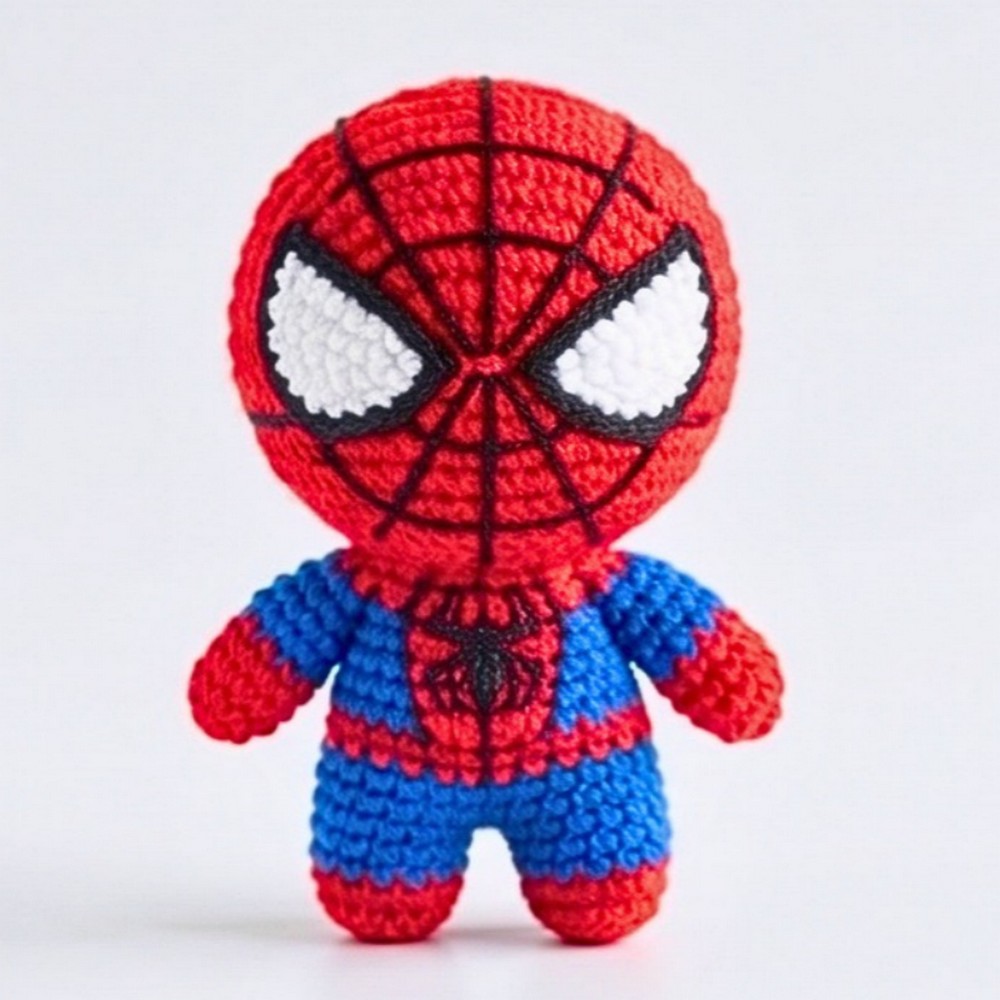
Bring a little superhero character to your crochet collection with this palm-sized Spider-Man amigurumi. The red-and-blue body is worked in connected rounds, while the white web and small matching details give the finished crochet piece its recognizable hanging pose.
This tutorial takes you from the body and four matching limbs to the eyes, stuffed web ball, large spider web, and final hanging string. You’ll also see where the color changes happen, when to add the stuffing, and how to position each part so the finished Spider-Man hangs naturally from the crochet web.
Credit The Crochet noire
Materials & Tools Needed
- Yarn: Red, blue, white, and black yarn (sport or DK weight recommended for amigurumi)
- Crochet Hook: 3.5 mm
- Extras: Fiberfill stuffing
- Tools: Tapestry needle, scissors, and craft glue
Finished Size & Customization Ideas
Using a 3.5 mm hook will yield a standard palm-sized amigurumi, although the exact size depends on your yarn choice and personal tension. The finished piece is well suited to a keychain or hanging car ornament.
Customization Ideas:
- Ornament loop: The included Chain-30 string makes this perfect for hanging on a rearview mirror.
- Web sizing: You can increase the web size by continuing the established pattern and increasing the chain count by 2 in each subsequent round.
- Details: If you prefer not to use glue, you can easily sew the eyes onto the face using the black yarn tails.
Pattern Abbreviations & Terminology
- MR: Magic Ring
- ch: chain
- sc: single crochet
- dc: double crochet
- inc: increase (2 sc in the same stitch)
- dc inc: double crochet increase (2 dc in the same stitch)
- dec: decrease (crochet 2 stitches together)
- sl st: slip stitch
- sk: skip stitch
- st(s): stitch(es)
Round Note: Every round in the body and limbs ends with a slip stitch to join and a chain 1.
Crochet the Spider-Man Body and Head
Work the Body and Head Together
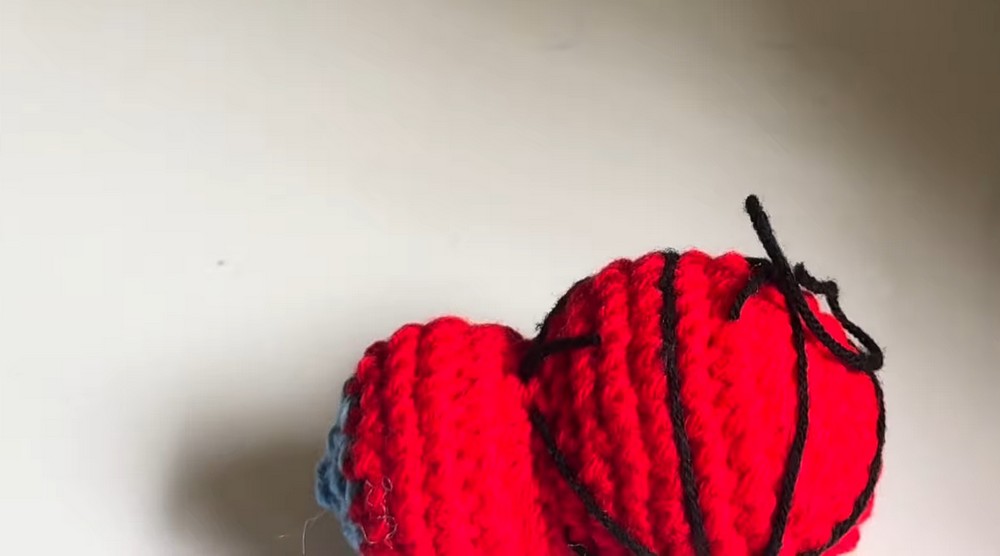
Work the body and head together from the bottom up in connected rounds. Early increases widen the lower section, middle rounds maintain the body width, and decreases then bring the shape inward before the head begins.
Round 1: Make 6 sc into a MR. Pull the thread to tighten. sl st in the first st, ch 1. (6 sts)
Round 2: inc in each st around (make 2 sc in each st). sl st, ch 1. (12 sts)
Round 3: [1 sc, inc] repeat around. sl st, ch 1. (18 sts)
Round 4: [2 sc, inc] repeat around. sl st, ch 1. (24 sts)
Round 5: [3 sc, inc] repeat around. sl st, ch 1. (30 sts)
Round 6: [4 sc, inc] repeat around. sl st, ch 1. (36 sts)
Rounds 7–9: 1 sc in each st around. sl st, ch 1. (36 sts for 3 rounds)
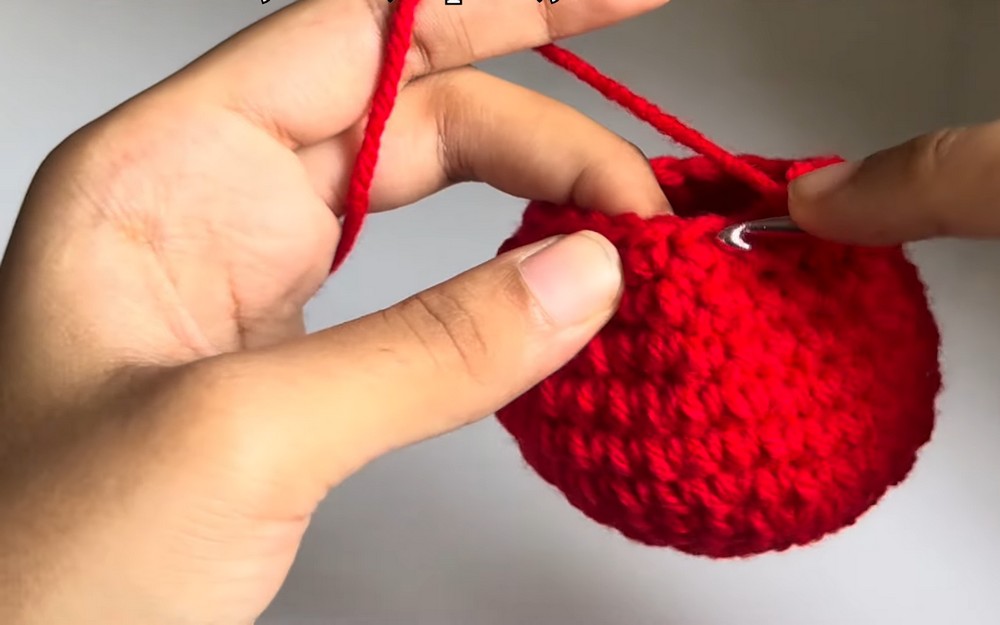
Round 10: [3 sc, dec] repeat around. sl st, ch 1.
Round 11: [2 sc, dec] repeat around. sl st, ch 1.
Round 12: [1 sc, dec] repeat around. sl st, ch 1.
Round 13 (Starting the Head): [1 sc, inc] repeat around. sl st, ch 1.
Round 14: [2 sc, inc] repeat around. sl st, ch 1.
Rounds 15–16: 1 sc in each st around. sl st, ch 1. (2 rounds)
Round 17: [2 sc, dec] repeat around. At the end of the round, change the color to blue. sl st, ch 1.
Round 18: [1 sc, dec] repeat around. sl st, ch 1.
Round 19: dec continuously until the opening is almost closed. Add stuffing now before closing it fully. Finish closing the top, sl st, ch 1, and cut the thread off.
Shape Check: The decreases in Rounds 10–12 narrow the lower section before the head begins to widen again. Keep your tension steady through this transition so the body does not become uneven.
Stuffing Check: Add the fiberfill while the opening is still accessible. Use enough to give the body and head a firm, rounded shape without stretching the stitches so much that gaps appear.
Crochet the Four Arms and Legs
Make 4 Identical Pieces
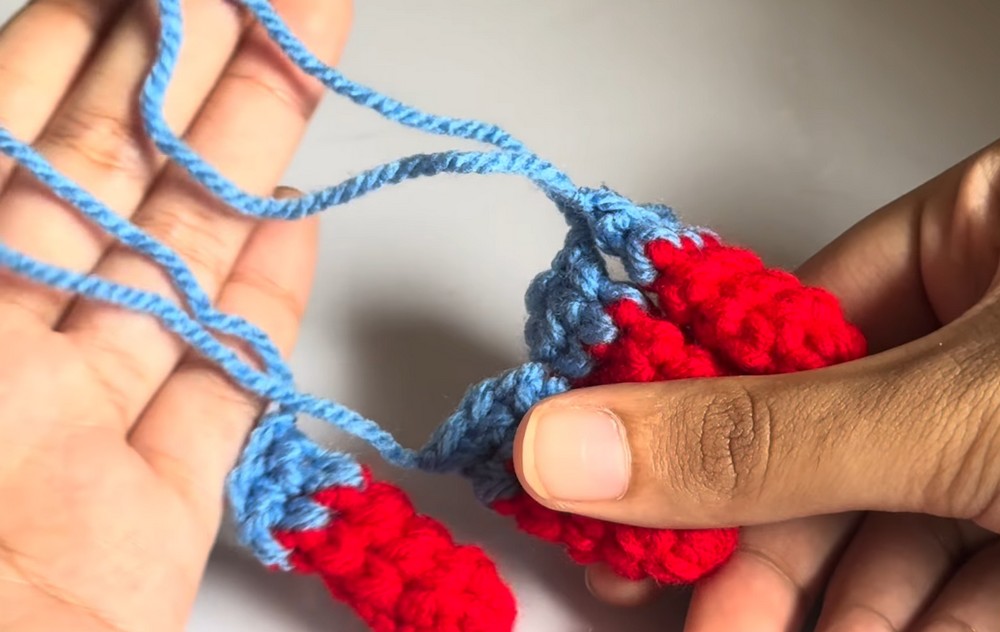
Start each limb with red yarn. The pieces are kept small and simple, with the color change creating the blue section near the end.
Round 1: Make 5 sc into a MR. sl st, ch 1. (5 sts)
Rounds 2–3: 1 sc in each st around. sl st, ch 1.
Round 4: 1 sc in each st around. Change the color to blue at the end of this round. sl st, ch 1.
Round 5: 1 sc in each st around. sl st, ch 1. (5 sts)
Round 6: Flatten the piece to close the opening. Insert the hook through both sides and make 2 sc across to seam it shut. ch 1, leave a long tail for sewing, and cut the thread.
Limb Check: Make all four pieces with the same tension and number of rounds. Matching pieces will make it much easier to position the arms and legs evenly around the body later.
Crochet the White Web Attachment Ball
Use White Yarn
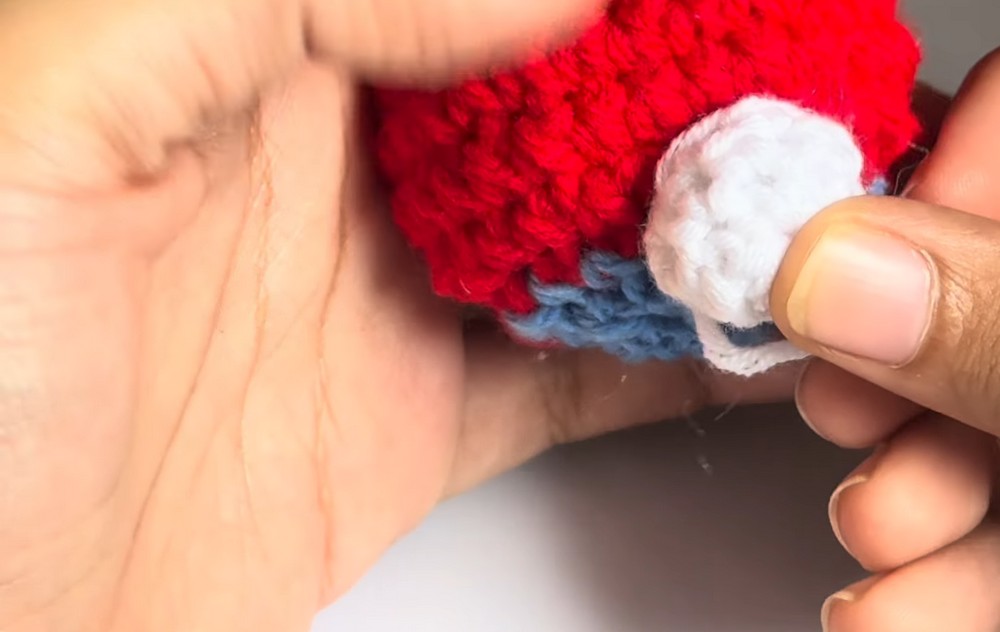
This small stuffed ball sits behind the character and becomes the point where the body connects to the hanging web.
Round 1: Make 6 sc into a MR. sl st, ch 1. (6 sts)
Rounds 2–3: 1 sc in each st around. sl st, ch 1.
Finishing: At the end of Round 3, leave a long tail and cut the yarn. Add a small amount of stuffing inside.
Shape Check: Only a small amount of stuffing is needed here. The ball should remain compact enough to sit neatly against the back or bottom of the body.
Crochet the Eyes
Make 2
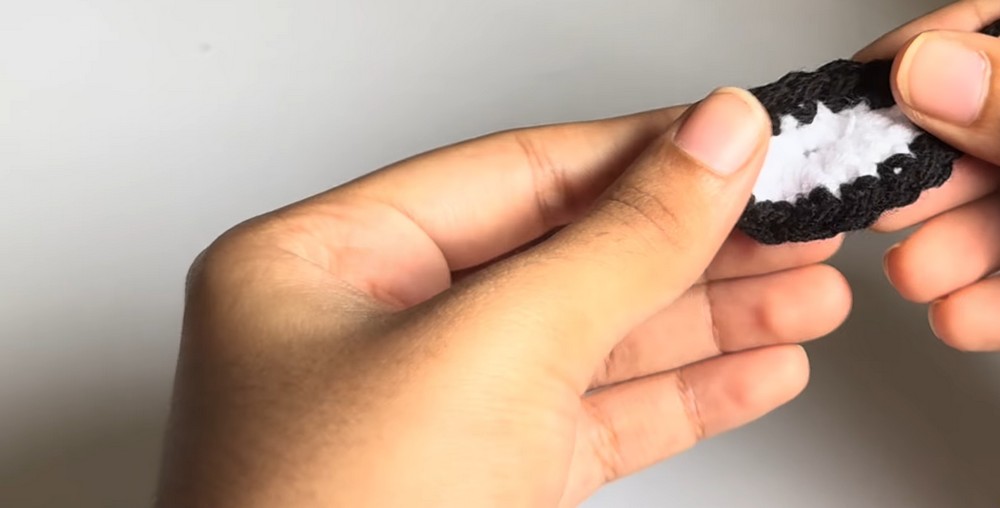
Start with white yarn for each eye.
Row 1: Make 4 sc into a MR. Pull the thread to tighten into a half-circle shape. ch 2 and turn the work around. (4 sts)
Row 2: dc inc (make 2 dc in one stitch) in all 4 stitches. (8 sts) sl st, ch 1, and cut the white thread off.
Border: Change to black yarn. Make 1 sc in each stitch across the entire outer edge of the eye. sl st, ch 1, and cut the thread.
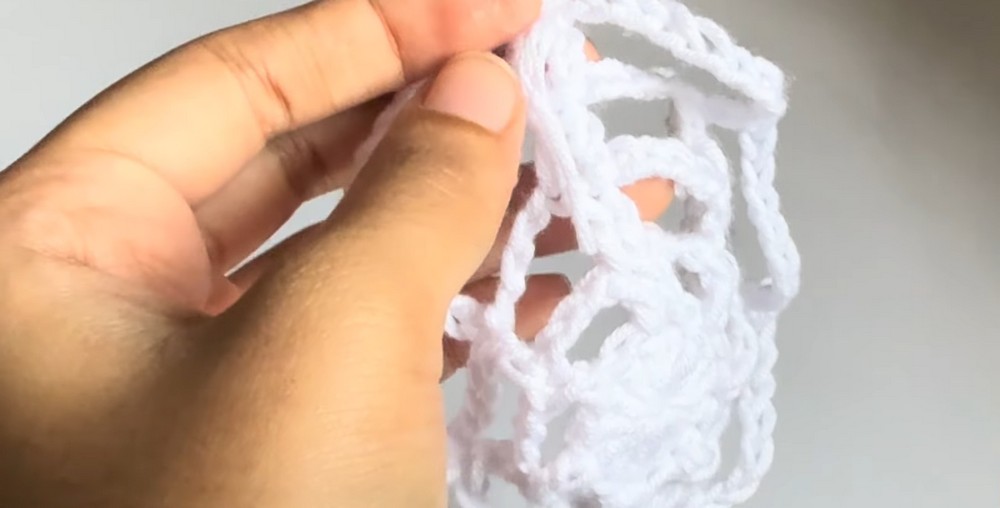
Crochet the Large Spider Web
Use White Yarn
The web grows outward through longer chain spaces. Each new round increases the length of those spaces, giving the web its expanding geometric shape.
Round 1: ch 2, make 14 dc into a MR. Join with a sl st to the first st, ch 2. (14 sts)
Round 2: 1 dc in the same base st. [ch 3, sk 1 st, 1 dc in the next st]. Repeat this pattern [ch 3, sk 1, dc] all the way around. Join with a sl st to the first st.
Round 3: 1 dc in the same st. [ch 5, sk the chain space, 1 dc into the next dc post from the previous round]. Repeat [ch 5, skip space, dc in next dc] around.
Round 4: 1 dc in the same st. [ch 7, sk the chain space, 1 dc into the next dc post]. Repeat [ch 7, skip space, dc in next dc] around.
Round 5: 1 dc in the same st. [ch 9, sk the chain space, 1 dc into the next dc post]. Repeat [ch 9, skip space, dc in next dc] around. Fasten off.
Web Shape Check: As the chain spaces become longer, the web should spread outward rather than bunching toward the center. Keep the chain counts consistent within each round so the geometric spacing stays even.
Make the Web Hanging String
Hanging String: Chain 30. Leave a long thread tail on both sides of the chain so it can be securely sewn to the doll and the web.
The two long tails are important because they will be used to attach the string at both ends rather than simply leaving the chain loose.
Assemble the Spider-Man
1. Attach the White Web Ball
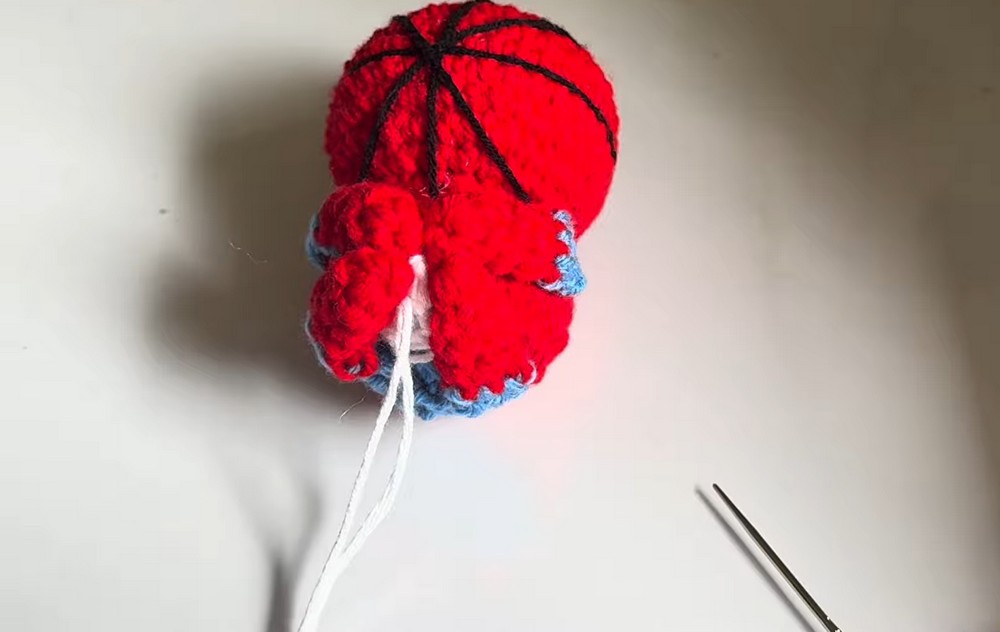
Sew the small white stuffed web ball to the back/bottom of Spider-Man’s body.
Keep the ball centered enough that it can act as a stable attachment point for the hanging arrangement.
2. Attach the Four Limbs
Position the four arms and legs around the body and sew them securely in place.
Arrange them so Spider-Man appears to be holding onto the white web ball. Check the pose before securing each piece completely, since the placement of the limbs affects the character’s hanging position.
3. Attach the Eyes
Apply craft glue to the back of the eyes and stick them onto the front of the head.
Alternatively, sew them on with the black yarn ends.
Face Check: Place both eyes before pressing them permanently into position. Checking their spacing first helps keep the face balanced and makes it easier to adjust their placement while the glue is still workable.
4. Attach the Hanging String
Take your Chain 30 string and sew one end to Spider-Man, typically at the white web ball, and the other end directly to the center of the large Spider Web.
This creates the hanging effect, with the character suspended from the web.
Create the Final Hanging Pose
Once all the pieces are sewn securely, hold the finished Spider-Man by the web to check how the character hangs.
The Chain-30 string should connect the body and the center of the large web without pulling the web noticeably to one side. If the arrangement sits unevenly, check the attachment points before trimming or hiding the final yarn tails.
The finished piece can now hang from a rearview mirror or be displayed wherever you want a playful superhero accent.