Crochet Halloween Pumpkin Cat Amigurumi For Decor
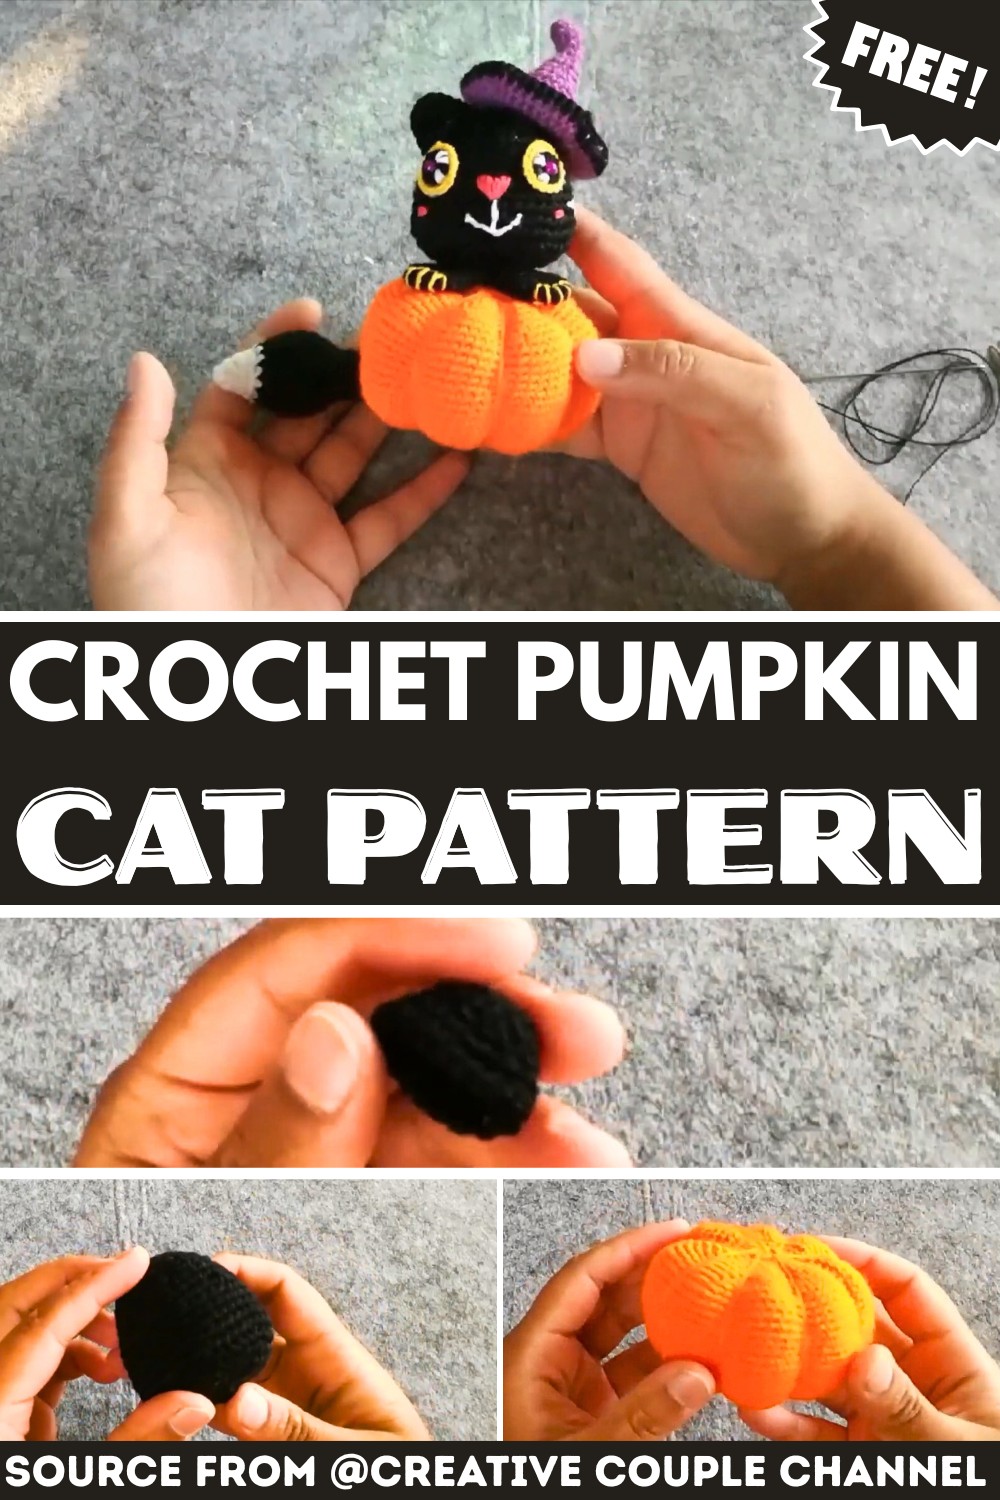
At first glance, it looks like a tiny crochet Halloween pumpkin cat amigurumi. Look a little closer, and a pair of sweet cat ears and a curious little face appear. This Crochet Halloween Pumpkin Cat Amigurumi combines two Halloween favorites in one adorably cute crochet design.
Creating a decoration that’s playful, cozy, and full of personality. Keep scrolling to see how this charming little character comes together stitch by stitch.
Crochet Halloween Pumpkin Cat Pattern

The pattern is easy to follow and built with simple crochet techniques. Making it enjoyable for beginners and experienced makers alike. As the pumpkin shape slowly transforms into an adorable cat, each step reveals another fun detail. Before long, you’ll have a festive handmade crochet piece that’s ready to brighten your Halloween décor or become a thoughtful seasonal gift.
Credit creative couple channel
Materials & Tools Needed
Yarn:
- Orange: Pumpkin body
- Black: Cat’s head, ears, pupils, legs, and tail
- Purple: Main witch hat
- Yellow: Iris of the eyes, paw details
- Blue: Hat band strip
- Pink: Nose, mouth, and cheek detailing
- White: Tail tip, eye reflections
Crochet Hooks:
- 1.50 mm hook: Pumpkin, head, hat, ears, legs, and tail
- 1.25 mm hook: Eye irises and pupils
Other Tools:
- Yarn needle
- Scissors
- Pins
- Stuffing fiberfill
- Hot glue gun
Pattern Abbreviations & Terminology
- sc: Single crochet
- inc: Increase (2 single crochet stitches in the same stitch)
- inv dec: Invisible decrease (single crochet 2 stitches together using the front loops only)
- [ ] / * Repeat: Follow the sequence inside the brackets or after the asterisk the specified number of times
- ( ): Total stitch count at the end of the round

Step-by-Step Detailed Crochet Instructions
1. Pumpkin Base (Orange Yarn, 1.50 mm Hook)
- R1: Magic ring + 6 sc *(6)
- R2: [inc] * 6 (12)
- R3: [1 sc + inc] * 6 (18)
- R4: [2 sc + inc] * 6 (24)
- R5: [3 sc + inc] * 6 (30)
- Continue following the increase pattern until **R12: [10 sc + inc] * 6 (72).
- R13–R25: 72 sc around (72).
- Begin decreases in R26: [10 sc + inv dec] * 6 (66), and continue until **R36: [inv dec] * 6 (6).
Pumpkin Shape & Appearance:
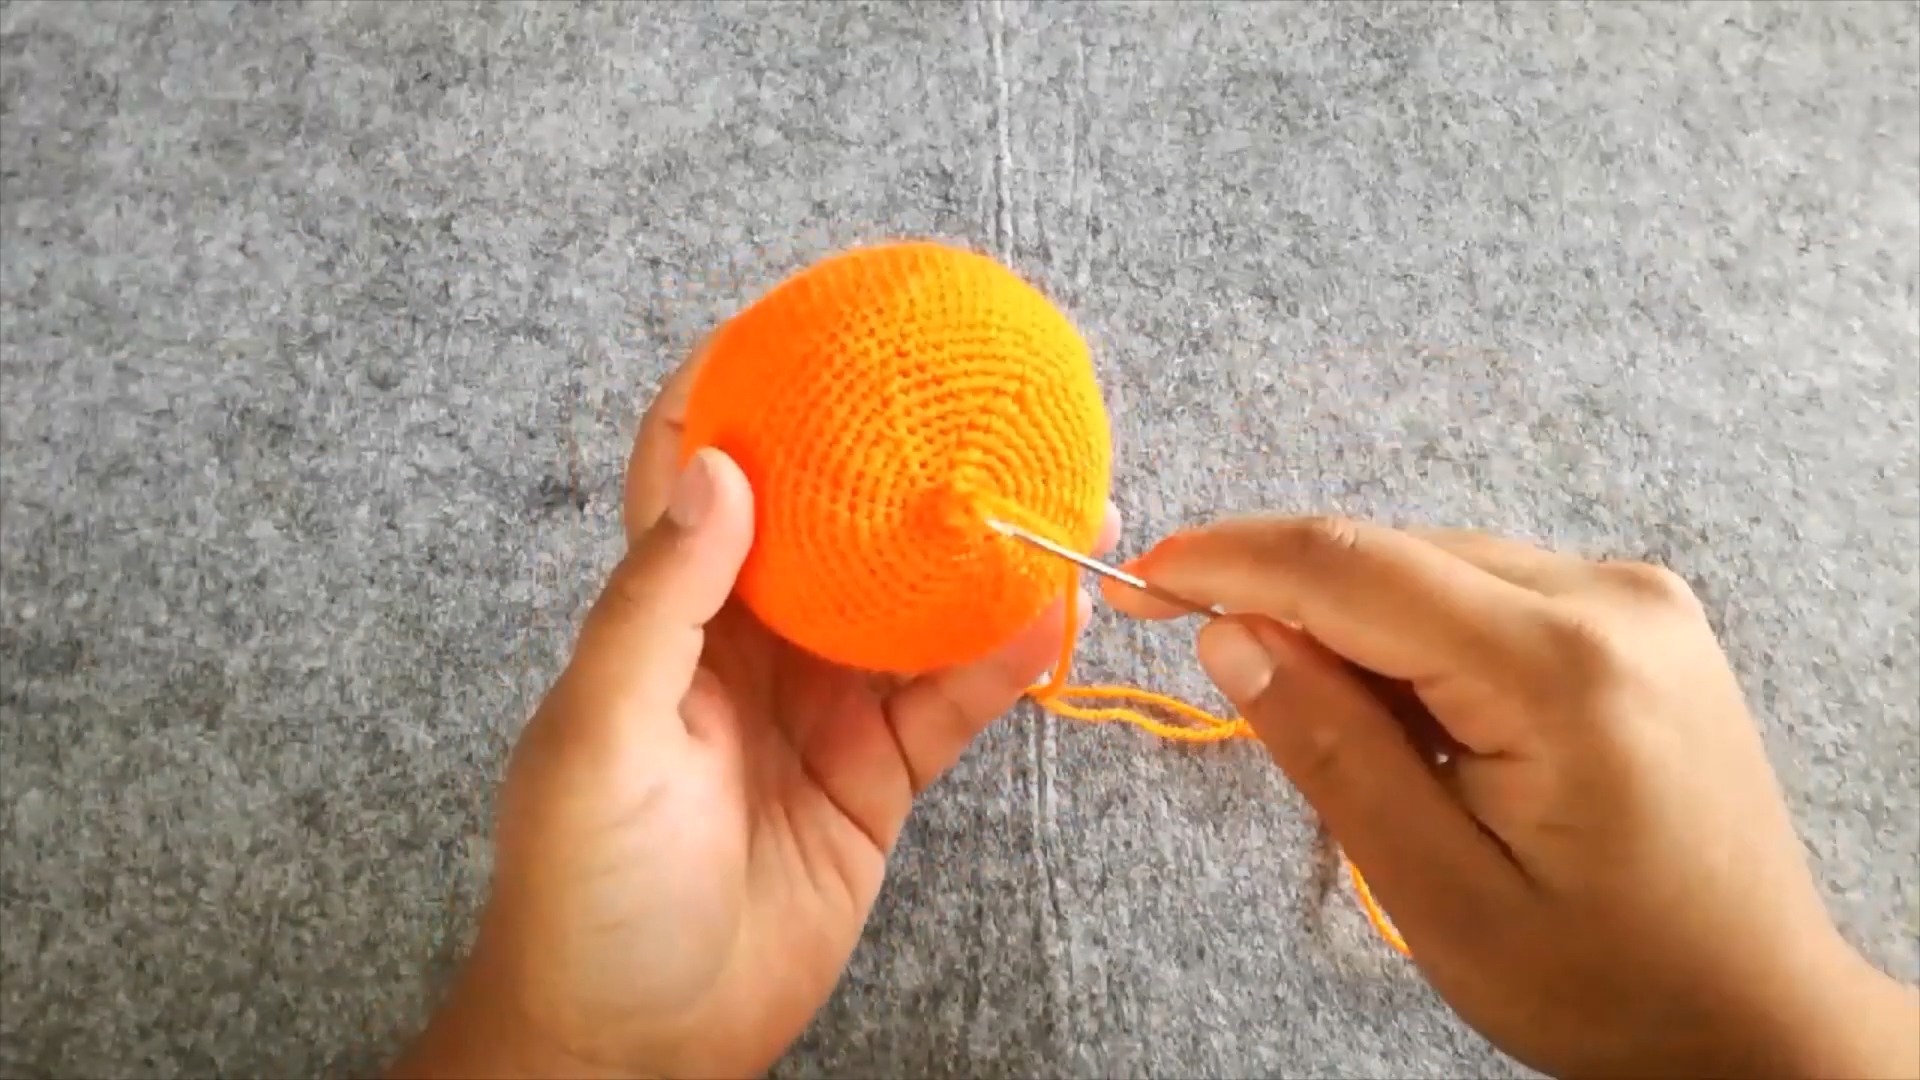
- Fasten off, leaving a long tail of orange yarn.
- Thread the tail onto a needle, pass it down through the center of the sphere (top to bottom).
- Pull tightly to flatten into a pumpkin shape.
- Wrap the long tail around the sphere 6 times evenly to create ridges. Knot securely and hide the thread.
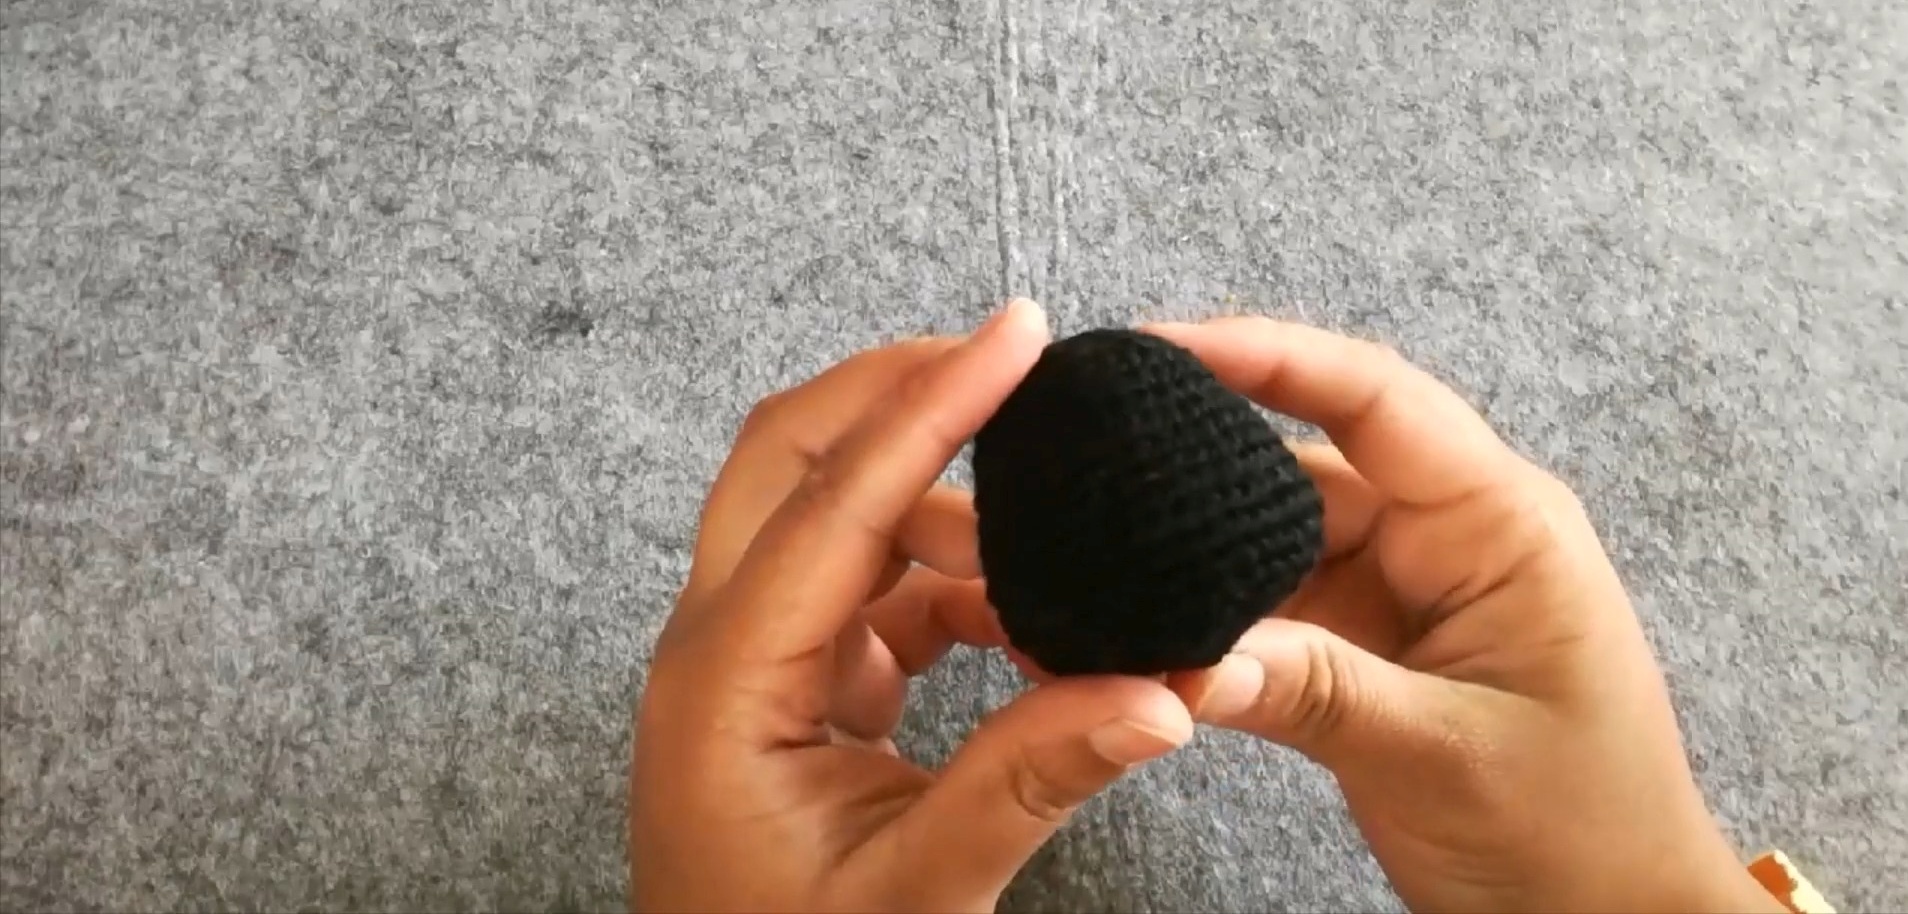
2. Cat Head (Black Yarn, 1.50 mm Hook)
- R1: Magic ring + 6 sc (6)
- R2: [inc] * 6 (12)
- R3: [1 sc + inc] * 6 (18)
- R4: [2 sc + inc] * 6 (24)
- Increase to **R12: [5 sc + inc] * 6 (42), then begin decreases in **R15: [5 sc + inv dec] * 6 (36).
- Finish at **R20: [inv dec] * 6 (6).
Stuffing: Firmly stuff and continue to stuff as you decrease. Fasten off securely!
3. Eyes (Make 2) (1.25 mm Hook)
- Yellow Iris Base:
- R1: Magic ring + 6 sc (6)
- R2: [inc] * 6 (12)
- R3: [1 sc + inc] * 6 (18)
Fasten off.
- Black Pupils:
- R1: Magic ring + 6 sc (6)
- R2: [inc] * 6 (12)
Fasten off.
Assembly & Details:
Place white glares or dots on black pupils and glue pupils to yellow irises.
4. Ears (Make 2) (Black Yarn, 1.50 mm Hook)
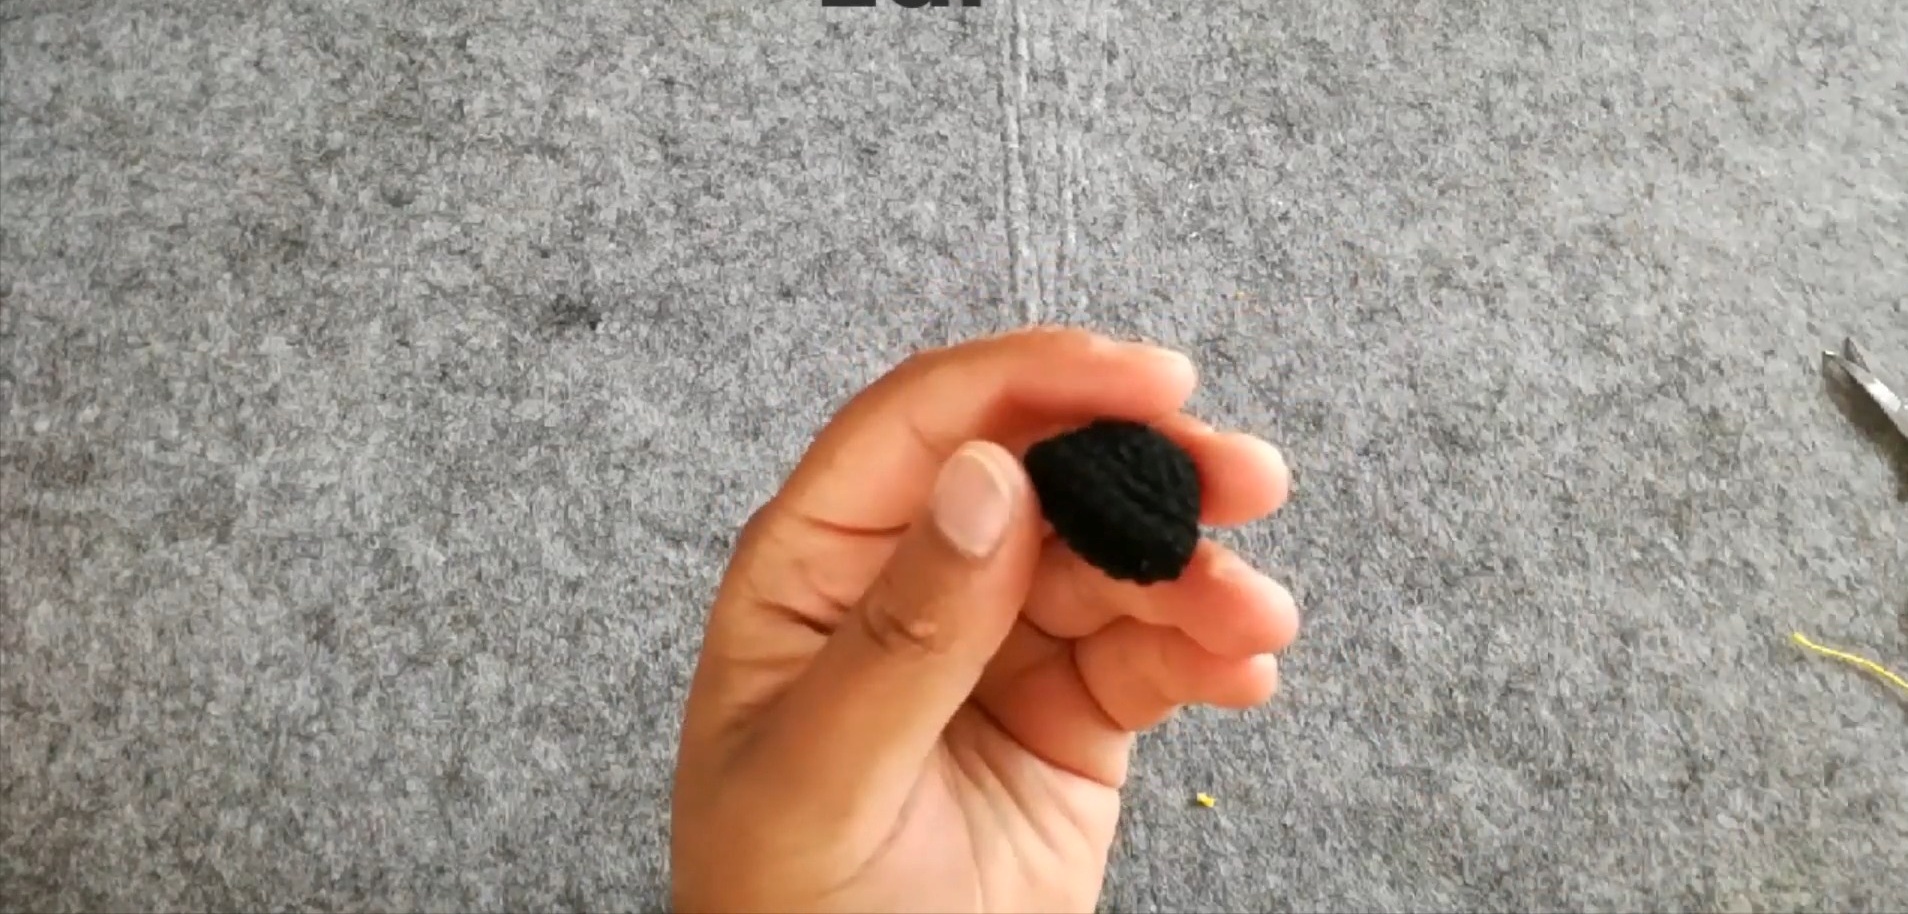
- R1: Magic ring + 6 sc (6)
- R2: [inc] * 6 (12)
- Build until R6: 18 sc.
- Flatten into triangle shapes. Fasten off securely.
5. Witch Hat (Purple, Blue & Black Yarn, 1.50 mm Hook)
Follow color changes:
- Purple for R1–R15, Blue for R16, and Purple again for R17–R20, ending with Black for R21.
- Final stitch count at brim: 48 sc. Bend for personality!
6. Front Legs (Make 2) (Black Yarn, 1.50 mm Hook)
- R1: Magic ring + 6 sc (6)
- R2: [inc] * 6 (12).
- R3–R8: 12 sc.
Add yellow claw stitch details.
7. Tail (Black & White Yarn, 1.50 mm Hook)
Follow pattern for black to white color change (R20–R25) with decreasing shape at the tip.

Assembly & Finishing Details
- Face:
- Pin composite eyes to head.
- Embroider a pink triangle nose, a small “W” mouth below it, and cheeks. Add whiskers with white thread.
- Head:
- Attach flattened ears to the head top corners and secure the hat centrally onto the head.
- Final Assembly:
- Attach legs to pumpkin front.
- Secure the head above the legs so cat looks like it’s peeking out.
- Curved tail secures to pumpkin back.