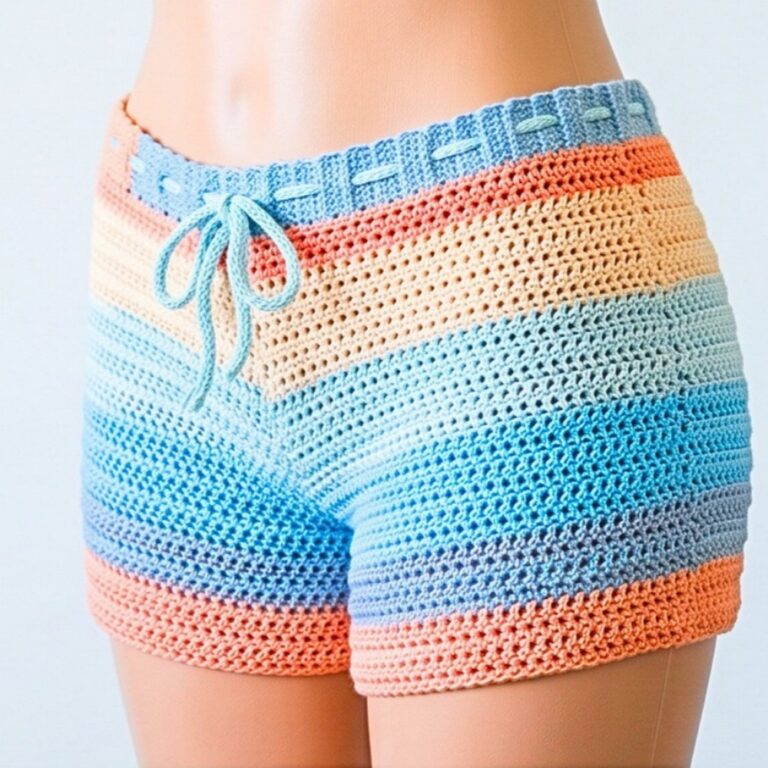
How to Crochet an Oversized V-Neck Striped Sweater Pattern
Looking for a lightweight striped V-neck sweater with an airy crochet texture, relaxed fit, and simple panel design that makes color changes and sizing easy to customize.
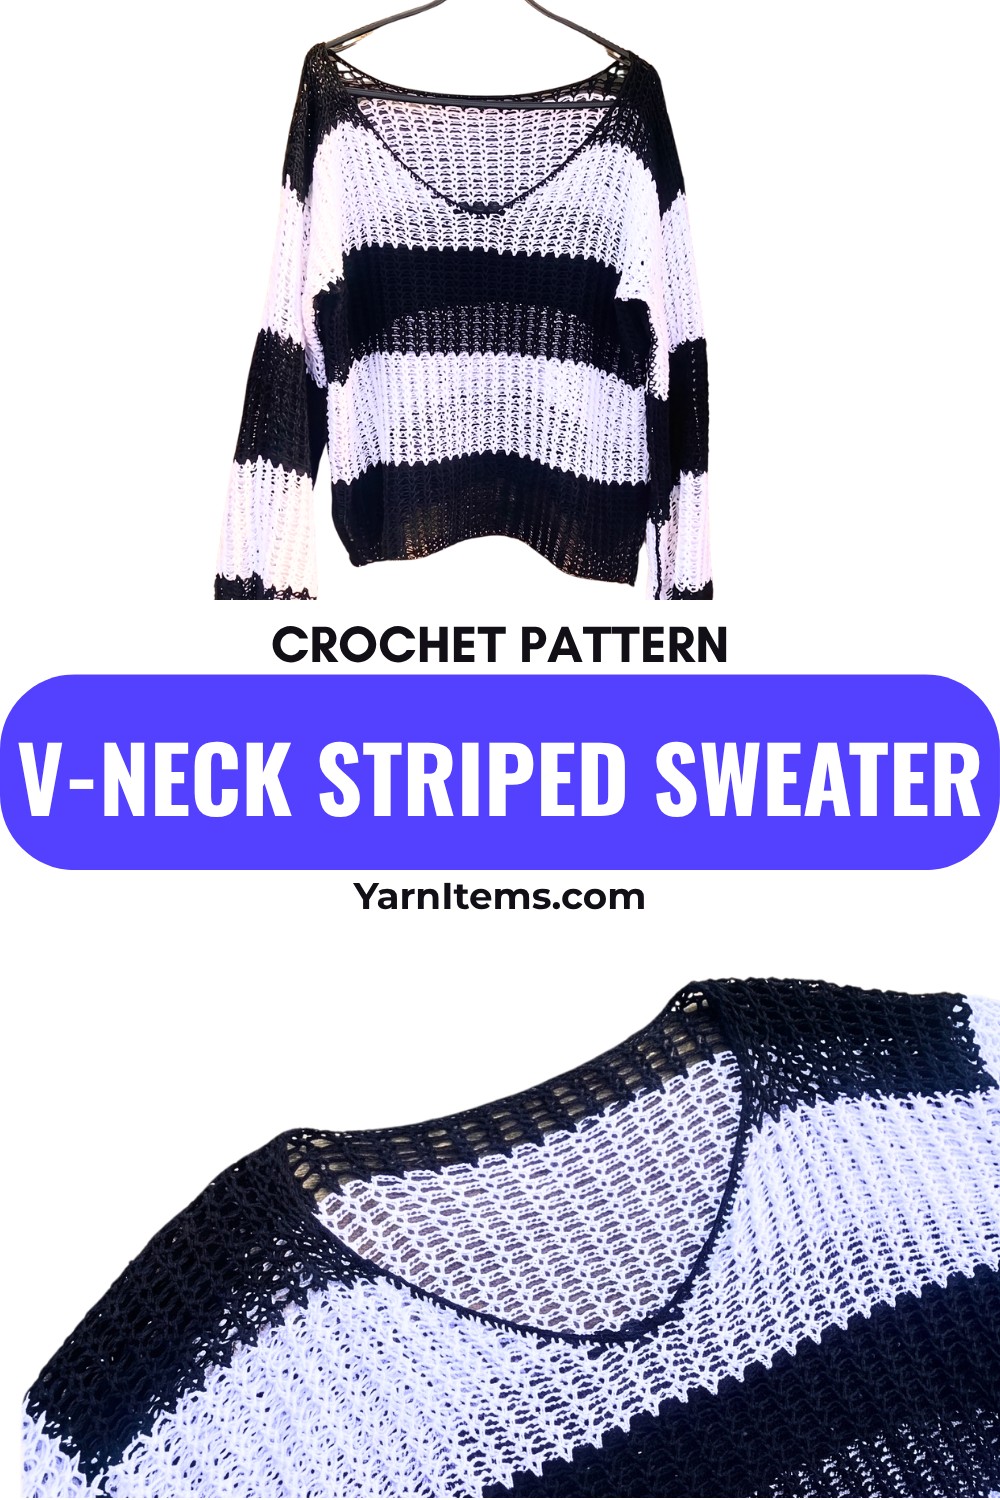
Crochet an Oversized V-Neck Striped Sweater
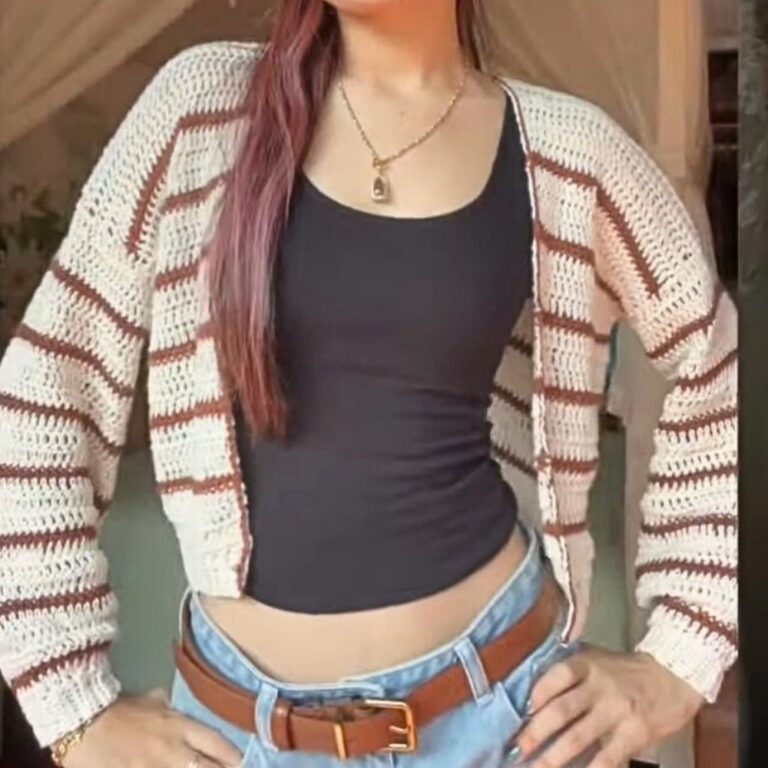
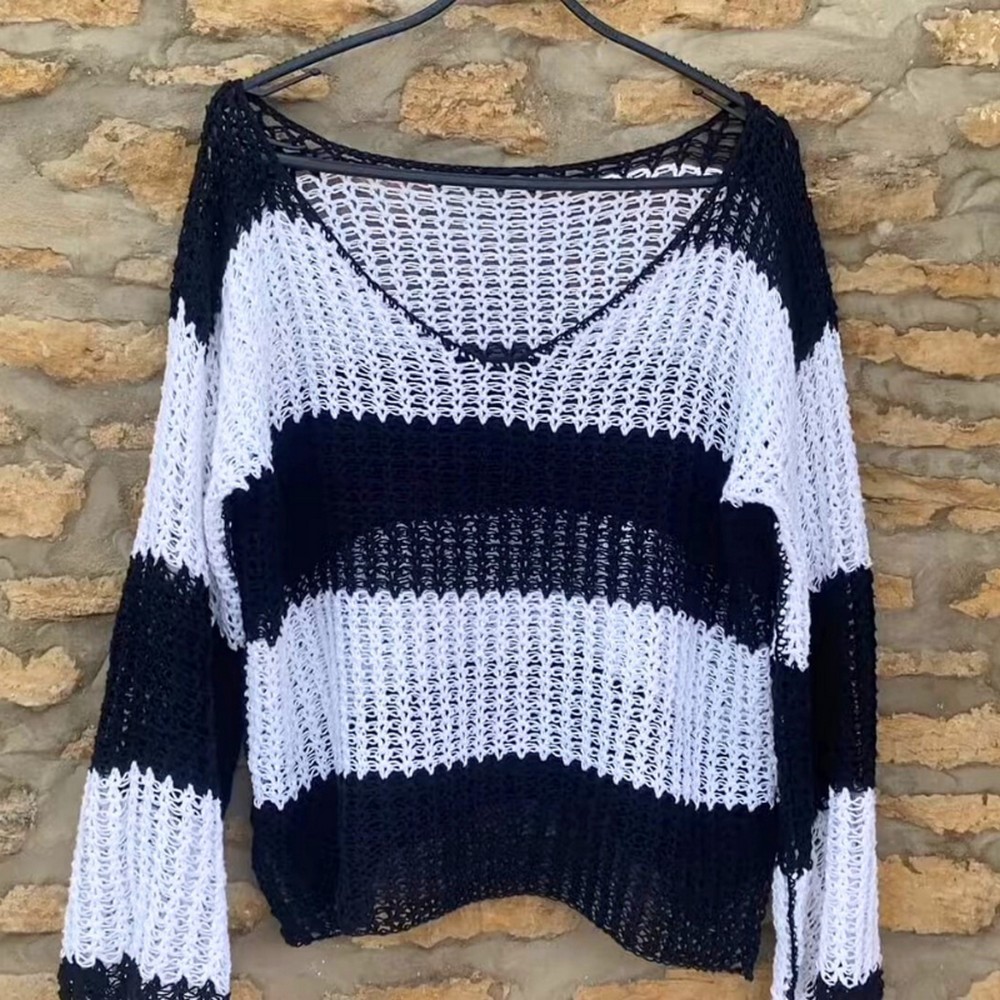
An oversized V-neck crochet sweater is an easy way to add a relaxed handmade layer to your wardrobe without making the fabric feel heavy. This crochet design combines contrasting stripes with an airy V-stitch texture, creating a loose fabric that drapes naturally and works well for casual outfits or light layering.
The crochet sweater is built from front and back panels, with the V-neck shaped after the main striped fabric is established. That neckline is the main area to watch as you work: finding the center accurately and keeping the two sides balanced will help the finished V look neat. Once the panels are complete, the sleeves and simple neckline edging bring the relaxed shape together.
Credit divyne crochet
Materials & Tools Needed
Yarn
- Lightweight, breathable cotton yarn is a good choice for this design.
- Use two contrasting colors for the striped version.
- You can replace the colors with any combination that suits your style.
A yarn with good drape will help maintain the loose, flowy character of the sweater. A very stiff yarn may produce a fabric that feels less relaxed.
Crochet Hooks
- Use a larger hook, such as 4 mm or 5 mm, to create a more open and drapey fabric.
- A smaller hook, such as 3 mm or 3.5 mm, can be used for assembly.
Other Supplies
- Stitch markers
- Scissors
- Tapestry needle
A stitch marker is particularly useful for marking the center of the front panel before beginning the V-neck shaping.
Finished Size & Customization
The oversized fit comes from the width and length of the front and back panels, so the sweater can be adjusted to suit your preferred fit.
You can customize:
- Width: Adjust the starting chain, keeping it an odd number.
- Length: Add or remove rows from the main panels.
- Stripes: Keep the 14-row stripe sequence or change the number of rows in each stripe.
- Colors: Use two shades, several colors, or make the sweater completely solid.
- V-neck: Work more or fewer decrease rows to make the neckline deeper or shallower.
- Sleeves: Adjust the sleeve length to create short, three-quarter, or full-length sleeves.
Because the sweater is intentionally oversized, check the panel measurements as you work rather than relying only on the number of rows.
Crochet Abbreviations
This pattern uses US crochet terminology.
- ch: Chain
- dc: Double crochet
- sc: Single crochet
- sl st: Slip stitch
- V-stitch: A modified V-shaped stitch made with two double crochets worked into the designated space
Understanding the Modified V-Stitch
Before starting the sweater panels, it helps to understand exactly where the V-stitches are placed.
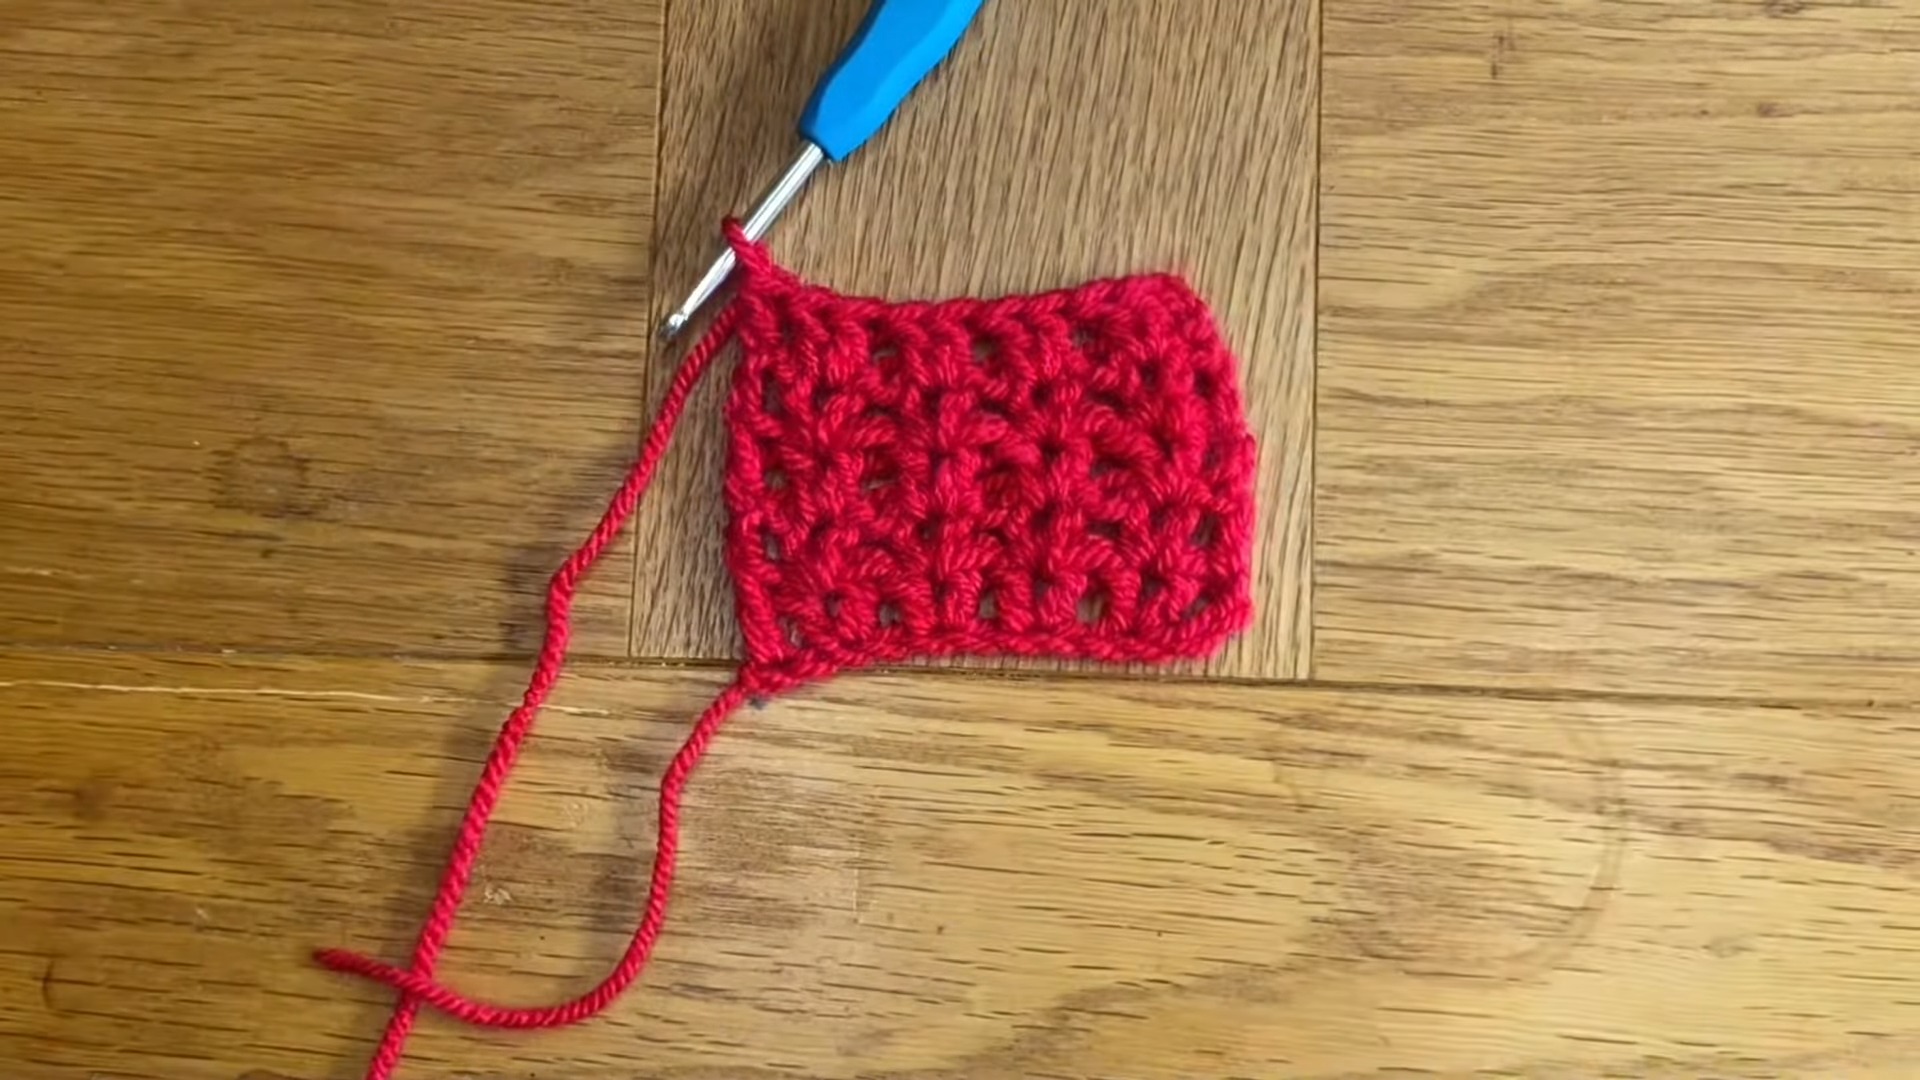
The stitch pattern creates its open appearance by working 2 dc into the space between the previous row’s V-shaped pairs. This placement is more important than simply counting the double crochets, because putting the stitches in the wrong location can make the fabric lose its regular mesh-like appearance.
Once you recognize the V-shaped spaces, the repeated rows become much easier to follow.
Foundation Chain
- Start with a slip knot.
- Chain an odd number of stitches according to your desired panel width.
- Skip the first 4 chains.
- Work 1 dc into the 5th chain.
- Skip 1 chain.
- Work 2 dc into the next chain to form the first V.
- Continue by skipping 1 chain and working 2 dc into the next chain across.
- At the end, skip 1 chain and work 1 dc into the final chain.
Stitch-placement check: The paired dc stitches should create a consistent series of V shapes across the row. If the spaces begin looking uneven, check the skipped chains before continuing.
Row 2 and Subsequent Rows
- Chain 2 and turn.
- Work 2 dc into each V-space between the paired dc stitches from the previous row.
- Continue across the row.
- Finish with 1 dc into the turning chain from the previous row.
Repeat this row structure for the remainder of the panel.
Keep your tension relaxed. Tight stitches can reduce the open texture and make the sweater less drapey than intended.
Front Panel: Creating the Stripes
The front panel is worked in horizontal stripes before the V-neck shaping begins.
First Stripe
- Work the modified V-stitch pattern for 14 rows in the first color.
- Keep the row tension consistent so the stripe remains even from one edge to the other.

Change to the Second Color
At the end of Row 14:
- Complete the final stitch up to the last yarn-over.
- Bring in the second color to complete the stitch.
- Secure the new color.
- Continue working the next row with the new shade.
This gives the color change a cleaner transition than fastening off after the stitch has already been completely finished.
Continue the Stripe Sequence
Work another 14 rows in the second color, then alternate colors in the same way.
Continue until the panel reaches the desired length.
Stripe check: Keep track of the number of rows in each stripe. If one stripe contains fewer or more rows than the others, the difference will become noticeable once the front and back panels are joined.
Shape the V-Neck
Once the main striped section has reached the point where the neckline should begin, locate the center of the front panel.
- Find the center stitch of the panel.
- Place a stitch marker at this point.
- Divide the panel into two sides.
- Begin decreasing near the center to create the V shape.
- Continue the decreases on both sides so the neckline remains symmetrical.
- Once the desired neckline width is reached, continue working straight rows upward on each side.
The exact number of decrease rows depends on how deep and wide you want the neckline to be.
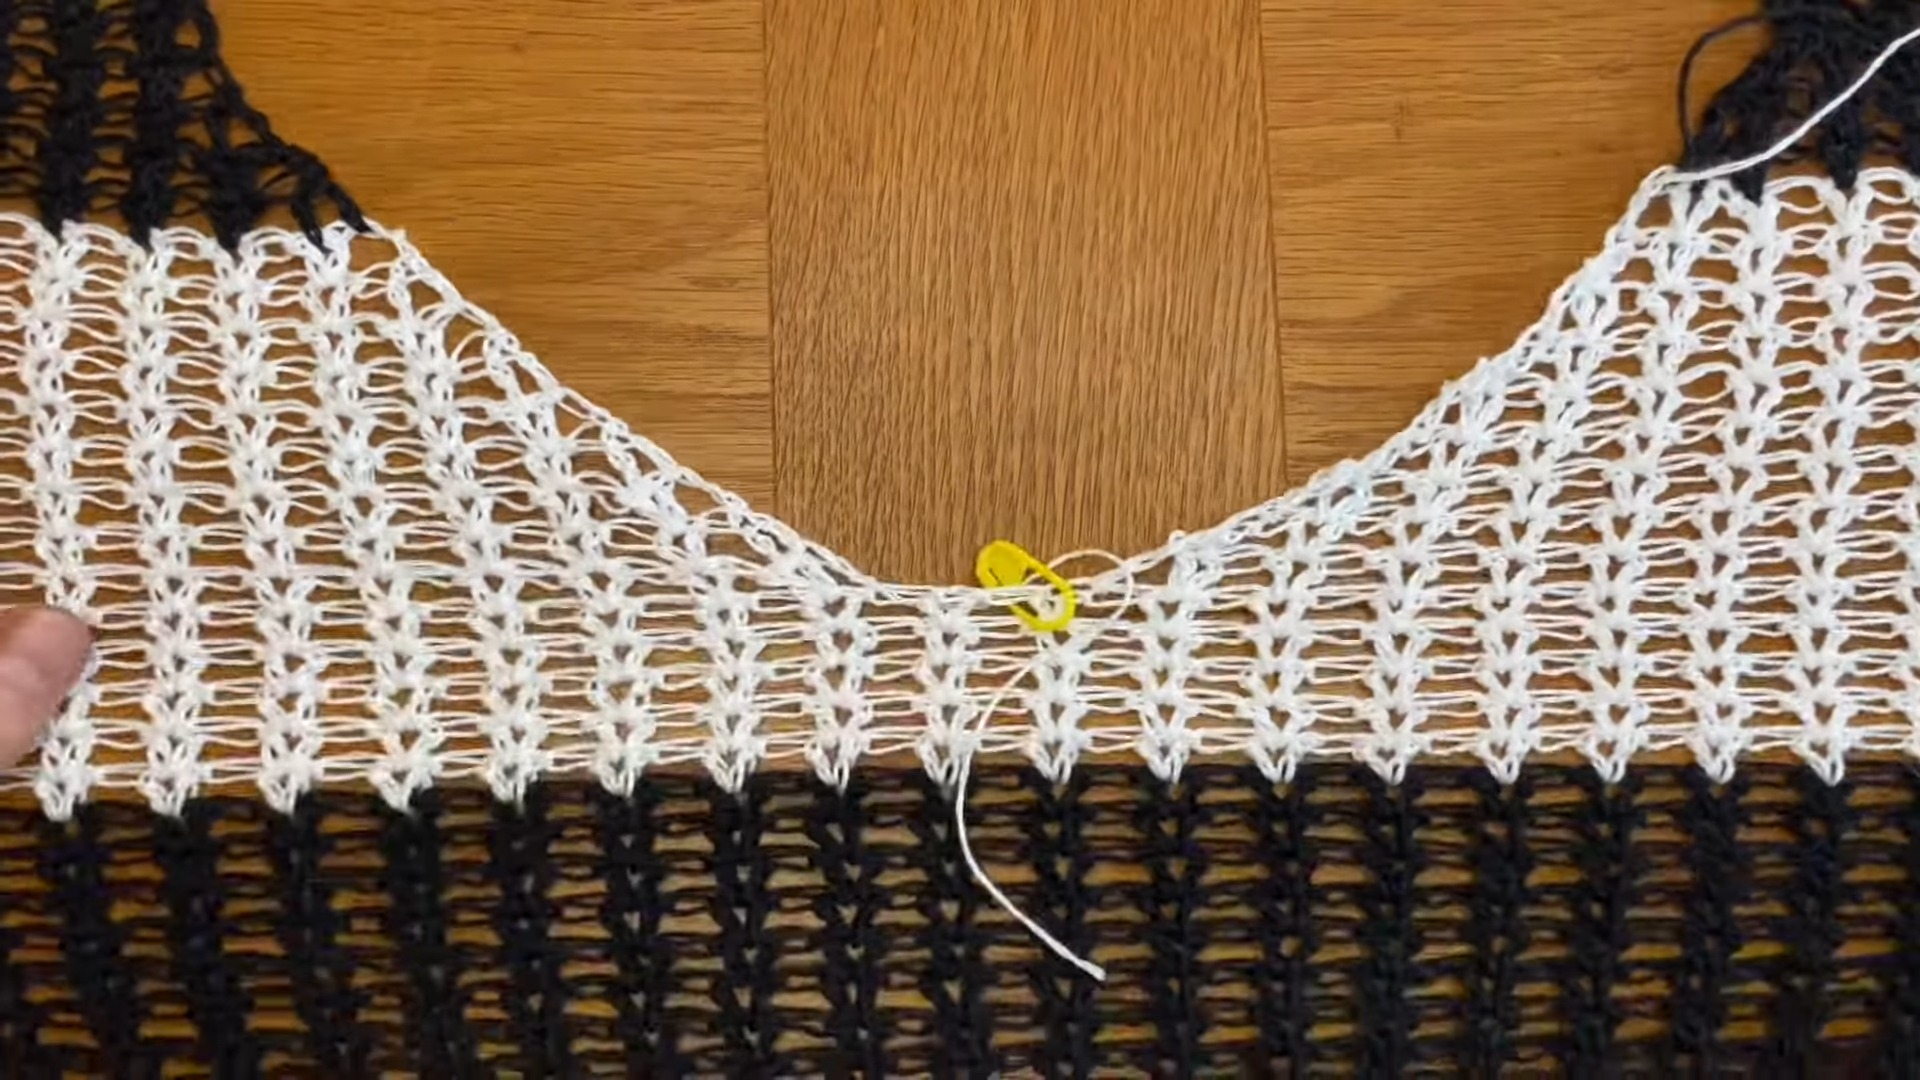
V-Neck Check
This is the point where it is worth stopping to compare both sides.
The two neckline edges should mirror each other. If one side has more rows, a different decrease position, or a different number of V-stitch clusters, the finished V will not meet evenly at the center.
Do not rush through this section. The center marker is your reference point, so keep it visible while shaping both sides.
Back Panel
The back panel follows the same basic V-stitch and stripe construction as the front.
- Begin with an odd-numbered foundation chain matching the desired panel width.
- Work the modified V-stitch pattern across.
- Follow the same 14-row stripe sequence used for the front.
- Continue until the back reaches the required length.
- Shape a less dramatic neckline by decreasing for fewer rows than the front.
- Continue straight rows after the neckline shaping is complete.
Keep the stripe sequence consistent between the front and back panels so the colors line up when the sweater is assembled.
Sleeves
The sleeves can be worked directly from the body panels or crocheted separately and attached afterward.
Mark the Sleeve Placement
Before beginning, identify where the sleeves should start along the body panels.
Use stitch markers to mark matching positions on the front and back. Aligning the sleeve placement with the stripe pattern can also make the finished sweater look more intentional.
Work the Sleeve
- Attach the yarn at the marked sleeve area.
- Create the foundation according to the desired sleeve width.
- Work the modified V-stitch pattern across.
- Continue working straight without increases or decreases.
- Repeat until the sleeve reaches your preferred length.
For a matching striped sweater, change colors at the same intervals used on the body. Alternatively, work both sleeves in one solid color for a simpler finish.
Sleeve Fit Check
Before finishing a sleeve, check its length against the other sleeve or compare it with your desired fit. Since the pattern uses a relaxed oversized shape, the sleeve can easily be made longer or shorter without changing the basic stitch pattern.
Assemble the Sweater
Once the front, back, and sleeves are complete, the separate pieces can be joined.
Shoulder Seams
- Place the front and back panels together with their edges aligned.
- Match the shoulder sections.
- Join them using single crochet or your preferred seaming method.
- Work carefully around the neckline so the V shape remains centered.
Do not pull the seam too tightly. A tight shoulder seam can reduce the natural drape of the oversized sweater.

Side Seams
- Fold the sweater so the front and back panels line up.
- Match the side edges.
- Begin at the bottom edge.
- Seam upward toward the underarm.
- Repeat on the opposite side.
You can leave part of the lower side seam open if you prefer a more relaxed, slightly split hem.
Attach Separate Sleeves
If the sleeves were crocheted separately:
- Match the sleeve edge with the armhole.
- Align the sleeve seam with the appropriate side area.
- Secure the sleeve using single crochet or sewing.
- Repeat for the second sleeve.
Take time to distribute the sleeve edge evenly around the armhole instead of attaching it in one section and pulling the remaining fabric into place.
Finish the V-Neckline
A simple single-crochet border gives the neckline a cleaner finish.
- Join yarn at the neckline.
- Work 1 row of sc around the neckline.
- Along the straight front and back sections, place approximately 2 sc in each V-space.
- Around the V-neck center, work 1 sc in each cluster and 1 sc between clusters.
- Continue around the neckline and join neatly.
Center V Check
When you reach the deepest point of the V, keep the stitches centered and avoid adding unnecessary extra stitches. Too many stitches at the point can make the neckline flare, while too few can pull the V inward.
Optional Bottom Edging
For a slightly more finished hem:
- Join yarn at the bottom edge.
- Work 1 row of sc evenly around the hem.
- Keep the stitch placement consistent along the front and back panels.
- Fasten off and weave in the end.
The edging is optional, so you can leave the original mesh edge exposed if you prefer the more relaxed look.

Weave in the Ends
Use a tapestry needle to weave in all loose yarn ends.
With a striped sweater, there may be more ends to finish because of the repeated color changes. Securing them as you complete each section can make the final finishing stage much less time-consuming.
Blocking the Finished Sweater
Once all construction and finishing are complete, lightly block the sweater if the yarn and fabric allow it.
Blocking can help the panels settle into a more even shape and can make the V-neckline and open V-stitch texture look cleaner. Avoid aggressive stretching, especially if the fabric is already loose and drapey.
Customize Your Striped Sweater
The beauty of this design is how easily the basic construction can be changed. Use narrow stripes for a subtle effect, wider stripes for a bolder look, or replace the two-color design with a single shade.
You can also adjust the panel length, neckline depth, and sleeve length to create a sweater that feels more fitted or even more oversized. The modified V-stitch keeps the fabric light and airy, so it works particularly well when you want a relaxed garment without a heavy crochet texture.
Once the panels are measured and the center of the V-neck is marked carefully, the rest of the sweater follows a straightforward rhythm of repeating stitches, color changes, and simple seaming.