Crochet Headband Pattern with Customizable Size & Texture
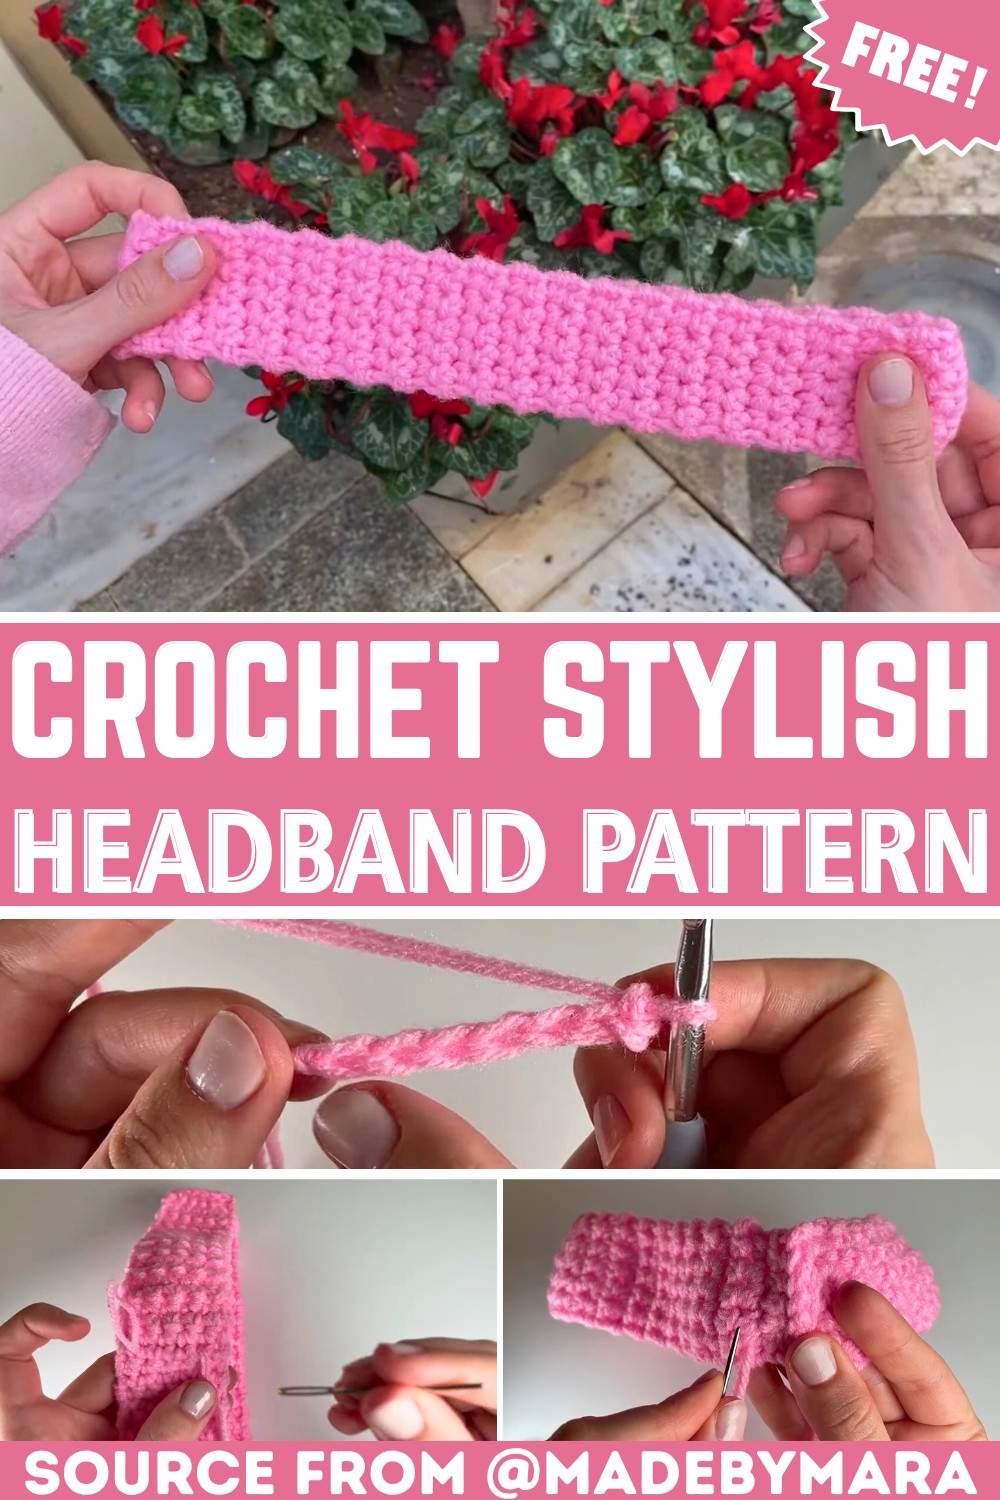
Looking for a quick crochet accessory? This soft, thick headband has clean edges, adjustable length, and texture options for your preferred finish.
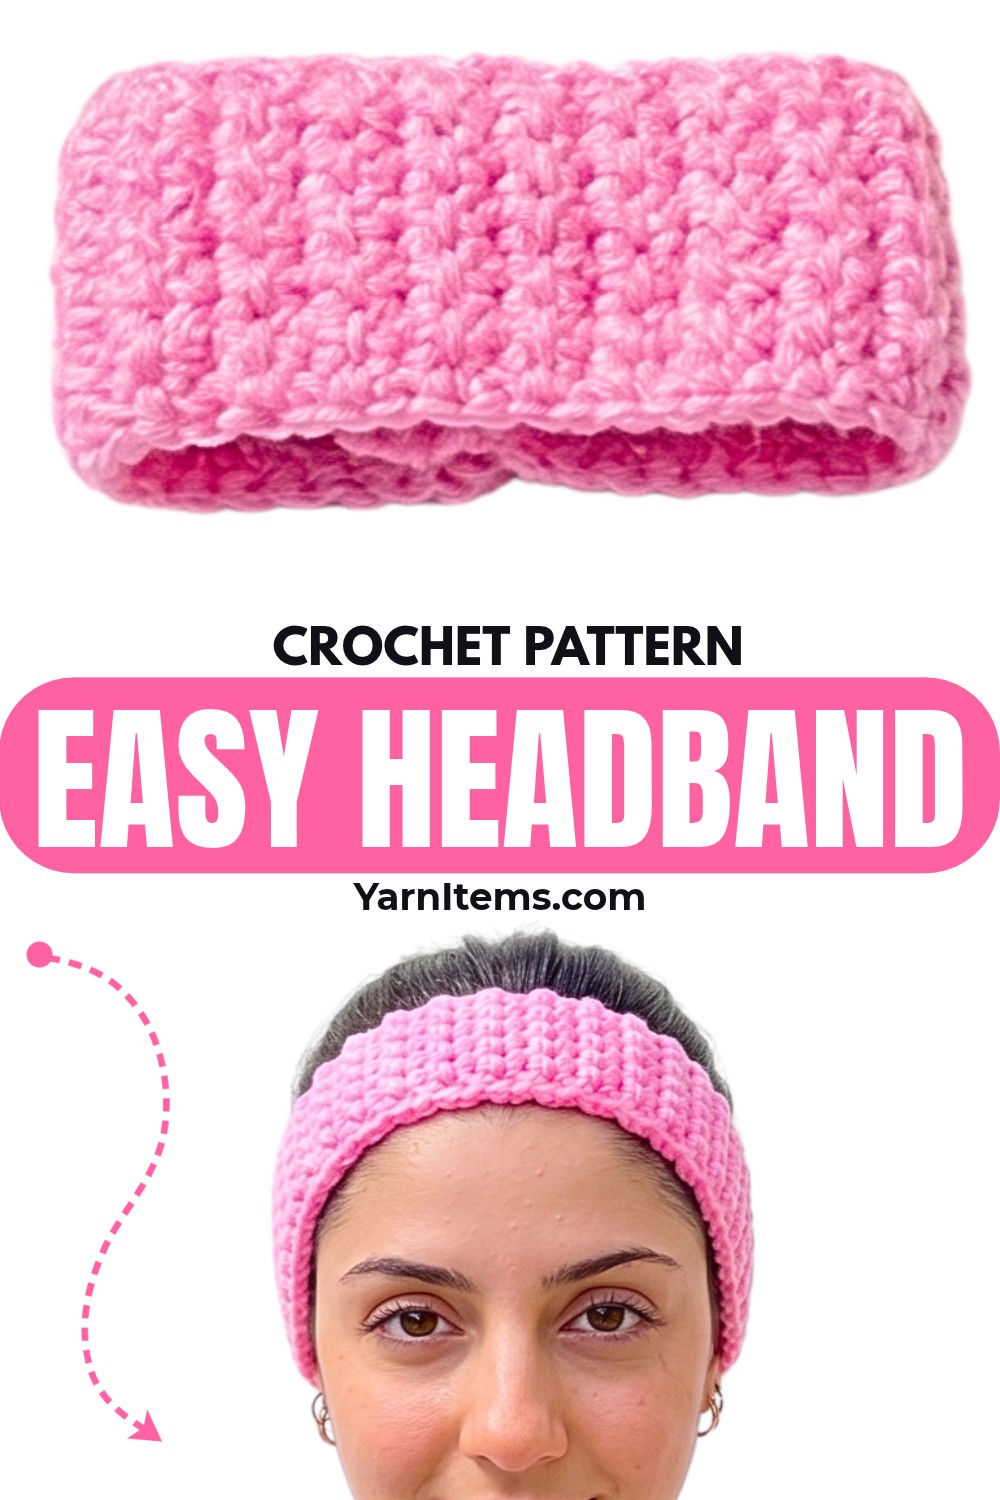
Warm, comfortable, and simple to adjust, this crochet headband works beautifully as an everyday accessory. Double-stranded Size 2 acrylic yarn gives it extra thickness while keeping its shape comfortable around your head, and simple single crochet creates clean, even rows.
One useful detail sets this crochet pattern apart: skipping chain 1 when turning helps keep both side edges flat instead of creating small bumps. You can also change width, length, color, and stitch placement to create either smooth fabric or subtle ridges.
Credit madebymara
Materials & Tools
- Yarn: Size 2 acrylic yarn held double, with both strands worked together to create yarn comparable to Size 4 Medium/Worsted weight, approx. as shown in tutorial.
- Crochet Hook: Size 6 (6.0 mm)
- Notions: Yarn needle and scissors
Finished Size & Customization
Adjusting Headband Length
Length is fully customizable. Continue repeating rows and try your headband around your head as you work until it fits snugly around your head circumference.
Keep yarn behavior in mind during fitting. Acrylic yarn has slight stretch, while cotton yarn has less stretch, so avoid making the band too loose. Checking fit while working helps prevent ending with excess fabric around your head.
Adjusting Width
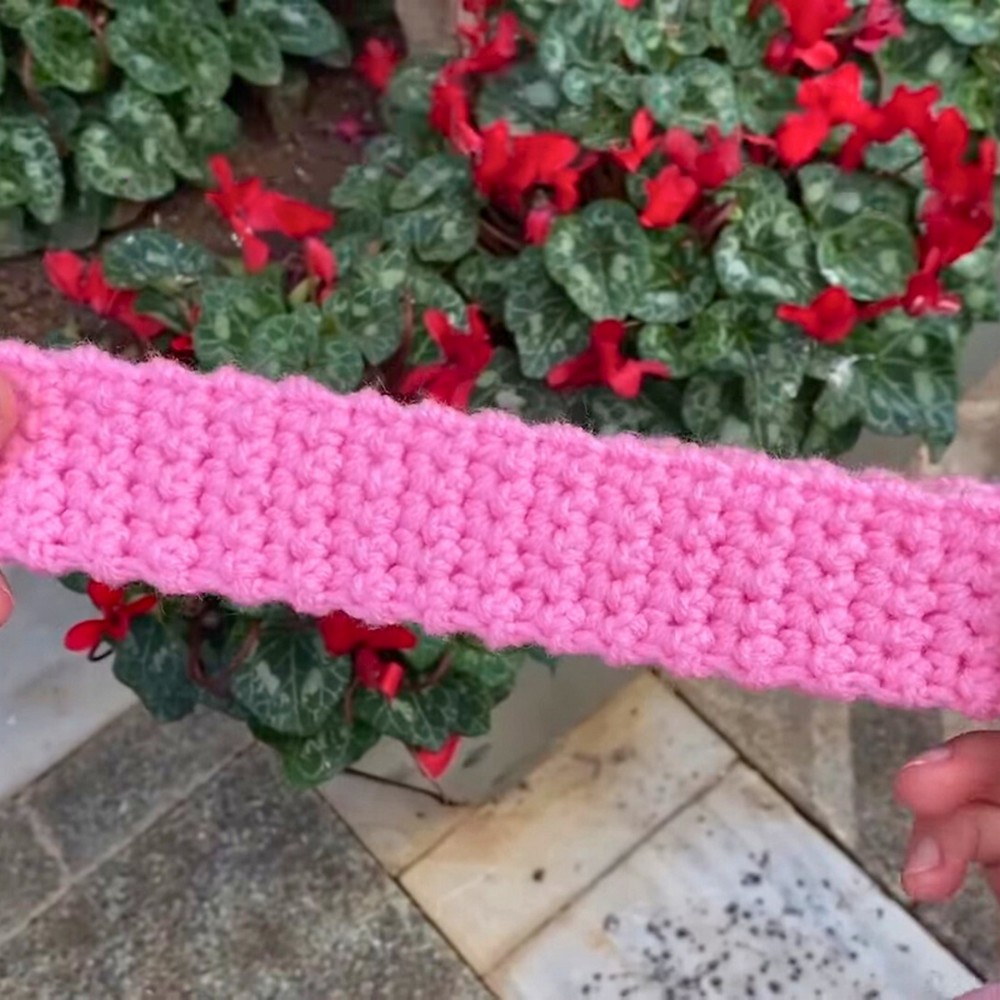
The tutorial uses ch 7, which produces 6 stitches across. For more coverage, begin with more chains. For narrower coverage, begin with fewer chains.
Your starting chain determines finished width, so decide how much of your head you want covered before beginning.
Choosing Smooth or Ribbed Texture
For smooth fabric, work single crochet through both loops of each stitch as written.
For ribbed or ridged texture, work single crochet through the back loop only (BLO). This changes surface appearance while keeping basic row structure simple.
Pattern Abbreviations
- ch – Chain
- sc – Single Crochet
- sl st – Slip Stitch
- st / sts – Stitch / Stitches
- yo – Yarn Over
- BLO – Back Loop Only (optional)
Step-by-Step Crochet Headband
Foundation Chain
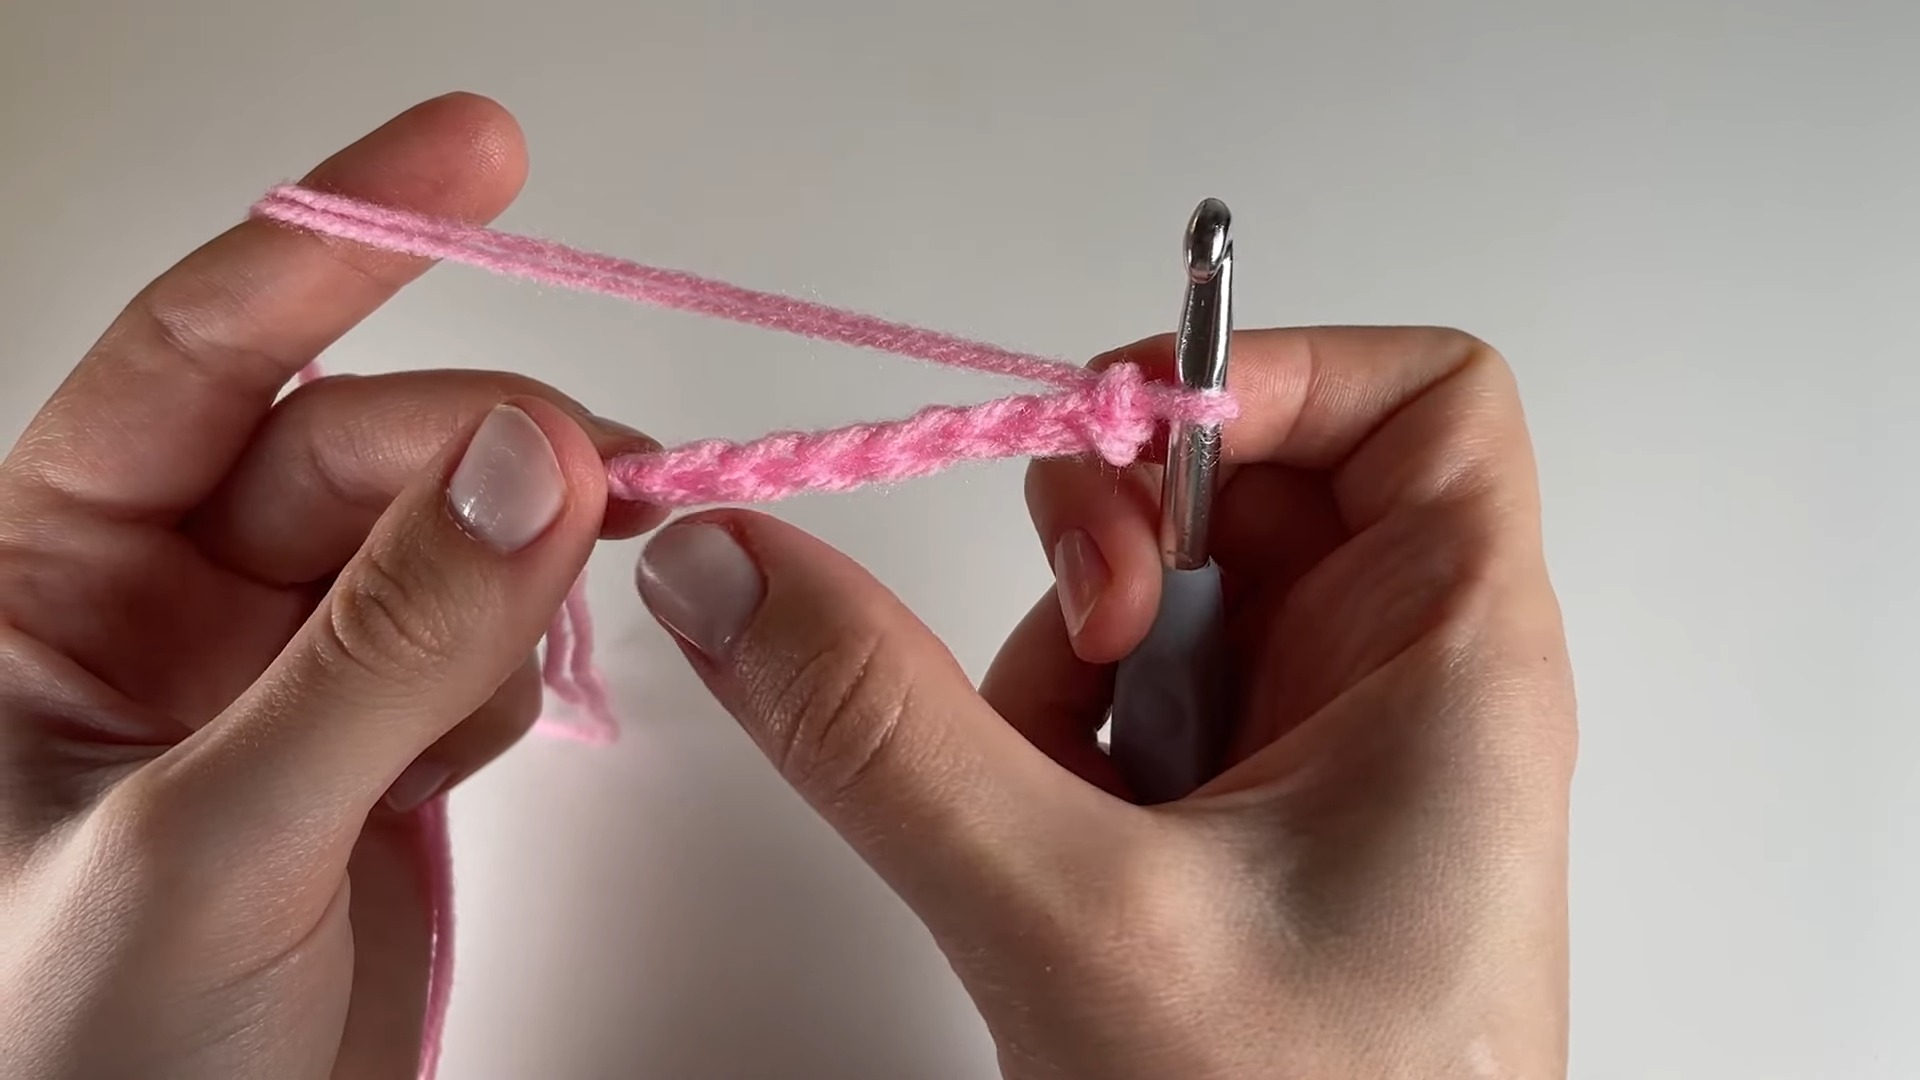
Hold both yarn strands together and make a slip knot on the hook. Ch 7, or continue chaining until desired headband width is reached.
With two strands held together, the fabric becomes thicker than standard Size 2 yarn would be on its own. Keep both strands moving together throughout work so tension stays consistent.
Row 1: Skip first ch beside hook. Insert hook into second ch. Yo, pull up loop, yo, and pull through both loops to make first sc. Continue with 1 sc in each ch across. Stitch Count: 6 sc.
Count 6 stitches before turning. This count becomes your guide for every later row, so catching any missed chain here makes remaining rows much easier to manage.
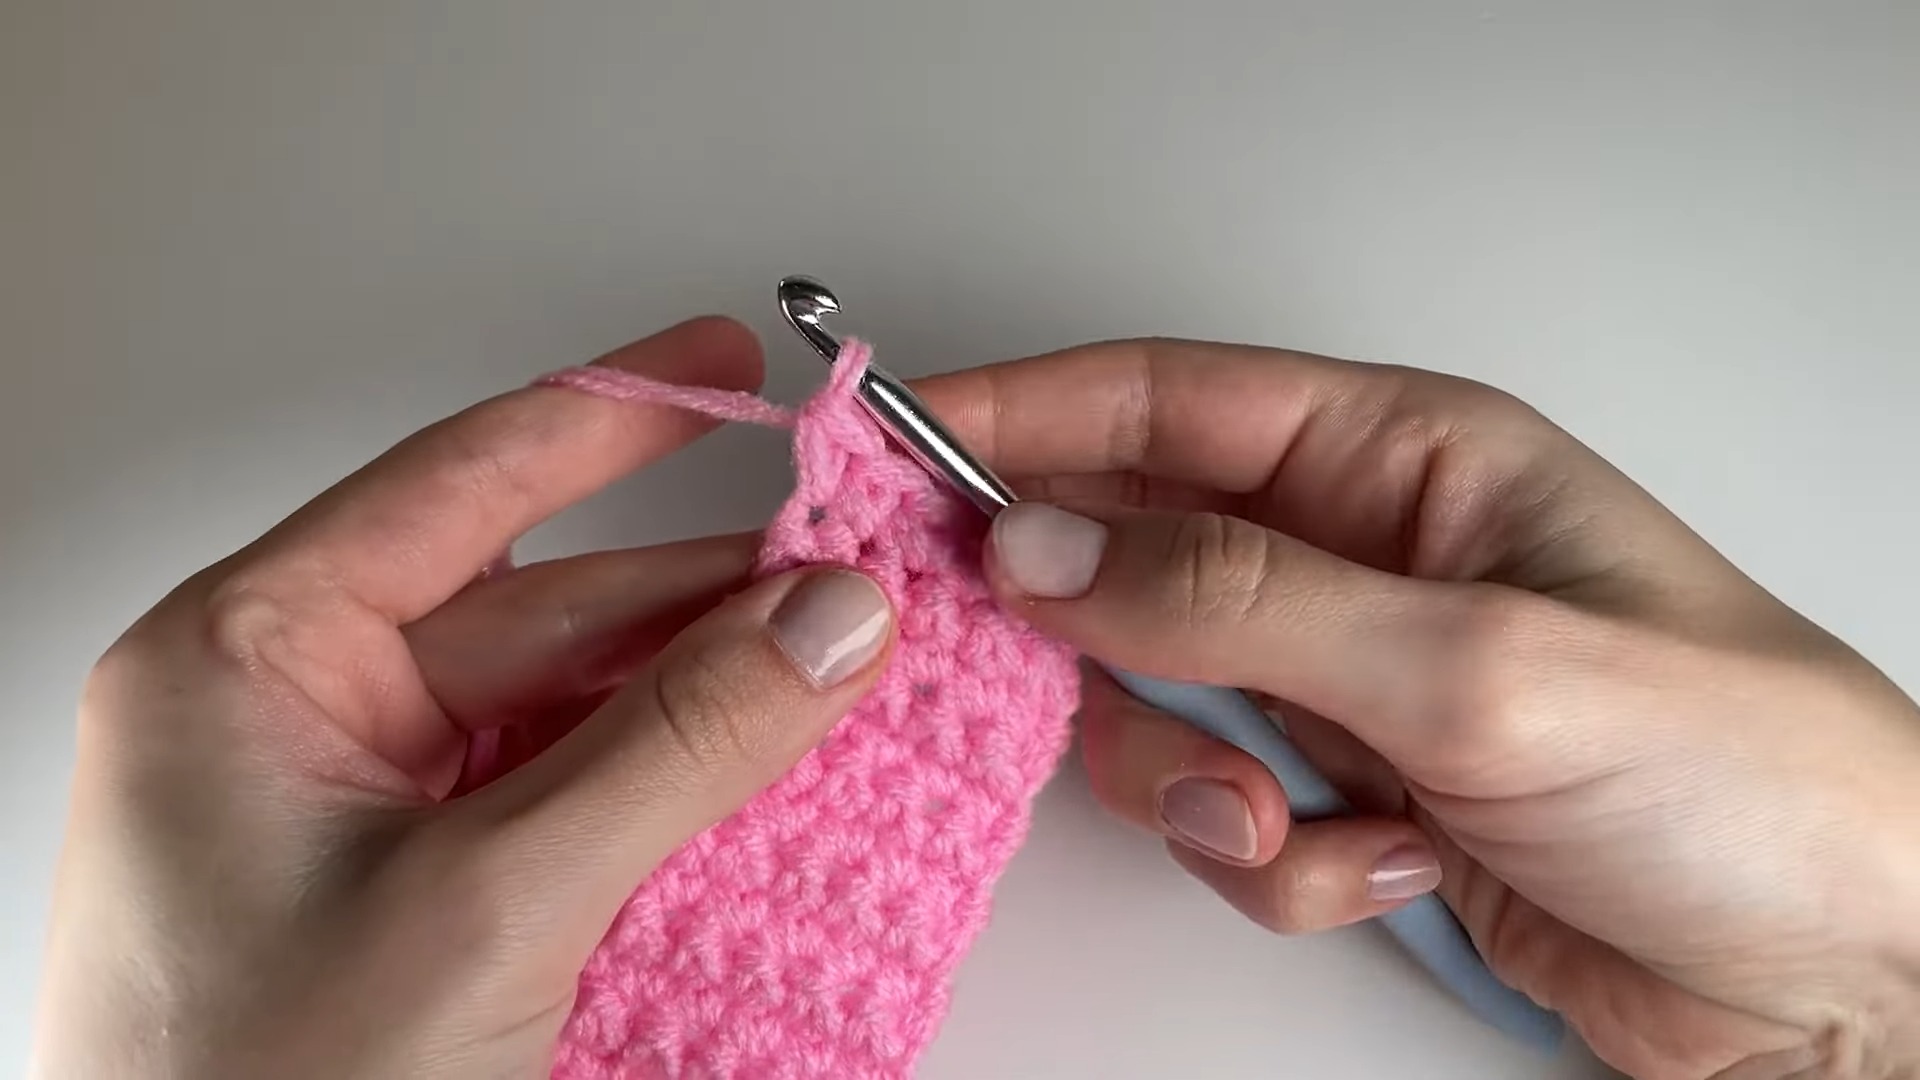
Row 2 and Beyond: Do not ch 1. Skip the traditional turning chain and simply flip work horizontally to begin the next row. Insert hook directly into first st of new row, yo, pull up loop, yo, and complete sc. Work 1 sc in each of the remaining 5 sts across. Stitch Count: 6 sc.
Skipping turning chain keeps side edges flat and avoids small bumps along each edge. When beginning every new row, make sure the hook enters the first actual stitch rather than the space beside it.
Count stitches at end of every row. Maintaining 6 stitches keeps both long edges straight and makes final joining easier.
Repeat Row 2 until headband reaches desired length. Try it around your head periodically rather than waiting until the final row, especially when working with acrylic yarn because slight stretch can affect fit.
Changing Color or Adding New Yarn
When yarn runs out or you want to introduce another color, begin sc normally. Before pulling through the final two loops, drop old yarn and drape new yarn over hook. Pull new yarn through remaining loops to complete stitch.
Keep loose tails flat along top edge of fabric and crochet next few stitches directly over them. This secures tails during work and reduces extra ends that need attention later.
When changing colors, check your completed stitch before moving onward. Color should become part of the final stitch cleanly, without loose loops along the edge.
Joining Headband Ends
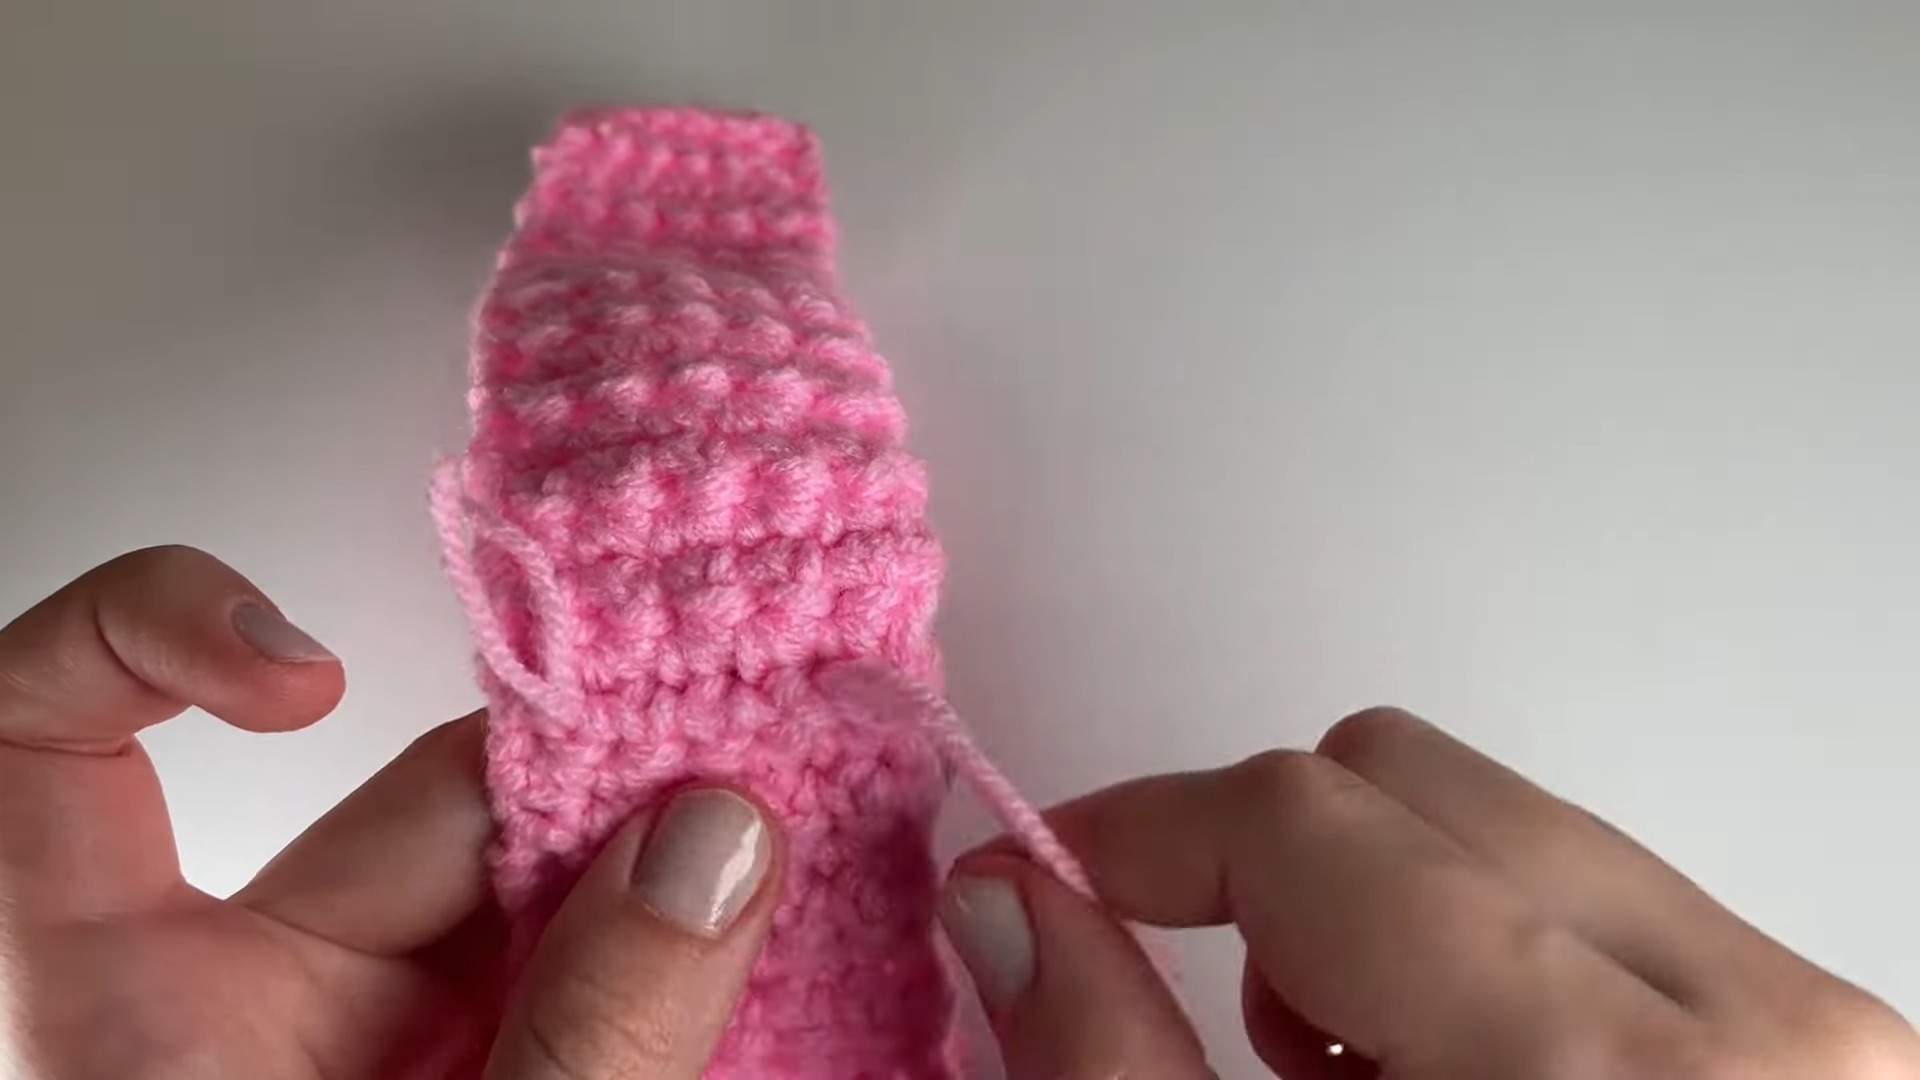
Fold long strip in half so both short ends meet. Position working yarn toward front on right side so slip-stitch seam can be worked comfortably.
Insert hook into first st of front panel, then corresponding first st of back panel. Yo and pull yarn completely through both panels and loop on hook to complete 1 sl st.
Continue same sl st join across all 6 sts.
Keep corresponding stitches aligned as you move across the seam. Matching each pair prevents one side from shifting and helps create an even join.
After all 6 sts are joined, ch 1 to fasten off. Cut yarn, pull tail completely through loop, and tug gently to secure.
Hiding Yarn Tails
Thread remaining yarn tail onto yarn needle. Weave needle back and forth through inner stitches along seam, paying extra attention to corners so they remain secure.
For final lock, skip the last stitch used and weave the needle upward in the opposite direction before trimming excess yarn. Repeat with any remaining loose tails.
Keeping woven ends inside seam area helps maintain clean outer edges and prevents visible strands from distracting from finished headband.
Quick Fit Check Before Finishing
Before trimming every loose tail, place the headband around your head once more. Check that the joined seam sits comfortably and the band feels snug without excessive pressure.
If fit feels loose, acrylic stretch may become more noticeable during wear. If the band feels too tight, the next version can be lengthened by adding more rows before joining.
This simple check also confirms that smooth or ribbed texture is giving the desired amount of stretch and coverage.