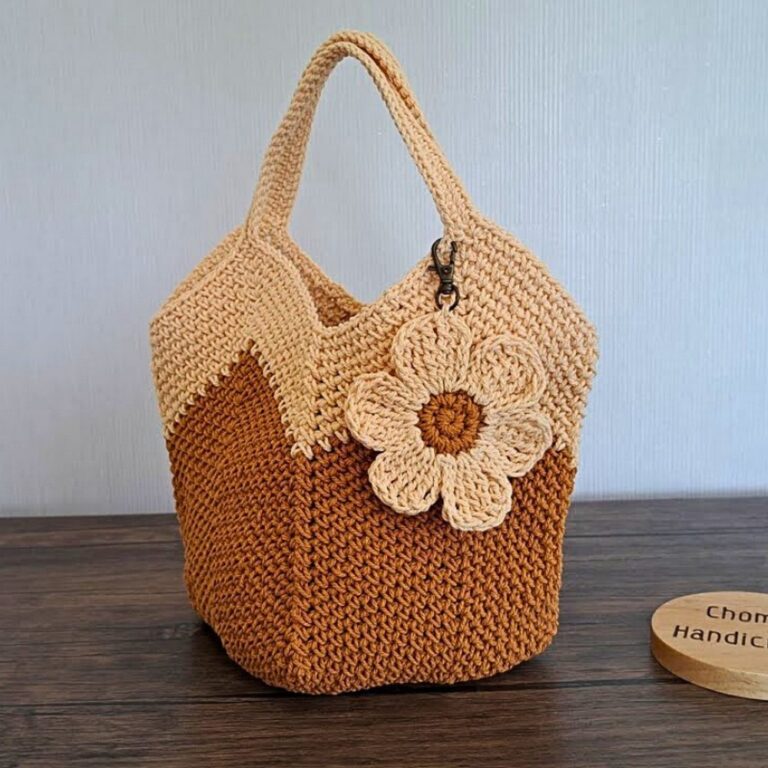
Crochet a Stylish Tote Bag with Beautiful Granny Squares
A handful of colorful granny squares can become something surprisingly elegant. This crochet tote bag blends classic motifs with everyday usefulness in a way that never goes out of style.
Every square adds texture, charm, and personality, creating a beautiful piece that feels both timeless and modern. The finished crochet item is lightweight, practical, and perfect for adding a handmade touch to your daily routine.
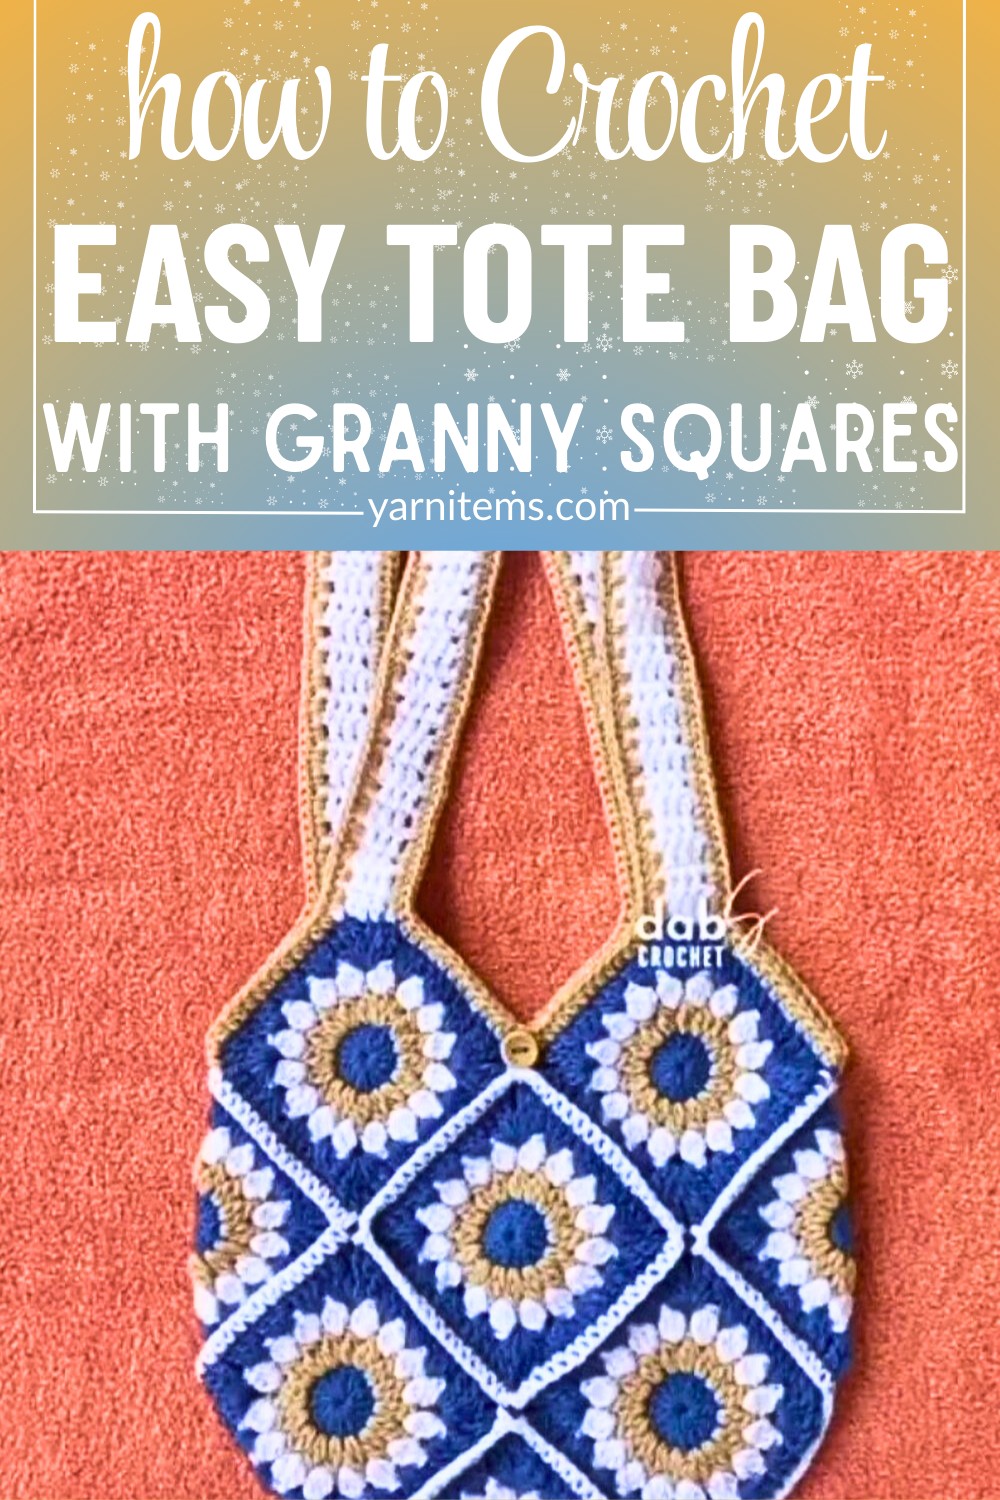
Simple stitches can create a bag that looks far more detailed than expected. This crochet tote bag is ideal for carrying books, groceries, or everyday essentials with ease.
The familiar granny square design keeps the process enjoyable while producing a polished and eye-catching piece. Whether you’re making it for yourself or as a thoughtful handmade gift, this crochet tote bag offers the perfect balance of beauty and function.
Credit Dabs Crochet
Pattern Overview
- Construction Method: Assembled using 13 individual granny squares folded and joined into a seamless tote bag.
- Skill Level: Beginner-friendly but assumes some basic knowledge of granny squares and seaming.
- Gauge: Each granny square (Rounds 1–4) = 4.5″ × 4.5″.
- Notes on Turning Chains: Always “ch 3” at the start of a double crochet round; it counts as 1 dc.
- Joining Method: Use a slip stitch to finish every round.
Materials & Tools Needed
- Yarn: Medium / Worsted Weight Yarn (Category 4) in 3–4 contrasting colors
(e.g., Cream/Main, Mustard, Rust, Sage). Total: ~350–400 yards. - Crochet Hook: 4.0 mm (US G/6) or 5.0 mm (US H/8).
- Tapestry Needle / Yarn Needle: For weaving in ends and seaming squares.
- Scissors: To cut the yarn neatly.
- Stitch Markers: To mark key crochet points (e.g., handles or corners).
- Measuring Tape: To check sizes and adjust dimensions if needed.
Finished Size & Customization Ideas
- Standard Dimensions: Approx. 13″ Wide × 13″ Tall (excluding straps).
- Customization Options:
- Color Choices: Experiment with retro 70s earth tones, sunflower motifs, or a bold monochrome.
- Bag Depth: Optional 5th round on each square for increased depth.
- Fabric Lining: Add a cotton canvas lining with an internal zipper to prevent stretching.
- Handles: Short straps (45–50 chains) or long, crossbody ones (80–100 chains).
Pattern Abbreviations & Terminology
-
ch: Chain
-
sl st: Slip stitch
-
sc: Single crochet
-
hdc: Half double crochet
-
dc: Double crochet
-
sc2tog / sc3tog: Single crochet 2 (or 3) stitches together (decrease)
-
st(s): Stitch(es)
-
sp(s): Space(s)
-
ch-sp: Chain space
-
MR: Magic Ring / Magic Circle
Tips Before You Begin
- Consistent Tension
- To ensure all your squares look uniform, be mindful of your yarn tension throughout.
- Practice maintaining the same grip on the yarn and hook after each couple of squares.
- Early Weaving
- Weaving in yarn tails as you go not only saves time but also minimizes overwhelming finishing tasks at the end.
- Use a yarn needle to secure them neatly, and double-check for any loose ends.
- Blocking
- Blocking is key to getting perfectly shaped squares and uniform edges.
- Steam Blocking: Hold a steam iron near (not on) your granny square, using a damp cloth in between for protection.
- Shape the square while warm.
- Wet Blocking: Pin squares to a foam board in the desired shape and dimensions, then lightly mist them with water or soak them before arranging.
- Let them air dry completely before unpinning.
- Blocking is key to getting perfectly shaped squares and uniform edges.
Additional Tips for Success
- Use Stitch Markers: If your squares are complex or use multi-round counts, stitch markers can help you keep track of the beginning of each round.
- Work at Similar Times: Crochet under similar lighting and times of the day—it helps maintain consistency in your tension.
- Measure as You Go: Periodically measure the size of your granny squares to ensure uniformity. Slight inconsistencies can add up in your final assembly.
- Organize Your Squares: If you’re using a specific color scheme or design layout, arrange your completed squares beforehand to visualize the final pattern and confirm alignment.
Step-by-Step Instructions
Granny Square Pattern (Make 13)
- Round 1 (Center Color):
- Form a Magic Ring (or ch 4 and join into a loop).
- Ch 3 (counts as dc), work 2 dc into the ring, followed by ch 2.
- Repeat: (3 dc, ch 2) 3 more times.
- Tighten the MR and join with sl st to the 3rd ch of the initial ch-3. Fasten off color.
- Stitch Count: 4 shell groups (12 dc) + 4 ch-2 corner spaces.
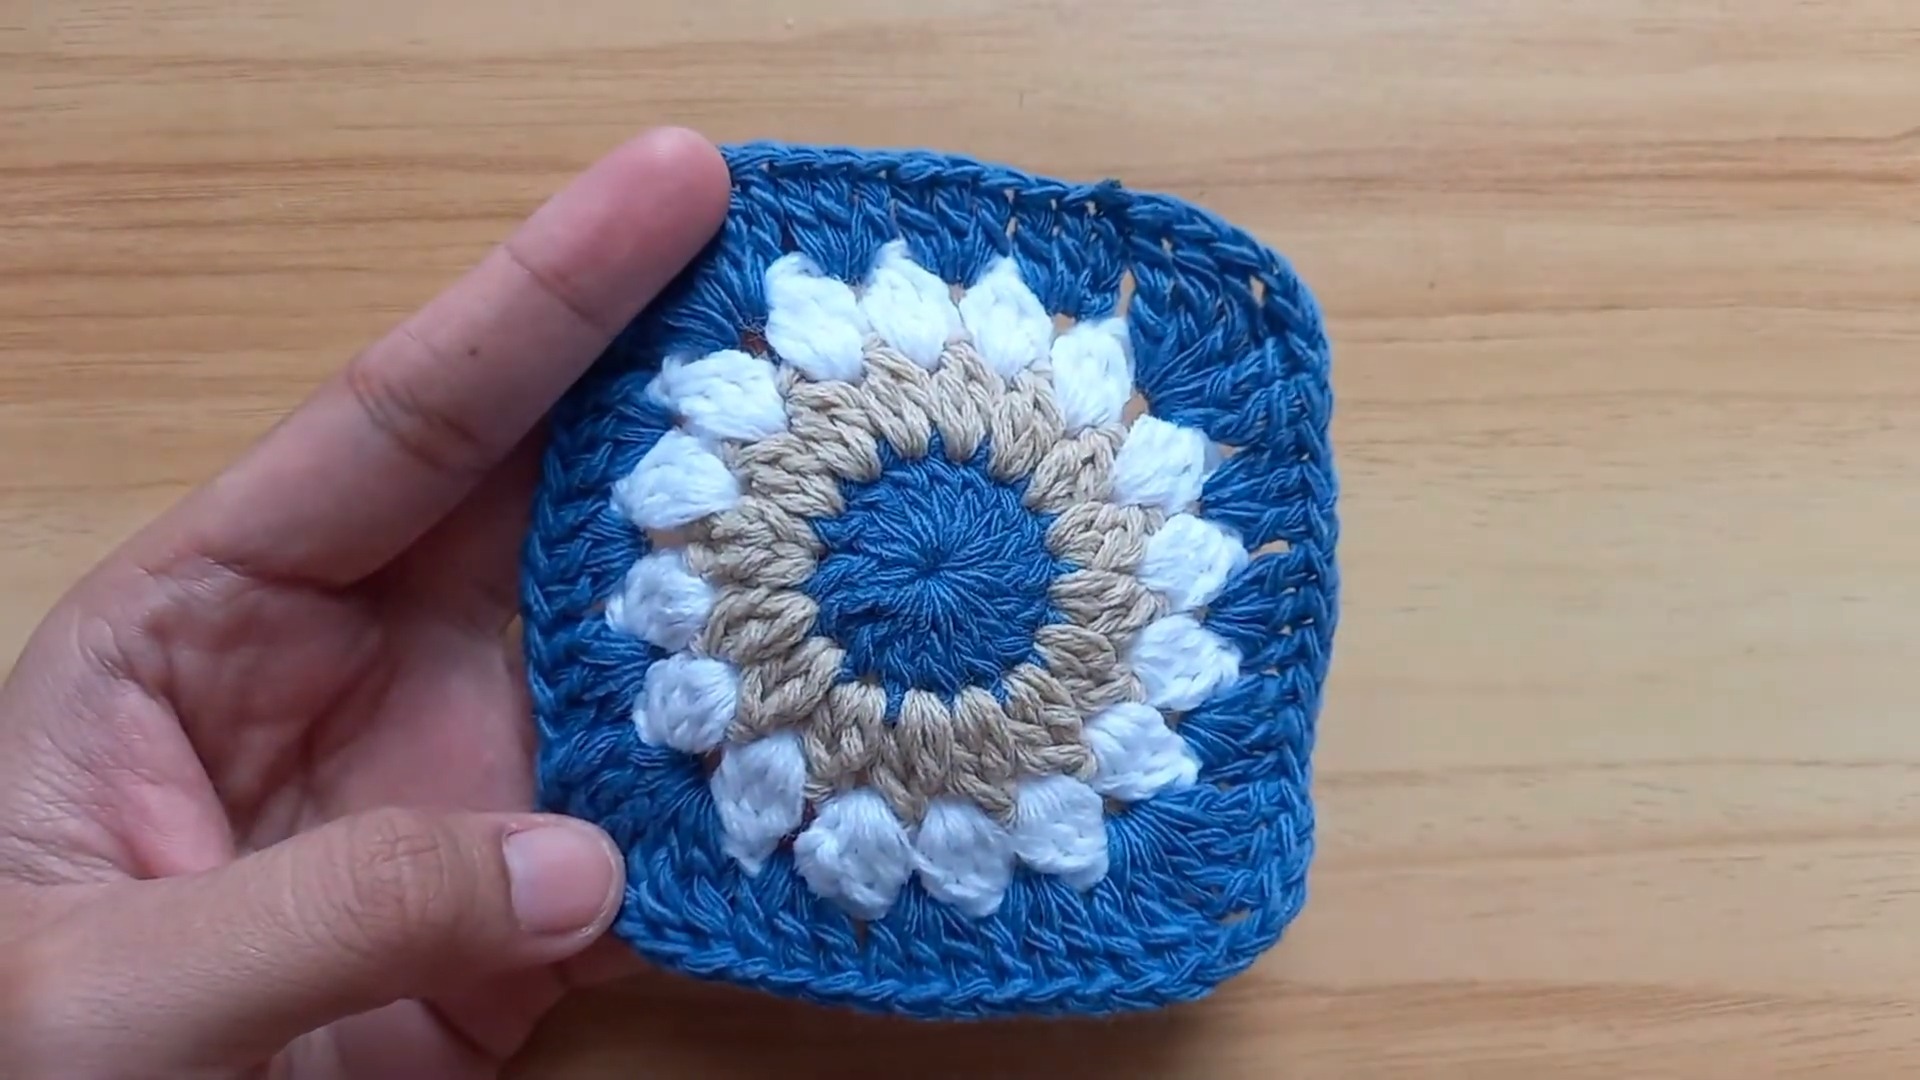
- Round 2 (Color B):
- Join Color B to any corner ch-2 space.
- Ch 3, work (2 dc, ch 2, 3 dc) in the same ch-2 corner space (First Corner).
- Ch 1, repeat (3 dc, ch 2, 3 dc) in next corner space; ch 1 for remaining 3 corners.
- Join with sl st to 3rd chain of the initial ch-3. Fasten off.
- Stitch Count: 8 shell groups (24 dc) + 4 corner ch-2 spaces + 4 side ch-1 spaces.
- Round 3 (Color C):
- Join Color C to any corner ch-2 space.
- Ch 3, work (2 dc, ch 2, 3 dc) in the same space (First Corner).
- Follow this pattern:
- (Ch 1, 3 dc in next ch-1 space, ch 1), (3 dc, ch 2, 3 dc) in each corner.
- Join with sl st to the 3rd chain of the starting ch-3. Fasten off.
- Stitch Count: 12 shell groups (36 dc) + 4 corner ch-2 spaces + 8 side ch-1 spaces.
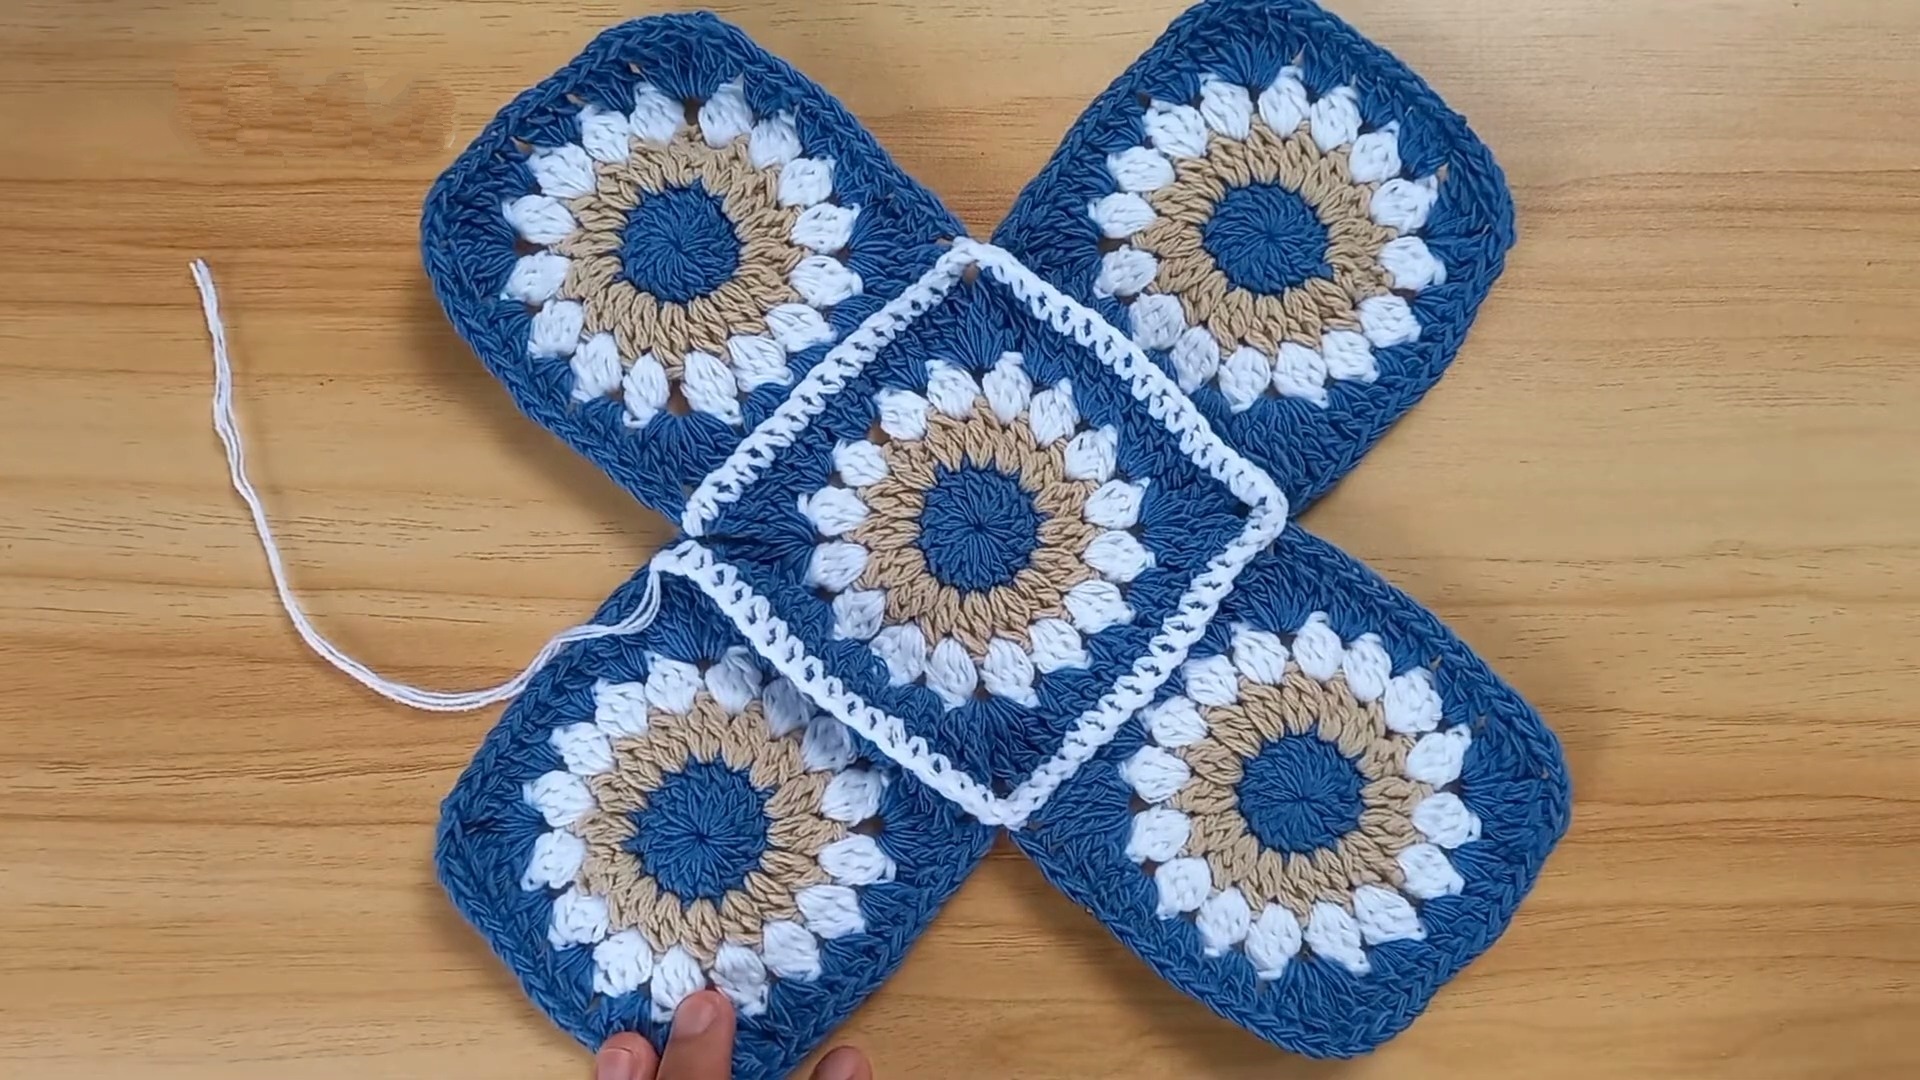
- Round 4 (Main / Border Color):
- Join your main color to any corner ch-2 space.
- Ch 3, work 2 dc, ch 2, 3 dc in the corner space (First Corner).
- Continue working:
- (Ch 1, 3 dc in each ch-1 side space, ch 1), (3 dc, ch 2, 3 dc) at every corner.
- Join with sl st. Fasten off and weave in ends.
- Stitch Count: 16 shell groups (48 dc) + 4 corner ch-2 spaces + 12 side ch-1 spaces.
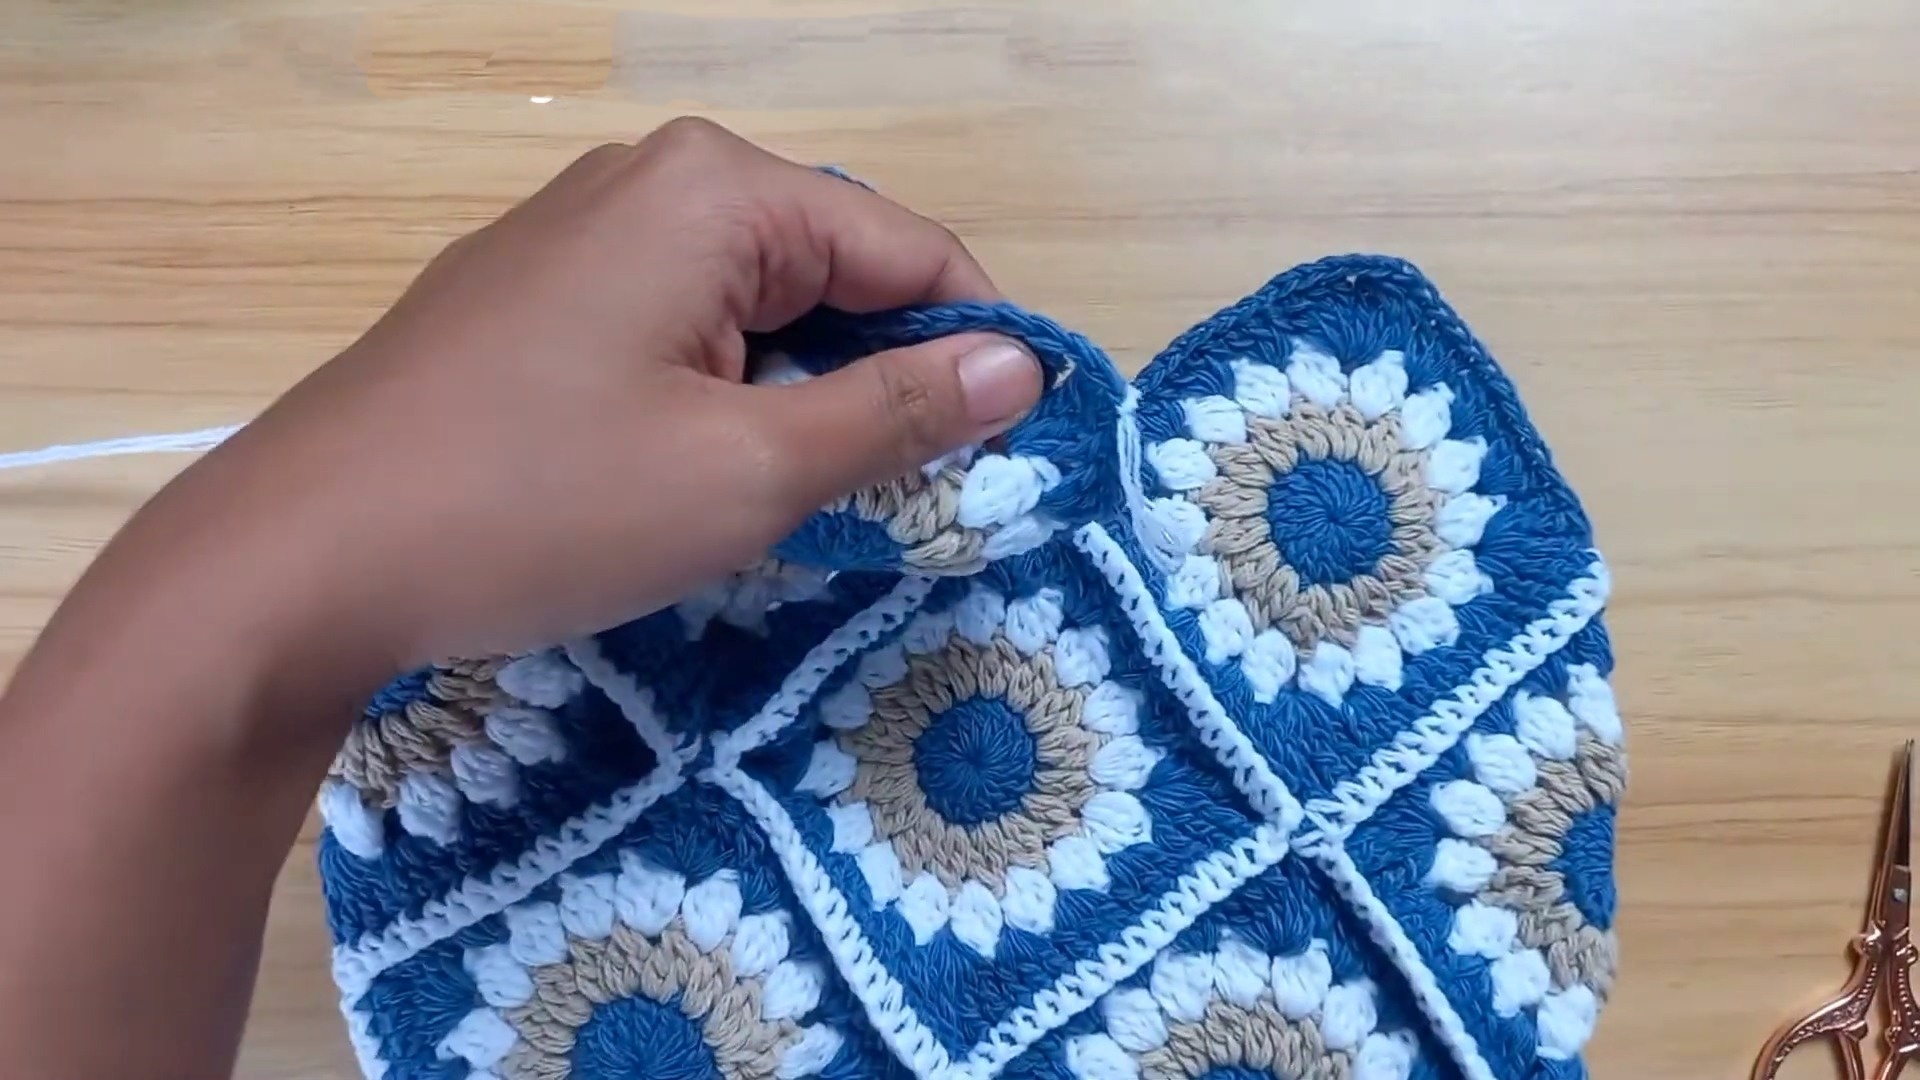
Final Assembly
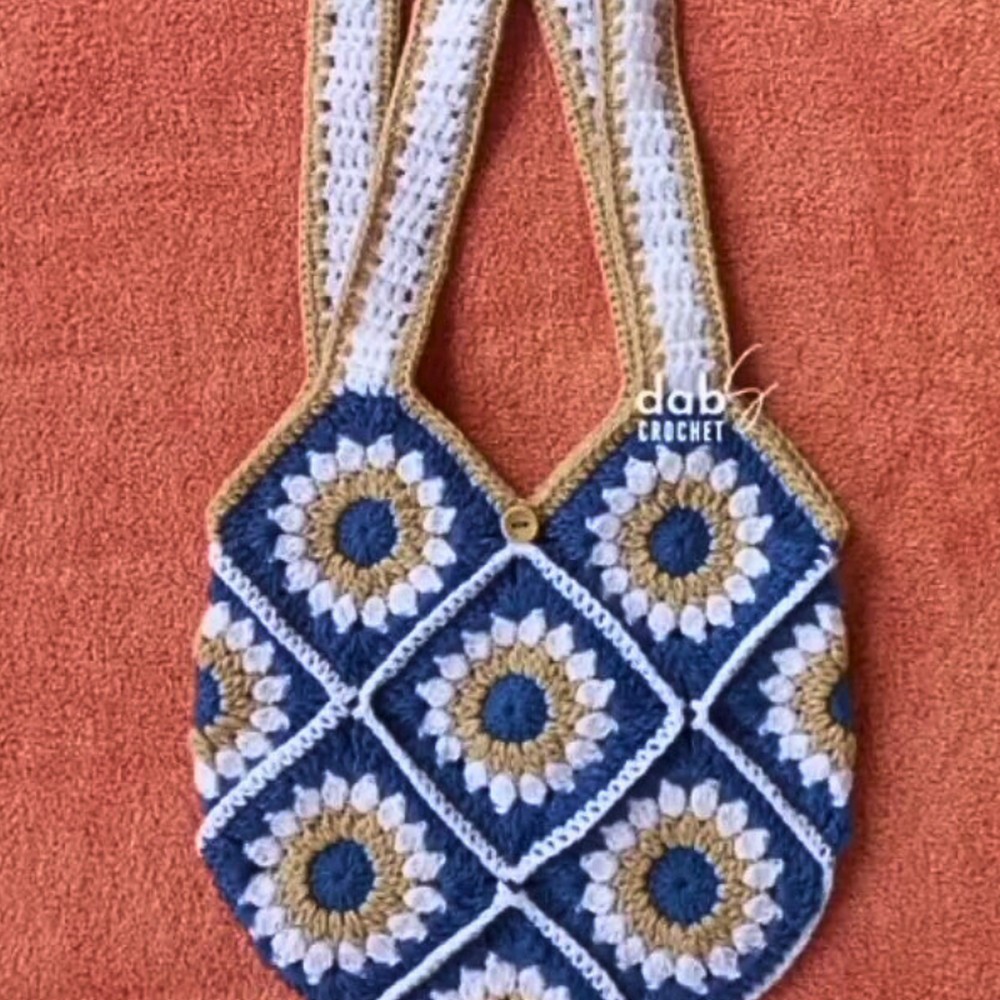
- Lay Out the Squares:
- Arrange the 13 squares in 3 rows:
- Top: 3 squares.
- Middle: 5 squares.
- Bottom: 5 squares configured into a diamond fold layout.
- Arrange the 13 squares in 3 rows:
- Seam the Squares Together:
- Seaming Techniques (Choose one):
- Whip Stitch (Needle): Align squares right sides facing and whip stitch into matching edges.
- Slip Stitch (Hook): Use yarn and a crochet hook to join squares through their back loops only.
- Align corners carefully for clean joins.
- Seaming Techniques (Choose one):
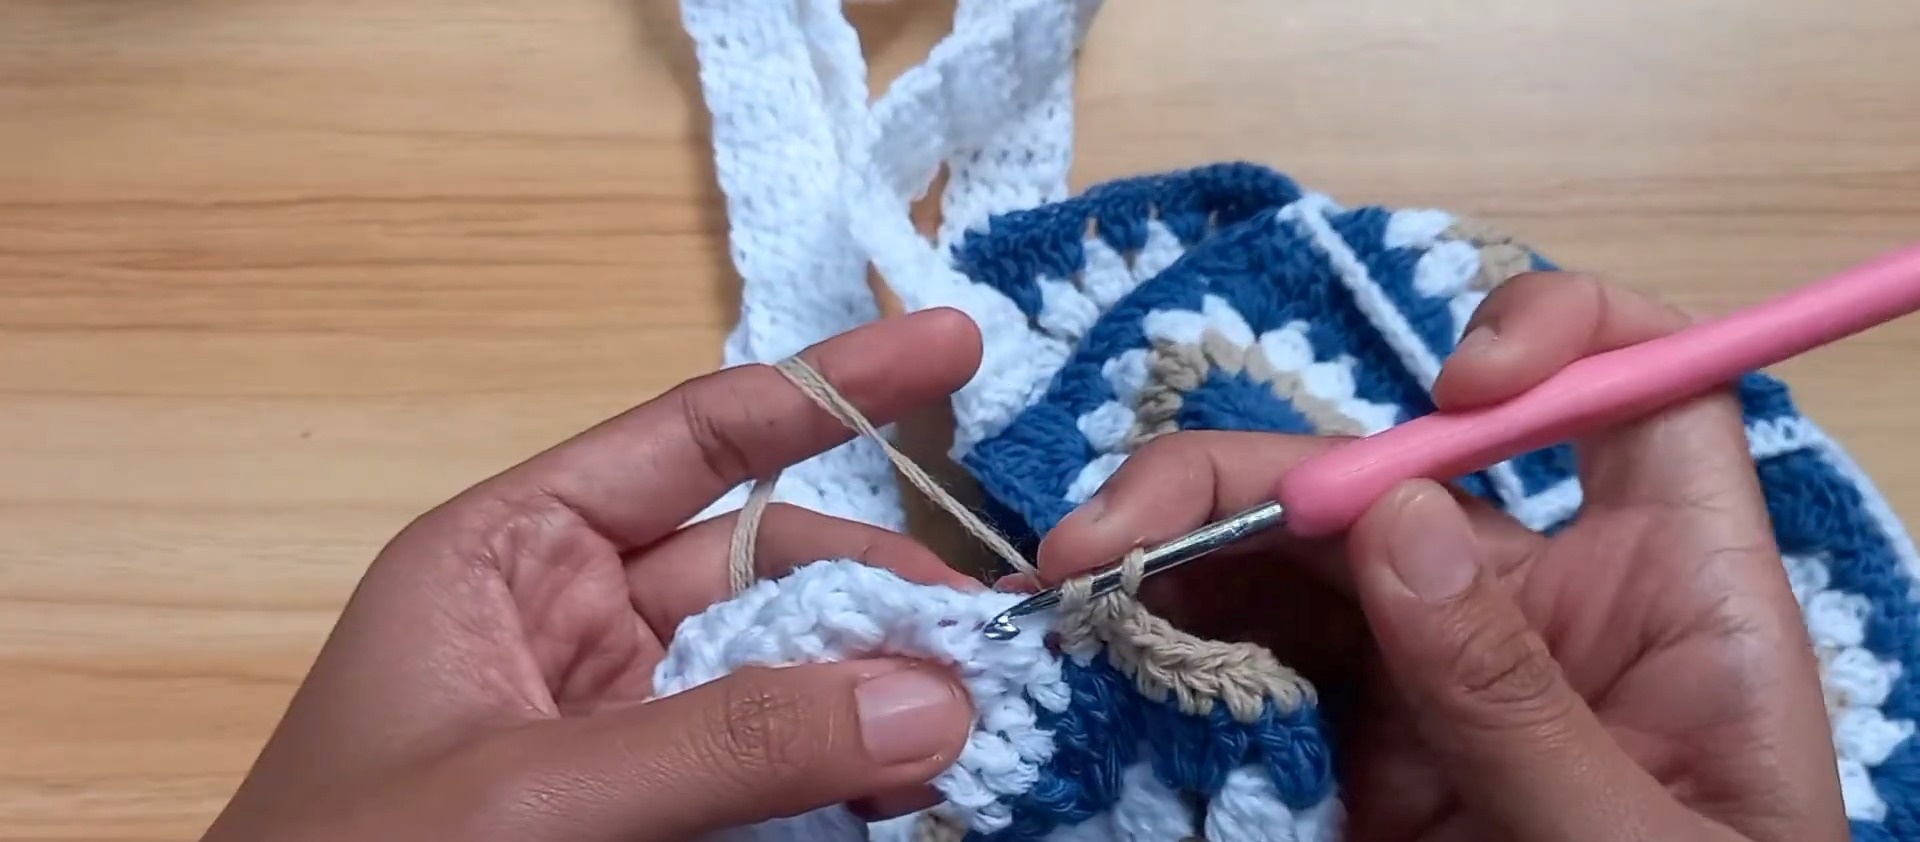
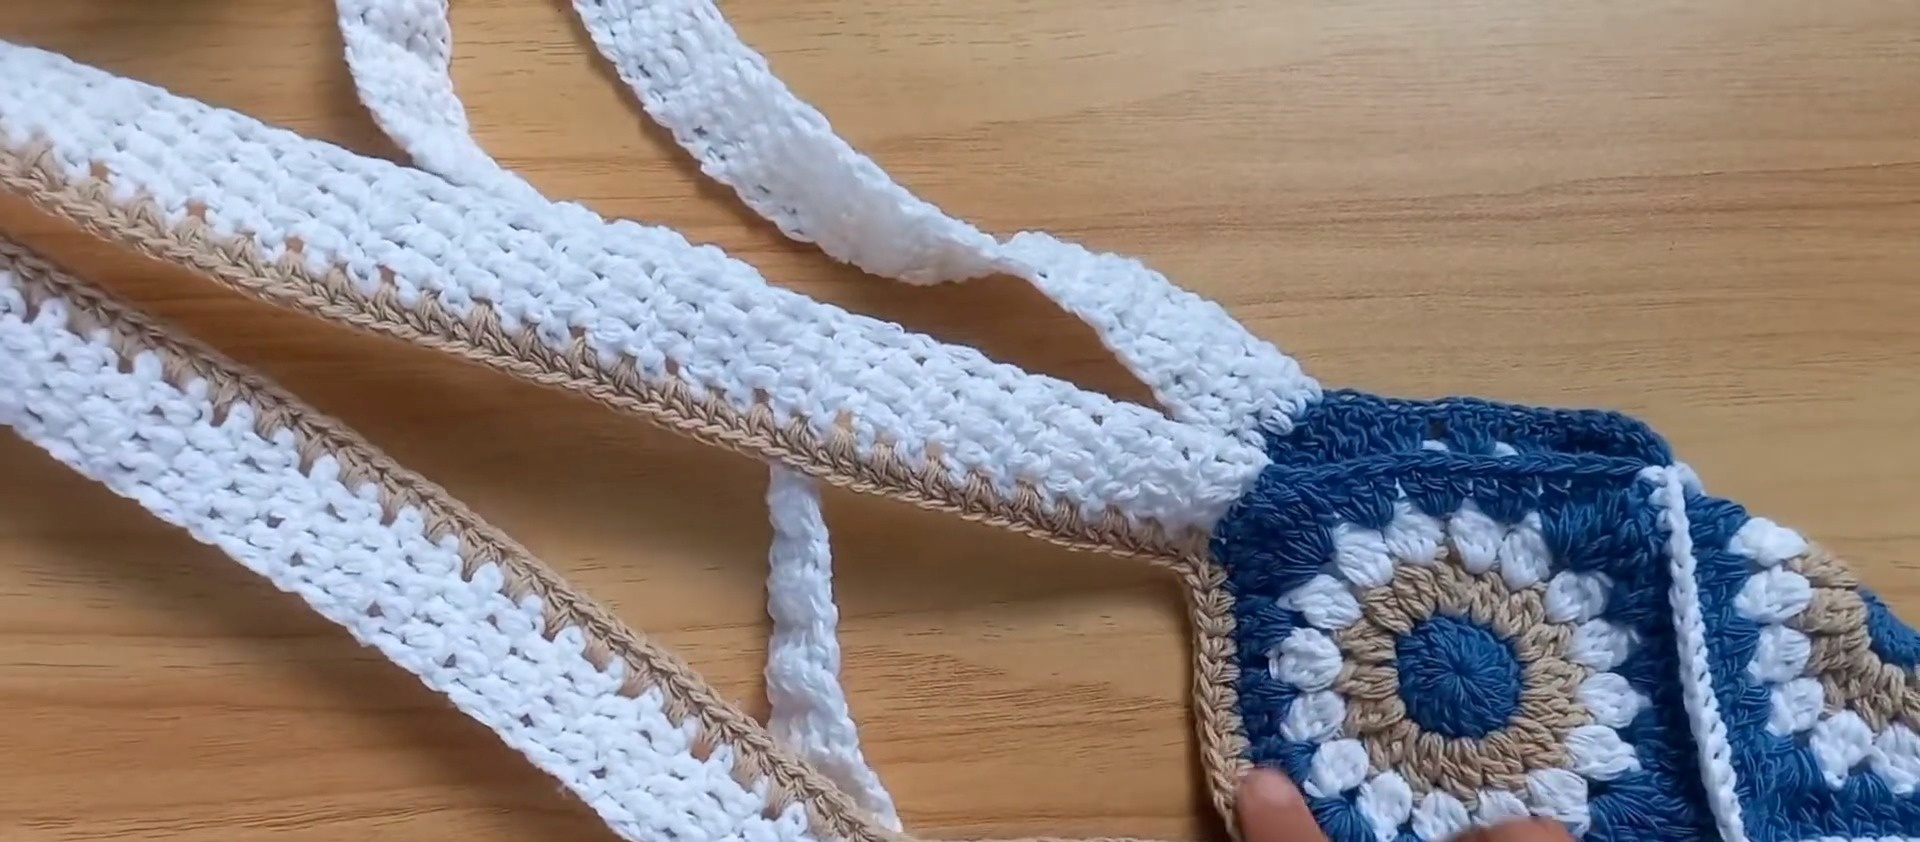
- Top Border & Handles
- Round 1 (Foundation Border):
- Attach yarn to the top edge.
- Crochet 1 sc in each dc/ch space around the perimeter.
- At deep valleys, work sc2tog to smooth transitions.
- Round 3 (Attach Handles):
- At the left peak, chain 65 (or your desired length).
- Attach the chain to the opposite peak with sc, forming a handle.
- Repeat for the second handle on the opposite side.
- Rounds 4–6 (Reinforce Handles):
- Work sc or hdc over the border and handle chains for 2–3 rounds.
- Round 1 (Foundation Border):
Finishing Steps
- Weave in Ends: Secure all remaining yarn ends with tapestry/yarn needles.
- Blocking: Lightly steam-block the bag to shape contours and flatten handles.
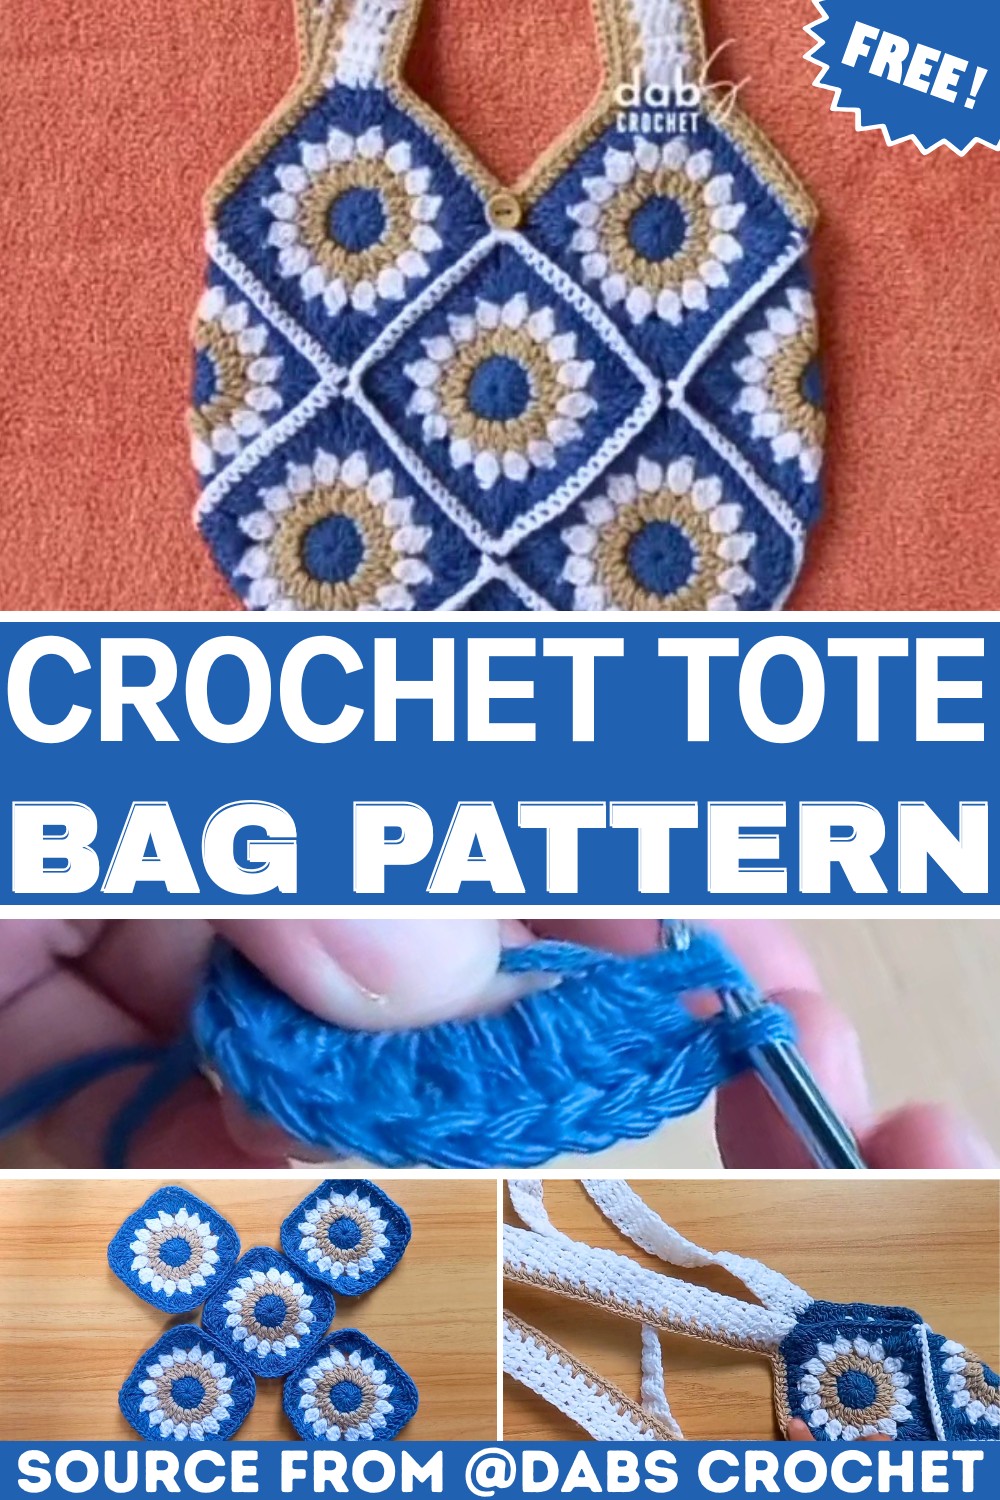
Enjoy Your 13-Square Granny Tote Bag!
Feel free to experiment with colors and added embellishments for a creative twist!