Easy Crochet Hairband Pattern with Puff Clusters and Ties
Looking for a delicate crochet hairband with a textured center? This two-color design combines soft puff-like clusters with long adjustable ties for an easy-to-wear finish.
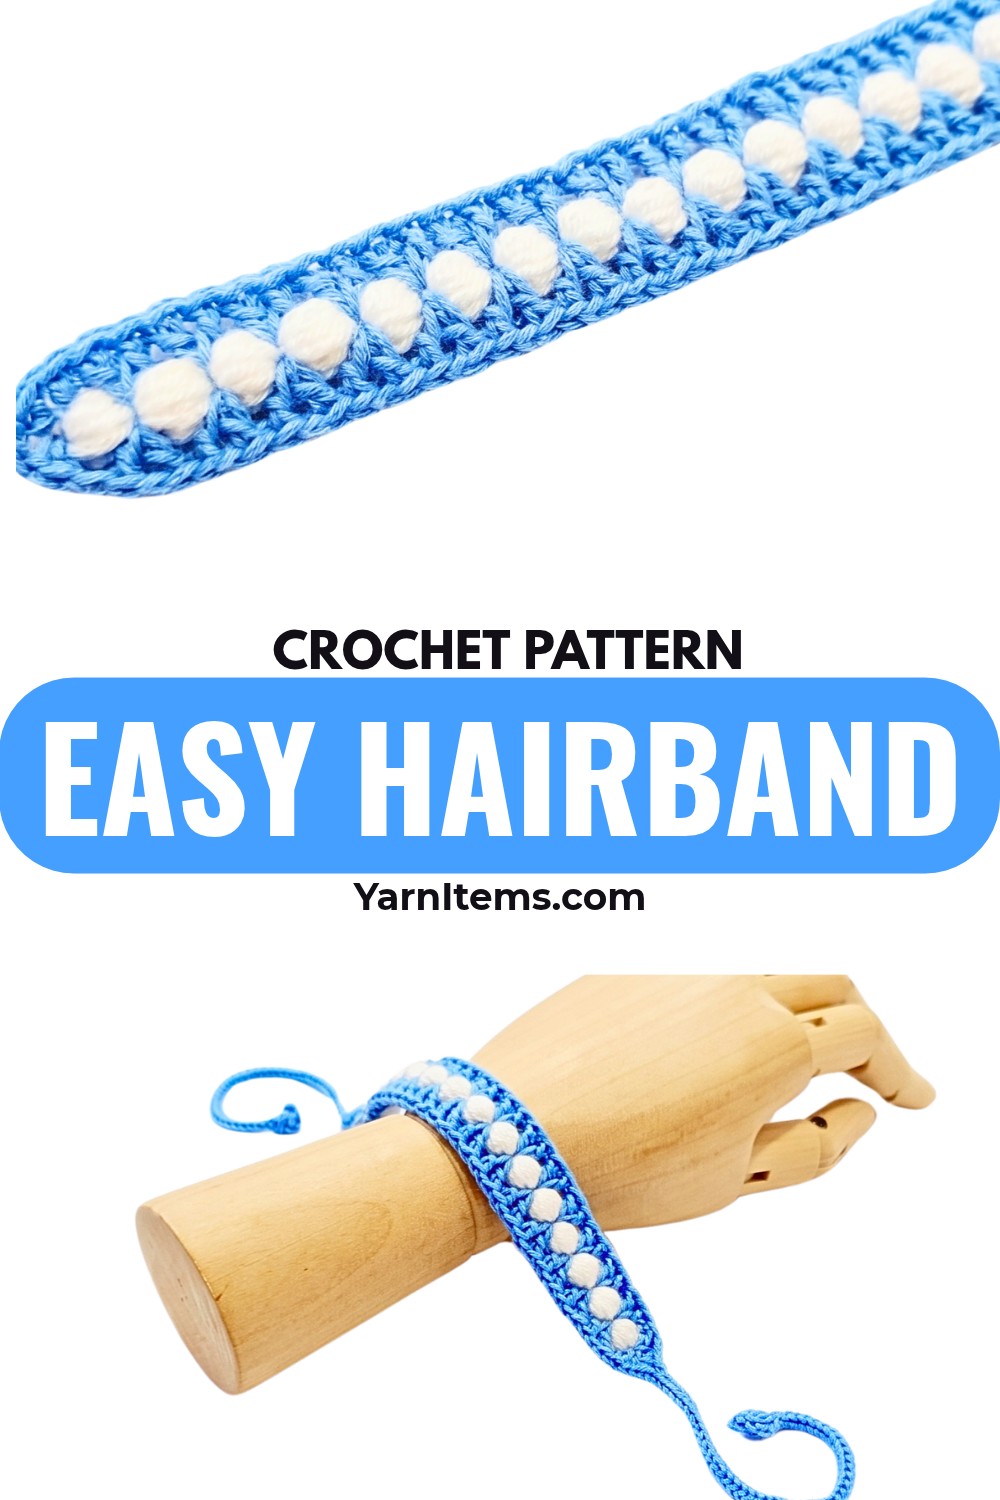
Soft texture and simple color contrast give this crochet hairband a pretty handmade look without making the finished accessory feel bulky. Crochet clusters form the center strip, while matching border work and long ties add both detail and flexibility.
Working with two colors keeps this crochet pattern visually interesting, while the repeated cluster units make the center section easy to follow. You’ll build the band from its center outward, add both tie strings directly to the border, and finish by hiding the yarn ends neatly.
Finished Size & Customization
This hairband is designed as a standard adult/teen size with adjustable ties. Its length can be changed by increasing or decreasing the number of center cluster units.
Variegated or pastel yarns can give the band a softer look, while changing the tie length lets you make shorter or longer ties to suit your preference.
Materials & Tools
- Cotton or acrylic yarn in two contrasting colors:
- Color A: Center puff strip, such as white
- Color B: Borders and ties, such as orange or light blue
- 2.5 mm crochet hook
- Scissors
Abbreviations
- ch: Chain
- sl st: Slip stitch
- hdc: Half double crochet
- dc: Double crochet
- sc: Single crochet
- blo: Back loop only
- cluster: 5-hdc cluster worked into the same specified stitch or space and pulled through together

Step-by-Step Hairband Pattern
Center Puff Strip
Step 1: Make the Center Strip – Color A
Make a slip knot with Color A and chain 2. Work a 5-hdc cluster into the second chain from the hook, then chain 2 and make another 5-hdc cluster into the same base or space. Continue repeating (2 ch, 5-hdc cluster) until you have 29 cluster units. Fasten off Color A securely.

Teaching Guide: Keep the Cluster Strip Consistent
Each 5-hdc cluster becomes one textured unit of the center strip, so keeping the clusters worked into the correct base or space is what keeps the strip even. After several repeats, check that the puff-like units are following one continuous line rather than spreading apart.
The 29 cluster units determine the main center length. If you are adjusting the finished length, this repeated unit is the section to change rather than altering the border or tie construction.
First Border and Tie
Step 2: Start Color B
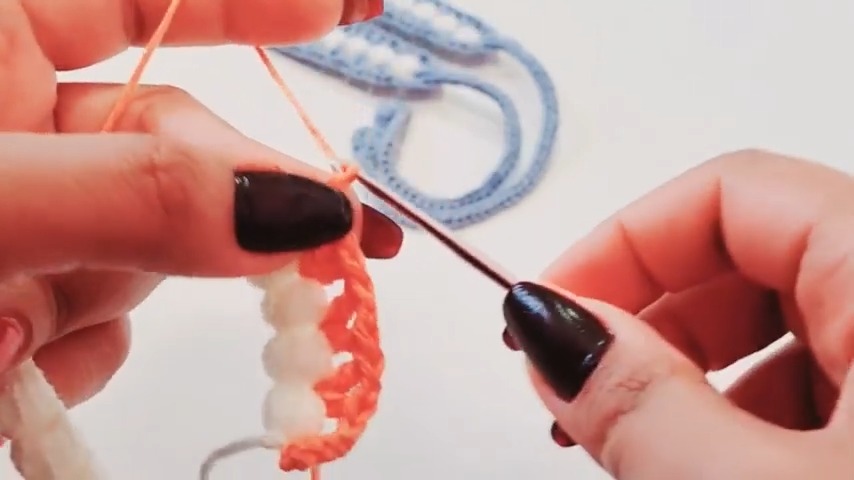
Join Color B with a slip stitch to the top of the very first white cluster at the end of the strip. Chain 63 stitches to begin the first tie.
From the fourth chain from the hook, work a 5-hdc cluster. Chain 4, then work a slip stitch into the base of that cluster to create the small decorative loop. Continue back toward the main band with 59 sc in the back loop only.
Once you reach the center strip, work 1 dc, 1 ch, 1 dc into each space between the consecutive clusters along the full length of the strip.

Teaching Guide: Follow the Tie Back to the Band
The long chain creates the tie first, while the 59 BLO single crochets form the return side of that tie. Working in the back loop gives this narrow section a defined finish and keeps the return path easy to identify.
When you reach the center strip, the 1 dc, 1 ch, 1 dc groups belong in the spaces between the clusters, not through the tops of the cluster stitches. This border is what frames the textured center.
Second Tie and Lower Border
Step 3: Complete the Opposite Side
At the end of the upper border, chain another 63 stitches for the second tie. Starting in the fourth chain from the hook, work a 5-hdc cluster, chain 4, and make a slip stitch into the base of the cluster to form the second decorative loop.
Work 59 sc in the back loop only back down the chain until you return to the opposite end of the main band. Finish the lower border by working 1 dc, 1 ch, 1 dc along the opposite side of the white cluster strip, mirroring the first border.
Teaching Guide: Check Both Sides Before Finishing
At this stage, both long ties should extend from opposite ends of the central strip, with matching decorative loops near their outer ends. The upper and lower border rows should frame the cluster strip in the same way.
If one side looks different from the other, check whether the 1 dc, 1 ch, 1 dc groups were placed consistently in the spaces between the clusters. Keeping this placement even is what gives the finished hairband its balanced appearance.

Finishing
Secure the Final Edge
Finish the final stitch with a slip stitch, cut the yarn with scissors, and leave a short tail for securing.
Thread the remaining yarn tails through nearby stitches with a hook or tapestry needle, hiding them neatly within the finished work.
Teaching Guide: Check the Ties and Center
Before trimming the ends, lay the hairband flat and check that the center strip remains straight, both borders frame it evenly, and the two ties extend naturally from opposite ends. Make sure the decorative loops remain open and clearly defined.
No sewing or separate assembly is needed because both ties and the borders are worked directly onto the center strip.