Striped Crochet Sweater Pattern with Custom Fit & Sleeves
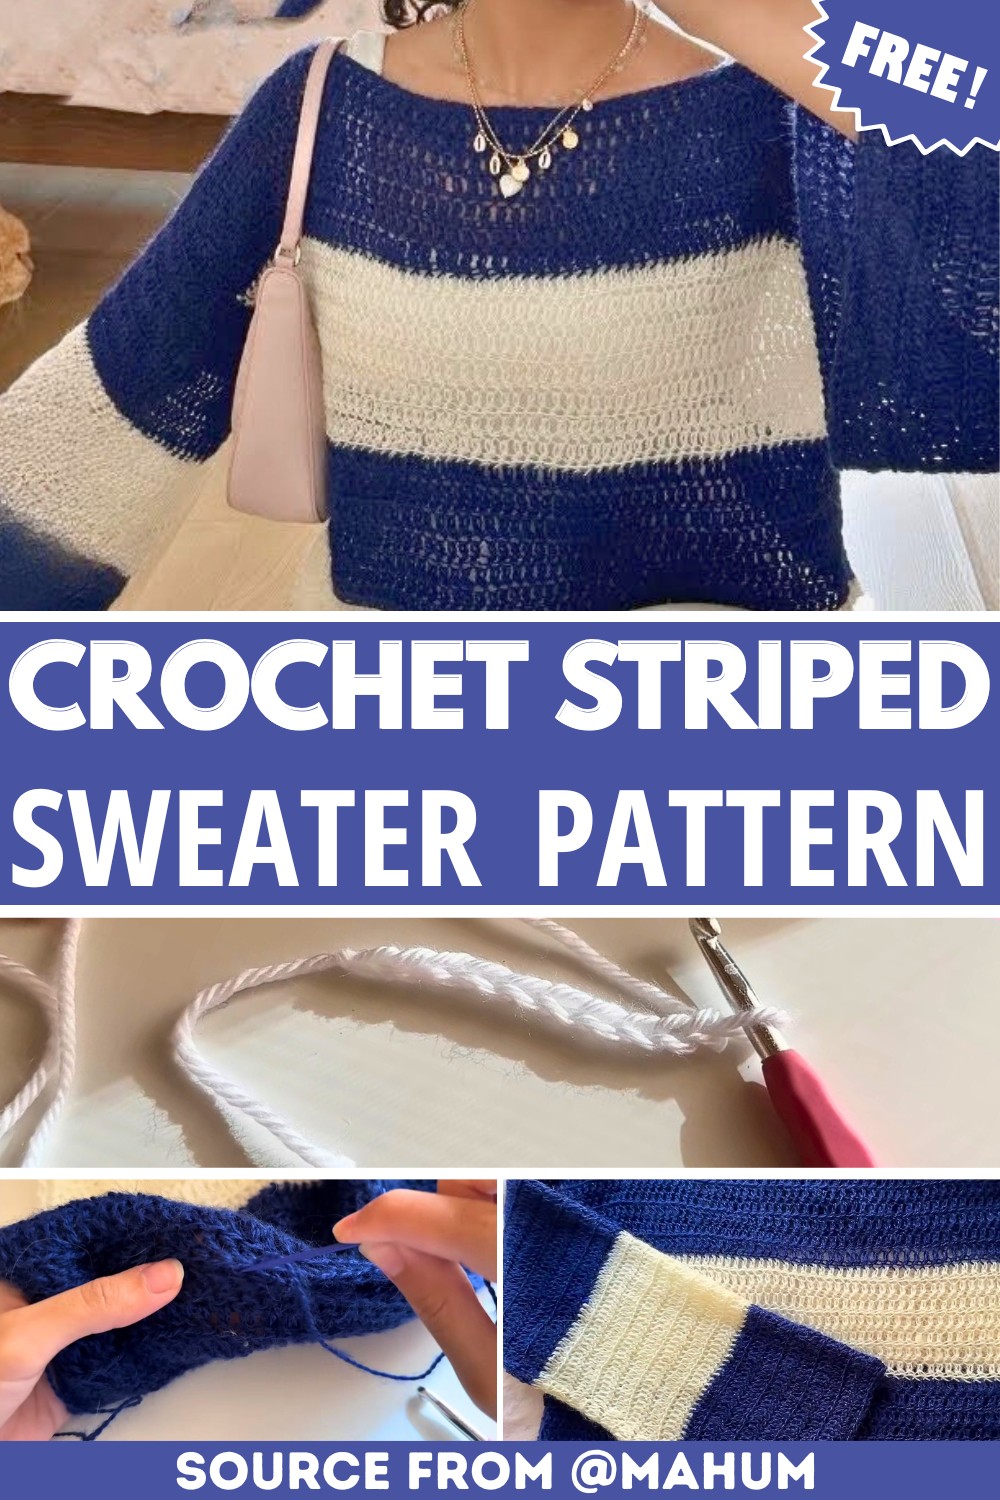
Want a custom fit without complicated shaping? This striped crochet sweater uses two simple panels, adjustable armholes, and directly worked sleeves.
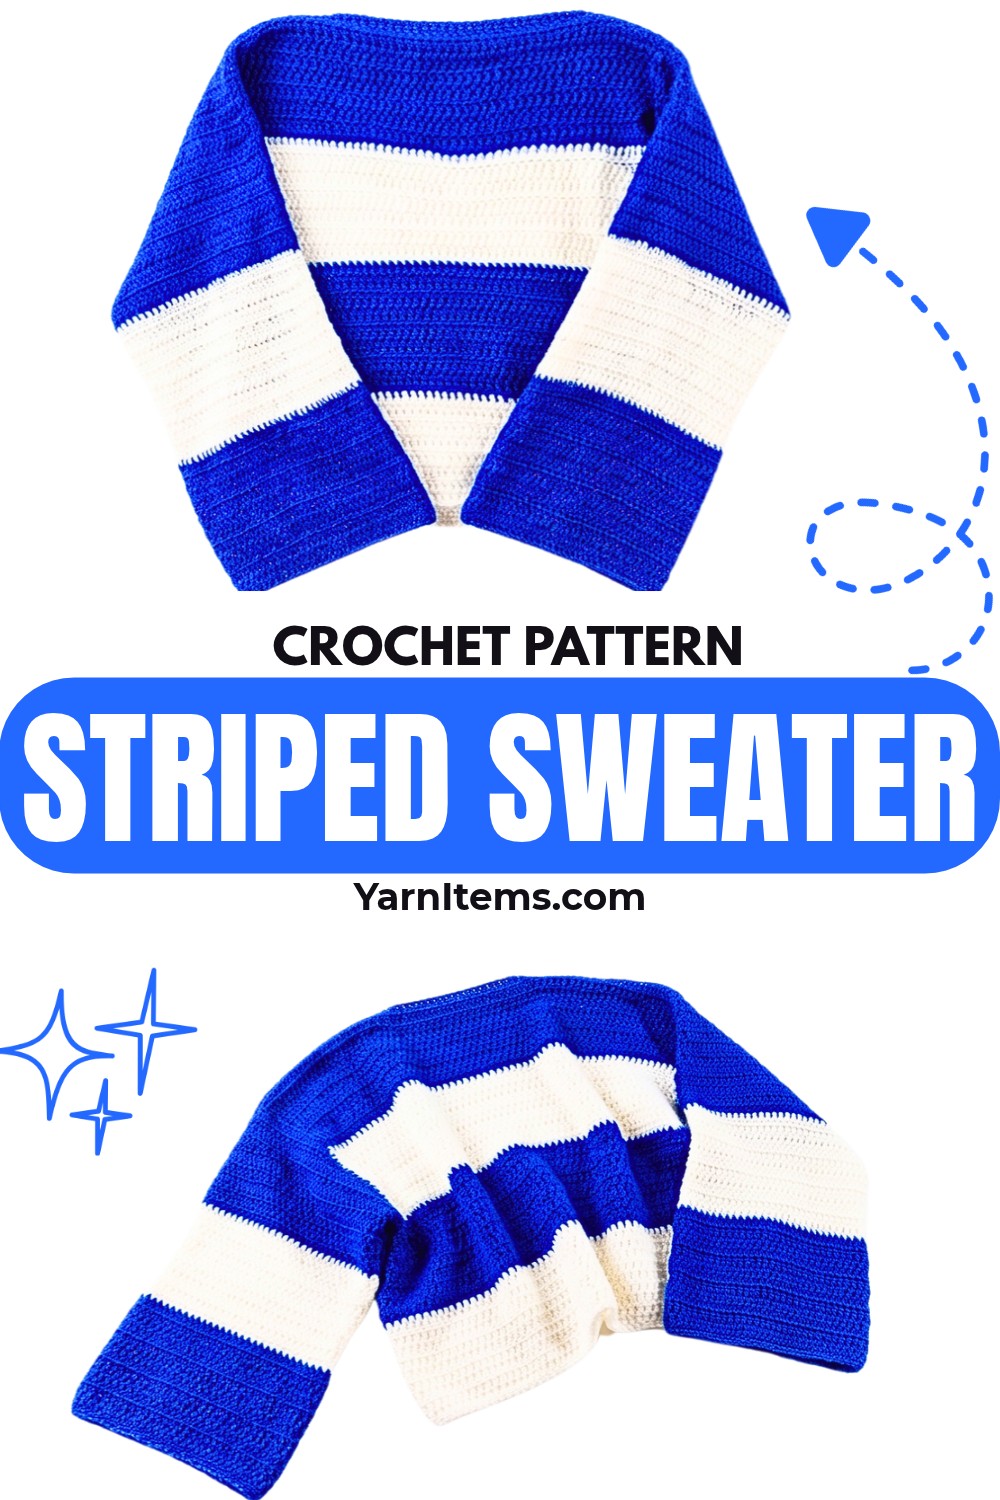
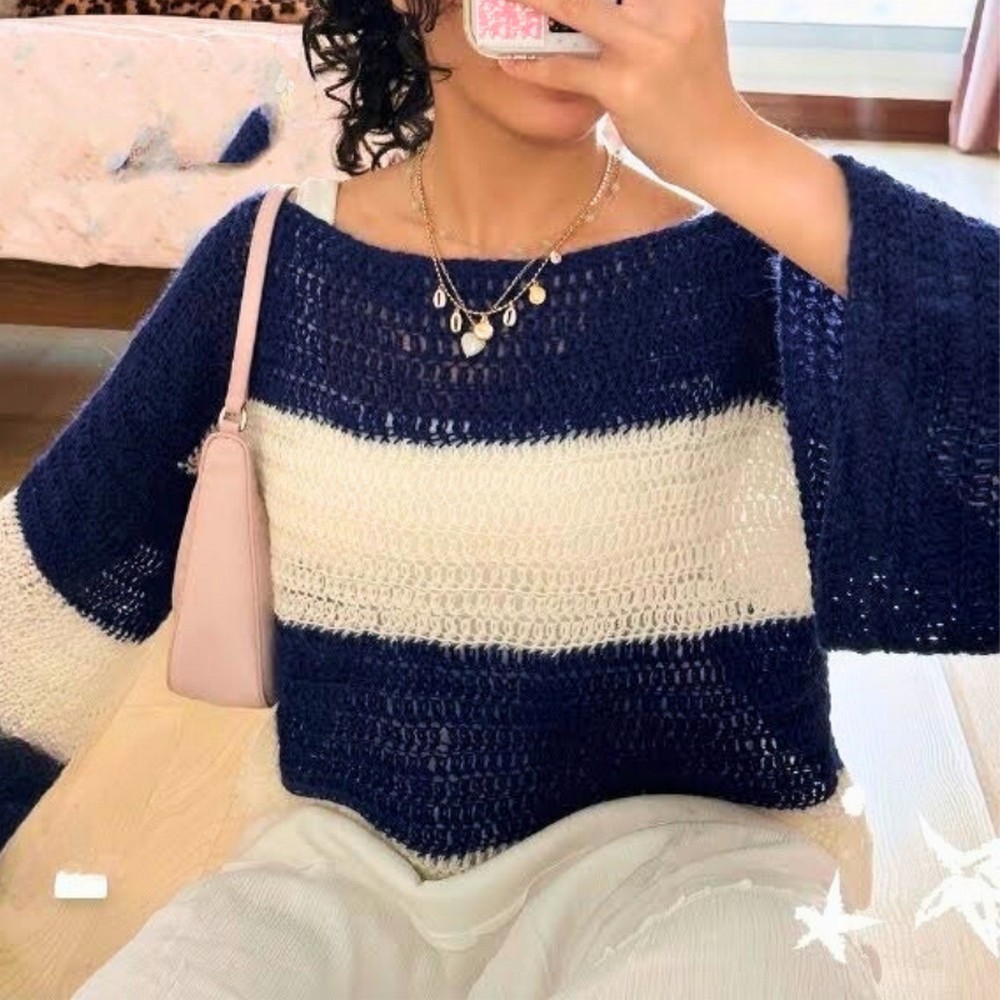
Soft mohair or wool-blend yarn gives this crochet striped sweater light warmth and gentle drape, while alternating color blocks create bold visual definition. Two matching rectangles form its main shape, keeping body sizing flexible from start to finish.
Made-to-measure sizing lets you use your favorite sweater as your width and length reference before crocheting. Front-loop double crochet adds subtle texture, while directly worked sleeves let you control armhole depth, sleeve length, and overall fit.
Credit mahum
Materials & Tools
- Yarn: Mohair or wool-blend yarn is recommended
- Colors: Two colors, such as navy and white, for a striped design
- Crochet Hook: Use any hook size suitable for the chosen yarn
- Measuring tape: Highly recommended for custom sizing
- Stitch markers
- Tapestry needle
- Scissors
Plan Your Fit Before Crocheting
This sweater is completely made to measure, so no fixed size chart is required.
Use your favorite sweater as a reference for desired body width and length. Lay it flat and measure across the body, then measure from the shoulder or neckline down to the desired hem.
Make 2 identical rectangles, one for the front and one for the back.
For stripes, the tutorial uses 8 rows of double crochet per color block, alternating navy and white. You can make stripes thinner or wider simply by changing the number of rows worked in each color.
Keep your chosen measurements written down before starting. Matching panel dimensions will make shoulder and side sewing much easier later.
Abbreviations
- ch: Chain
- st(s): Stitch(es)
- dc: Double Crochet
- fdc: Foundation Double Crochet
- flo: Front Loop Only
- sl st: Slip Stitch
How to Make Panels
Make 2 identical panels.
There are two ways to begin Row 1: Foundation Double Crochet or standard chain. Choose whichever gives you more comfortable control over your desired width.
Option A: Foundation Double Crochet
Foundation Double Crochet: Make slip knot and ch 2; turn chains toward back and insert hook into middle/third loop; yarn over and pull up loop, yarn over and pull up another loop for 3 loops on hook; yarn over and pull through 2 loops, yarn over and pull through remaining 2 loops to complete first fdc; for next fdc, yarn over and insert hook into bottom “V” of previous stitch; pull up loop, yarn over and pull through 1 loop to create chain; yarn over and pull through 2 loops, yarn over and pull through final 2 loops; repeat until desired panel width is reached.
Foundation double crochet creates chain and first row together, which can give the lower edge more flexibility than starting with a separate chain.
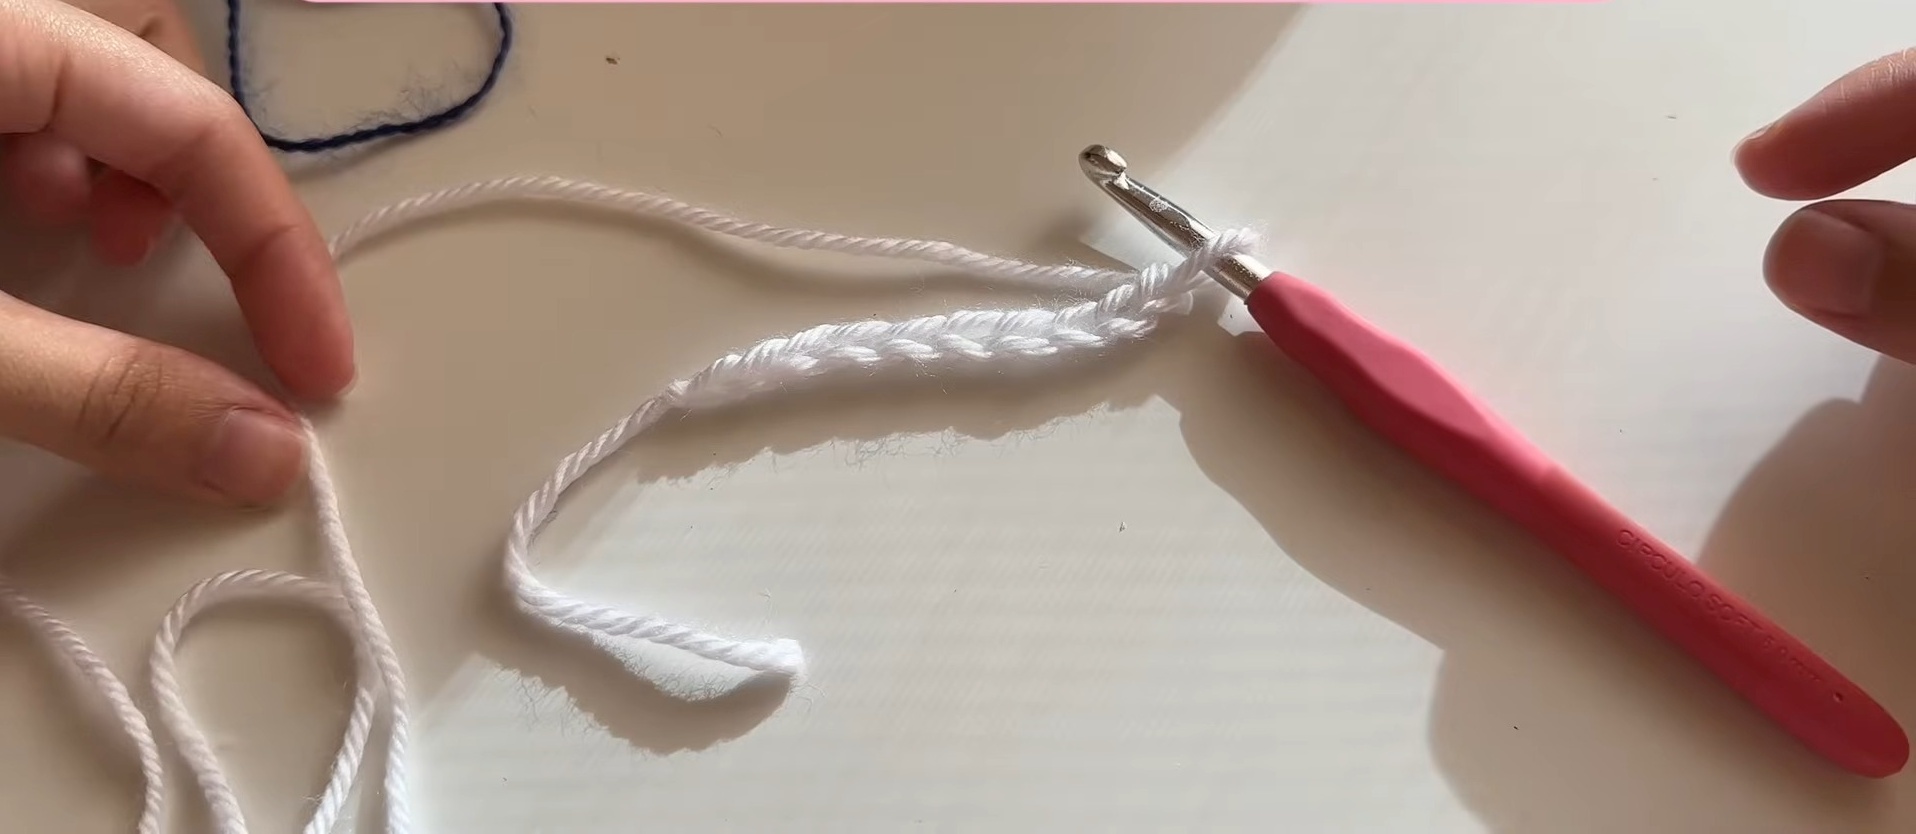
Option B: Standard Chain
Foundation Chain: Make slip knot and chain until desired panel width is reached; ch 3 more, counting these chains as first dc; insert hook into 4th ch from hook and work 1 dc; continue with 1 dc in every ch across.
Before moving on, compare panel width with your sweater measurement. If width is too narrow or wide, adjust now rather than compensating later through side seams.
Front Loop Only
Row 2: Ch 1 and turn; ignore ch 1 because it does not count as st; insert hook into flo of first stitch and work 1 dc; continue with 1 dc in flo of every st across; at final st, insert hook through both loops and work final dc for a cleaner edge.
Working through flo creates subtle horizontal texture and leaves remaining loops visible along each row. Using both loops for the final stitch helps stabilize the panel edge.
Beyond
Rows 3+: Repeat Row 2 until current color block reaches desired thickness; tutorial uses 8 rows per stripe.
Count completed rows within each color block before changing yarn. Keeping every stripe equal will make front and back panels align more cleanly.
Continue alternating colors until panel reaches desired length. Crochet second panel to exactly match first panel.
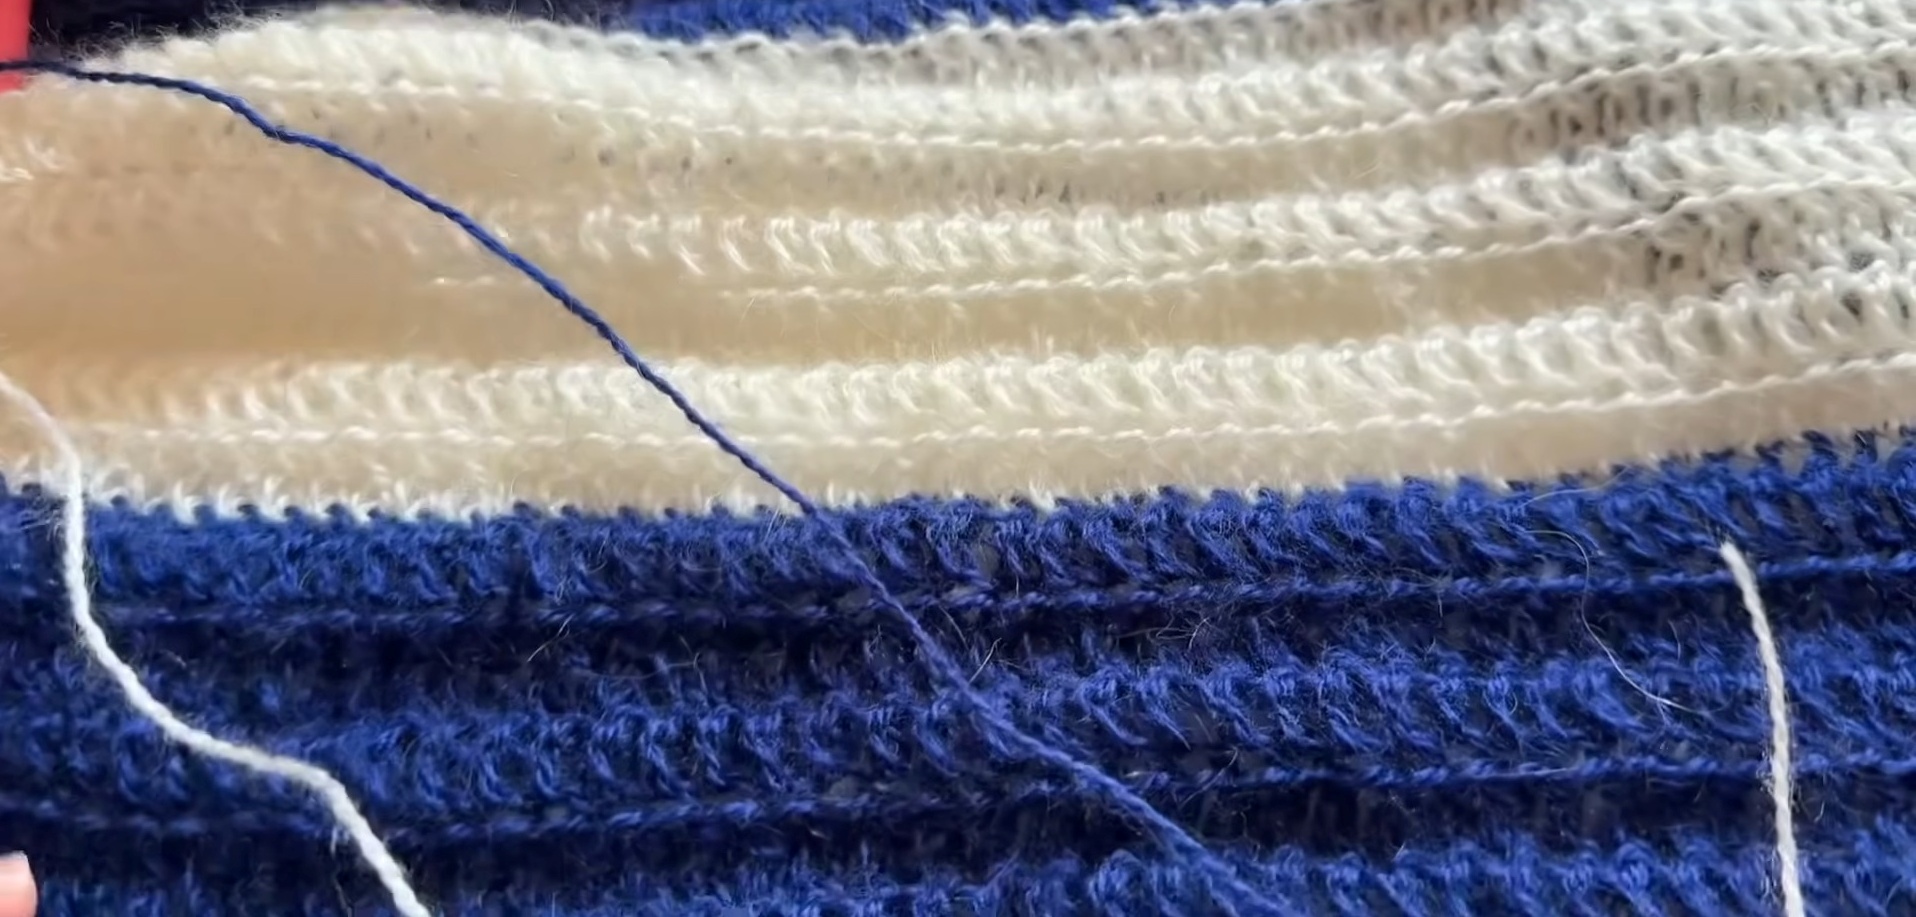
Change Colors on Panels
Color changes should happen at row ends so stripes remain straight across panel.
Color Change: On final row of current color, ch 2, cut yarn leaving long tail for sewing, and pull tight to fasten off; turn work as if beginning new row; insert hook through both loops of first st; pull new color through and secure with double knot; insert hook back into same st, pull up loop, ch 1, and work dc into same st; continue crocheting through floor for remainder of row.
Leave enough yarn tail at each color change for secure finishing. Long tails can be woven in later rather than trimmed too closely.
Continue alternating stripes until desired panel length is reached. Complete second identical panel using same row count, stripe sequence, and width.
Set Shoulder Width and Neck Opening
Lay front and back panels flat, one directly over the other. This is a useful point to decide neck opening before any sewing begins.
Neck Opening: Decide desired center neck width; count remaining stitches on left and right shoulder sections; example uses 16 stitches on each shoulder and places stitch marker in 17th stitch; repeat same measurement on both panels; verify stitch counts match perfectly.
Matching markers matter more than using any fixed stitch number. Unequal shoulder widths can pull the neckline off center.
Sew Shoulders
Thread tapestry needle with yarn and prepare both panels for sewing.
Shoulder Seam: Starting from the outer edge, sew front and back shoulder sections together through corresponding loops of both panels, continuing toward stitch markers; leave center section between markers completely unsewn for neck opening; secure yarn with knots and weave in loose ends.
Sew with even tension rather than pulling stitches tightly. Loose, balanced sewing helps the sweater maintain natural drape around shoulders.
Repeat on opposite shoulder.
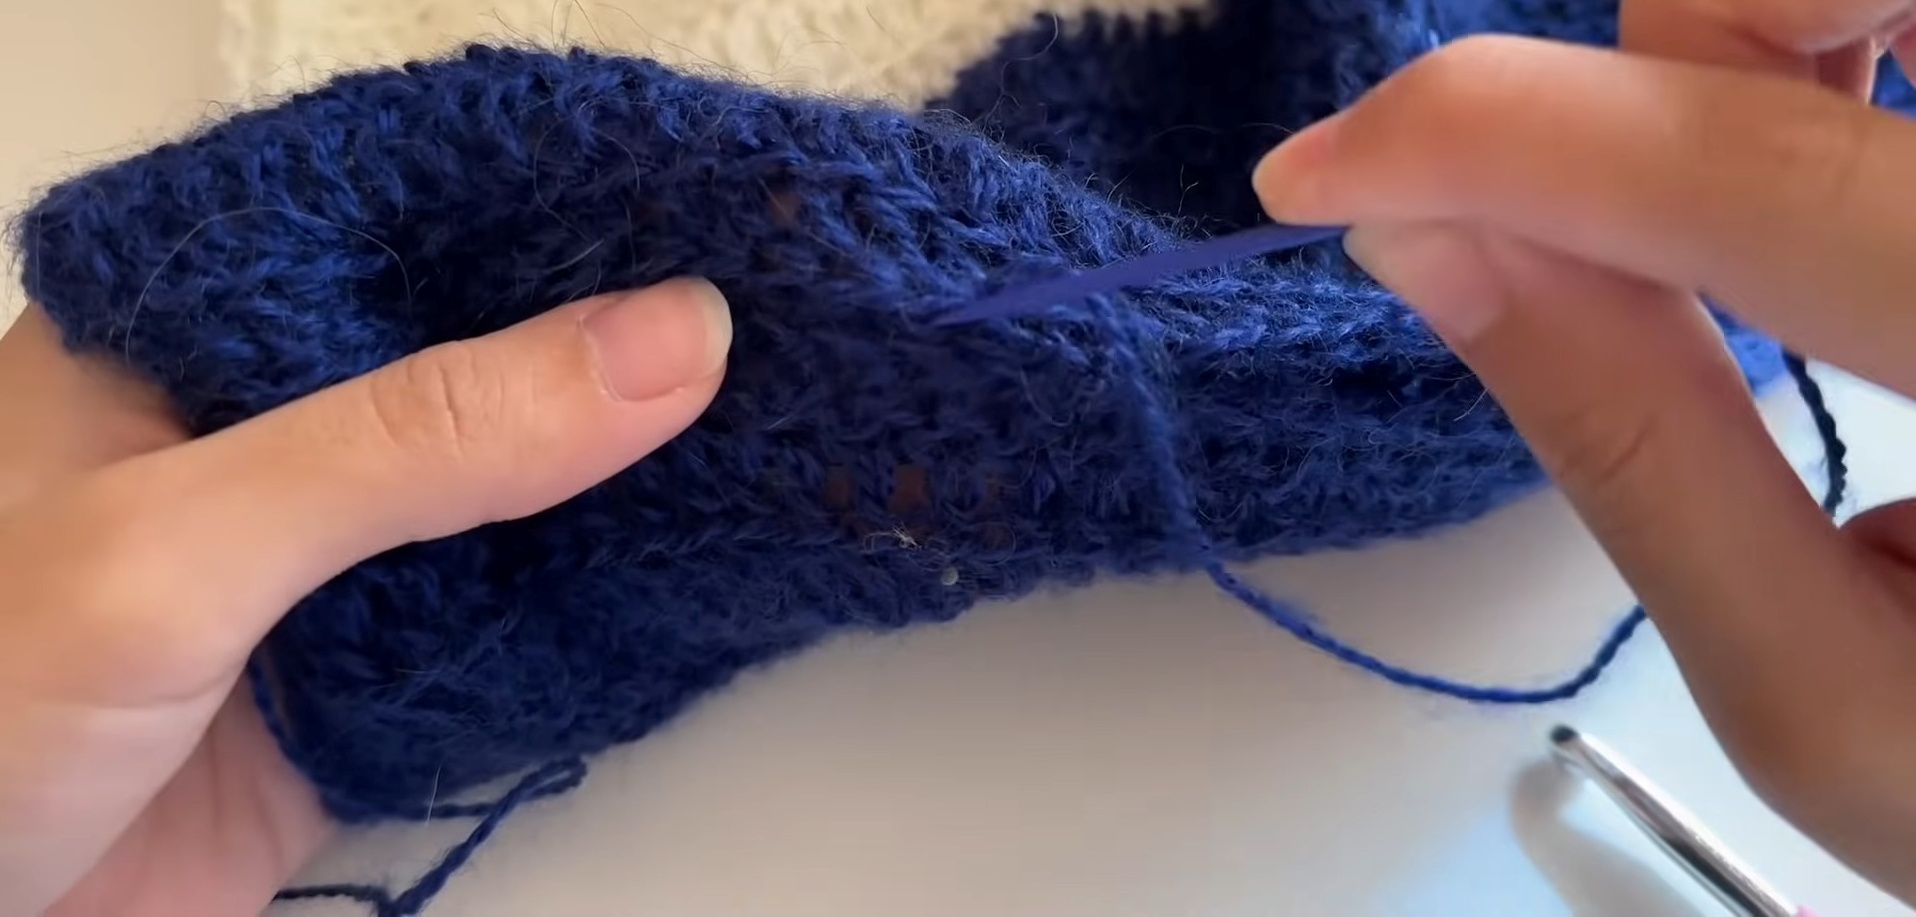
Close Side Seams and Mark Armholes
Side seam depth determines how open or fitted sleeves will feel, so measure before sewing.
Armhole Marking: Decide desired armhole depth and place stitch marker at bottom point of armhole.
Side Seams: Starting from the bottom hem, sew the front and back panels together up to the armhole marker; repeat on the opposite side.
Seam Technique: Pick up only one loop from each panel edge while sewing. This keeps side seams flatter and helps prevent bulky ridges or large gaps.
Once both side seams are complete, turn the sweater inside out so the clean side faces outward.
Work Sleeves Directly Into Armholes
Sleeves are crocheted directly around armhole openings in joined rounds. Record stitch count from first sleeve before beginning second sleeve so both sleeves match.
Round 1: Attach yarn at bottom of armhole, or underarm seam, by passing yarn through fabric and securing with double knot; insert hook into same space, pull up loop, ch 1, and work first dc in same space; place stitch marker in first dc for easy identification; work 1 dc evenly around entire armhole opening; keep stitches close to edge to prevent gaps; count total stitches and record number for second sleeve; join with sl st through both loops of first dc.
Do not rely only on visual spacing around the armhole. Count stitches once complete, because the second sleeve should use a matching count for a balanced fit.
Round 2: Ch 2 and turn; ignore sl st and ch 2; insert hook into flo of first dc from previous round and work 1 dc; continue with 1 dc in flo of every st around; maintain exact stitch count from Round 1; place final dc in stitch directly beside starting ch 2; join with sl st through both loops of first dc.
Turning after each round keeps front-loop texture oriented consistently.
Change Sleeve Colors
Color Change: Complete final sl st of current round; ch 1, cut yarn, and pull tight to fasten off; turn work; insert hook into first st; attach new color with double knot; ch 1 and work dc into same st; continue with 1 dc in flo around sleeve.
Repeat Round 2 and change colors as desired until sleeve reaches preferred length.
Fasten off and weave in remaining yarn ends.
Repeat complete sleeve process on opposite armhole, using recorded stitch count from first sleeve.
Customize Stripe Width
Stripe width can change overall appearance without changing basic sweater shape.
For bold color blocks, follow tutorial with 8 rows per color.
For narrow stripes, reduce row count within each color block.
For wider stripes, add rows before changing color.
Keep color changes consistent across front, back, and sleeves if you want continuous visual rhythm. If you prefer a more relaxed handmade look, stripe widths can vary intentionally.
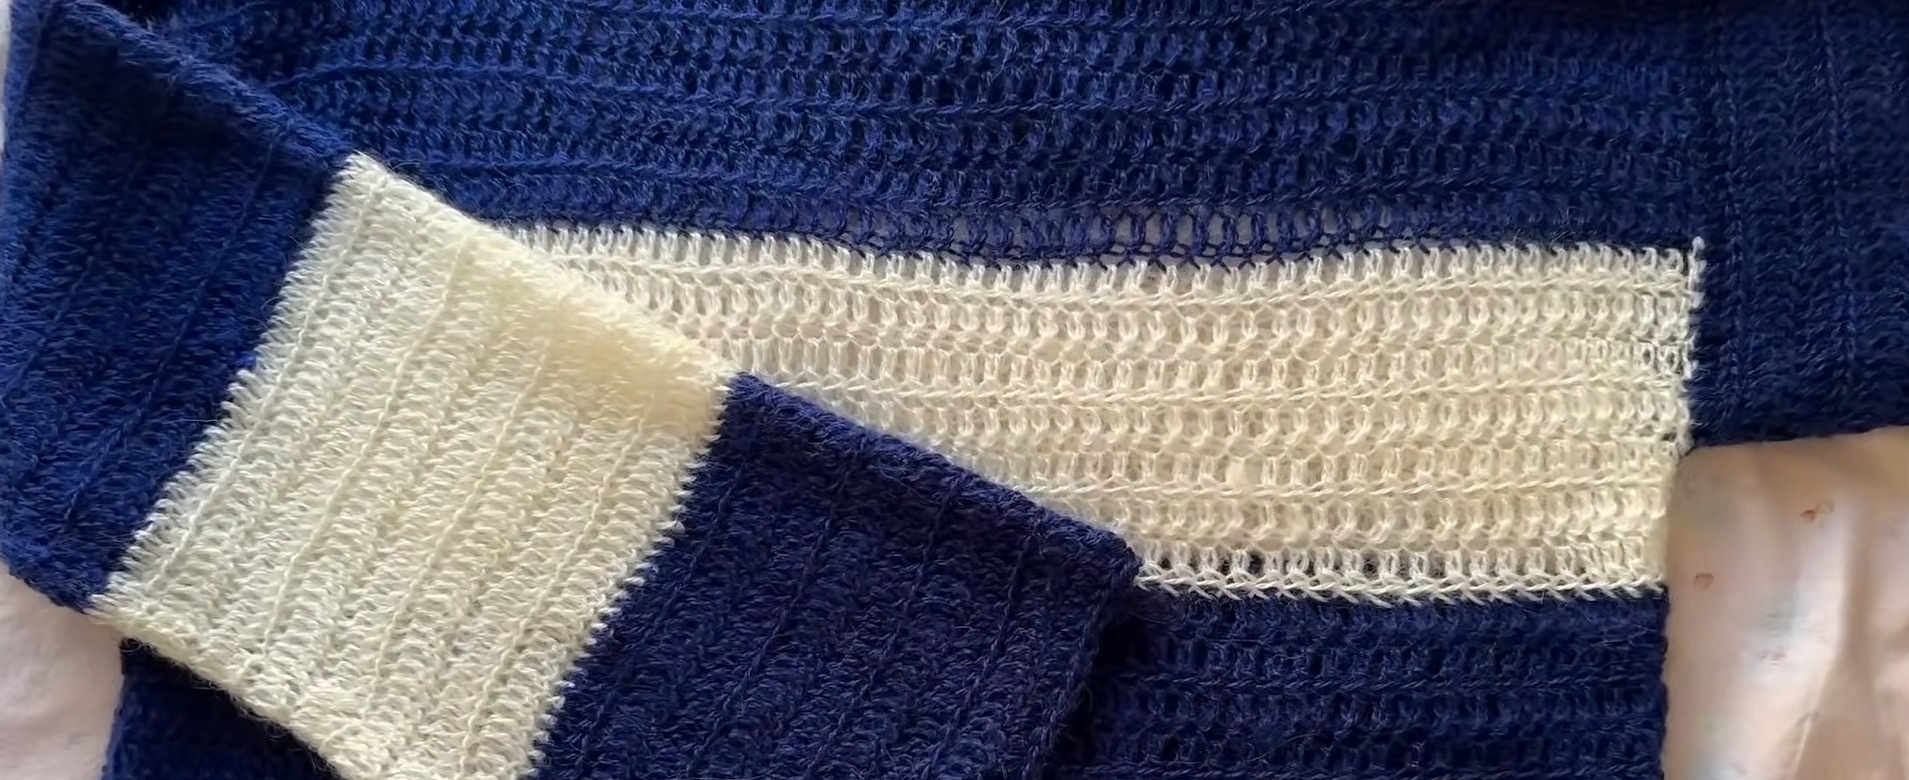
Fit Check Before Final Finishing
Before weaving in every remaining end, try the sweater on or compare it against your reference sweater.
Check:
- Body width matches desired measurement
- Shoulder seams sit comfortably
- Neck opening is centered
- Armholes provide enough movement
- Both sleeves have matching stitch counts
- Sleeve length reaches desired point
- Front and back stripe positions align as intended
If sleeve feels too loose, check armhole stitch spacing first. If sleeve feels too tight, armhole opening or first-round stitch count may need adjustment rather than simply adding length.
Once fit looks right, fasten off securely and weave in all loose ends.
Final Finish
Weave in all remaining yarn tails with a tapestry needle, working them securely through nearby stitches without pulling fabric tight.
Your finished sweater combines simple rectangular panels with customizable measurements, bold alternating stripes, subtle front-loop texture, and sleeves worked directly into armholes. Because width, length, armhole depth, stripe thickness, and sleeve length can all be adjusted, the same basic pattern can be adapted for different body measurements and personal style.