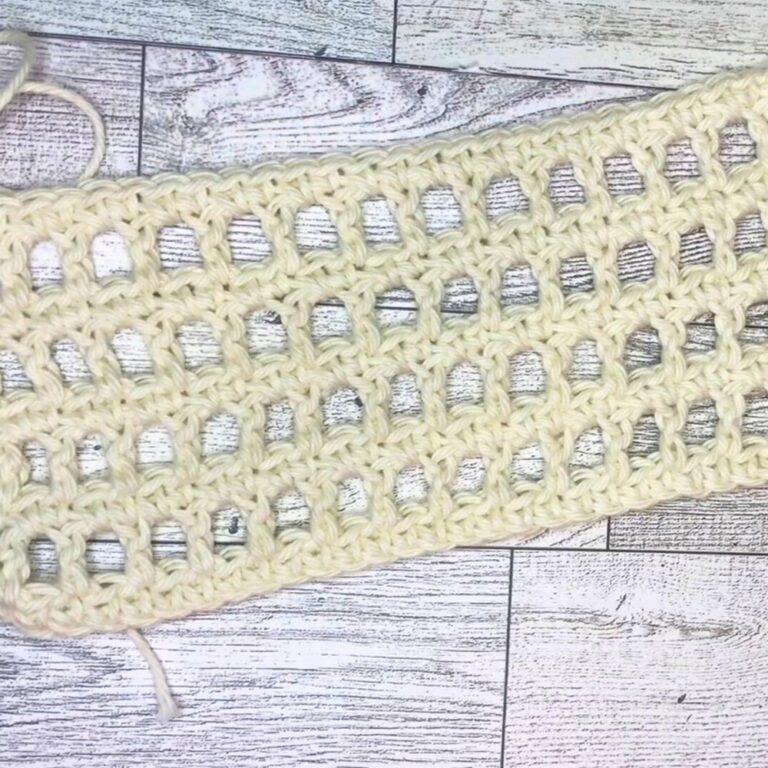
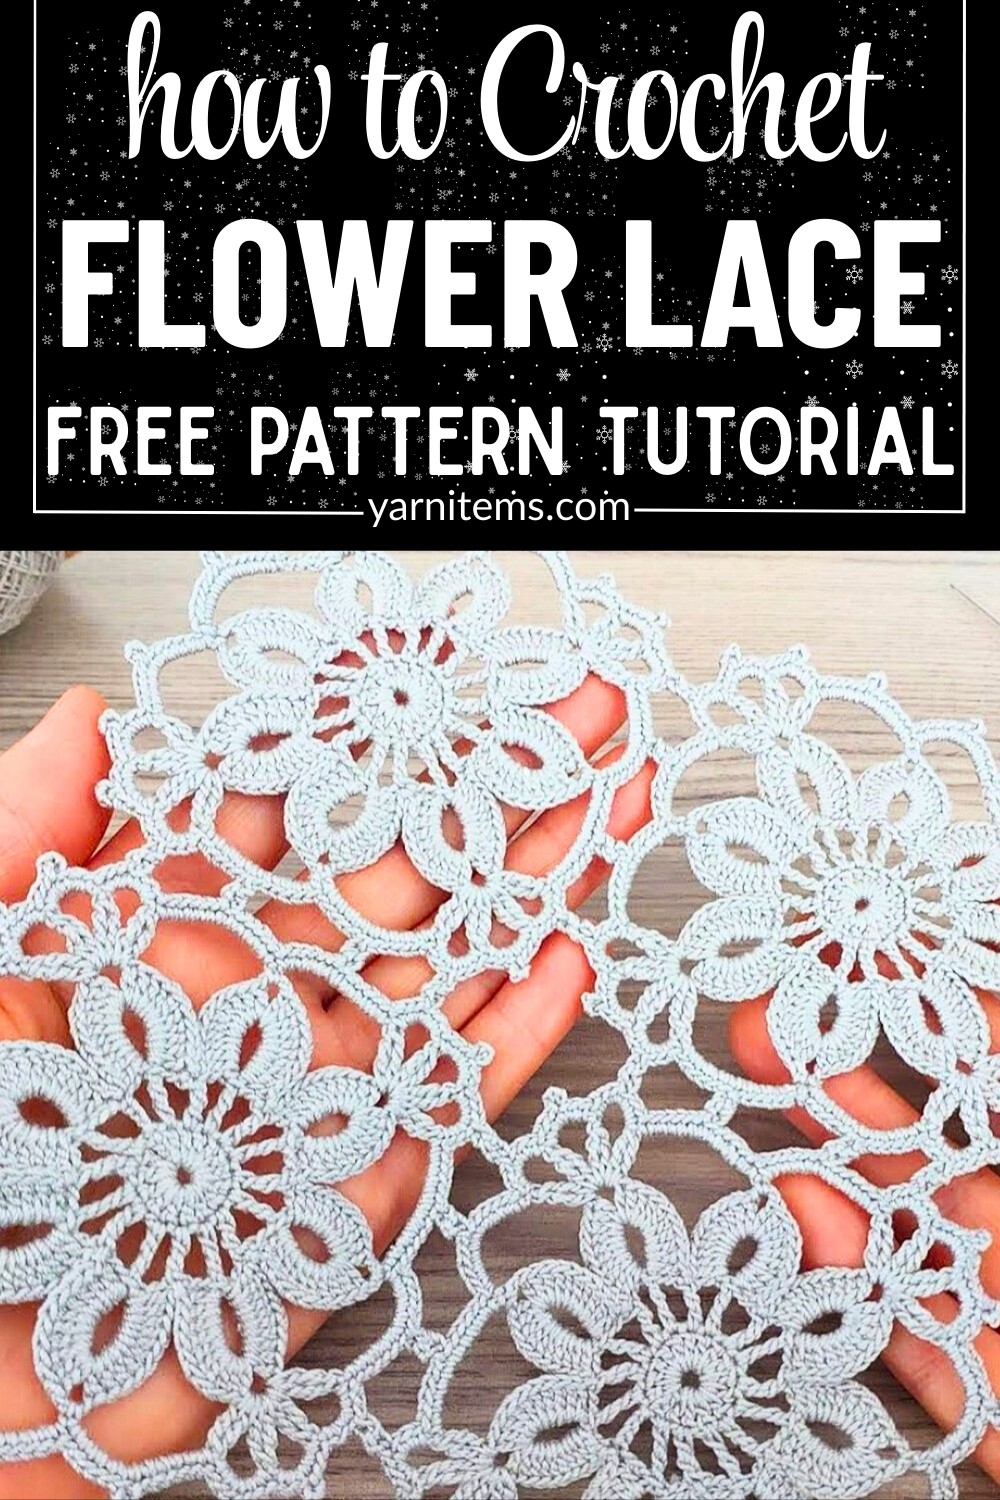
A delicately textured lace design created by crocheting interconnected flower motifs, ideal for elegant patterns like shawls, table runners, or wall hangings.

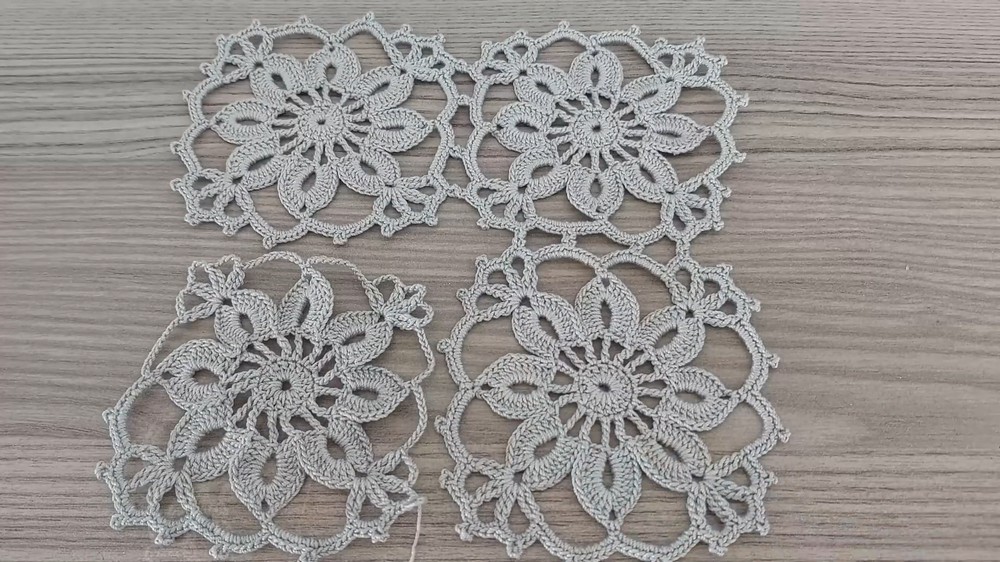
Crochet joined flower lace is a beautiful and creative way to make delicate patterns with a floral twist. This Lace design brings a charming touch to anything you want to create, from clothing embellishments to decorative table pieces. Each flower is connected, forming a playful yet elegant lace that stands out.
Crochet Joined Flower Lace Pattern
What makes this crochet-joined flower lace so special is its versatility. You can use it to make shawls, scarves, or even curtains. It’s not only pretty but also a great way for beginners to start crocheting something visually stunning without it feeling too complicated. With the following simple steps, you can create something that looks advanced and professional.
Credit Knitting Love
Key Features of the Pattern:
- Flower Motifs: Crochet individual flowers with five petals using magic circles and intricate stitch combinations.
- Join-as-You-Go Technique: Flowers are connected seamlessly during crochet to create a flexible, unified lace fabric.
- Picot Joins: The picot stitch adds a decorative pointed tip to each petal and serves as the joining point between flowers.
- Custom Layouts: Arrange motifs into rows, grids, or unique shapes to suit your pattern.
- Finishing Options: Blocking enhances the lace texture and ensures even stitching for a polished final look.
Step 1: Start the First Flower
Begin by crocheting a single flower motif in the round. Start with a magic circle (or chain-4 ring) as the foundation and create loops for each petal in the first round using chain stitches. These loops form the base for working individual petals in round two. Each petal combines single crochet, double crochet stitches, and a picot tip—a stitch that adds a delicate peak to the flower. When the flower is finished, you’ll admire its soft symmetry and lightweight structure.

Step 2: Create the Second Flower and Join as You Go
The magic of this pattern lies in the join-as-you-go technique. As you crochet subsequent flowers, you’ll use the picot stitch to connect petals from adjacent motifs. Simply insert your crochet hook into the picot of a completed flower while crocheting the new petal and slip stitch them together. This approach ensures your motifs are linked seamlessly without any added sewing, keeping the process faster and cleaner.
Step 3: Build the Lace Fabric and Arrange Motifs
Continue crocheting additional flowers and joining them to their neighbors, creating a growing tapestry of floral motifs. Whether you’re aiming for a row-like formation or an intricate interwoven diamond layout, you can adapt the placement of each new flower to suit your vision. The result is a highly customizable lace pattern that can scale up or down effortlessly for different designs.

Step 4: Finishing Touches. After your lace fabric reaches the desired size, secure all loose ends with a tapestry needle. To truly highlight the intricacy of the motifs, block your piece—lightly stretching the fabric and pinning it in place to set its shape. Blocking also emphasizes the lace’s airy texture, making the picot-tipped petals stand out beautifully.
Video Tutorial
Step-by-Step Pattern
Materials
To make your joined flower crochet lace, gather the following materials:
- Yarn: Lightweight (2) or lace-weight yarn works best. You can use cotton or a cotton-blend yarn for better stitch definition.
- Hook: Crochet hook size 2.5 mm to 3.0 mm (adjust based on yarn weight).
- Scissors: To cut the yarn during finishing.
- Tapestry Needle: For weaving in ends at the end of your pattern.
- Optional Tools: Blocking pins and a foam board (for shaping and finalizing the pattern).

Pattern Instructions
Step 1: Start the First Flower
- Foundation Ring: Begin with a magic circle (or chain 4 and slip stitch into the first chain to form a ring).
- Round 1 (Petal Base): Chain 1 to secure. Chain 5 for your first petal loop, then slip stitch into the ring. Repeat this step 4 more times to create 5 petals in total. Slip stitch into the first stitch to close the round.
- You should now have 5 chain loops around the ring.
- Round 2 (Create Petals): Into each chain-5 loop, work the following:
- 1 single crochet (sc), 3 double crochets (dc), 1 picot (for a pointed flower tip), 3 double crochets (dc), and 1 single crochet (sc).
- Continue this sequence for all 5 chain loops. Slip stitch to the first stitch to close the round. This completes your first flower.
Step 2: Make the Next Flower and Join as You Go
- Repeat Step 1: Create the foundation ring and complete the first round with chain loops for the second flower.
- Joining on a Picot: As you crochet the second flower’s petals, decide which petal(s) to join. To do this:
- Instead of completing a standard picot, insert your hook into the corresponding picot of the adjacent flower, yarn over, and pull through to create a joined picot.
- Continue crocheting the rest of the current flower.
Step 3: Repeat to Create a Motif
- Repeat Step 2 to create additional flowers. Join each new flower to the adjacent one via joining picots until all your motifs are connected.
- You can arrange your flowers in a row, square, or diamond layout depending on your pattern.
Step 4: Finishing Touches
- Once your desired size is achieved, fasten off and weave in any loose ends with your tapestry needle.
- Block your work if needed to set the shape and define the stitches.
Troubleshooting and Suggestions:
- Common Issues:
- Trouble with Joining Picots: If joining feels fiddly, slow down and ensure your hook is firmly inserted into the corresponding picot before pulling through the yarn. Practice on scrap yarn if needed.
- Inconsistent Petal Sizes: Double-check your stitch count in each petal loop to keep the flowers uniform.
- Creative Modifications:
- Play with yarn colors! Alternate colors for each motif to create a vibrant patchwork effect, or use gradient yarn for a seamless ombré flow.
- Add embellishments like beads at the picot tips, or outline the edges with a simple contrasting border to frame the design.
- Alternative Uses:
- Transform this pattern into a scarf, shawl, or blanket by adjusting the layout and number of motifs. For smaller patterns, consider making coasters, appliqués, or even jewelry like earrings or bracelets.