How to Crochet a Rooster for Beginners
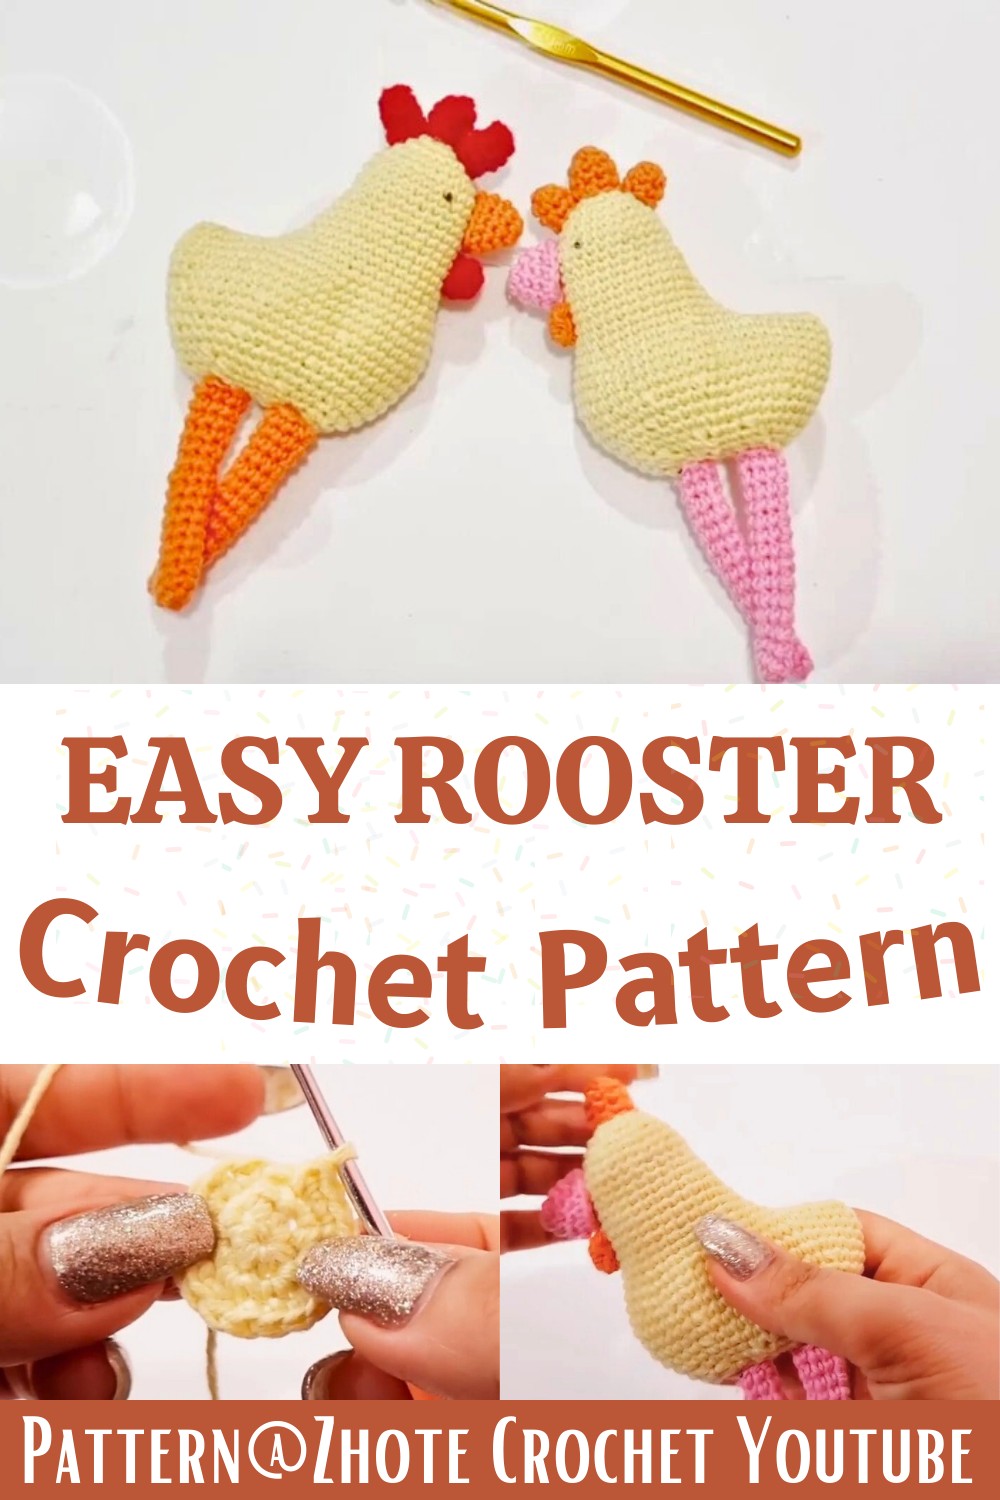
This crochet rooster is a delightful and vibrant piece, perfect for adding a touch of rural charm to your decor.

Featuring intricate details from the comb to the tail feathers, this amigurumi rooster uses a rainbow of yarn colors, making it an eye-catching centerpiece or gift. Its lovable design is both whimsical and realistic, ensuring it stands out wherever displayed.
Credit Zhote Crochet
Materials and Key Crochet Techniques
Materials
- Various colors of yarn (red, orange, yellow, green, blue, white, and black)
- Crochet hook (appropriately sized for your yarn)
- Stuffing (polyester fiberfill)
- Scissors
- Yarn needle
- Stitch markers
- Safety eyes (or black yarn for eyes)
Key Crochet Techniques
- Magic Ring: A technique to start crocheting in the round without leaving a hole.
- Single Crochet (sc): Basic stitch that will be used throughout the pattern.
- Increase (inc): Crochet two single crochets in one stitch.
- Decrease (dec): Combine two stitches into one.
- Slip Stitch (sl st): Join rounds or move stitches without adding height.
Design Uses and Shape
This adorable crochet rooster can be used as a charming decor piece in your kitchen, living room, or anywhere else that needs a touch of cuteness. Its three-dimensional shape, including a rounded body, detailed wings, and an expressive face, make it perfect for both display and play. Children and adults alike will enjoy its playful charm and bright colors.

Step-by-Step Pattern Instructions
- Head and Body:
- Magic ring, 6 sc in ring.
- Round 2: 2 sc in each st around (12 sts).

-
- Round 3: 1 sc, inc around (18 sts).
- Continue increasing evenly until the desired width.
- Crochet in rounds until the desired height for the body, then decrease accordingly.

- Comb:
- Using red yarn, create a magic ring.
- Round 1: 6 sc in ring.
- Round 2: 2 sc in each st around (12 sts).
- Crochet in rows, shaping the comb with increases and decreases as needed.
- Beak:
- Using yellow yarn, create a small triangle with single crochets.
- Attach to the face using a yarn needle.

- Wings (make 2):
- Magic ring, 6 sc in ring.
- Round 2: 2 sc in each st around.
- Shape by increasing, then crochet straight for the desired length.

- Tail Feathers:
- Use multiple colors.
- Create individual feathers by chaining and single crocheting back, then attach individually.
- Assembly:
- Sew the comb, beak, and wings to the body.
- Add safety eyes or stitch eyes with black yarn.
- Stuff the rooster with polyester fiberfill before closing.
- Attach the tail feathers securely.

Conclusion
By following this comprehensive guide, you can crochet a delightful rooster that adds personality and charm to any space. With easy-to-follow steps and essential materials, even beginners can create this colorful and intricate amigurumi rooster.