How to Crochet a Stunning Dual Colored Flower
Crocheting is an art form, and creating vibrant decorations like the dual-colored flower is a delightful way to explore your creativity. This tutorial guides crafters of all levels—beginner to expert—through an easy-to-follow method for crafting a stunning flower that combines light and dark pink hues. Perfect for embellishing garments, home decor, or gift wrapping, the project emphasizes simplicity while producing exquisite results using only basic tools.

Crochet Dual Colored Flower
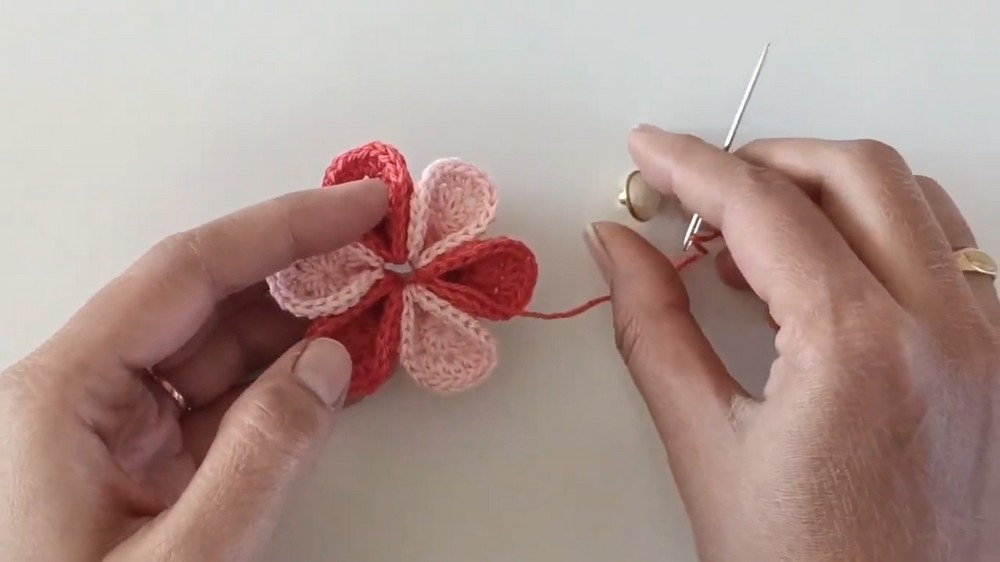
A standout feature in this tutorial is the creative step-by-step construction of petals from six flat circles. Each set of circles—three in one color and three in another—is precision-stitched to alternate colors, lending a striking dual-tone effect. The final touch involves securing a delicate beaded button at the center of the flower, combining functionality with beauty. This innovative method ensures uniformity and a professional finish, setting your creation apart from traditional crochet floral patterns.
Credit Dream Weaver Crochet
Pattern Highlights
- Technique: The petals are shaped using tapestry needle stitching, turning flat circles into dimensional floral elements.
- Design: Alternating colors in the petal arrangement creates a bold dual-toned look that is both simple and eye-catching.
Step-by-Step Pattern
Materials
To make your dual-colored crochet flower, gather the following materials:
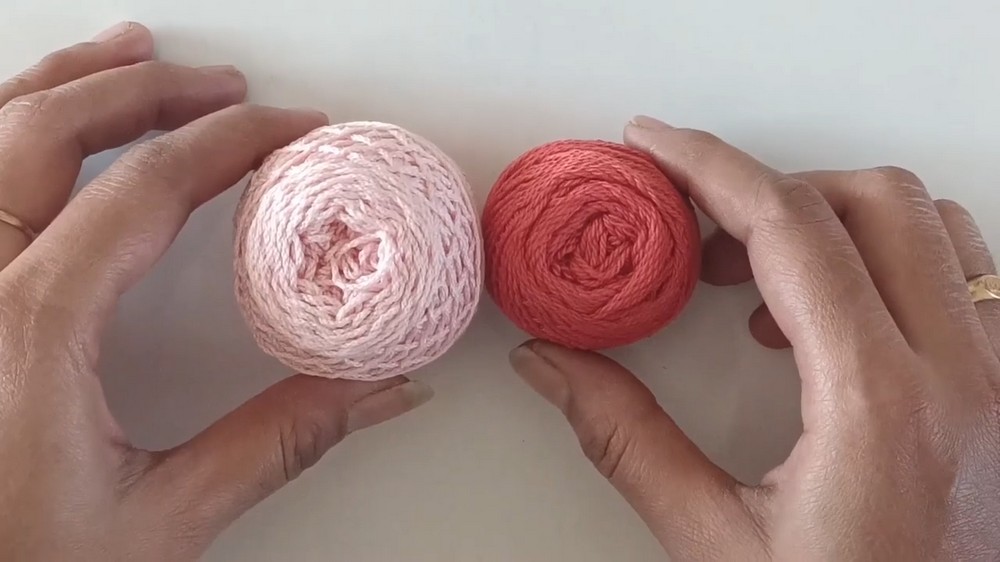
- Yarn: Two colors of yarn (e.g., light pink and dark pink). Choose any yarn weight that suits your preference, keeping in mind that thinner yarns create smaller flowers, while thicker yarns lead to larger designs.
- Hook size: A 2.5 mm crochet hook.
- Scissors: For trimming excess yarn ends.
- Tapestry needle: Used for sewing petals together and attaching embellishments.
- Beaded button: A decorative bead or button for the center of the flower.
Optional: Use a stitch marker if needed to mark your starting point for rounds.
Stitch Guide
Here are the basic crochet stitches and techniques you’ll use for this project:
- Magic Circle: A technique to start crochet projects that require working in the round. Wrap your yarn around your fingers to create a loop, then secure it with a chain.
- Half Double Crochet (HDC): Yarn over, insert your hook into the stitch, yarn over again, pull through the stitch, yarn over a final time, and pull through all three loops on the hook.
- Slip Stitch (Sl st): Insert your hook into the stitch, yarn over, and pull the loop through the stitch and the loop on your hook (used for ending rounds).
- Sewing: Using a tapestry needle, sew pieces together and affix the beaded button in the center.
Notes and Tips
Here are a few helpful notes to customize your flower:
- Gauge adjustments: If you prefer a larger flower, use a larger hook size and thicker yarn. For smaller flowers, use finer yarn and a smaller hook.
- Color Customization: Experiment with contrasting or complementary color combinations for a unique look.
- Flower arrangements: These crocheted flowers can be used as appliques on clothing, accessories, or home decor items like pillows.
- Alternate center embellishment: Instead of a bead, you can create an embroidered center or crochet a small circle for the middle.

Pattern Instructions
Step 1: Create Flat Circles
- Begin with a magic circle.
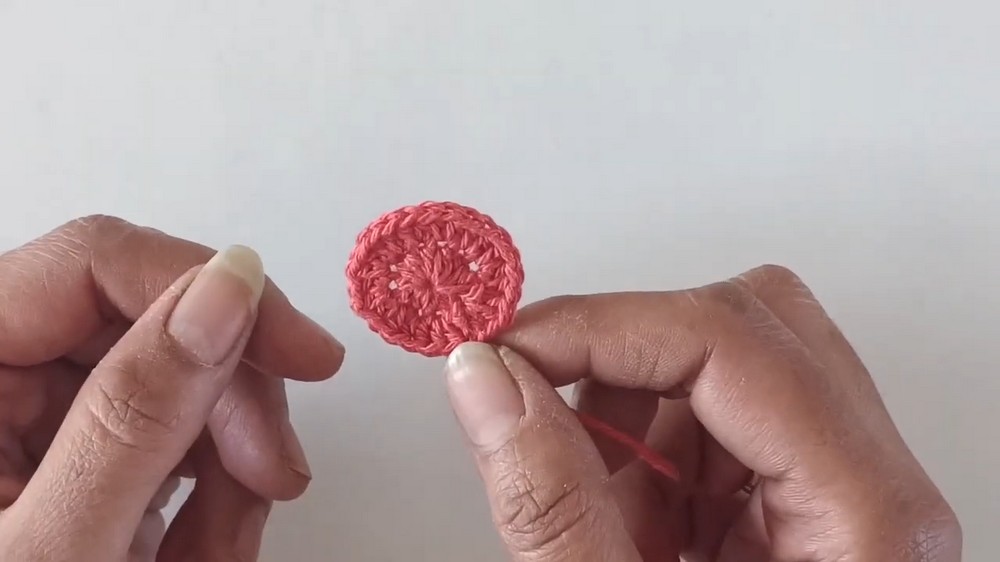
- Work 12 half-double crochets (HDC) into the magic circle.
- Pull the tail of the magic circle to close it, forming a tight circle. Join the round with a slip stitch into the first HDC.
- For Round 2, chain one, and into the first stitch work 2 HDC. Continue working 2 HDC into each stitch around.
- By the end of Round 2, you will have 24 HDC. Slip stitch into the first stitch to complete the round.
- Cut the yarn, leaving a long tail for sewing later.
- Repeat these steps to create six flat circles:
- Work three circles in Color A (e.g., dark pink).
- Work three circles in Color B (e.g., light pink).
Step 2: Shape the Petals
- Thread the long yarn tail from each flat circle into a tapestry needle.
- To shape the petal:
- Locate the stitch where you slip-stitched to complete the circle.
- Insert the needle two stitches before the slip-stitch point, then pull the yarn.
- Then, insert the needle two stitches after the slip-stitched point and pull the yarn again. This creates a petal shape.
- Repeat this process for each flat circle.
- Arrange the petals with alternate colors (e.g., dark pink next to light pink).
- Sew the petals together securely using the tapestry needle, ensuring they are closely bonded and hold their flower shape.
Step 3: Add Decorative Center
- Thread your decorative beaded button using the tapestry needle and affix it snugly in the flower’s center.
- Flip the flower over and tie knots on the back to secure the bead firmly in place.
- Trim any excess yarn tails or weave them into the back of the flower.