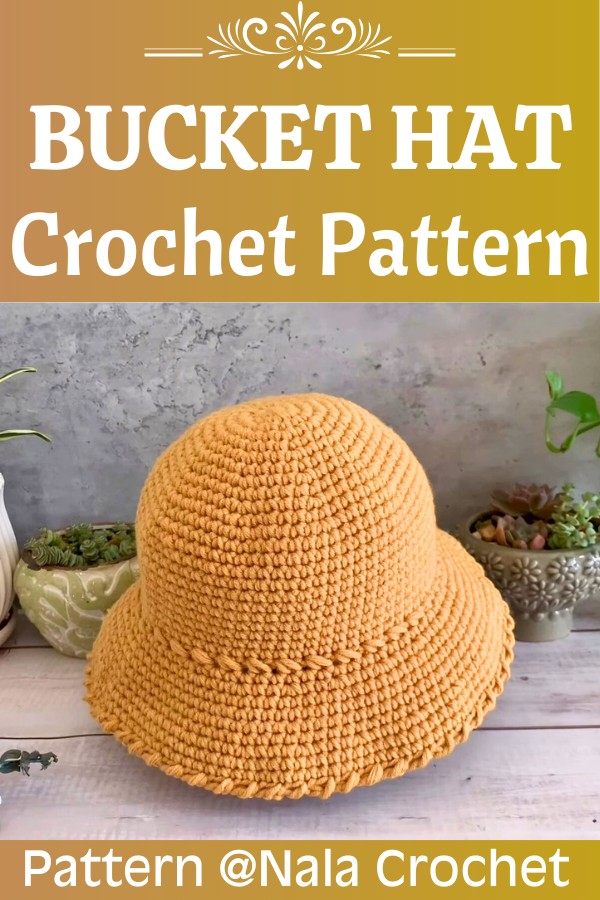
This classic crochet bucket hat combines style and practicality, making it the perfect accessory for sunny outings or casual wear.

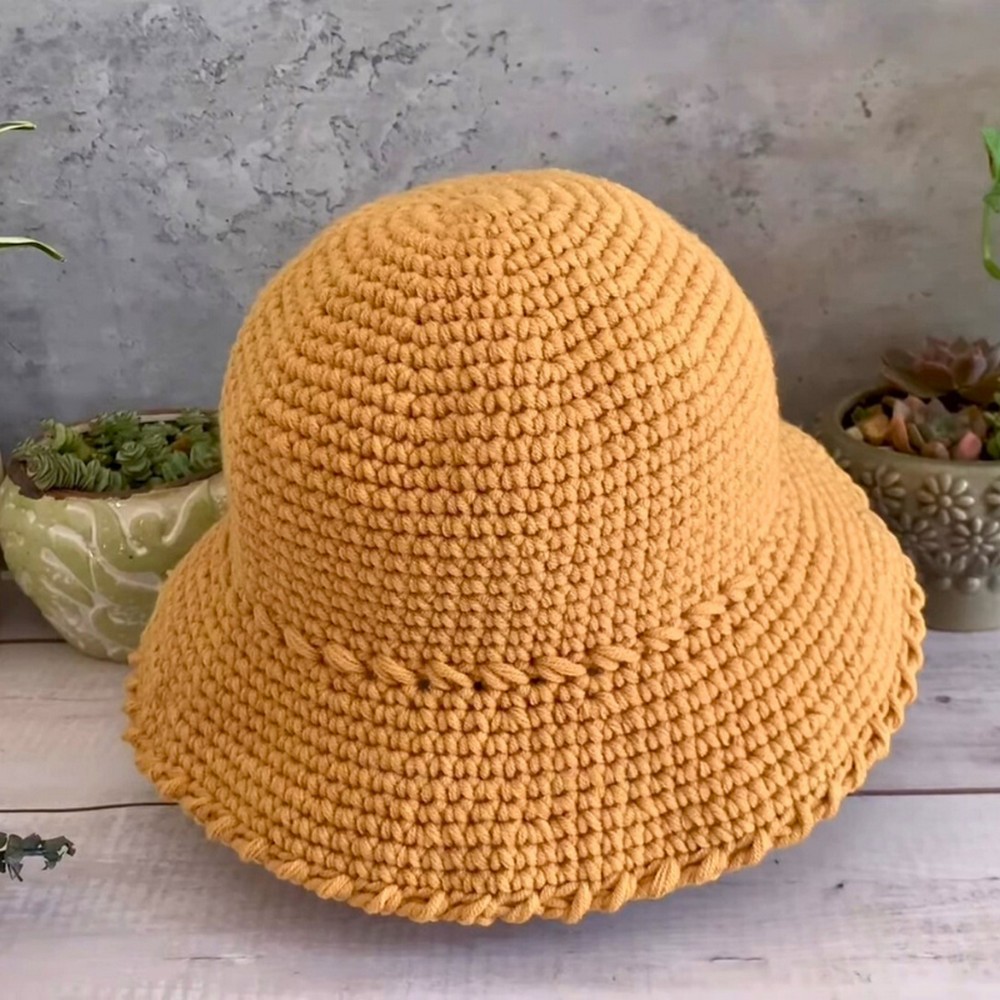
A crochet bucket hat is a stylish and lightweight accessory that works perfectly for sunny outings or a casual day out. This version with a braided band adds a unique twist, making it both fashionable and charming. It’s a lovely wearable piece that combines fun and function, helping to keep the sun off while pairing well with any outfit.
How to Crochet a Stylish Bucket Hat
What makes this hat special is its versatility, perfect for summer walks, days at the beach, or even as a thoughtful handmade gift. The braided band gives it an extra pop of personality, setting it apart from other bucket hats. Beginners can enjoy creating this hat because it’s not overly complicated and offers a chance to learn while making something useful. If you’re new to crochet or an experienced crocheter, the design is simple yet striking.
Credit Nala Crochet
Key Features and Construction Overview:
- Starts with a magic ring for a seamless, rounded crown.
- Gradual, strategic increases shape the top and sides of the hat.
- The straight-sided body creates the “bucket” look.
- Flared brim adds a stylish and functional finishing touch.
- Versatile design allows for easy adjustments to size, color, and brim width.
How It’s Made:
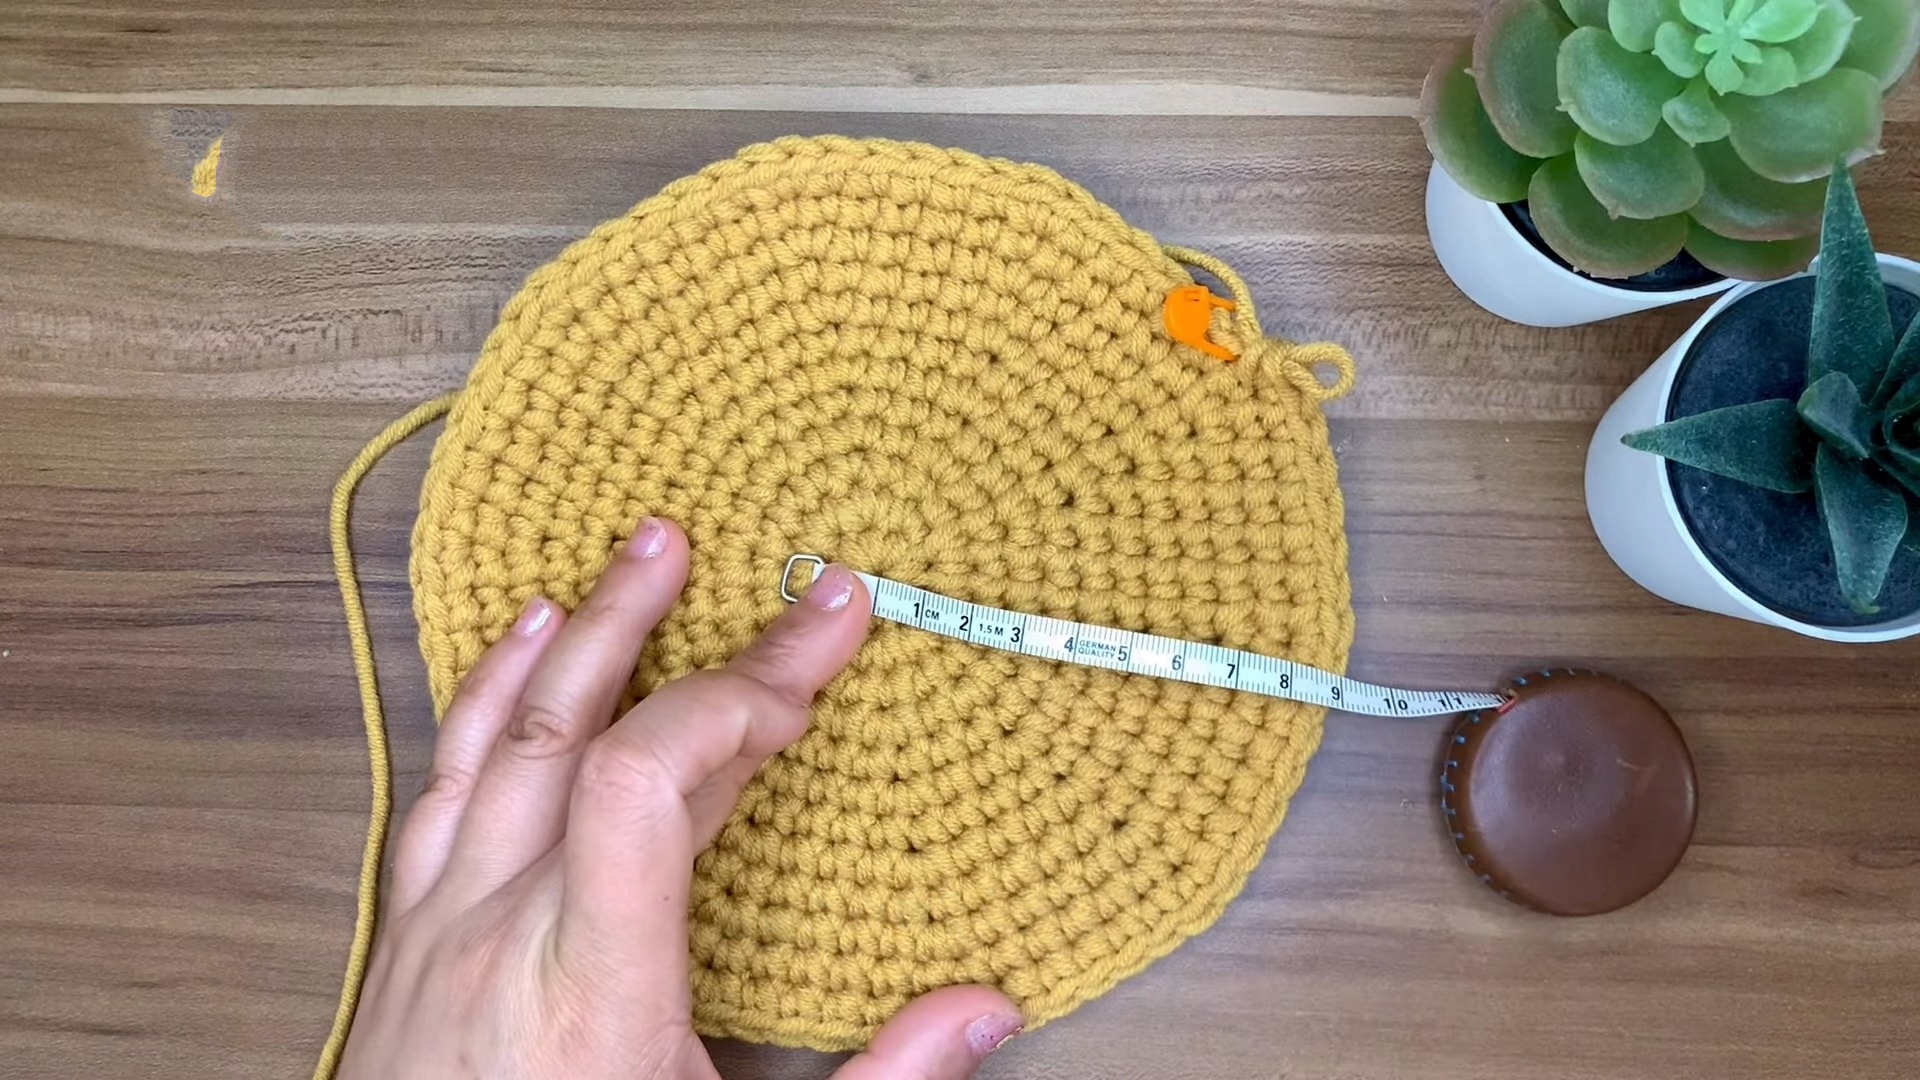
This bucket hat begins with the foundation of many great crochet pattern: the magic ring. Stitched tightly into this loop are six single crochets, creating a clean, flat center for the crown. From here, the hat grows outward with rounds of evenly spaced increases. For each round, the pattern makes clever use of single crochet stitches paired with increases to form the dome shape. The technique is simple yet effective, allowing crocheters of all skill levels to achieve a professional look.

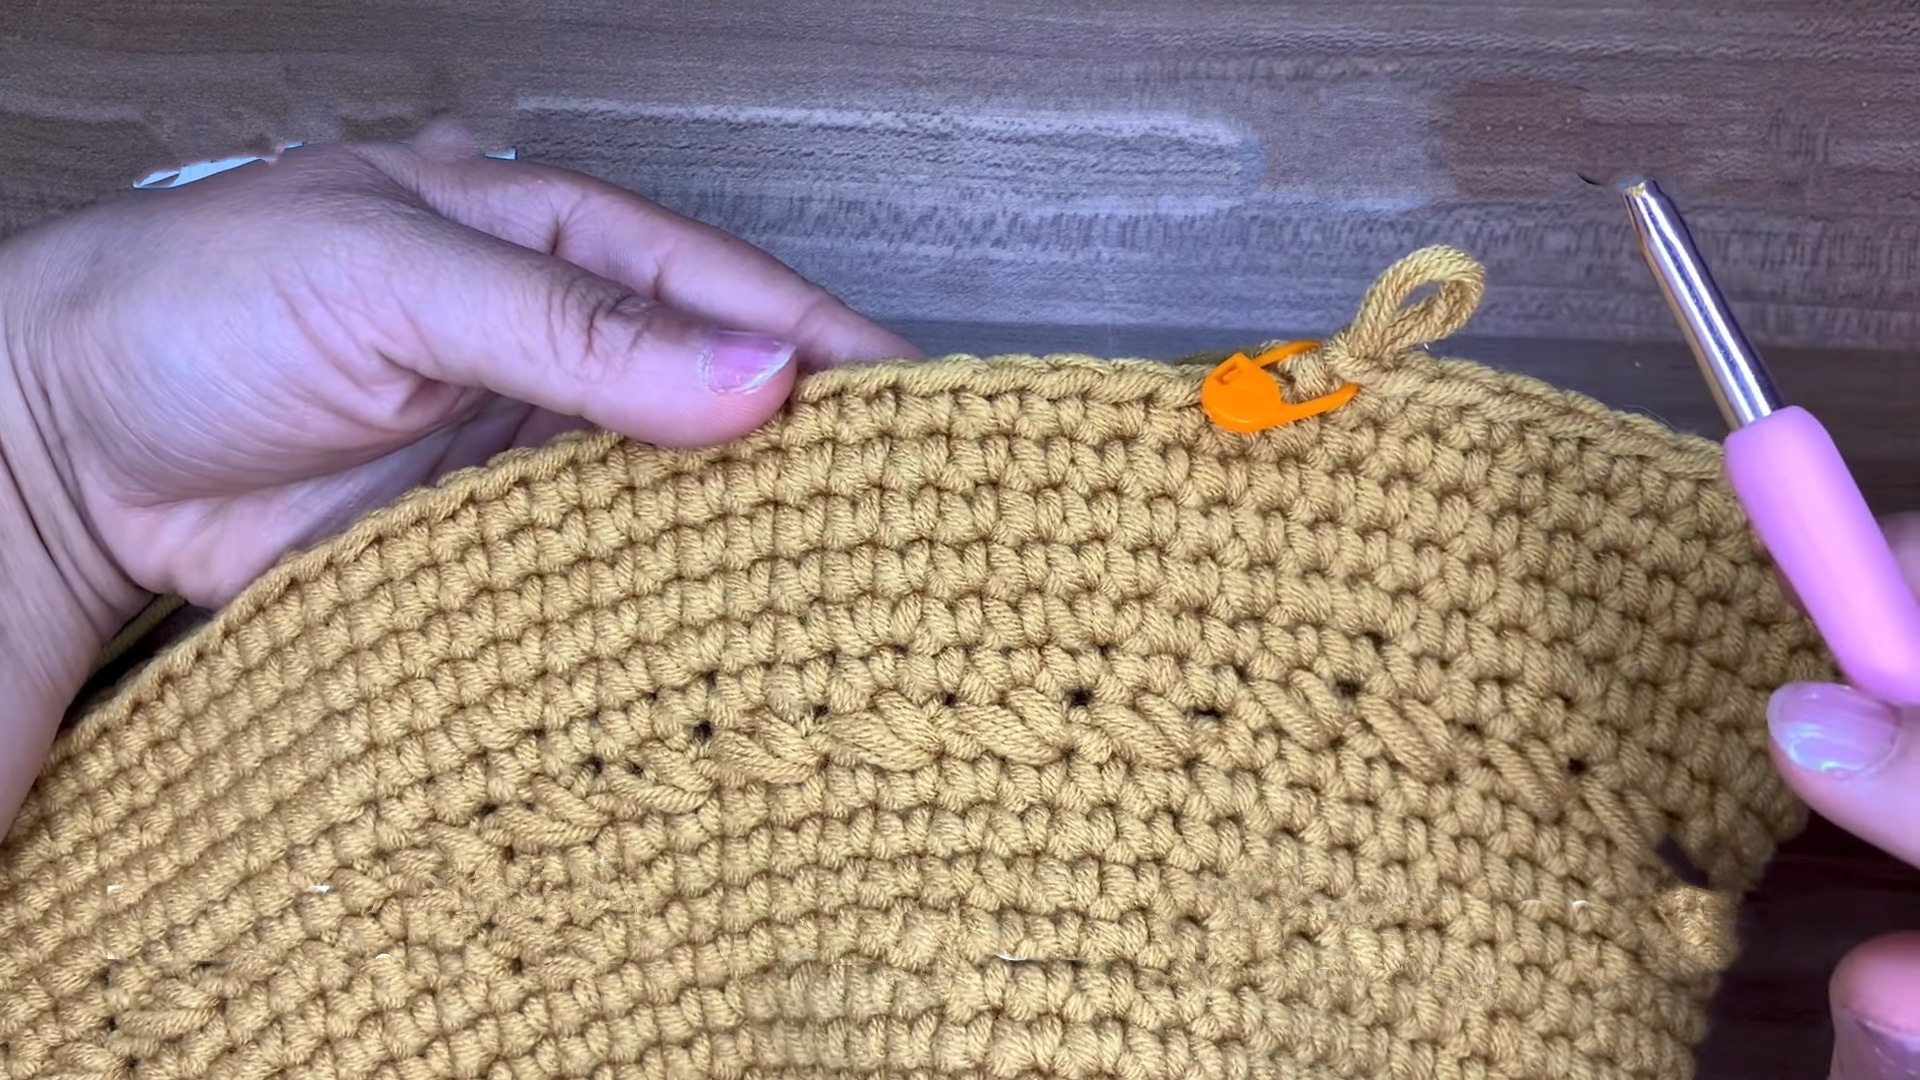
Once the crown’s diameter matches the size of your head, the pattern transitions smoothly into the body of the hat. This section is worked evenly in single crochet across several rounds, building the straight sides that give the bucket hat its signature structure. With no increases, the rhythm becomes relaxing and meditative, perfect for creative experiments like adding stripes or switching up colors.
The brim, the finishing touch of the design, involves reintroducing increases to gently widen the edges. The pattern suggests spacing increases every few stitches, creating a flared look that’s both stylish and functional. The brim width can be customized to your liking—whether you want a narrow accent or a bold, sun-blocking edge. For extra polish, end with a slip stitch border or experiment with crab stitch for a textured finish.
Finally, the hat is fastened off, and all loose ends are tidied with a tapestry needle. If desired, gentle blocking can be used to shape the brim and flatten edges, ensuring your hat looks crisp and professional.
Video Tutorial
Materials Needed
- Yarn (Medium, Weight 4)
- Crochet hook (5.0 mm)
- Stitch markers
- Tapestry needle
- Scissors
Detailed Pattern Instructions
- Top of the Hat:
- Start with a magic ring.
- Round 1: Ch 1, make 6 sc in the ring. Tighten the ring and join with a sl st. (6 sts)
- Round 2: Ch 1, 2 sc in each st around. Join with a sl st. (12 sts)
- Round 3: Ch 1, (1 sc in next st, 2 sc in next st) repeat around. Join with a sl st. (18 sts)
- Round 4: Ch 1, (1 sc in each of next 2 sts, 2 sc in next st) repeat around. Join with a sl st. (24 sts)
Continue increasing until you have a diameter suitable for the crown of your head.
- Body of the Hat:
- Once the desired diameter is achieved, ch 1 and sc in each st around without increasing for several rounds. Join with a sl st at the end of each round.
- This will create the straight sides of the hat.
- The Brim:
- Start increasing again: Ch 1, (1 sc in each of next 3 stitches, 2 sc in next st) repeat around. Join with a sl st.
- Continue to crochet the brim by adding rounds without increasing based on the desired width of the brim.
- Finishing:
- Fasten off and weave in the ends with a tapestry needle.
Troubleshooting and Suggestions:
- Managing Crown Ripples or Waves: If the crown buckles or ripples, double-check your stitch counts. Too many increases can result in waves, while too few may cause the pattern to curl inward. Use stitch markers to separate sections for easier tracking.
- Balancing Brim Curl: If the brim curls up or flops too much, adjust your tension by tightening your stitches or switching to a smaller hook size. Blocking can also help stabilize the brim and achieve the curve you want.
- Creative Color Play: The body of the hat provides ample room for experimentation. Add stripes, use variegated yarn, or alternate colors between rounds for a playful, one-of-a-kind look.
- Embellishments and Design Variations: Personalize your hat by adding crochet appliqués (like flowers or stars), embroidery, or even pom-poms. You can also make a smaller version for kids or use cotton yarn for a breathable summer hat.
- Alteration for Size: Larger hats can be made by adding more increase rounds to the crown, while smaller hats require fewer. Pay attention to the head circumference before transitioning into the body to ensure the right fit.