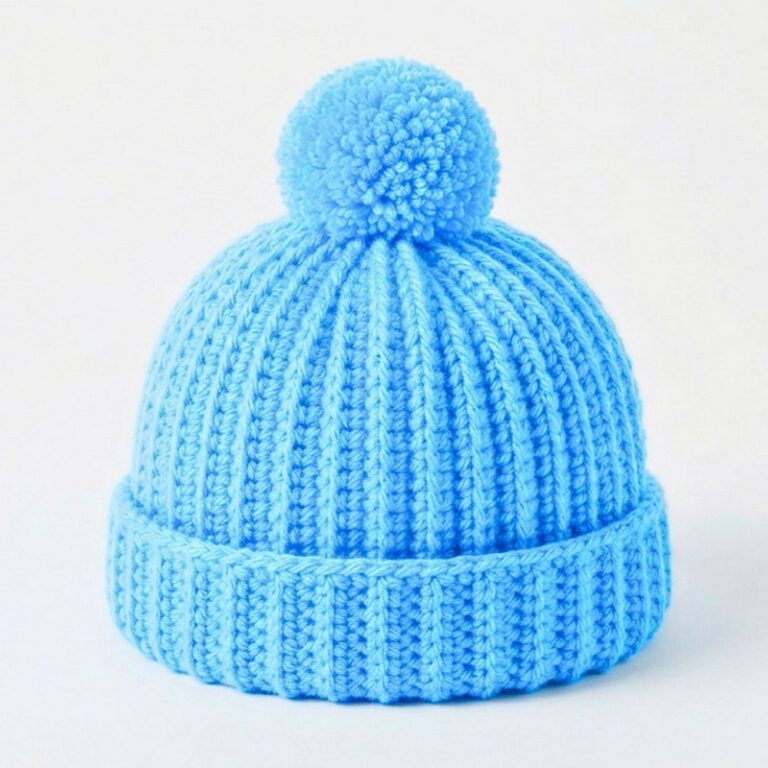
Learn to Crochet an Adorable Baby Hat (0–3 Months)
This adorable crochet baby hat is light, cozy, and perfect for infants aged 0–3 months, featuring charming textures and playful details that make it a thoughtful handmade gift.
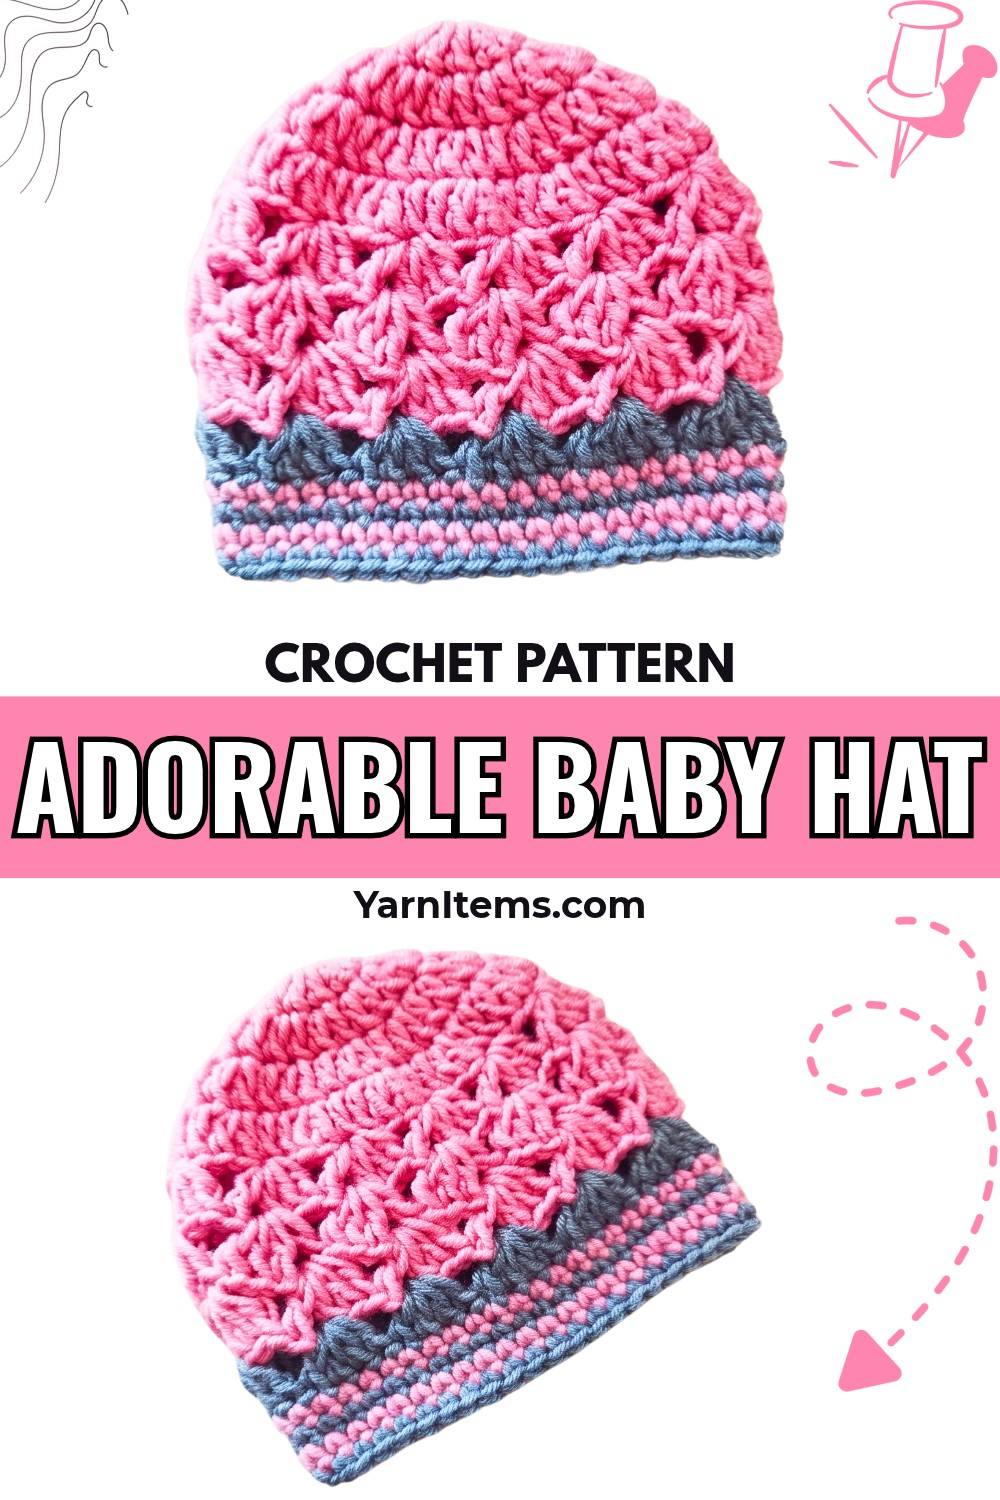
This adorable crochet baby hat is perfect for newborns aged 0–3 months. It’s soft, cozy, and a thoughtful way to bring warmth and style to a little one’s first months. With a delicate yet vibrant design, this crochet hat can be a lovely gift or just a cute accessory to keep your baby’s head snug. Its timeless look and playful pattern make it stand out in any baby’s wardrobe.
Crochet Baby Girl Hat For 0-3 Months
Making this crochet hat is easy and enjoyable, even for beginners. Using two colors of medium-weight yarn and basic materials like a crochet hook, scissors, and a yarn needle, you can crochet something truly special. The stitchwork features pretty textured rows and neat finishes, giving the hat a polished appearance. If you’re new to crochet or looking for a quick, satisfying activity, this baby hat tutorial is a welcoming place to start.
Credit Crochet With Anna
Key Features and Construction:
- Made with medium-weight yarn and a 5 mm crochet hook for a soft, cozy texture.
- Worked in the round, starting from the crown using double crochet stitches.
- Includes a gradual increase over several rounds to shape the hat and ensure a comfortable fit.
- Features playful texture and a lace-like shell pattern starting on round five.
- Alternating rounds of single crochet add structure and a clean finish.
- Designed with two yarn colors for a charming, polished look.
How To Make:
This charming baby hat starts at the crown with simple increases worked in the round using double crochet stitches. The base of the hat is formed through increasing the stitch count across the first four rounds, creating a sturdy yet flexible structure that comfortably rests on a newborn’s head. Once the desired size is achieved, the increases stop, and the focus shifts to incorporating decorative stitch patterns and textures.\

The standout feature of this hat is the lace-like shell stitch pattern introduced in the fifth round. This is created by combining double crochet clusters, chain stitches, and well-placed skipped stitches, giving the hat a playful and airy design. After establishing the pattern, subsequent rounds continue to build upon these shells for an elegantly layered look.

To add visual interest and structure, the design alternates between rows of texture-rich shell stitches and simple single crochet rounds. This not only enhances the visual effect but also strengthens the hat for everyday use. Changing yarn colors toward the end adds a delightful touch, making the hat even more vibrant and versatile. Finally, the hat is given a neat border with single crochet rounds, worked seamlessly and alternating colors for a polished finish.

The addition of two yarn colors helps bring depth and charm to this already adorable design. The smooth transitions between the colors are subtle but impactful, giving crocheters room to experiment with other vibrant combinations or more subdued tones depending on the occasion.

Video Tutorial
Step-by-Step Pattern
Materials
To crochet this adorable baby hat, you’ll need:
- Yarn: Two colors of medium-weight yarn (Category 4).
- Hook: 5 mm crochet hook.
- Optional Tools: Yarn needle (for weaving ends) and scissors.
Crochet Pattern Instructions
Follow these steps to create the 0–3 month baby girl crochet hat:
Round 1
- Make a slip knot, then chain 3.
- Join to the first chain with a slip stitch to form a ring.
- Chain 2 (counts as the first dc).
- Crochet 11 dc into the ring.
- Join with a slip stitch to the first stitch to complete the round. (Total: 11 stitches).
Round 2
- Chain 2.
- Make 2 dc in each stitch around.
- At the end of the round, join with a slip stitch to the first stitch. (Total: 22 stitches).
Round 3
- Chain 2.
- Pattern sequence: Crochet 1 dc in the first stitch, then 2 dc in the next stitch. Repeat this sequence around.
- Join with a slip stitch to the first stitch. (Total: 33 stitches).
Round 4
- Chain 2.
- Pattern sequence: Crochet 1 dc in the first 2 stitches, then 2 dc in the third stitch. Repeat this sequence around.
- Join with a slip stitch to the first stitch. (Total: 44 stitches).
Note: Stop increasing after this round.
Round 5
- Chain 2.
- In the next stitch: Crochet 1 dc, chain 1, and 3 dc in the same stitch.
- Skip 3 stitches. Repeat the pattern (1 dc, chain 1, 3 dc) in the next stitch.
- Work this sequence around, skipping 3 stitches between clusters.
- At the end of the round, join with a slip stitch to the first stitch.
Round 6
- Chain 2.
- In the first chain-1 space: Crochet 3 dc, chain 1, and 1 dc.
- Repeat this pattern in each chain-1 space around.
- Join with a slip stitch to the first stitch.
Round 7
- Chain 2.
- In the first chain-1 space: Crochet 1 dc, chain 1, and 3 dc.
- Repeat this pattern in each chain-1 space around.
- Join and switch to the second yarn color.
Round 8
- Chain 2.
- In every chain-1 space: Crochet 4 dc.
- Repeat around and join with a slip stitch.
- Switch back to the first yarn color.
Round 9
- Chain 1.
- Crochet 1 sc in every stitch around.
- Join and switch to the second yarn color.
Round 10–12
- Repeat Round 9 twice more, alternating between the two yarn colors.
- In the final round (Round 12), finish the hat by cutting the yarn and weaving in the ends with a needle.
Troubleshooting and Suggestions:
- Maintaining Consistency in Stitch Counts: Use a stitch marker to keep track of the first stitch in each round, especially during the initial increasing rounds. Miscounting could distort the hat’s shape.
- Shell Stitch Placement: Take care when skipping stitches in the shell pattern. Missing or misaligning a shell cluster can throw off the symmetry of the design.
- Color Changes: For smooth, clean color transitions, change yarns when completing the final pull-through of the last stitch in a round.
Creative Modifications:
- Try using gradient or variegated yarns for a unique color blend.
- Add embellishments like a crocheted flower, small pom-poms, or a playful bow for extra flair.
- Upscale the hat for larger sizes by adding more increasing rounds at the start and continuing the pattern as described.