Free Crochet Christmas Tree Hair Clip Pattern
Turn a simple crochet triangle into a tiny Christmas tree hair clip with an easy row-by-row shape, a short brown trunk, and delicate embroidered holiday details.
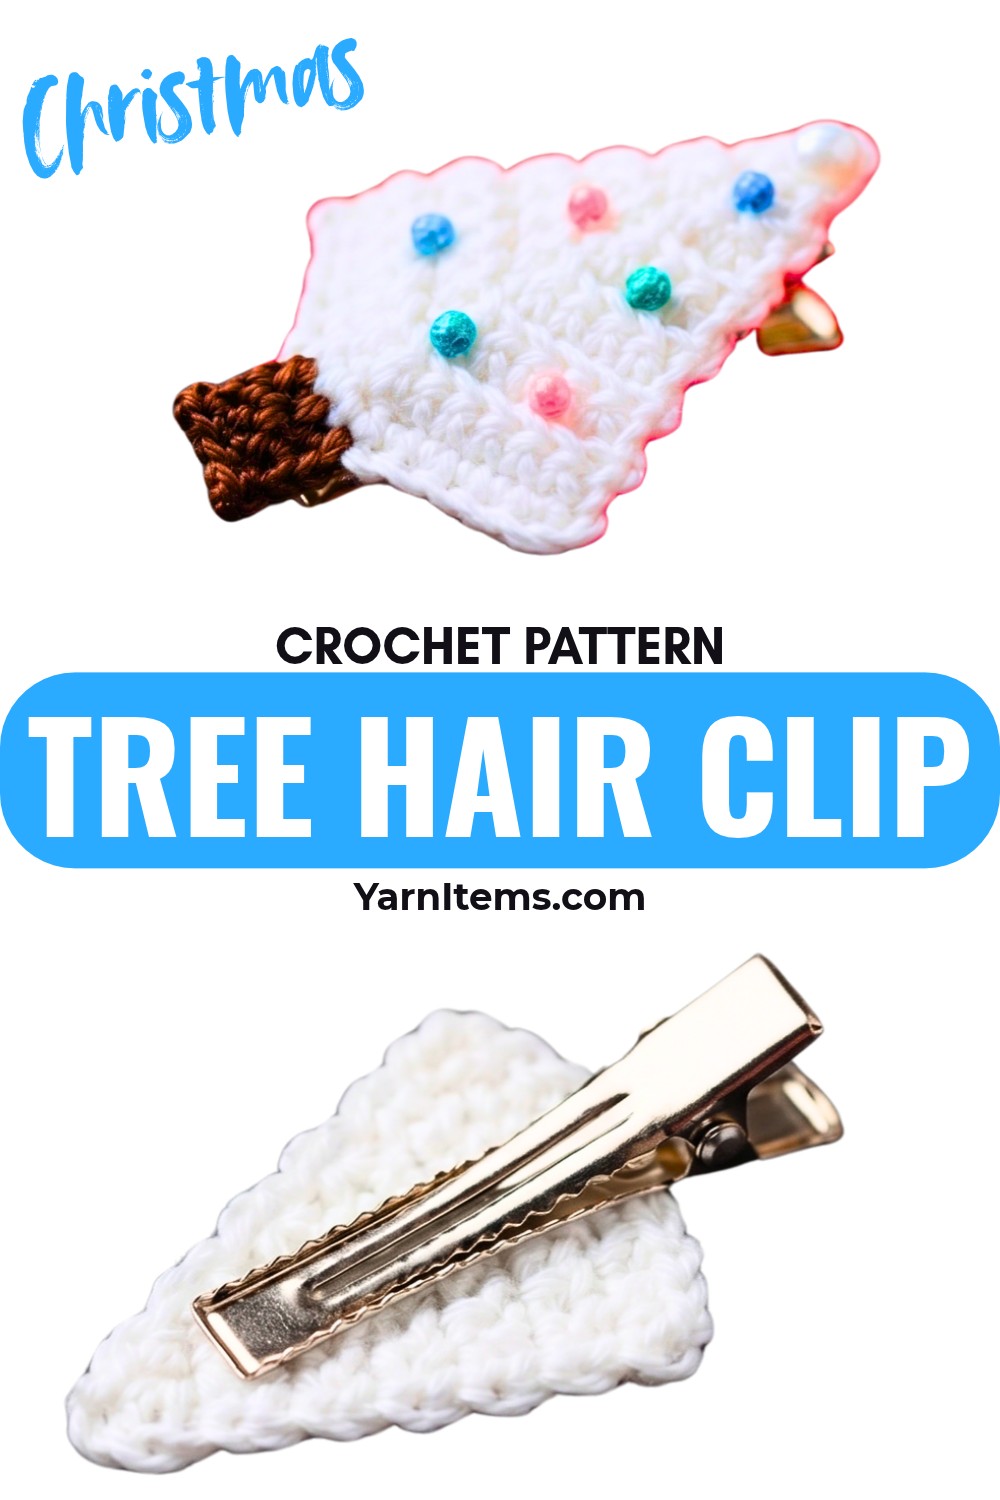
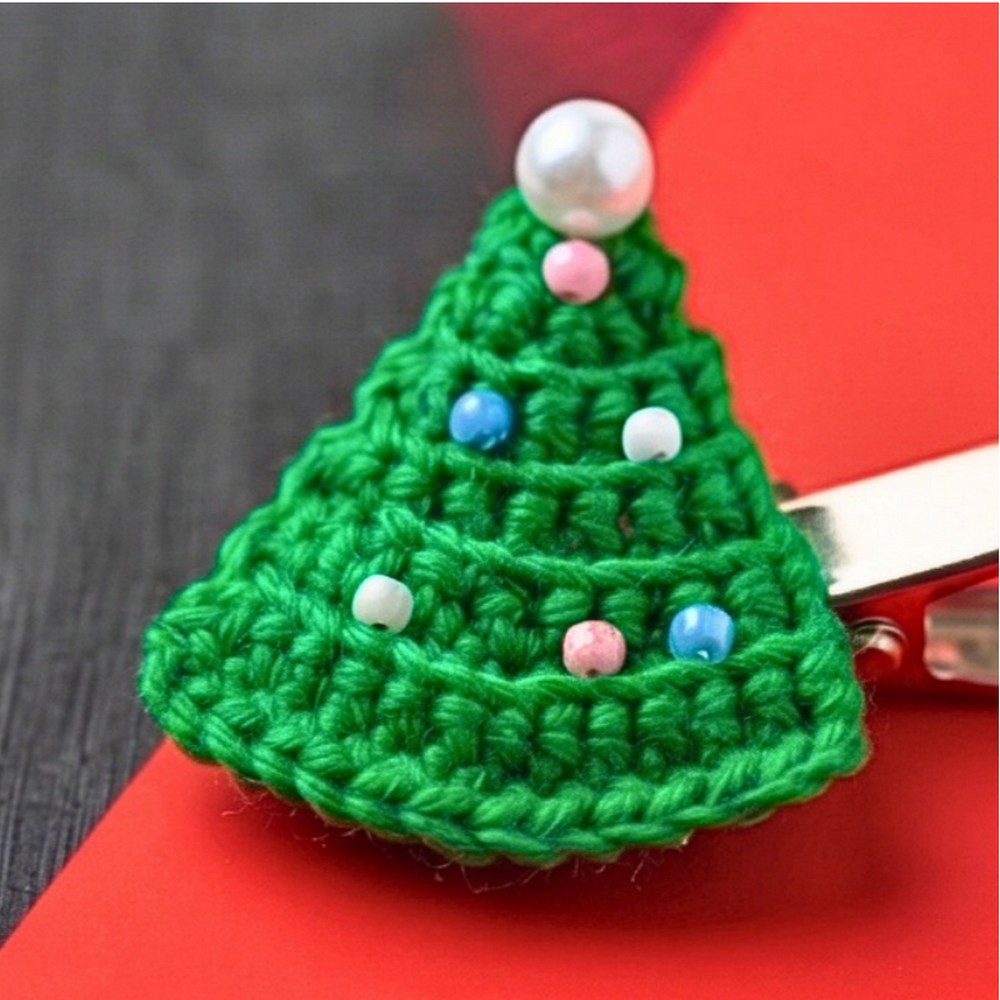
A tiny Christmas tree becomes a festive hair accessory with just a few basic crochet stitches and some colorful embroidery. The green triangle is worked flat, with each row becoming smaller until the tree reaches its pointed top.
Once the tree is shaped, a small brown trunk is added to the center of the base before the crochet piece is secured to a metal hair clip. French knots and simple embroidered stitches can give it the look of tiny crochet ornaments and falling snow without adding much bulk.
Credit karma crochet
Materials Needed
- Crochet hook – 0.5 mm is used in the video
- Embroidery floss or fine yarn in green for the tree and brown for the trunk
- Metal hair clip
- Craft glue
- Needle and thread for decorating
Crochet Terminology
- ch – chain
- sc – single crochet
- dec – decrease
Before You Begin
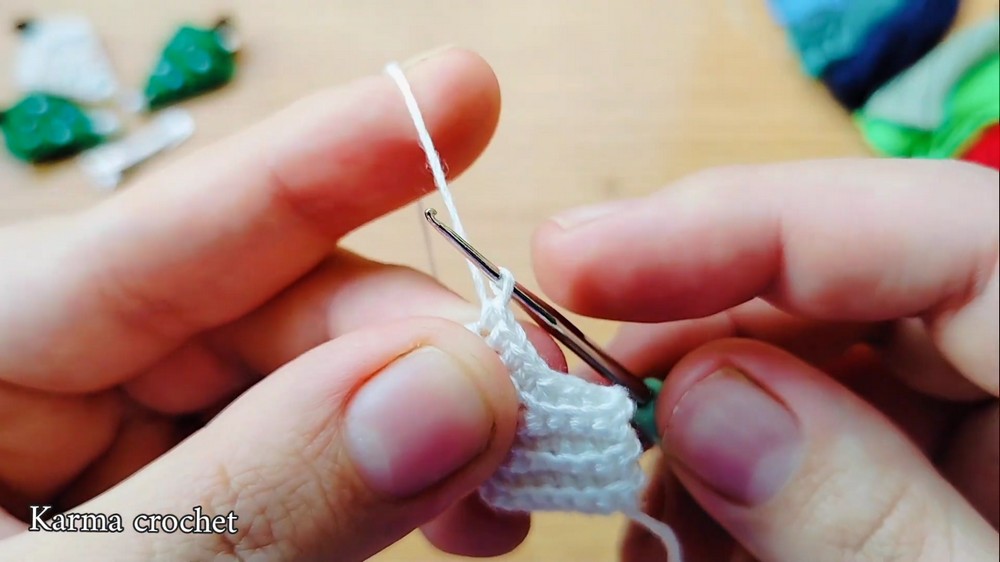
The green tree is crocheted flat, back and forth in rows. At the end of every row, chain 1 and turn before working the next row.
The stitch count decreases by one stitch on each row. This gradual reduction creates the triangular shape, so keeping track of the stitch count is especially helpful as the tree gets smaller.
Why the Stitch Count Decreases
The single decrease in each row is what gradually narrows the tree. As you move from the 13 stitches in Row 1 down to the final decrease in Row 13, the sides naturally slope inward toward the top.
What to Check Before the Next Row
After completing each row, quickly check the stitch count shown in the pattern. If the count is incorrect, it is much easier to find the missed or extra stitch before continuing to the next row.
Step-by-Step Crochet Christmas Tree
Green Tree
Start with the green yarn and chain 15 to create the foundation.
Row 1: 6 sc, 1 dec, 6 sc. (13 sts)
Row 2: Ch 1, turn. 5 sc, 1 dec, 6 sc. (12 sts)
Row 3: Ch 1, turn. 5 sc, 1 dec, 5 sc. (11 sts)
Row 4: Ch 1, turn. 4 sc, 1 dec, 5 sc. (10 sts)
Row 5: Ch 1, turn. 4 sc, 1 dec, 4 sc. (9 sts)
Row 6: Ch 1, turn. 3 sc, 1 dec, 4 sc. (8 sts)
Row 7: Ch 1, turn. 3 sc, 1 dec, 3 sc. (7 sts)
Row 8: Ch 1, turn. 2 sc, 1 dec, 3 sc. (6 sts)
Row 9: Ch 1, turn. 2 sc, 1 dec, 2 sc. (5 sts)
Row 10: Ch 1, turn. 1 sc, 1 dec, 2 sc. (4 sts)
Row 11: Ch 1, turn. 1 sc, 1 dec, 1 sc. (3 sts)
Row 12: Ch 1, turn. 1 sc, 1 dec. (2 sts)
Row 13: Ch 1, turn. 1 dec. (1 st)
Fasten off and weave in the end.
How the Triangle Takes Shape
Notice that the decrease stays in the middle portion of every row while the number of stitches on either side becomes smaller. This repeated reduction is what keeps the tree pointed rather than creating a lopsided edge.
When to Check the Finished Triangle
After Row 13, lay the green piece flat and look at both sloping sides before attaching the trunk. If one side looks uneven, check the row counts first; the triangle should narrow consistently toward its single top stitch.
Brown Tree Trunk
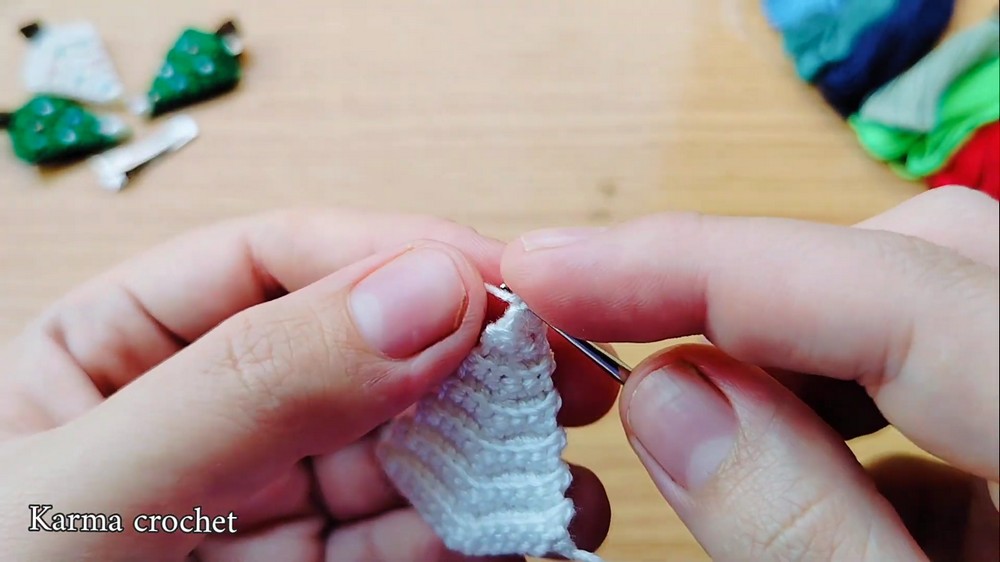
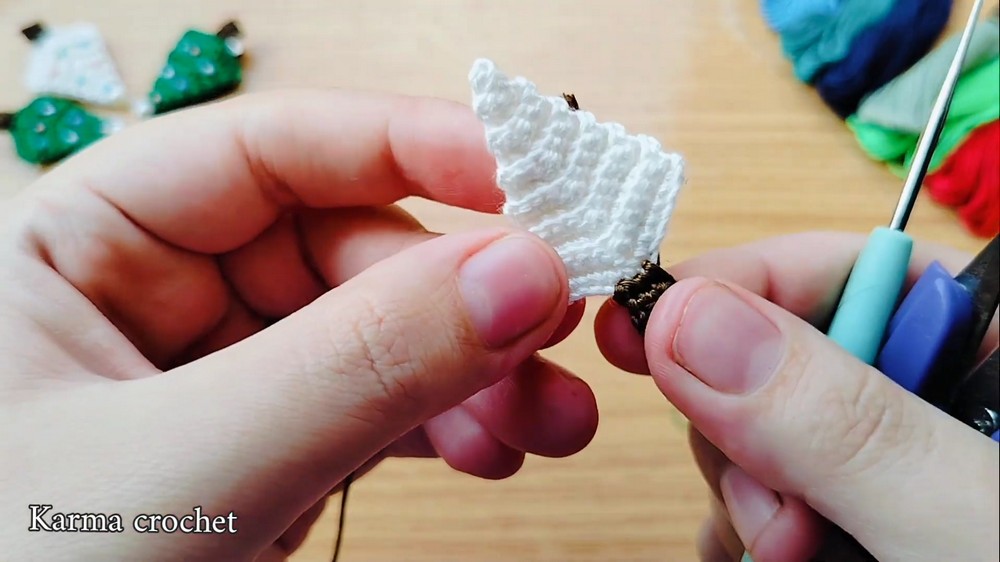
Attach the brown yarn to the center base of the completed green triangle.
Trunk: Chain 1, then work 3 sc into the base.
Work back and forth for a few rows of 3 sc until the trunk reaches your desired length, then fasten off and weave in the ends.
Why the Trunk Starts at the Center
The green tree has a wide base, so attaching the brown yarn at its center gives the trunk a balanced position underneath the triangle. This also helps the finished tree sit more naturally on the hair clip.
How to Keep the Trunk Straight
Before adding several rows, check that the three stitches sit directly beneath the middle of the green tree. If the first row is off-center, the trunk will continue from that position as you work upward.
Decorating the Tree
Use a needle and colorful threads to add small details such as French knots, tiny ornament-like stitches, or snow-inspired embroidery.
Where to Place the Decorations
Spread the embroidered details across the green triangle rather than concentrating them in one area. Leave enough green space around the stitches so the triangular shape remains easy to see.
Because the tree is small, only a few decorative stitches are needed to give it a finished Christmas look.
Attaching the Hair Clip
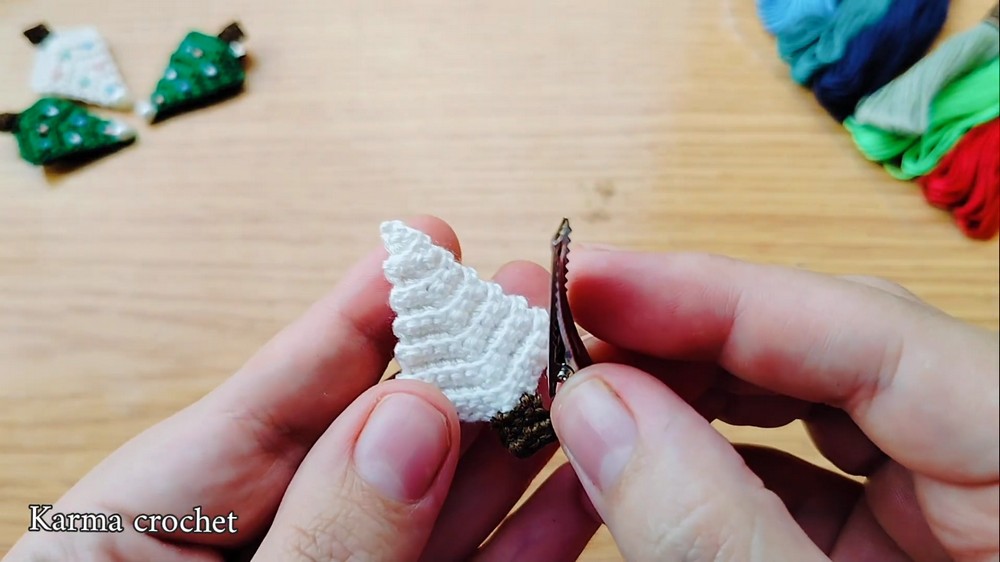
Apply a strong craft glue to the metal hair clip and press the back of the crochet tree firmly onto it.
How to Center the Crochet on the Clip
Before the glue sets, look at the tree from the front and check that the trunk and triangle are aligned with the middle of the clip. Dry-positioning the crochet piece first makes it easier to correct the placement before the glue is applied.
Allow the glue to dry completely before handling or wearing the hair clip.
What to Check Before Using the Hair Clip
Make sure the crochet tree is firmly attached and that the metal clip can still open and close normally. Check the embroidered details as well, securing any loose thread ends before use.
Finishing
Once the glue has fully dried, the crochet Christmas tree hair clip is ready to wear or give as a handmade holiday accessory. The finished piece combines the simple triangular crochet shape with a small trunk and colorful embroidered details for a compact seasonal design.