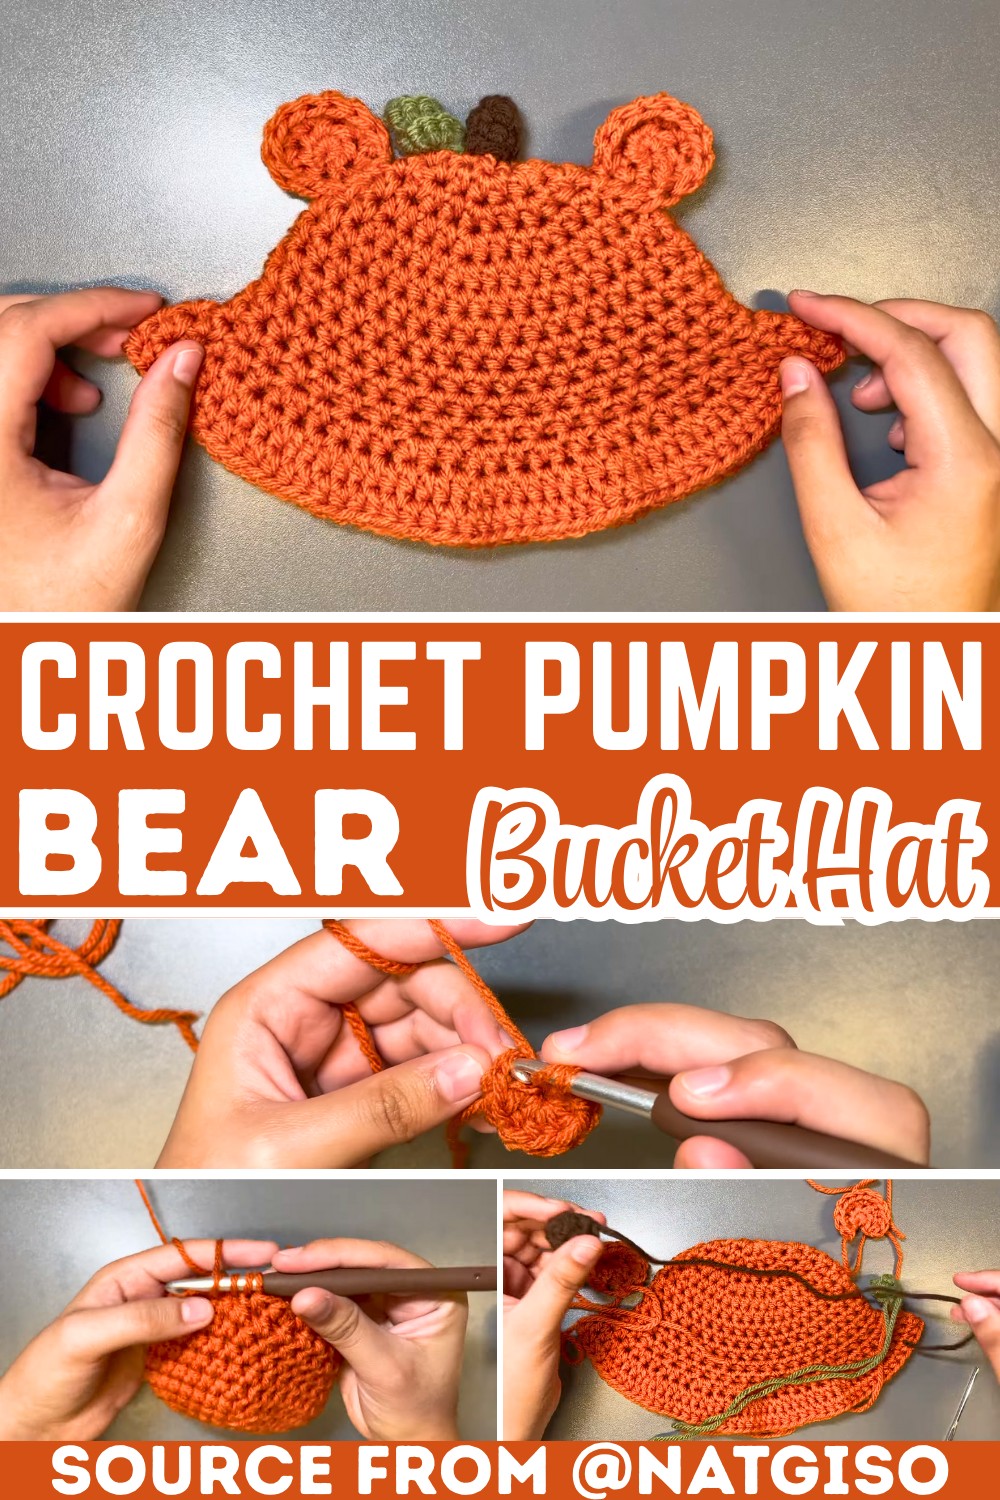
Learn to Make a Crochet Pumpkin Bear Bucket Hat
A bucket hat becomes instantly more memorable when playful bear ears meet the cozy charm of a pumpkin. This adorable crochet piece blends seasonal style with everyday comfort, creating an accessory that’s both eye-catching and practical.
The textured details, from the curled vine to the little stem, give it a handcrafted finish that stands out beautifully. It’s a fun piece to make for autumn outings, festive celebrations, or anyone who loves cute wearable crochet.
Crochet Pumpkin Bear Bucket Hat
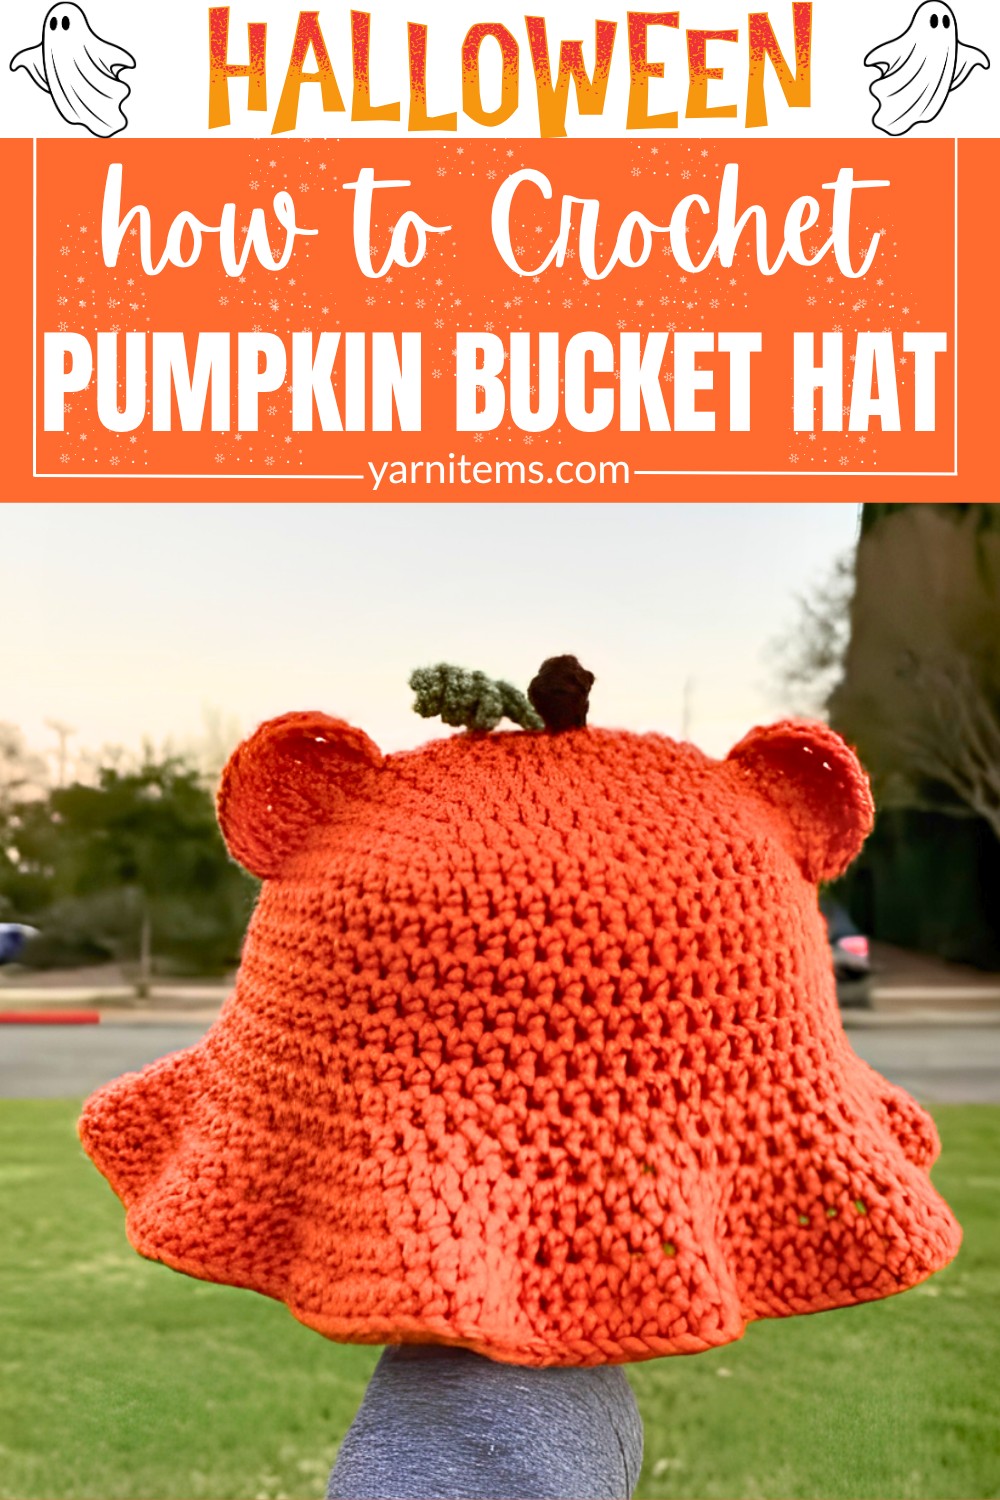
Thoughtful shaping and simple stitches come together to build the hat from the crown to the brim before adding the decorative crochet details. The guide below includes the materials, stitch abbreviations, sizing notes, assembly steps, and clear instructions needed to complete each part with confidence. You’ll also find helpful customization ideas for adjusting the fit and experimenting with different color combinations. The finished piece is warm, comfortable, and full of personality, making it a delightful addition to any crochet handmade collection.
Credit natgiso
The Smart Shopping List for This Pattern
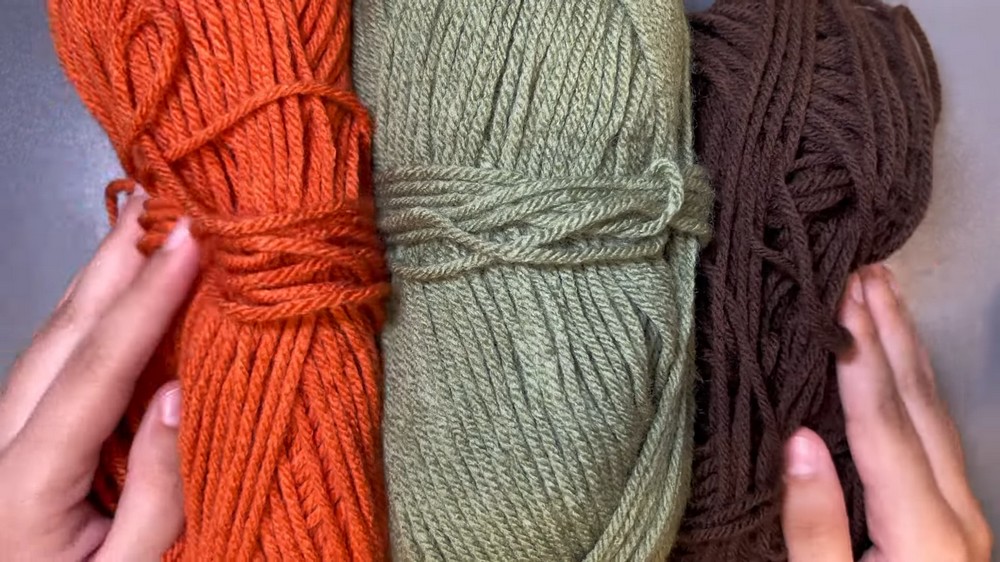
- Yarn:
- Orange (for the base and ears)
- Brown (for the stem)
- Green (for the curly vine)
- Hooks:
- 6 mm crochet hook
- 4.5 mm crochet hook
- Additional Tools:
- Scissors
- Yarn needle
- Stitch marker
Pattern Notes
- Construction:
- The hat is crocheted from the top (crown) to the bottom (brim).
- Various components (ears, stem, and vine) are crocheted separately and attached later.
- Stitch Markers:
- Used to mark the beginning of each round and ensure accurate counting.
- Magic Circle:
- The foundation for the hat, stem, and ears begins with a magic circle.
- Customization:
- Adjust the hat size by increasing or decreasing the number of rounds or the stitch count for the crown.
The Golden Rule of Perfect Customization
- Finished Size: Adult-sized bucket hat.
- Customization Options:
- Adjust the number of rounds for the crown or brim for smaller or larger sizes.
- Use different color combinations to create unique variations.
Common Terms
- St = Stitch
- Hdc = Half Double Crochet
- Sc = Single Crochet
- Sl st = Slip Stitch
- Ch = Chain
- Magic Circle: A technique used to create a tightly closed, adjustable center.
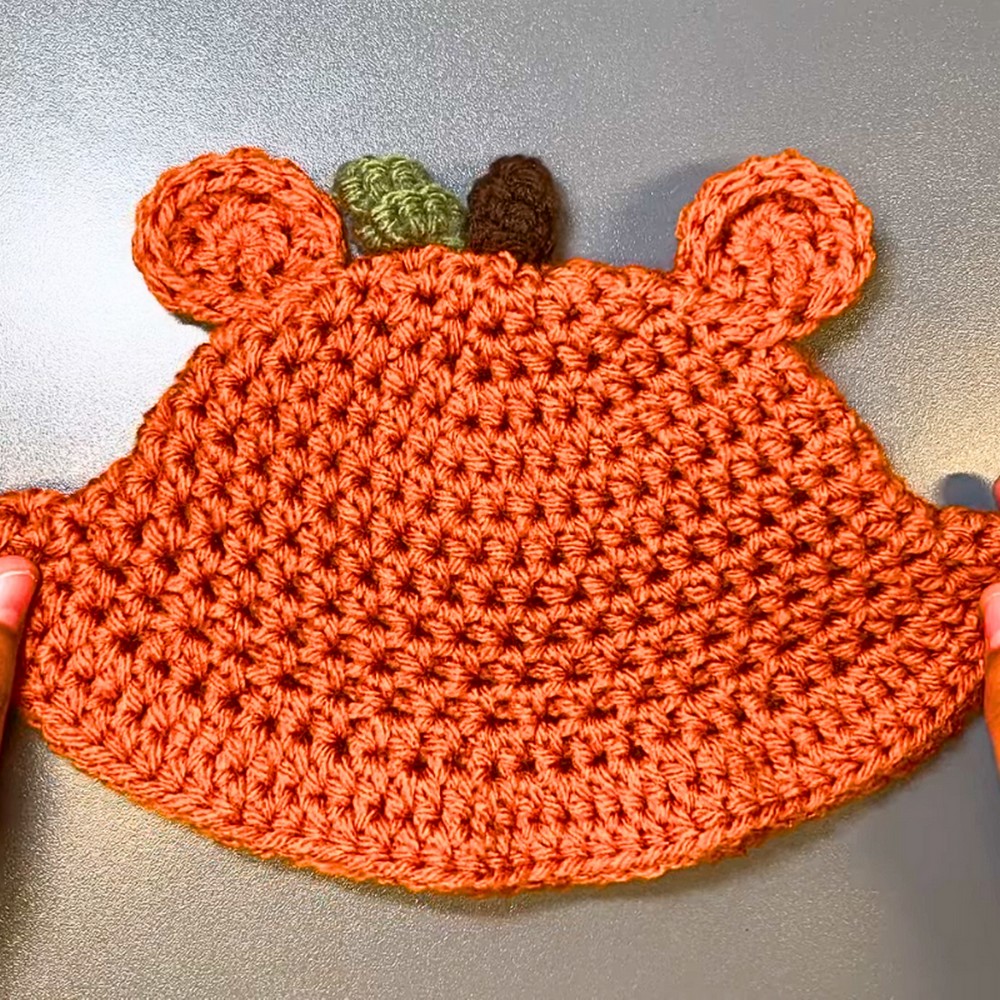
The Step-by-Step Process
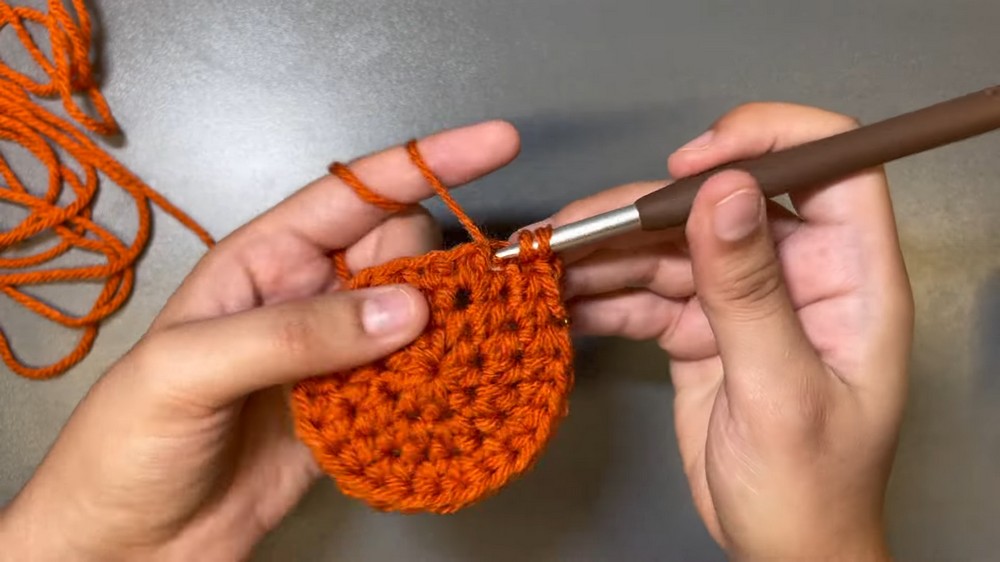
Hat – Crown
- Round 1:
- Using orange yarn and the 6 mm hook, create a magic circle.
- Chain 1, then crochet 8 hdc into the magic circle.
- Pull to close the circle tightly.
- Slip stitch into the first stitch to close the round.
- (Total: 8 hdc)
- Round 2:
- Chain 1. In the first stitch, make 2 hdc. Place a stitch marker in this first hdc.
- Continue making 2 hdc into each stitch around.
- (Total: 16 hdc)
- Round 3:
- Chain 1. In the first stitch, make 1 hdc and place a stitch marker.
- In the next stitch, make 2 hdc.
- Continue the pattern: 1 hdc into the next stitch, 2 hdc into the next stitch.
- (Total: 24 hdc)
- Round 4:
- Chain 1. In the first stitch, make 1 hdc and place a stitch marker.
- In the next stitch, make 1 hdc, and in the next stitch, make 2 hdc.
- Continue the pattern: 1 hdc, 1 hdc, 2 hdc.
- (Total: 32 hdc)
- Round 5: (Last increase round)
- Chain 1. In the first stitch, make 1 hdc and place a stitch marker.
- Crochet 1 hdc into the next 2 stitches and then 2 hdc in the next stitch.
- Continue the pattern: 1 hdc, 1 hdc, 1 hdc, 2 hdc all the way around.
- (Total: 40 hdc)
Hat – Length
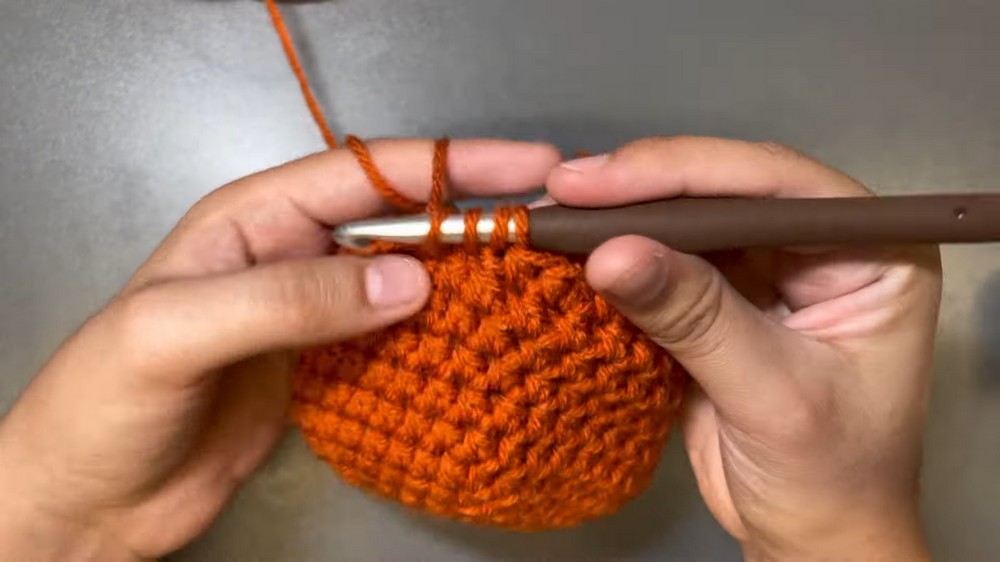
- Rounds 6–10:
- Chain 1 at the beginning of each round; make 1 hdc into each stitch.
- Place the stitch marker at the start of each round to keep track.
- (Total: 40 hdc per round)
Hat – Brim
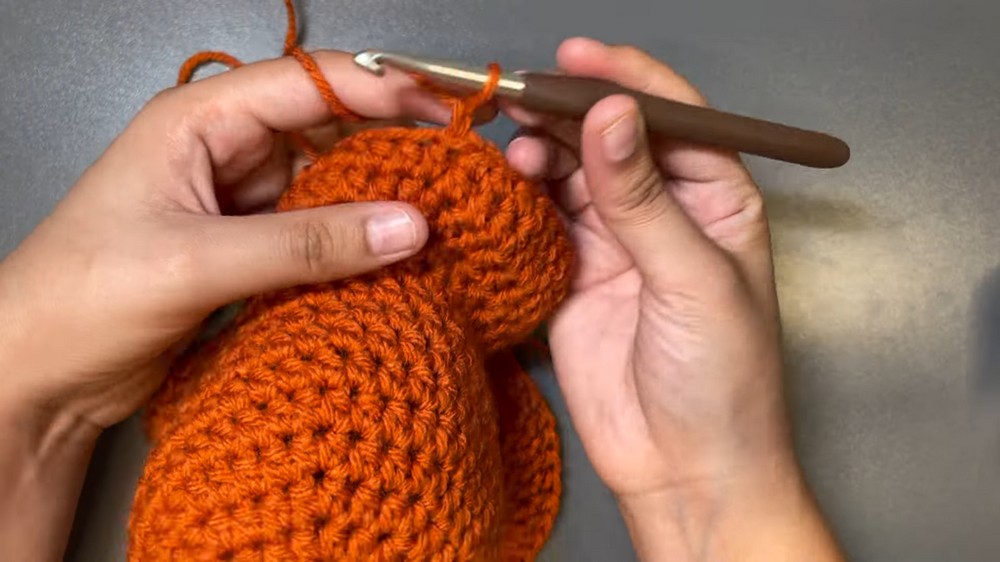
- Round 11 (First brim round):
- Chain 1. In the first stitch, make 1 hdc and place a stitch marker.
- In the next stitch, make 2 hdc.
- Continue the pattern: 1 hdc into the next stitch, 2 hdc into the next stitch.
- (Increase round – total increases slightly.)
- Round 12 (Second brim round):
- Chain 1. Repeat pattern: 1 hdc into the next stitch, 2 hdc into the next stitch.
- (Increase round – brim slightly broader.)
- Round 13 (Final brim round):
- Chain 1. Make 1 hdc into each stitch around the brim.
- (No increases – total remains the same.)
- Finishing:
- In the next stitch, make 1 sc, then 1 sc into the following stitch.
- Slip stitch into the next stitch. Chain 1, cut yarn, and weave in loose ends.
Stem
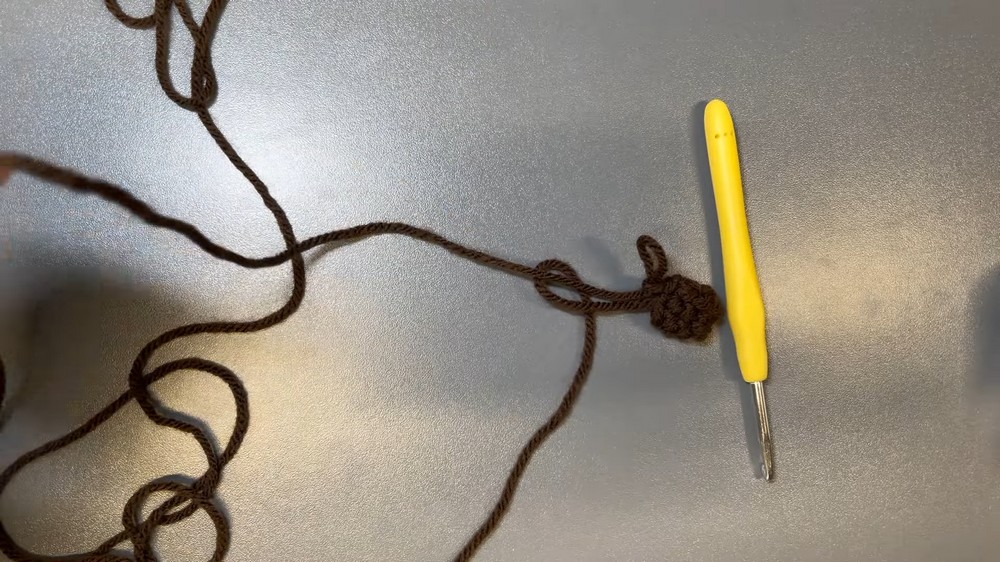
- Foundation:
- Using brown yarn and the 4.5 mm hook, create a magic circle.
- Chain 1, then make 6 sc in the magic circle.
- Pull tightly to close the circle.
- Rounds 2–3:
- Chain 1. Make 1 sc into each stitch around (no increases). After completing each round, close with a slip stitch.
- (6 sc per round for 2 rounds total.)
- Finishing:
- Chain 1, cut the yarn, and weave in loose ends.
Curly Vine
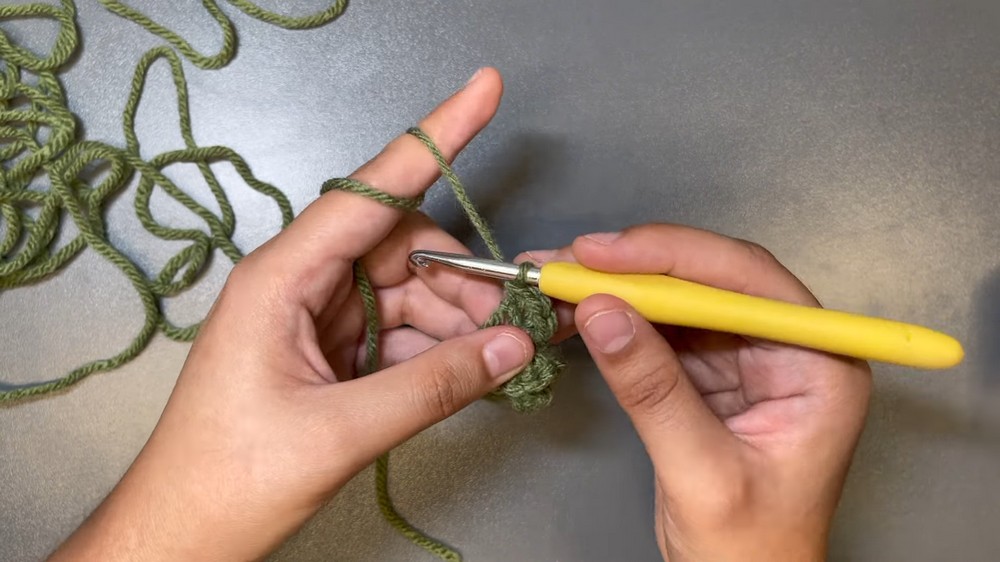
- Foundation:
- Using green yarn and the 4.5 mm hook, make a slip knot.
- Chain 7.
- Curly Formation:
- Starting in the second chain from the hook, make 3 sc into each chain.
- (Curl will form naturally.)
- Finishing:
- Chain 1 and cut the yarn, leaving a tail for sewing.
Ears
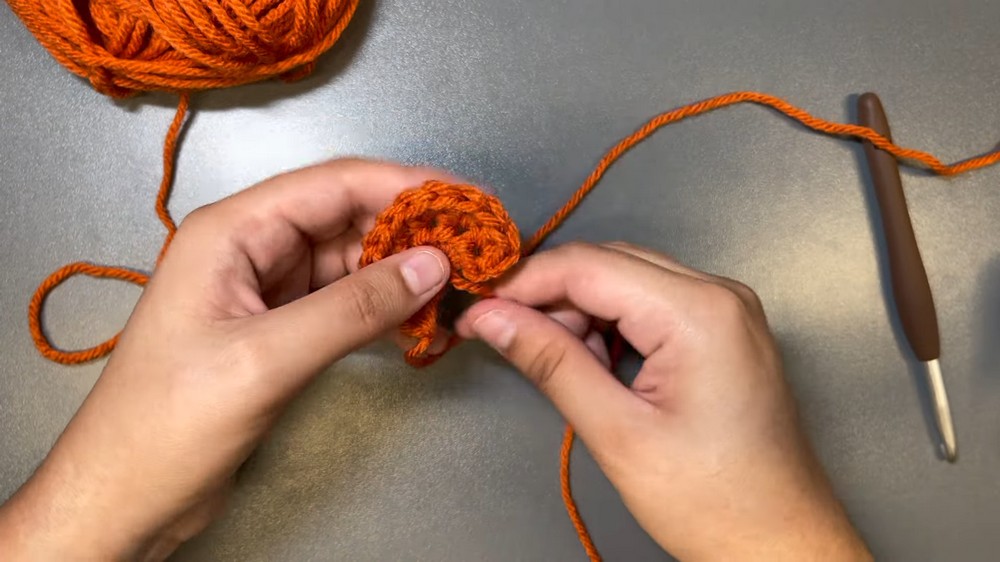
- Round 1:
- Using orange yarn and the 6 mm hook, create a magic circle.
- Chain 1, then make 6 hdc into the magic circle.
- Pull tightly to close the circle.
- Round 2:
- Chain 1. Make 2 hdc into each stitch (increase round).
- (Total: 12 hdc).
- Finishing:
- Chain 1 and cut the yarn, leaving tails for sewing.
- Repeat to make a second ear.
Assembly
- Ears:
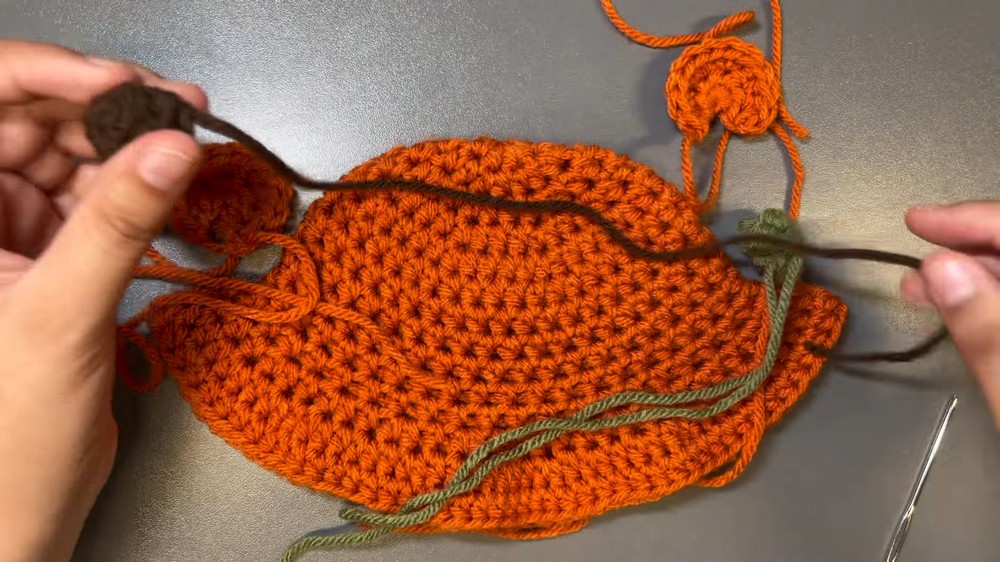
- Place the ears on the hat, positioned around the third round from the top.
- Use a yarn needle to sew each ear securely, rounding the edges slightly for a better shape.
- Stem:
- Attach the stem to the center of the crown.
- Curly Vine:
- Position the vine next to the stem; tie its ends underneath the hat to secure.
The Last Step You Should Never Skip
- Weave in all loose ends from each assembled piece.
- Ensure all components are attached securely.