Free Crochet a Pumpkin Drawstring Bag Tutorial
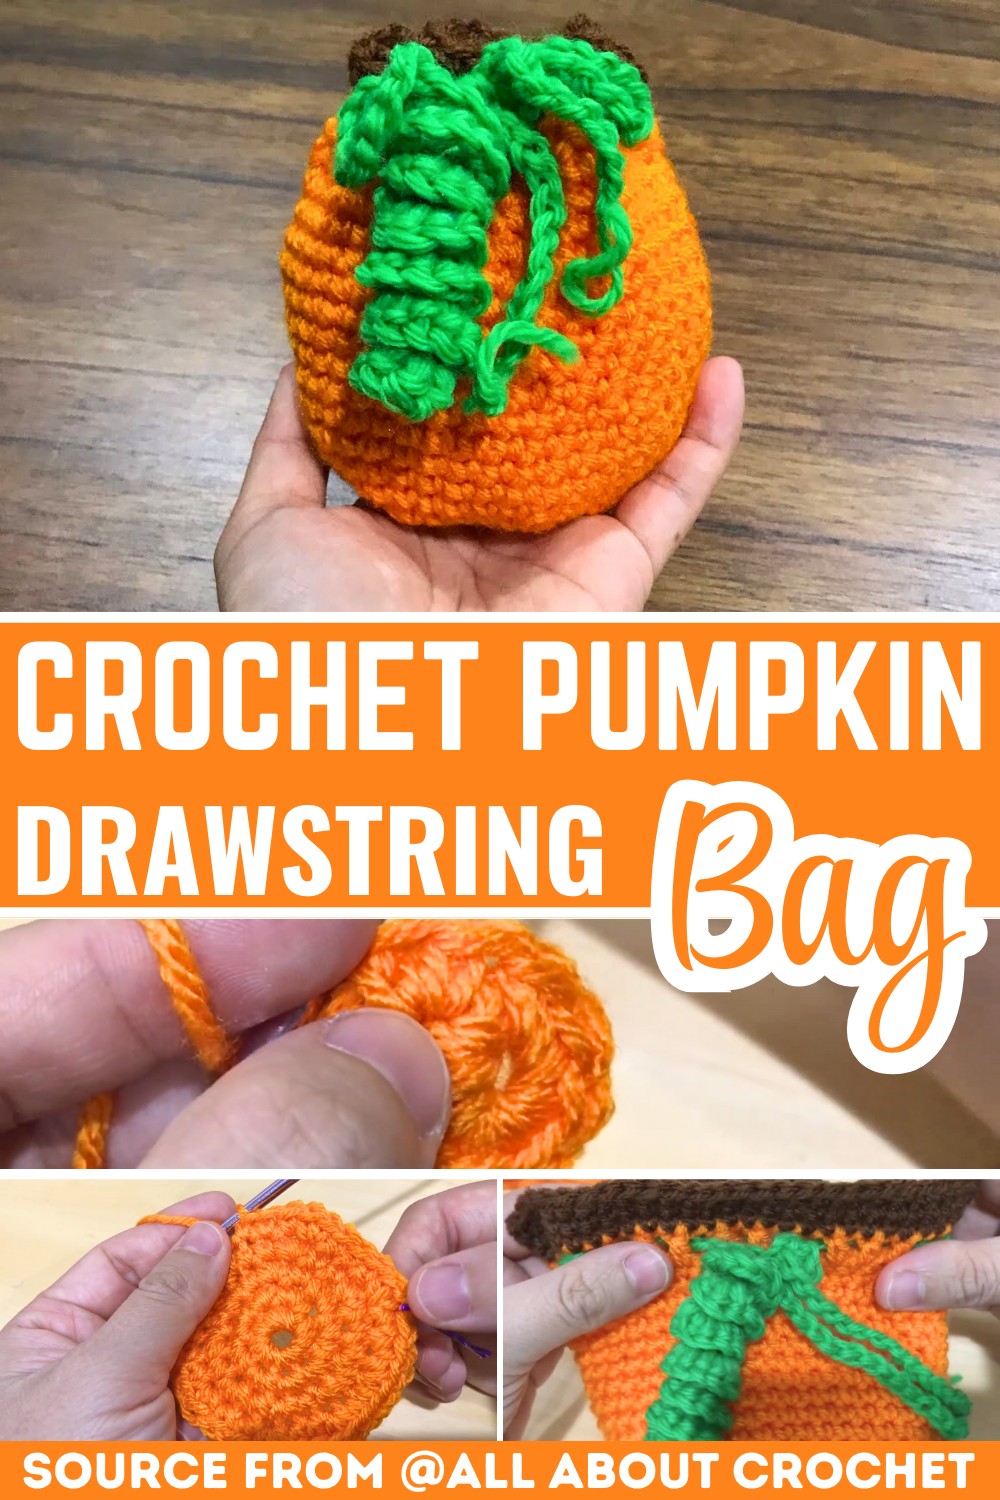
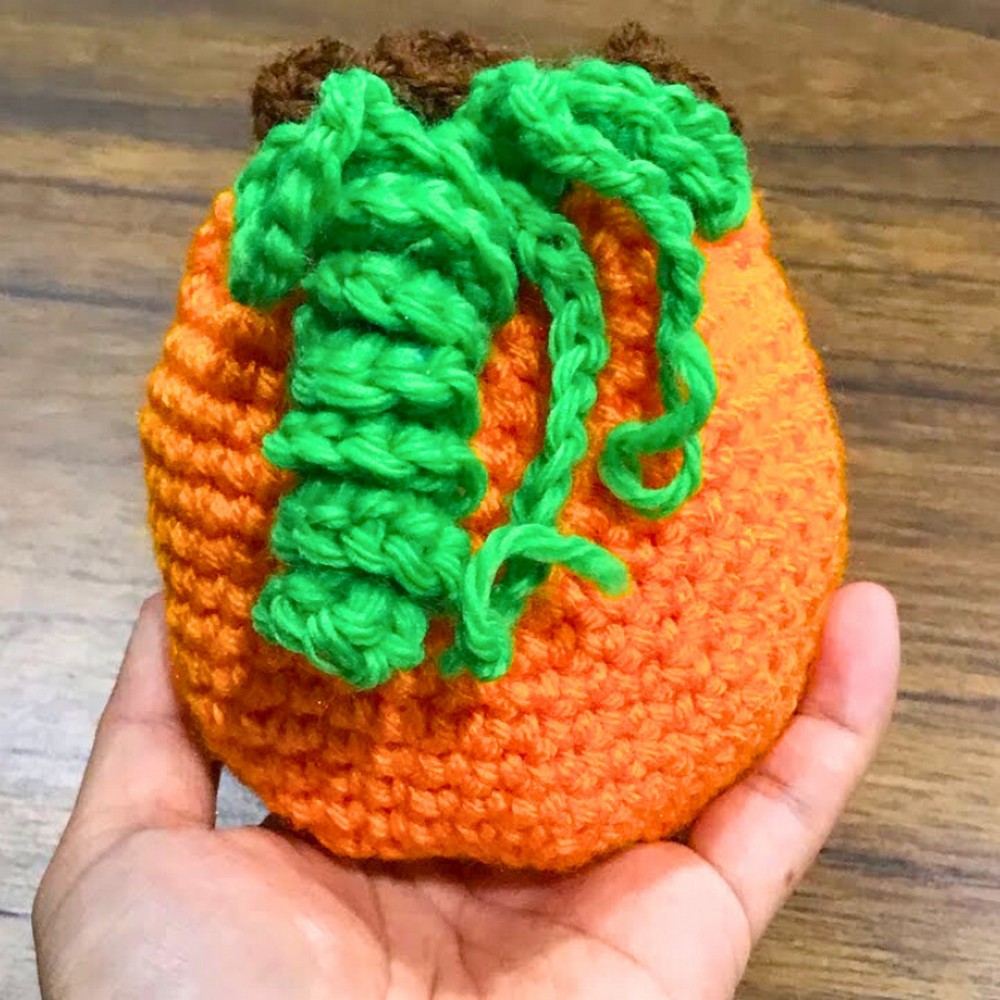
A pumpkin-shaped drawstring bag brings the cozy charm of autumn to life in the most delightful way. Its rounded orange body, sturdy brown stem, and curly green drawstring create a playful design that’s both decorative and practical.
This crochet piece is ideal for holding small treats, tiny treasures, or festive surprises while adding a cheerful seasonal touch. The finished item is compact, eye-catching, and enjoyable to make for crocheters of different skill levels.
Crochet Pumpkin Drawstring Bag
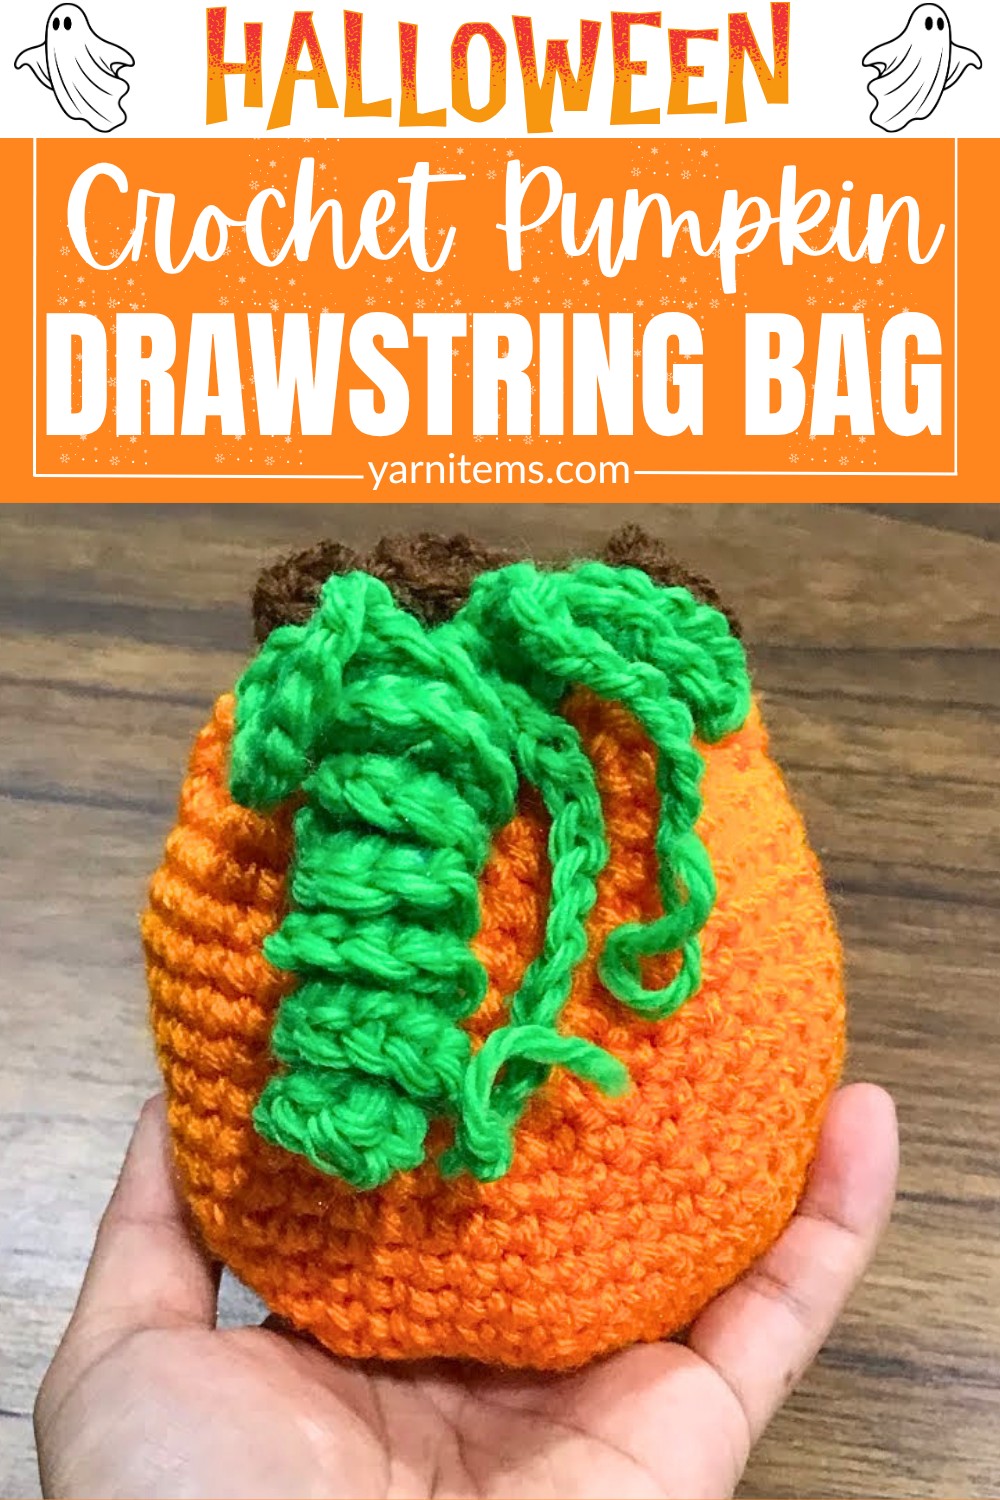
Simple crochet stitches and thoughtful shaping come together to create a bag that’s as useful as it is charming. The guide below includes the materials, pattern notes, stitch abbreviations, finished size, assembly details, customization ideas, and step-by-step instructions for completing each piece with confidence. Whether you use it as a treat bag, gift pouch, or decorative accent, this handmade item offers plenty of opportunities for creative personalization. It also makes a lovely addition to fall décor and seasonal celebrations.
Credit Quinn Ton
Creative Ways to Fill Your Pumpkin Bag
- Halloween Candy and Chocolates
Fill it with festive treats to delight trick-or-treaters or as a fun candy stash for yourself! - Small Toys or Party Favors
Perfect for kids or party games. Think mini figurines, bouncy balls, or glow sticks. - Jewelry or Hair Accessories
Makes a great spot to store earrings, bracelets, scrunchies, or hair clips. - Crochet Notions (Stitch Markers, Tapestry Needle, Clips)
Ideal for crafters to keep their small tools organized and handy. - Potpourri or Scented Sachets
Add a cozy, seasonal vibe by filling it with fragrant potpourri for decor. - Mini Gifts or Surprise Treats
Use it as a reusable packaging option for meaningful small gifts or secret surprises.
Top Tools That Deliver Better Results
- Yarn:
- Brown (for the stem and base)
- Orange (for the pumpkin body)
- Green (for the drawstring and tendrils)
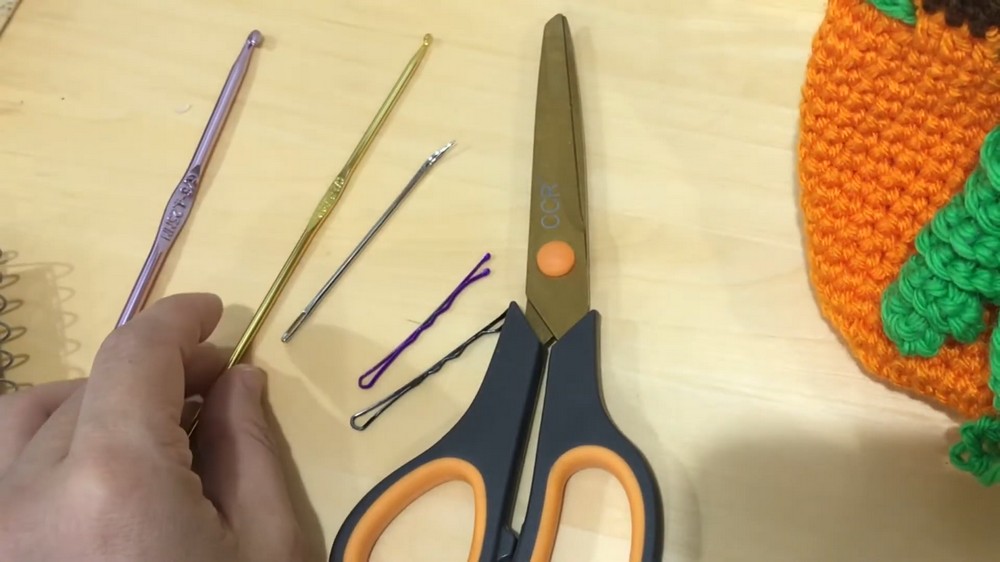
- Crochet Hook: Size G6 (4.25 mm)
- Optional Tools: A small hook or a yarn needle for weaving in ends
- Other Tools:
- Two stitch markers or bobby pins
- Scissors
Turn Any Pattern into a Perfect Outcome
- The bag uses continuous rounds rather than joining (ensure you use a stitch marker to keep track of the starting stitch for each round).
- The pumpkin shape is created by increasing stitches methodically.
- Customization ideas:
- Adjust the size of the pumpkin by increasing rounds or rows.
- Use different colors to represent different types of squash or pumpkins.
- Embellish the bag with appliqués for a festive look.
The Smart Way to Choose a Finish Size
The finished pumpkin drawstring bag size will vary slightly depending on tension and yarn used, but it should be large enough to hold small treats like candy or toys (approx. 4–5 inches in diameter).
Everything You Need to Know About These Terms
(All terms are standard U.S. crochet terminology.)
- ch: Chain
- sc: Single Crochet
- hdc: Half Double Crochet
- sl st: Slip Stitch
- magic ring: Magic Circle (used to start the base)
- st(s): Stitch(es)
From Beginner to Expert One Step at a Time
Base (Brown Yarn)
- Round 1 (Magic Ring):
- Create a magic ring.
- Ch 1, make 8 sc into the ring. (8 stitches)
- Pull the tail tightly to close the ring.
- Round 2:
- Instead of joining, make 2 sc into the first sc of Round 1.
- Place a stitch marker in the first sc.
- Continue making 2 sc in each st around. (16 stitches)
- Round 3:
- Make 2 sc in the first stitch of Round 2. Move the stitch marker up to the first stitch in Round 3.
- Follow this sequence: 2 sc in next stitch, 1 sc in the next stitch. Repeat. (24 stitches)
- Round 4:
- Make 2 sc in the first stitch and move up the stitch marker.
- Sequence: 2 sc in next stitch, 1 sc in the next stitch, 1 sc in the next stitch. Repeat. (32 stitches)
- Round 5:
- Make 2 sc in the first stitch and move up the stitch marker.
- Sequence: 2 sc in next stitch, 1 sc in next stitch, 1 sc in next stitch, 1 sc in next stitch. Repeat.
- End the round with 2 sc in the last stitch (40 stitches).
- Round 6:
- Sc in every st around. Move the stitch marker up after the first stitch.
- Continue for 14 additional rows for the body of the bag. (Total: 15 rows of continuous sc using brown yarn).
- Finishing the Base:
- End the round with a sl st. Cut the yarn and weave in the ends.
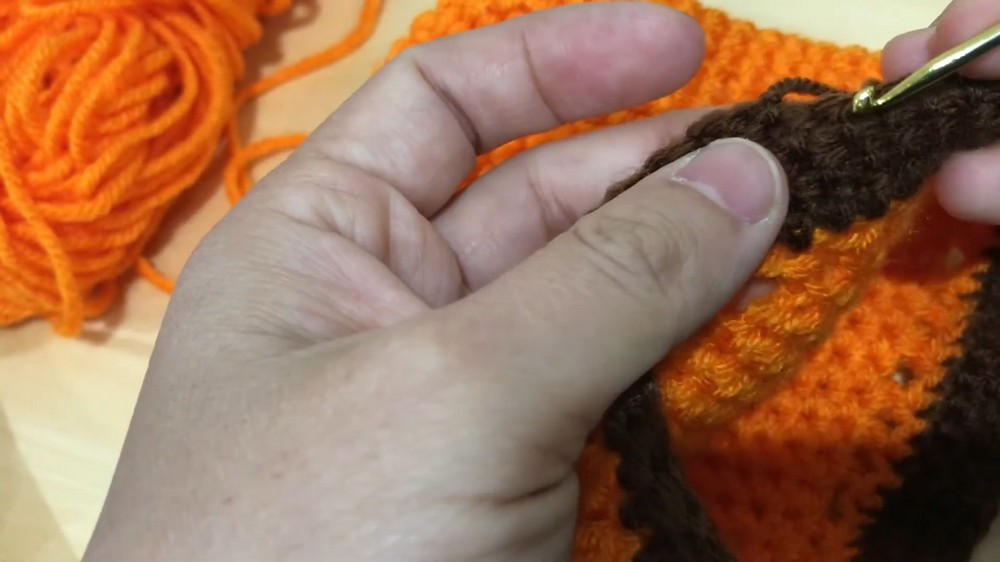
Body of Pumpkin (Orange Yarn)
- Round 1:
- Attach orange yarn with sl st where you ended the base.
- Ch 3 (counts as 1 hdc + ch 1).
- Sequence: Skip 1 st, make (hdc, ch 1) in the next st. Repeat around the edge of the base.
- Sl st into the top of the starting ch 3 to join the round.
- Round 2:
- Cut orange yarn and pull through.
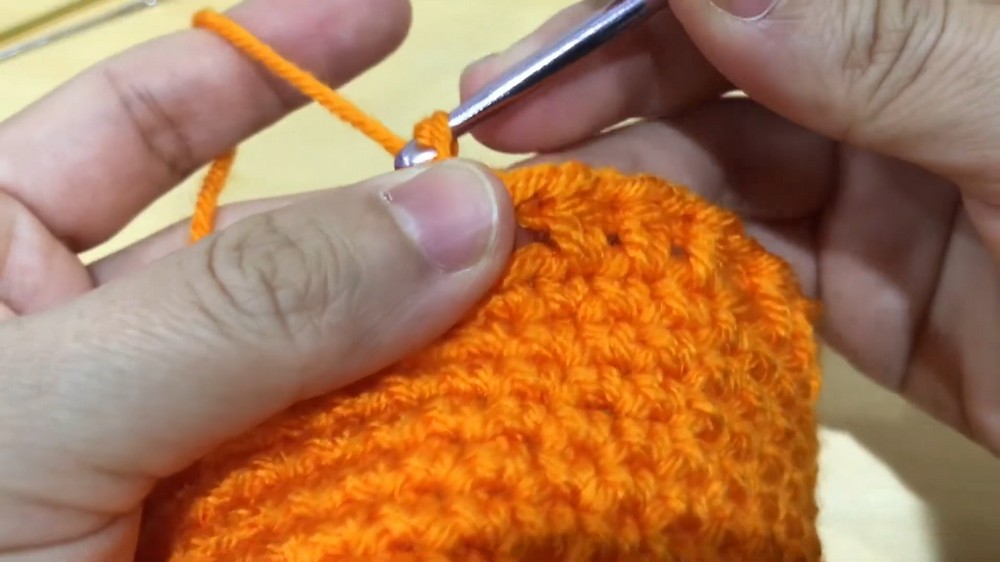
Pumpkin Stem (Brown Yarn)
- Round 1 (Brown Yarn):
- Attach brown yarn at the last sl st from the previous round.
- Sc in the first st and continue around the circle with sc in every stitch.
- Rounds 2–4:
- Continue making sc in each st for 2 additional rounds (total of 3 rounds in brown yarn).
- End with sl st and cut yarn. Weave in ends.
Drawstring (Green Yarn)
- Ch 80.
- Cut the yarn and pull through.
- Weave the drawstring through the spaces created by the chain stitches from Round 1 of the pumpkin body.
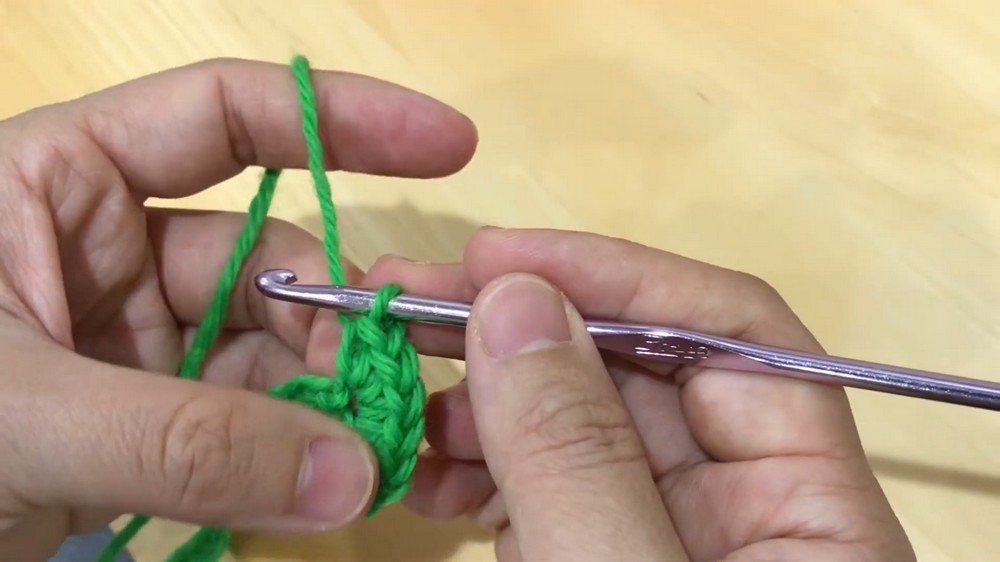
Tendril
- Ch 21.
- Skip the first ch and make 4 sc in each of the remaining chains. The tendril will curl naturally as you work.
- Once completed, cut yarn and weave in ends.
Assembly
- Attach the tendril to the bag by pulling the ends through one of the chain spaces at the top of the bag.
- Twist the tendril to enhance its curl.
Small Changes, Big Customization Results
- Add personal touches: Embroider faces for a jack-o’-lantern look or sew appliqués.
- Use metallic or sparkly yarns for a fun texture.
Personalization Ideas
- Embroider a Name or Initials
Add a personal touch by stitching names, initials, or meaningful symbols. - Add Wooden Buttons or Small Charms
Use wooden buttons or charming embellishments to elevate the design. - Sew on Crochet Leaves or Flowers
Incorporate delicate handmade elements for a softer, artistic vibe. - Use Striped or Variegated Yarn
Experiment with different yarn styles to create vibrant or textured patterns. - Attach a Tassel or Pom-Pom to the Drawstring
Enhance the bag’s aesthetic with playful accessories. - Add a Fabric Lining for Extra Durability
Line the interior with fabric to make the bag sturdier and more versatile.
Why It Works
This level of personalization encourages creativity and makes every bag feel distinct and meaningful to its owner!