Crochet Baby Romper With Step-by-Step Guide
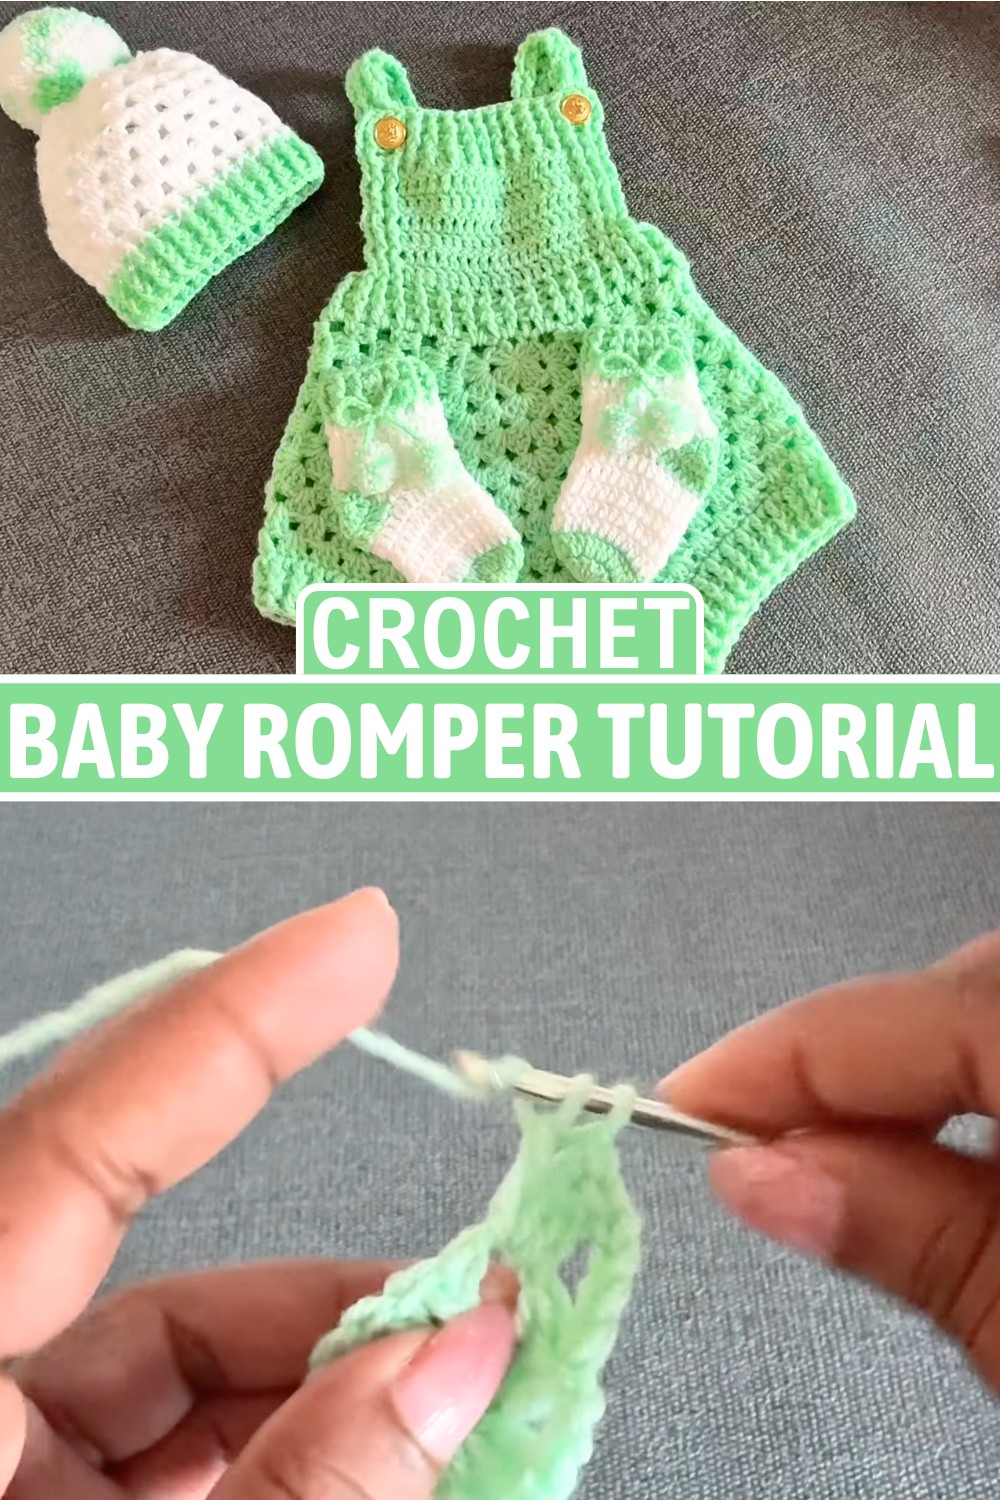
A tiny handmade piece can completely change the way a baby outfit feels from the very first glance. This crochet baby romper blends softness, comfort, and timeless charm into one adorable item that looks just as lovely as it feels.
Gentle color combinations and thoughtful shaping make it suitable for everyday wear as well as memorable occasions. The crochet details come together so naturally that every finished piece feels extra special.
Crochet Baby Romper
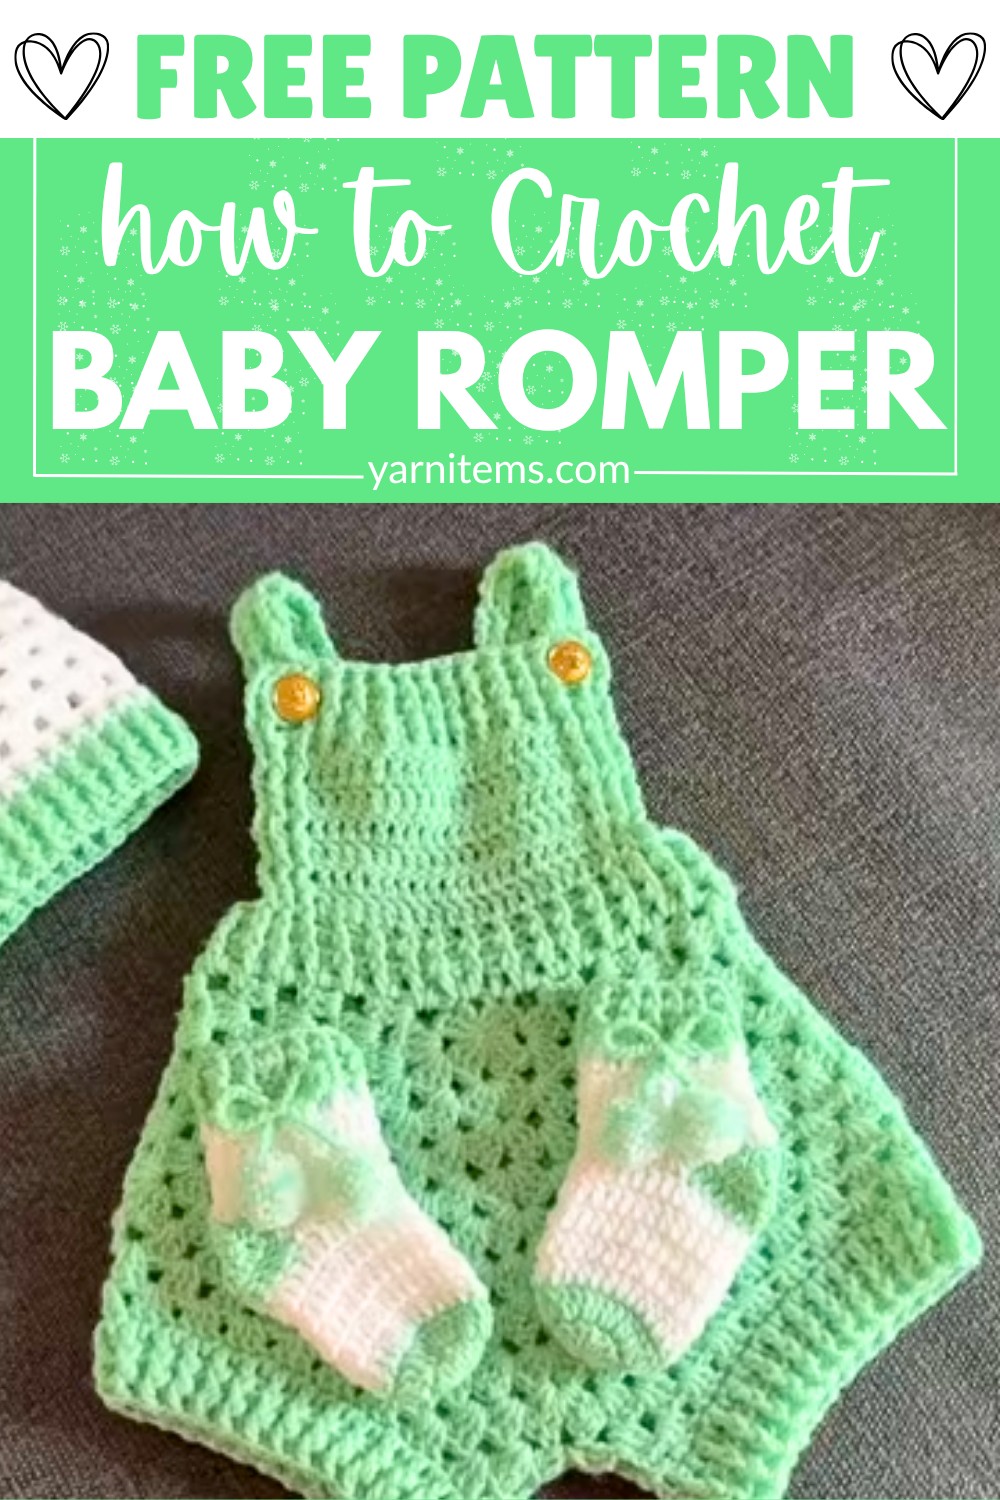
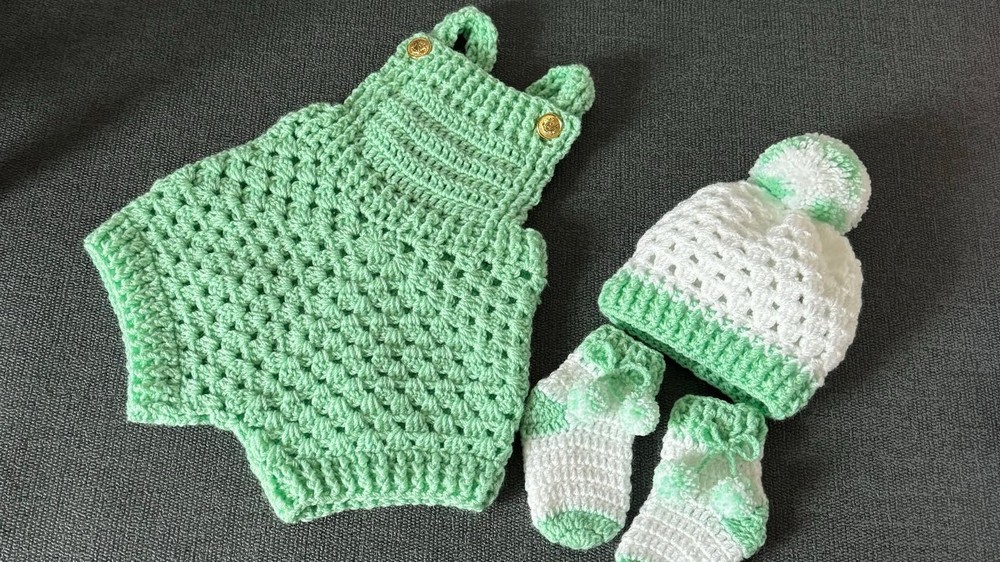
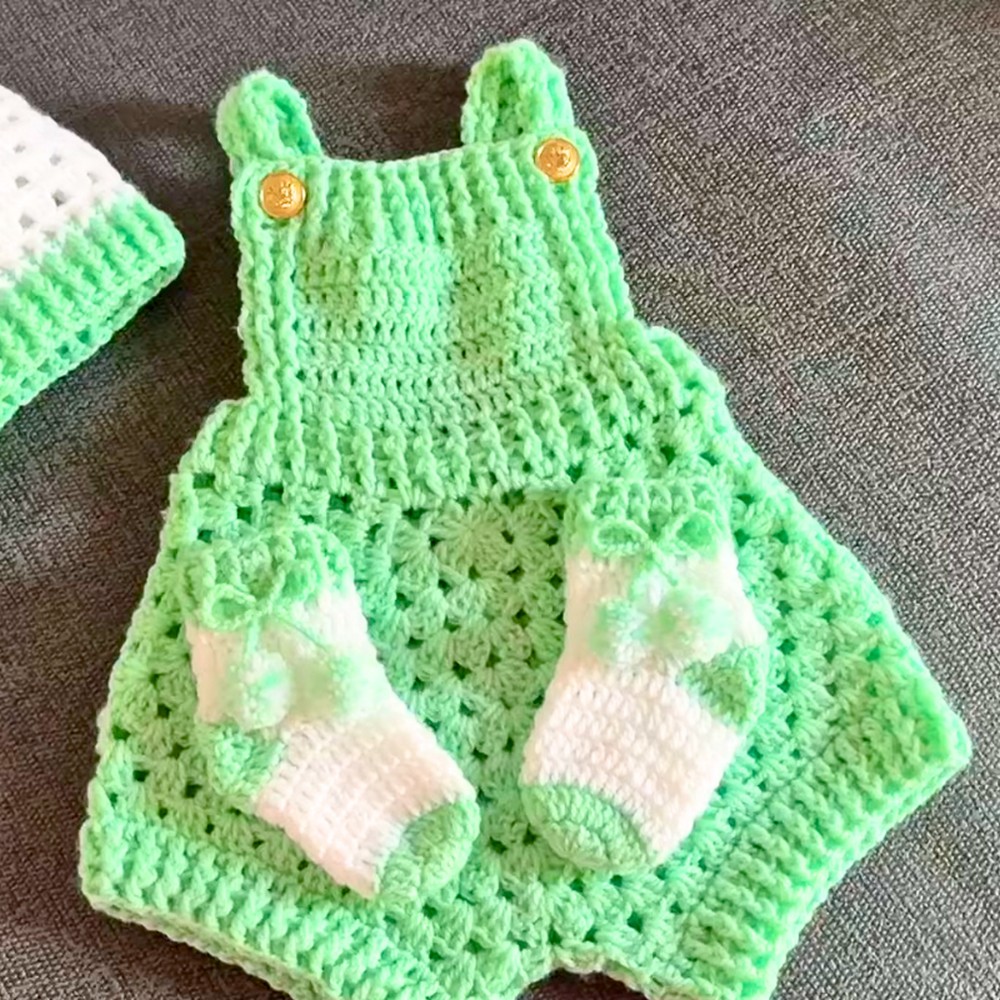
Creating a beautiful baby wardrobe becomes much more enjoyable when one item works for different ages and styles. This crochet baby romper is designed with flexible sizing, making it suitable from newborns up to toddlers around two years old.
The same design can easily be paired with matching baby accessories for a coordinated look. Soft yarn, comfortable shaping, and simple stitch combinations make this crochet piece both practical and delightful to create.
Credit Crochet For Life
Materials
- Yarn: 1 ball of Double Knitting (DK / Light Worsted / Category 3) yarn, approximately 100g / 330m / 360 yds.
Example color: Mint Green, Color Code: CE027.
(Optional): Include accent yarn for edging, like white. - Buttons: 2 buttons, approximately 1–2 cm in diameter.
Tools
- Crochet Hook: Size 4.0 mm (US G/6).
- Tapestry Needle: For sewing seams and weaving in the ends.
- Stitch Markers: 2–4 markers to assist with tracking stitches.
Gauge
A granny cluster typically consists of 3 double crochets (dc) worked into the same stitch or space, followed by a chain space (usually 1 or more chains). According to your gauge information:
- 1 granny cluster (3 dc) + space measures approximately 1.25 inches (3.2 cm) wide when using the recommended yarn and hook.
Steps to Check Gauge:
- Crochet a small swatch following the granny cluster stitch pattern, ensuring a few rows and columns of clusters.
- Measure the width of one granny cluster + space to confirm it matches the given gauge (1.25 inches or 3.2 cm).
- Adjust your hook size or tension if necessary to match the gauge.
Sizing Breakdown
Finished Size & Panel Details
- 0–3 Months
- Panel Rows: 8 rows
- Leg Rounds: 6 rounds
- Bib Center Double Crochets (DCs): 17 dc
- Strap Length: 20–22 rows
- 3–6 Months (Demonstrated Size)
- Panel Rows: 9 rows
- Leg Rounds: 6 rounds
- Bib Center Double Crochets (DCs): 19 dc
- Strap Length: 22 rows (~10 in / 25 cm)
- 6–12 Months
- Panel Rows: 11 rows
- Leg Rounds: 7 rounds
- Bib Center Double Crochets (DCs): 21 dc
- Strap Length: 24 rows
- 1–2 Years
- Panel Rows: 12 rows
- Leg Rounds: 8 rounds
- Bib Center Double Crochets (DCs): 23 dc
- Strap Length: 24 rows
Customization Ideas
Strap Length Adjustment:
- Modify the strap length to achieve a more precise fit, tailored to the baby’s build.
- Choose a slightly looser or tighter appearance based on preference.
Bib Center Customization:
- Adjust the DCs (Double Crochets) in the bib’s center to create a wider or narrower design.
Yarn & Hook Modifications:
- Switch the yarn type or hook size to subtly alter the dimensions of the piece—no need to change the number of rows or rounds for this adjustment.
Decorative Additions:
- Explore adding:
- Decorative edging to give your project a polished look.
- Buttons or other embellishments for a personalized aesthetic touch.
Pattern Abbreviations (US Terms)
-
ch: chain
-
dc: double crochet
-
sl st: slip stitch
-
fpdc: front post double crochet
-
bpdc: back post double crochet
-
sp(s): space(s)
-
st(s): stitch(es)
Step-by-Step Detailed Crochet Instructions:
Below is the detailed step-by-step breakdown of the components for the baby romper.
1. Bodice (Square Panel)
- Foundation Round:
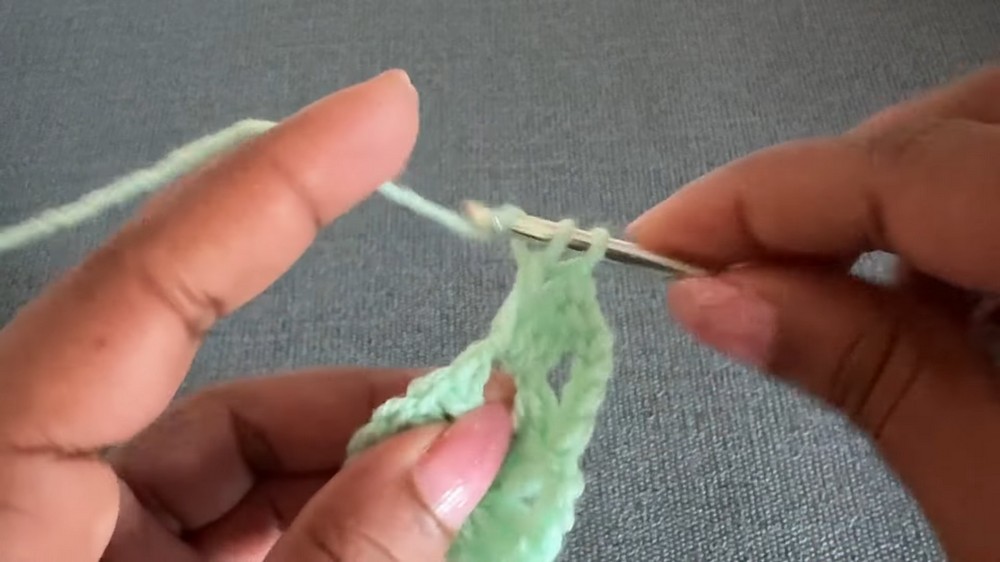
- Create a magic ring and crochet CH 3 (counts as your first DC).
- Inside the ring:
- Make 2 DC (total of 3 DC so far).
- CH 2, then make 3 DC. Repeat CH 2, 3 DC two more times. You should have 4 sets of 3 DC clusters separated by CH 2.
- Pull the ring closed and SL ST into the 3rd CH from the start to finish the round.
- Round 2:
- Create CH 4 (counts as 1 DC + 1 CH space). Skip 3 DC.
- Into the CH 2 space from the previous round:
- Make 3 DC, CH 2, 3 DC. This creates the first corner of the square.
- Repeat the corner pattern for the other three CH 2 spaces.
- Round 3 – Row 6 (Repeat the pattern):
- Alternate starting rounds with CH 3 or CH 4 to maintain the pattern flow.
- Create DC clusters for every space, with 3 DC into each corner, separated by CH 2.
- Continue working for the desired number of rows:
- 0-3 months: 8 rows.
- 3-6 months: 9 rows.
- 6-12 months: 11 rows.
- 1-2 years: 12 rows.
- Making Two Panels:
- Repeat steps 1–3 to create a total of 2 square panels, each consisting of your required number of rows for the chosen size.

2. Joining Panels
- Place the panels together with right sides facing out.
- Begin joining the edges using a needle or SL ST method.
- Align and match stitches along the edges.
- Use the front loop on one panel and the back loop on the other panel to secure.
- Stitch the side edges together, leaving openings at the top for armholes.

3. Bottom Piece (Legs for the Romper)
- Attach Yarn: Insert yarn into any CH 2 space on the bottom edge of the bodice.
- Round 1: Start with CH 3 and work DC clusters (3 DC per space) around.
- For the corner spaces, crochet: 1 DC into CH 2 space, 2 DC joining adjacent CH 2 spaces for a seamless corner.
- End the round with SL ST in the 3rd CH and continue to the next round.
- Rounds 2–6:
- Repeat the same pattern by creating DC clusters (3 DC per space) for 0 to 6 months. Add more rounds as per size.
- Finish Leg Edging (Rounds 4–6):
- Following the same stitch pattern but close with front post (FPDC) and back post double crochets (BPDC) for 2 final rounds.

4. Belt Section
- Mark Waistline: Use stitch markers or scrap yarn to mark the start of the waist section (first 5 FPDC on each side).
- Create Belt: Work 22 rows (for 0-6 months) of 6 stitches using FPDC/BPDC alternation.
- For larger sizes: Increase the row count for longer belts (e.g., 7 rounds for 6-12 months, etc).
5. Buttons
- Attach buttons on the belt using the existing DC stitches for buttonholes.
- Use the provided yarn and needle for stitching buttons that align with belt holes.
Notes on Variations:
- Adjust the yarn thickness or hook size for different textures.
- You can add pom-poms, different color patterns for the belt, or decorative elements to customize the romper further.
Finishing
- Sew buttons onto the bib corners.
- Attach shoulder straps to the bib using ribbing gaps as natural buttonholes.
- Weave in all loose ends for a polished look.

Pro Tips
Here are some Pro Tips for crafting or tailoring:
- Test Gauge: Always ensure your gauge matches the pattern recommendation to achieve the correct sizing and fit. A mismatched gauge can lead to inaccurate dimensions.
- Adjust Length: Customize strap or bib length to suit your preferences or body shape. A well-fitted strap or bib enhances comfort and overall wearability.
- Double-Check Stitch Counts: Regularly verify stitch counts during construction to maintain symmetry and avoid mistakes that can affect the final look and functionality.
Bonus Tips
Here are Bonus Tips for crafting with yarn or fabric, formatted for easy reading:
Swatch Tests for Yarn or Fabric
- Always create a small swatch before starting your project.
- Purpose:
- Test the gauge for accurate sizing.
- Assess the fabric’s stretch and how it behaves.
- Determine how it feels against the skin to ensure comfort.

Plan for Wearable Ease
- If the pattern doesn’t include ease (the difference between body dimensions and the garment’s dimensions), make sure to add it manually.
- Why?:
- Added ease ensures that the garment fits comfortably and allows mobility.
Stretch Check
- When working on straps or fitted components, take a moment to assess the fabric’s stretch and resilience.
- Goal:
- Avoid sagging or distortion over time, ensuring your creation maintains its intended form.