Beautiful Crochet Apple Cider Fall Shawl Pattern
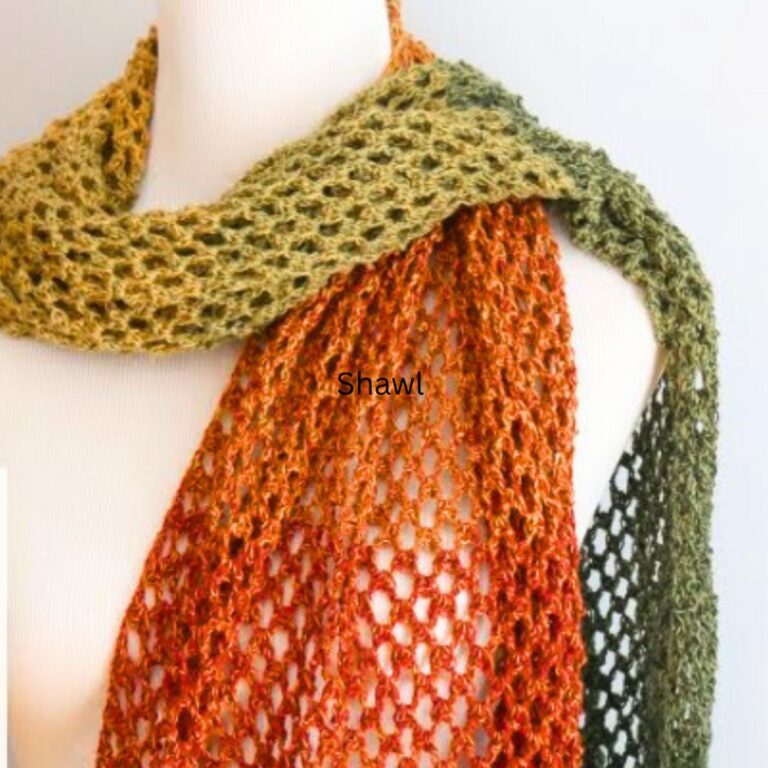
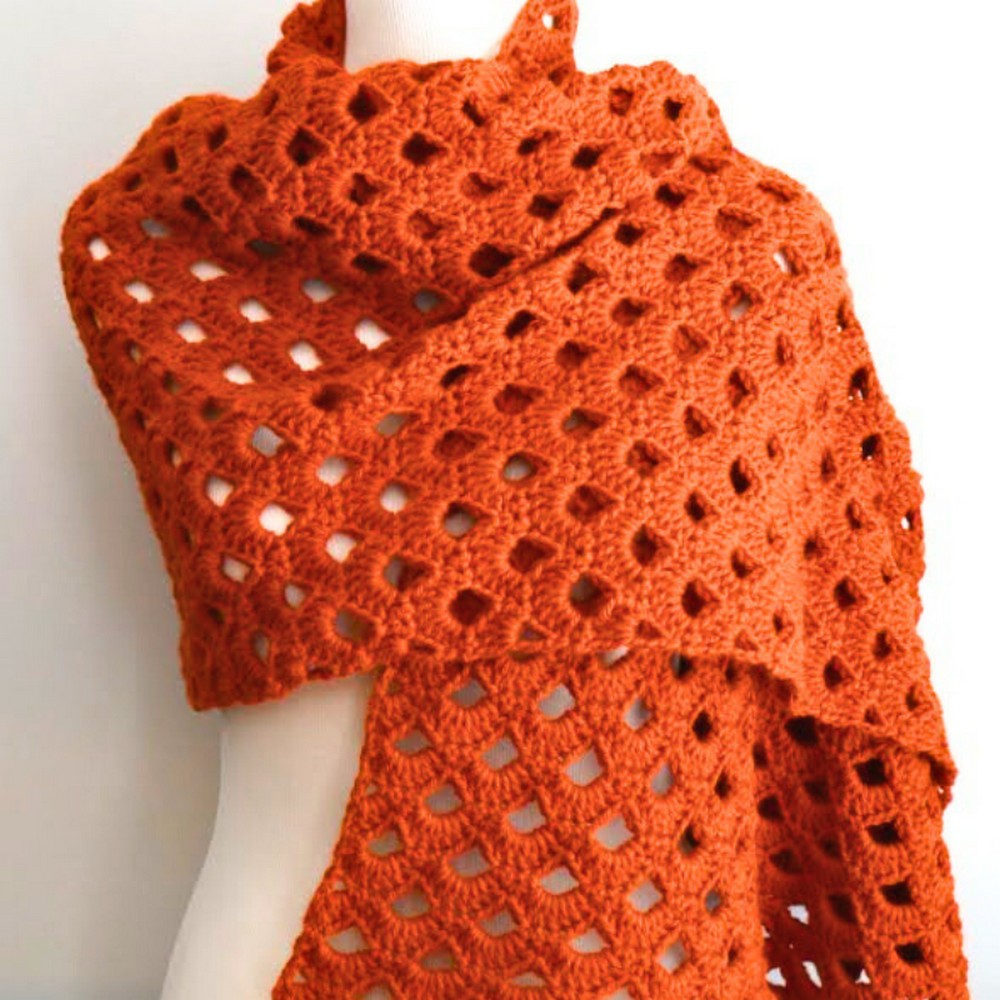
A beautifully textured shawl can transform even the simplest outfit into something effortlessly elegant. The crochet Apple Cider Fall Shawl combines graceful arcade stitches with a cozy drape, creating a piece that’s as comfortable as it is eye-catching.
Its warm autumn-inspired color adds seasonal charm, while the repeating stitch pattern keeps the crocheting process enjoyable from beginning to end. Whether worn on cool mornings or crisp evenings, it offers both style and comfort in every stitch.
Crochet Fall Shawl Pattern
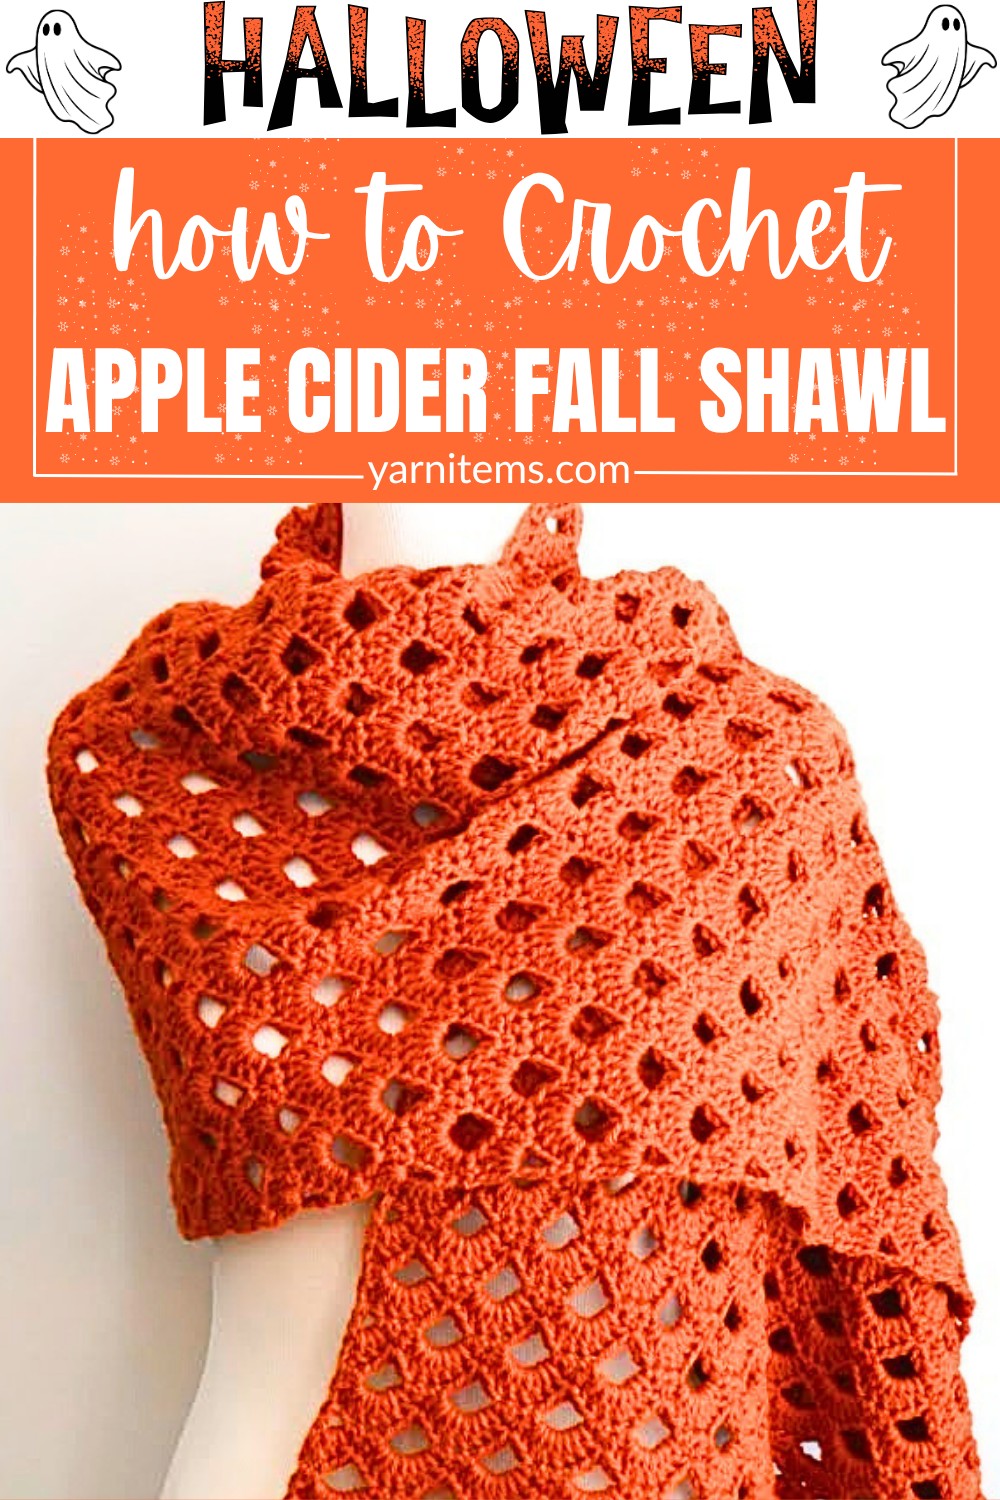
What makes this crochet shawl even more appealing is its flexibility without adding unnecessary complexity. Using just one ball of medium-weight yarn, you can create a generous wrap or easily adjust the size to make a scarf, blanket, or another handmade piece. The detailed guide below includes the materials, gauge, stitch abbreviations, customization ideas, and clear row-by-row instructions to help you achieve a polished finish. With its beginner-friendly construction and timeless texture, this crochet design is one you’ll enjoy making again in different colors.
Credit Fiber Flux
What Makes This Shawl Special
- Features an arcade stitch pattern, providing a soft, flowing texture visible from all angles.
- Ideal for beginners due to its simple row repeat, yet visually appealing for experienced crocheters.
- Requires only one ball of medium-weight yarn, making it practical and economical.
- Can be made in its original size or customized for dimensions.
- Combines comfort, warmth, and timeless style.
Yarn Selection Guide
- Recommended yarn: Medium-weight (#4) for a soft drape and well-defined arcade stitches.
- Solid colors: Highlight the intricate stitch texture best.
- Self-striping or variegated yarns: Add unique visual flair effortlessly.
- If substituting yarn, choose one with similar weight to preserve size and appearance.
Materials & Tools You Can’t Skip
- Yarn: Lion Brand Pound of Love (Pumpkin Spice color used in the tutorial)
- Weight category: Medium #4
- Yardage: Approximately 1020 yards (932 meters)
- Hook: 6mm (J) crochet hook (tutorial uses a Furls blush metal Streamline hook)
- Additional Tools:
- Scissors
- Tapestry needle
- Measuring tape (for customization)
The Secret Pattern Behind Perfect Results
- Stitch Multiples: Begin with a chain that is a multiple of 6 + 2. Example: Chain 74 for the shawl in the tutorial.
- Customization: You can easily adjust the width by increasing or reducing the starting chain. To increase length, simply repeat Rows 2–5 until your desired size is reached.
- Sizing:
- Finished shawl in the tutorial: 21 inches wide x 60 inches tall
- Can be adjusted to create anything from a scarf to a blanket.
- Front and Back: Note that the stitches do differ slightly when viewed on the front versus the back, but both sides look beautiful.
Unlock the Secret to Perfect Customization
- Finished Size (Tutorial example): 21 inches wide x 60 inches tall.
- Customizations: To transform this shawl into a blanket, scarf, or larger wrap:
- Width: Adjust starting chain by following the 6 + 2 multiple.
- Height: Increase or decrease the number of row repeats.
The Ultimate Guide to Industry Terminology
- ch: Chain
- sc: Single Crochet
- dc: Double Crochet
- st(s): Stitch(es)
- ch-sp: Chain space
- Terminology: US Crochet Terms
Follow These Simple Steps Like a Pro
Foundation Chain
- Start by creating a slip knot on your hook.
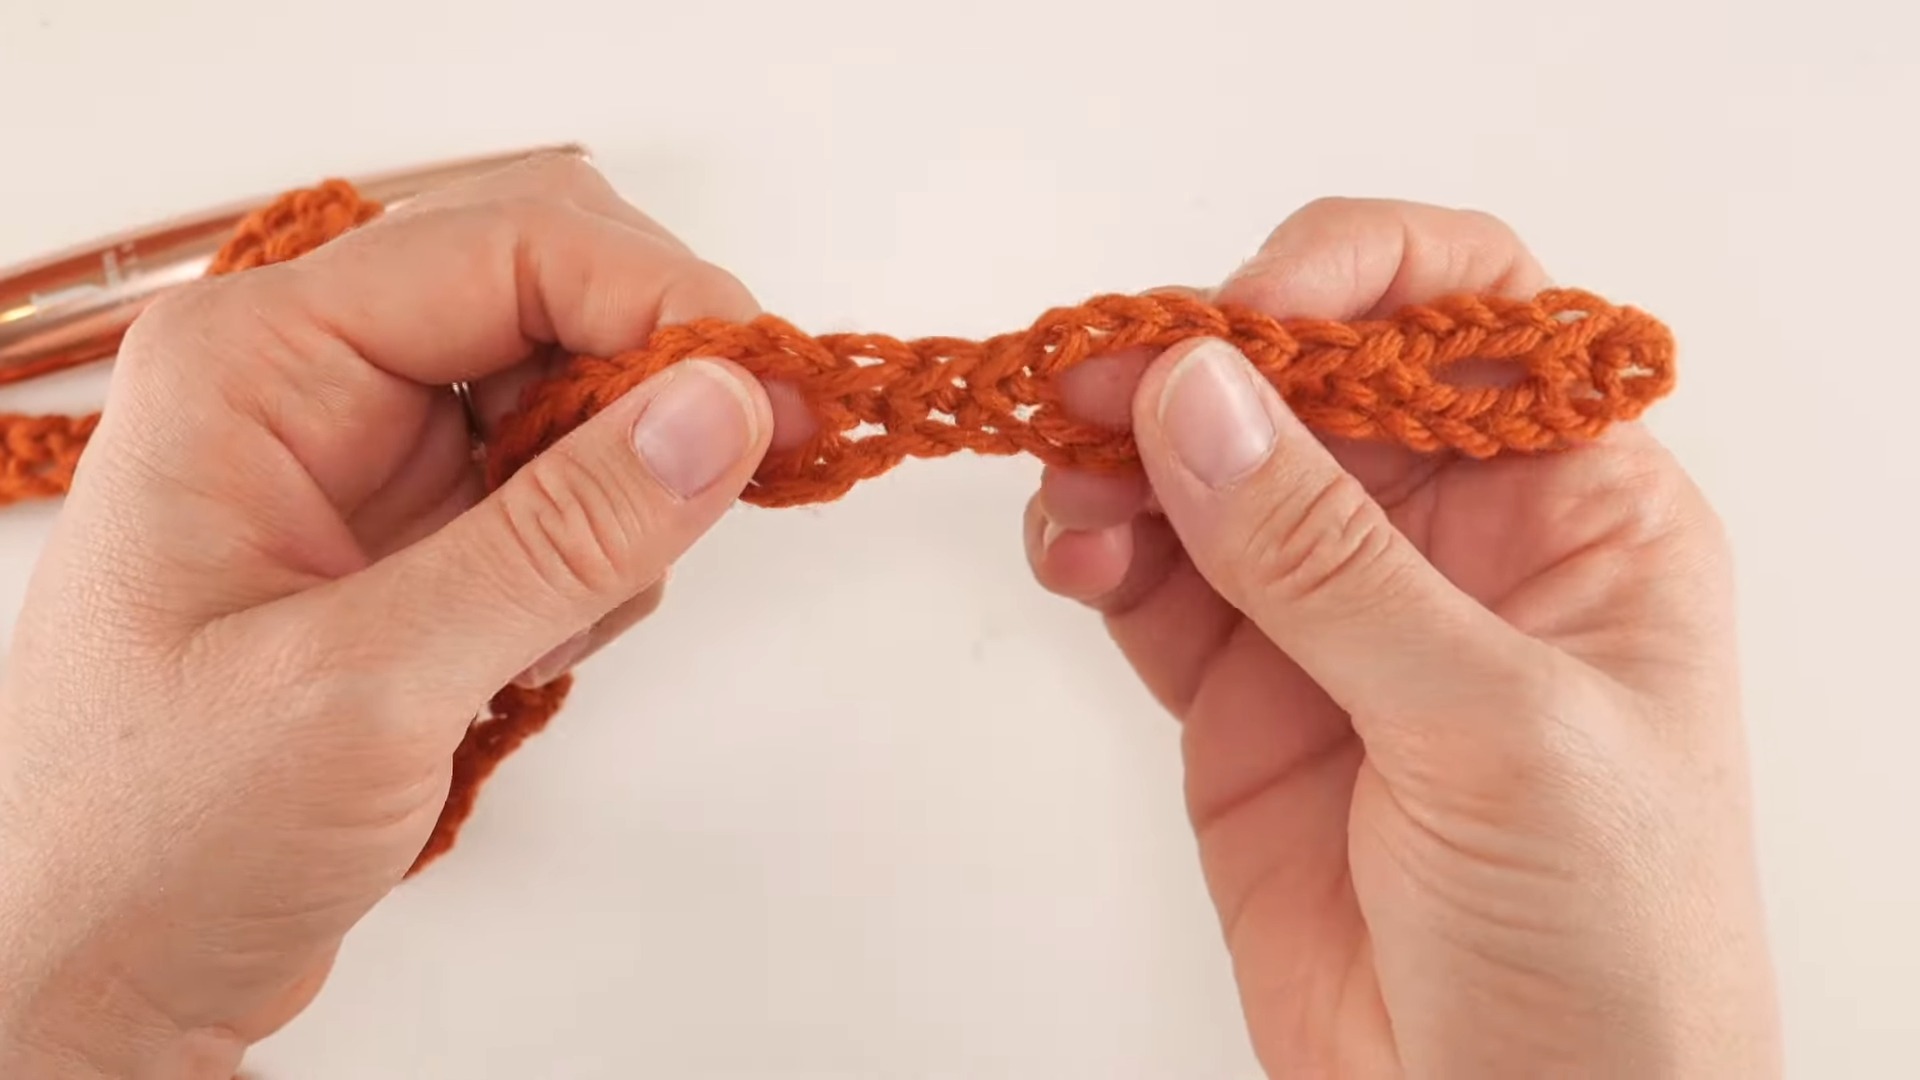
- Chain 74 (or adjust according to your desired width using the 6 + 2 multiple).
Row 1: Establish Base Loops
- Sc in 2nd ch from hook (the first loop does not count).
- Work sc into the next chain. (2 sc made so far.)
- Ch 3, skip the next 3 chains, then work sc into each of the next 3 chains.
- Repeat the sequence: Ch 3, skip 3 chains, sc in next 3 chains across the row.
- At the end, after skipping 3 chains, work sc into the remaining 2 chains.
- Turn work. Row 1 Complete.
Row 2: Create Arches with Double Crochet
- Ch 1 (does not count as a stitch), then turn your work.
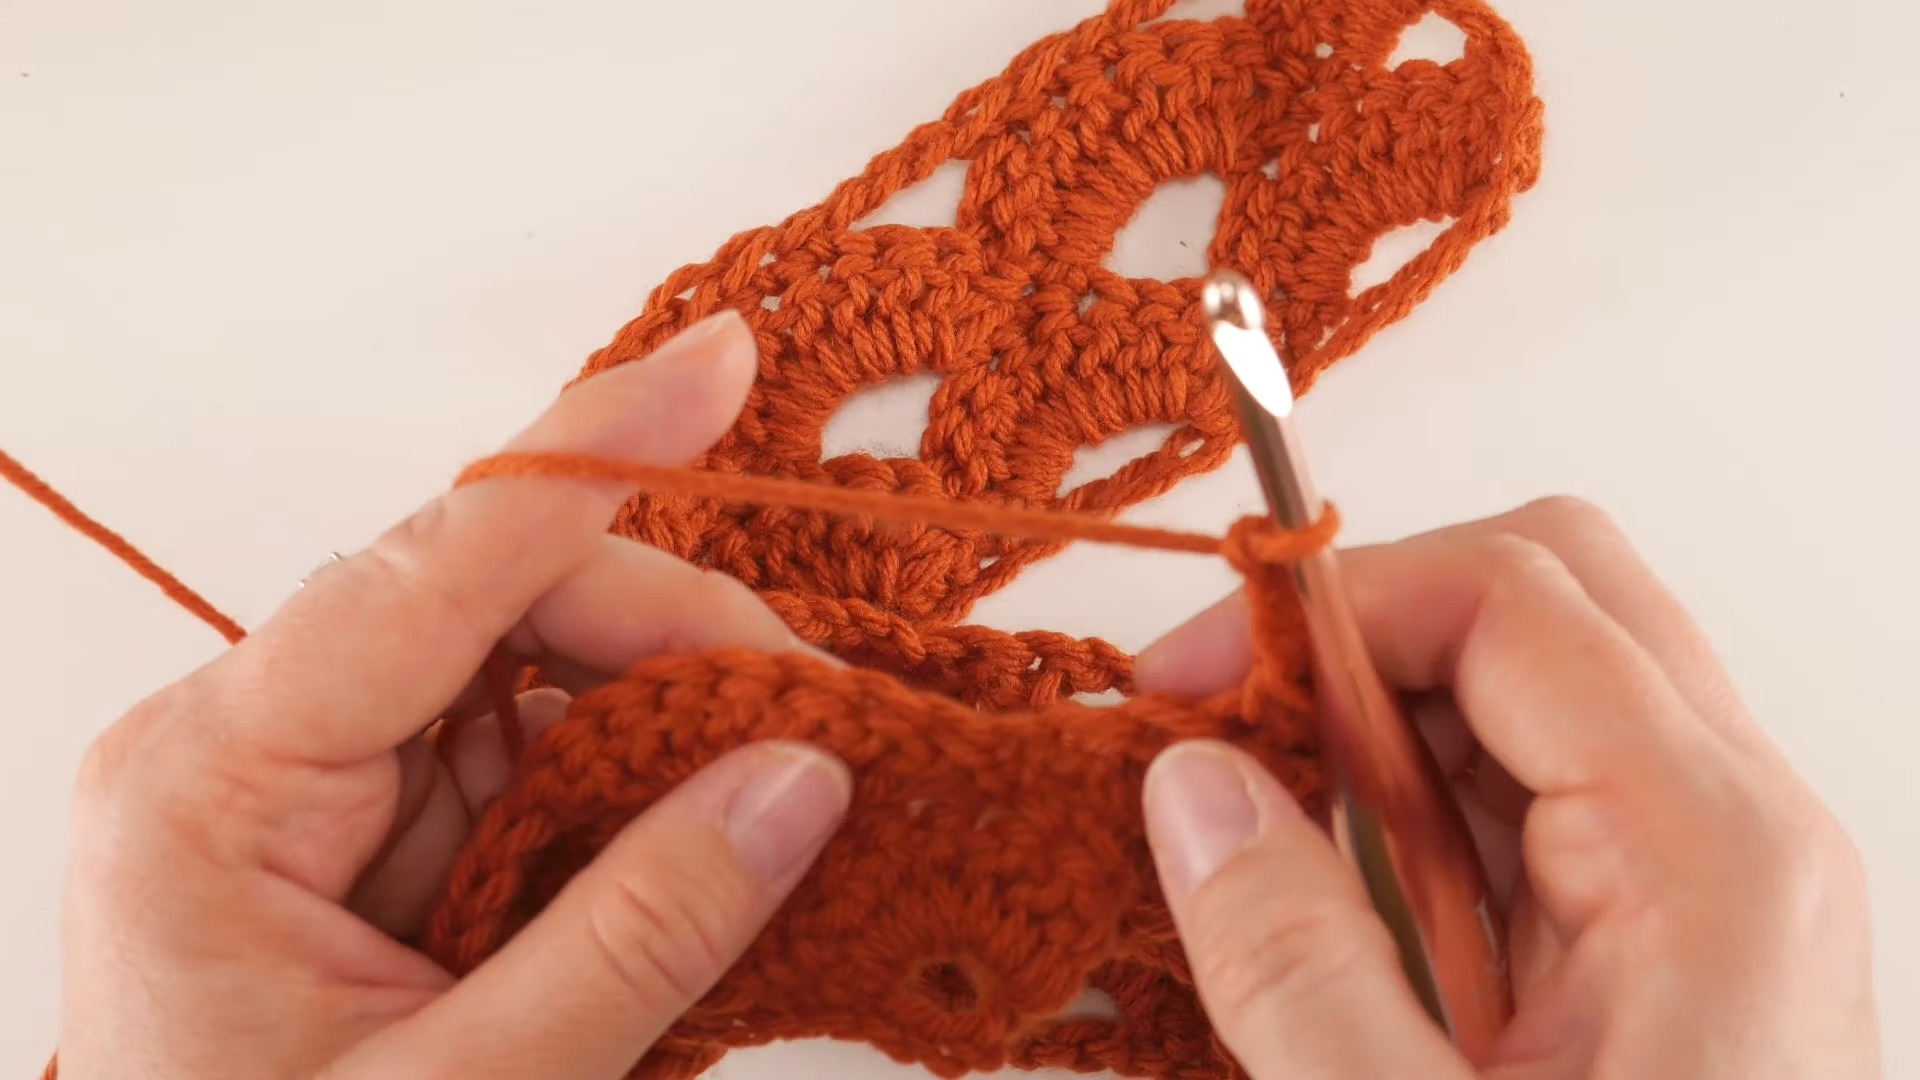
- Skip the first two stitches. In the first ch-3 space, work 7 dc.
- Skip the next sc, sc into the middle stitch of the group of 3 sc from Row 1, and skip the next sc.
- In the next ch-3 space, work 7 dc.
- Repeat this sequence — skip 1 sc, sc in the middle sc, skip 1 sc, 7 dc in the ch-3 space — across the row.
- At the end of the row, skip the second-to-last stitch and sc into the final stitch.
- Turn work. Row 2 Complete.
Row 3: Establish Bridges
- Ch 4 (counts as a ch-space). Turn work.
- Skip 3 stitches, sc into each of the next 3 stitches.
- Ch 3, skip 5 stitches, sc into each of the next 3 stitches.
- Repeat the sequence — ch 3, skip 5 stitches, sc in each of the next 3 stitches — across the row.
- At the end, ch 1, skip the second-to-last stitch, dc into the final stitch.
- Turn work. Row 3 Complete.
Row 4: Second Layer of Arches
- Ch 3 (counts as dc), turn work.
- In the first large ch-space at the beginning of the row, work 3 dc.
- Skip the first stitch from the group of 3 sc, sc into the middle stitch, and skip the next stitch.
- In the next ch-3 space, work 7 dc.
- Repeat the sequence — skip 1 sc, sc in the middle sc, skip 1 sc, 7 dc in the ch-3 space — across the row.
- At the end, skip the second-to-last stitch, work 4 dc into the final ch-space.
- Turn work. Row 4 Complete.
Row 5: Final Bridges
- Ch 1 (does not count as a stitch), turn work.
- Sc into each of the first 2 stitches.
- Ch 3, skip 5 stitches, sc into each of the next 3 stitches.
- Repeat the sequence — ch 3, skip 5 stitches, sc into each of the next 3 stitches — across the row.
- At the end, sc into the remaining 2 stitches.
- Turn work. Row 5 Complete.
Repeat Rows 2–5
To continue growing the shawl, repeat Rows 2–5 until the desired length is achieved.
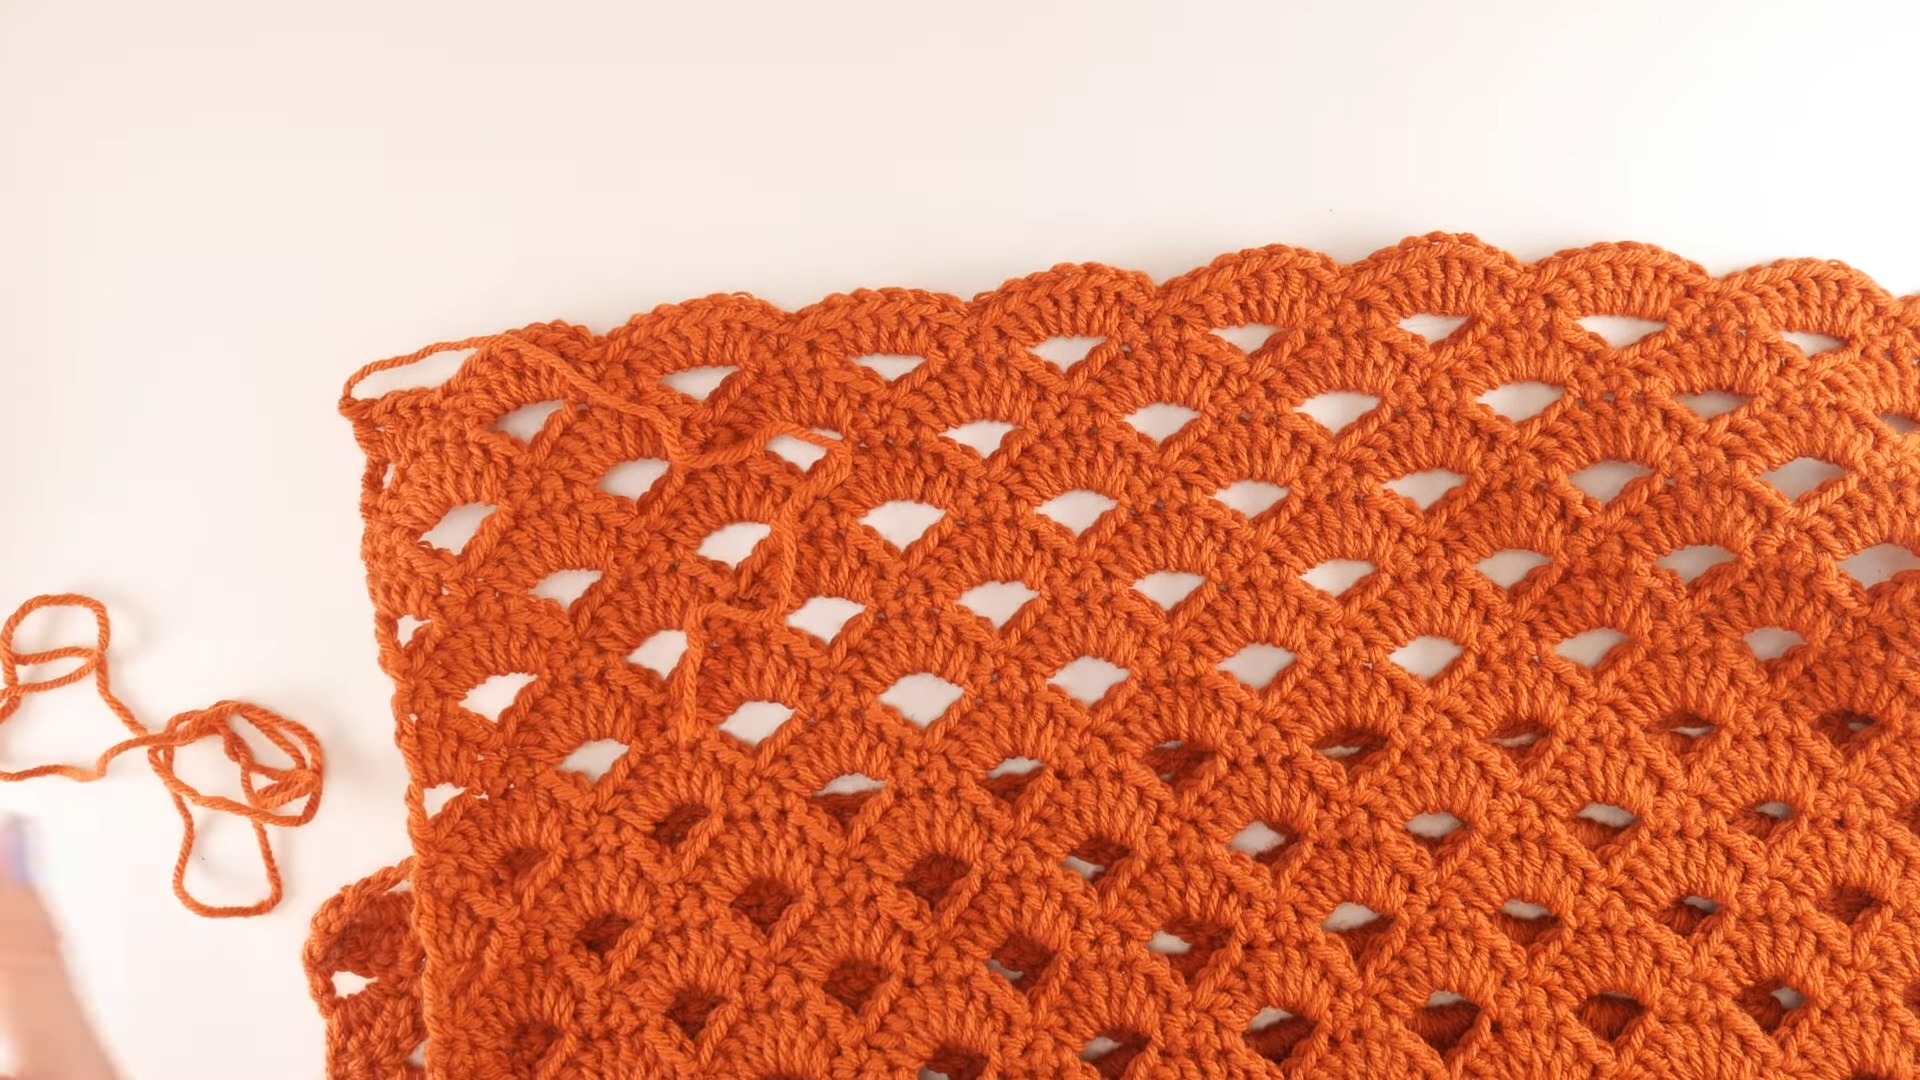
Finishing Touches That Make It Look Premium
Once the shawl is the size you want:
- Cut yarn, leaving a small tail.
- Fasten off by pulling the cut end through the loop on your hook.
- Use a tapestry needle to weave in ends:
- Thread tail into the needle.
- Insert the needle into the fabric, staying within the loops to prevent the tail from showing on either side.
- For security, weave back and forth at least twice.
Tips for Yarn Substitution
- Select a yarn that matches the Medium #4 weight and recommends a 6mm hook.
- Variegated or self-striping yarns also work beautifully with this pattern
How to Style This Shawl
- Multiple styling options:
- Drape over shoulders for a chic layer.
- Wrap around your neck as a cozy scarf.
- Use as an extra layer for chilly evenings or traveling comfort.
- Complements both casual and dressy outfits without sacrificing style.

Video Tutorial