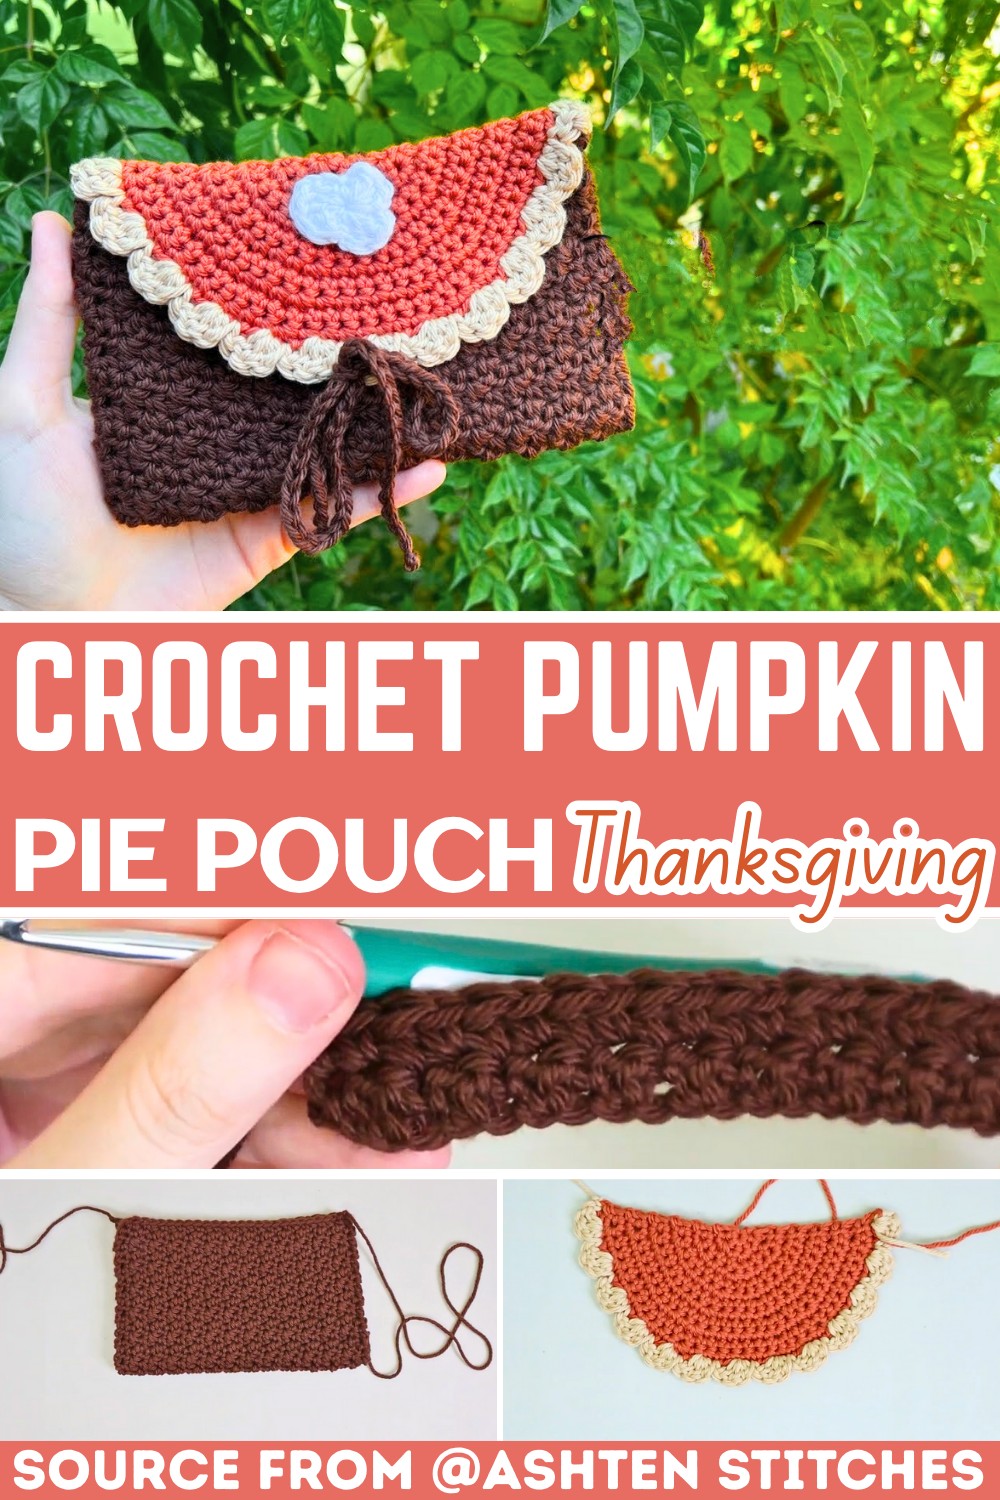
Crochet Pumpkin Pie Pouch Tutorial for Fall
Not every slice of pumpkin pie belongs on a plate. This crochet pumpkin pie pouch brings a favorite fall dessert into a fun and practical design you can actually use. The whipped cream detail, textured crust, and warm autumn shades give it a cozy look.
That’s perfect for holding small treasures or adding a playful seasonal touch to your décor. By the time you reach the end of this crochet page, you’ll be ready to make one that’s every bit as charming as the real thing.
Free Crochet Pumpkin Pie Pouch Pattern
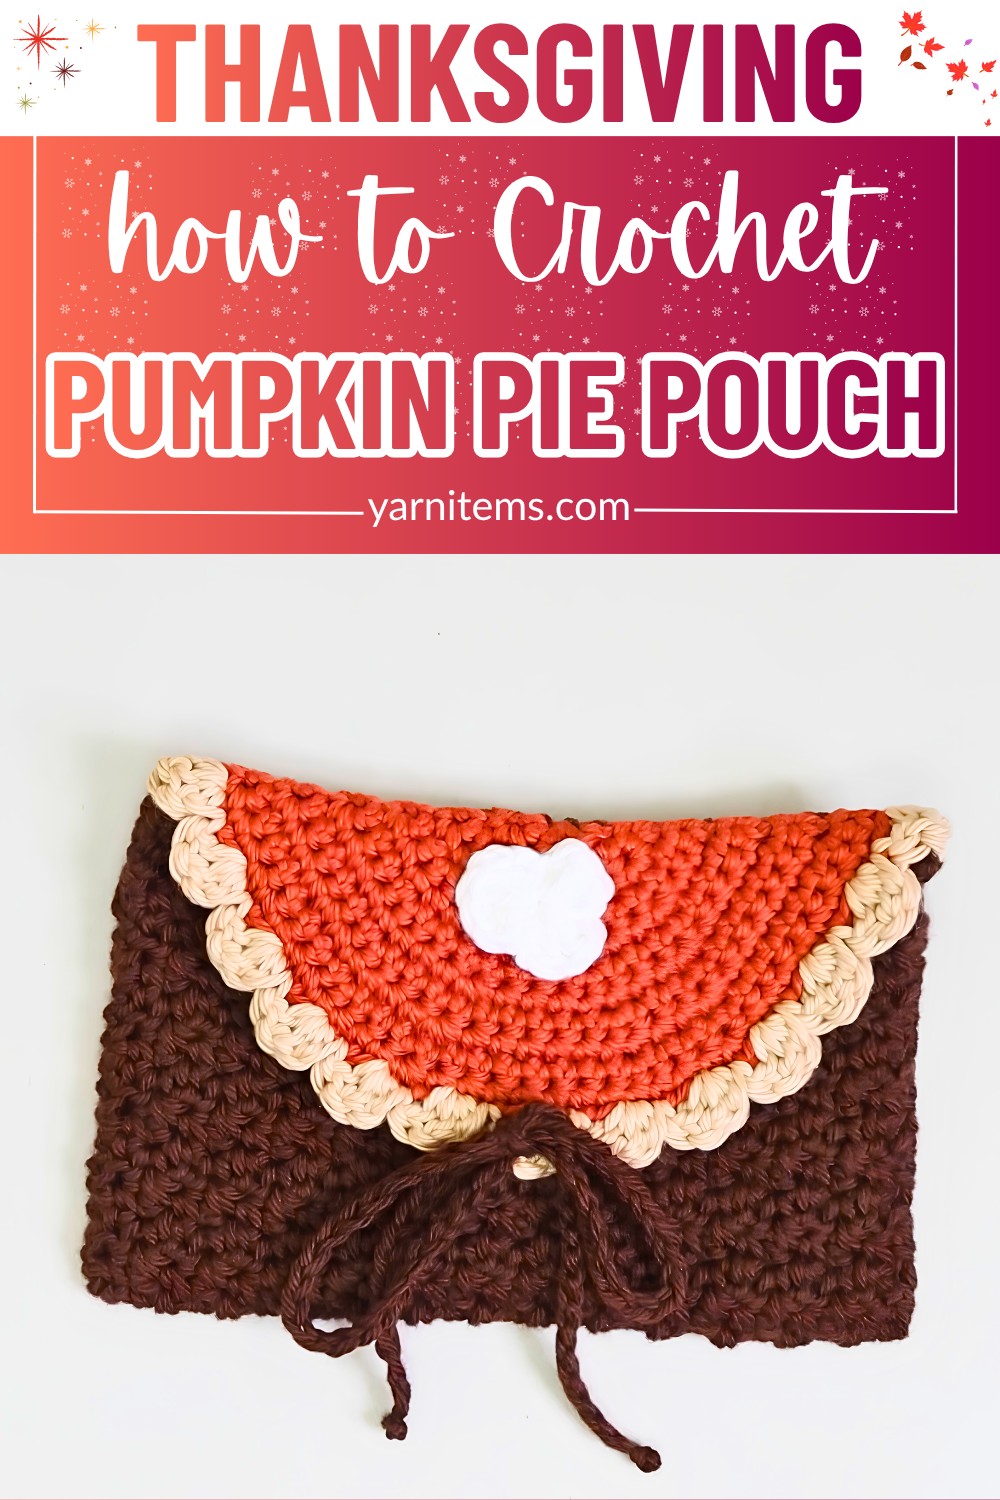
The pattern breaks the piece into easy, manageable steps, making it enjoyable for confident beginners and experienced crocheters alike. You’ll build realistic pie-inspired details with simple stitches, shape the pouch, and finish it with a secure tie closure. Keep scrolling to see how each crochet piece comes together into an adorable fall accessory you’ll want to use all season.
Credit Ashten Stitches
Materials & Tools Needed
- Yarn:
- Brown cotton yarn (body)
- Tan cotton yarn (crust)
- Orange cotton yarn (flap/pie filling)
- White cotton yarn (whipped cream)
- Crochet Hooks:
- 4.5 mm crochet hook
- 5 mm crochet hook (for crust)
- Measuring tape
- Scissors
- Darning needle
Finished Size & Customization Ideas
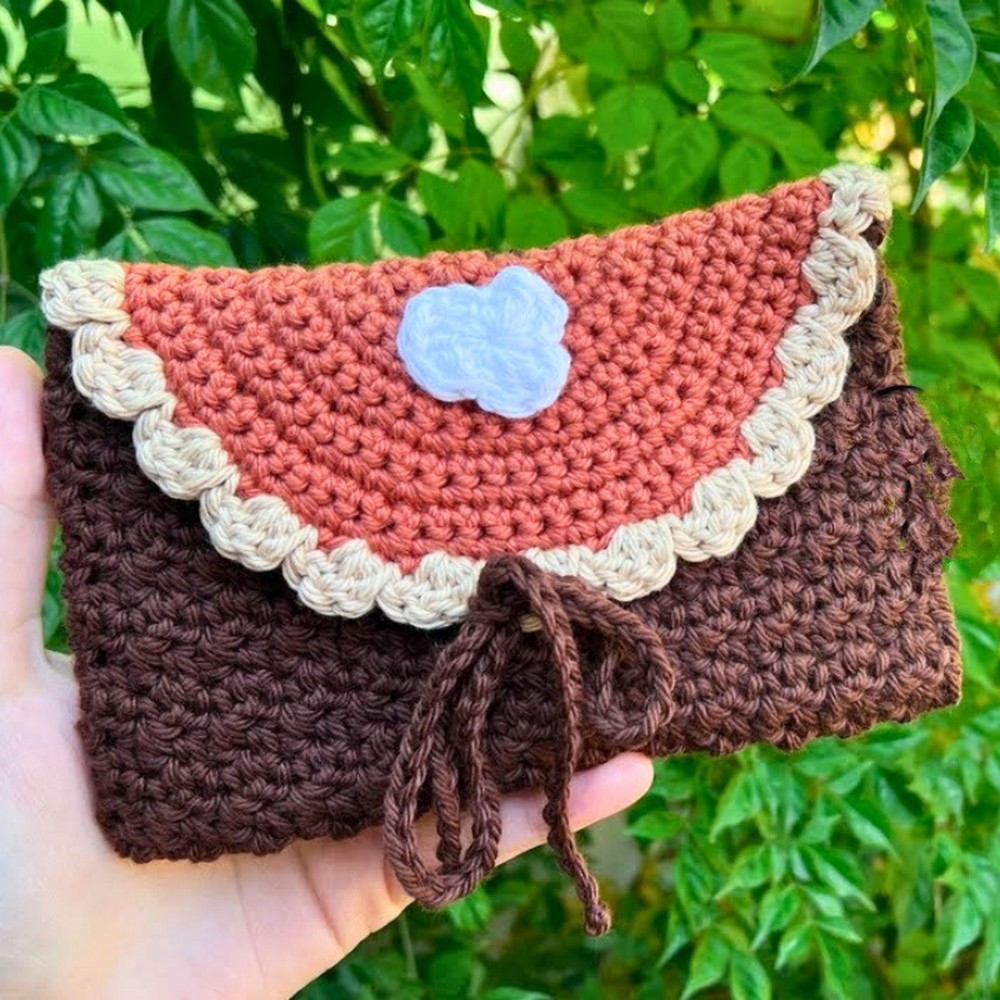
- The finished pouch size is approximately 8 inches long after crocheting the body, with a semi-circular flap resembling a pie slice.
- Customization Ideas:
- Use contrasting yarn colors for a creative twist on the pie slice.
- Add a small strap to turn it into a mini bag.
- Sew on a magnetic clasp or button closure.
Pattern Abbreviations & Terminology
- ch = chain
- sc = single crochet
- dc = double crochet
- sl st = slip stitch
- st = stitch(es)
- inc = increase (2 sc in one stitch)
Step-by-Step Detailed Crochet Instructions
Part 1: The Body
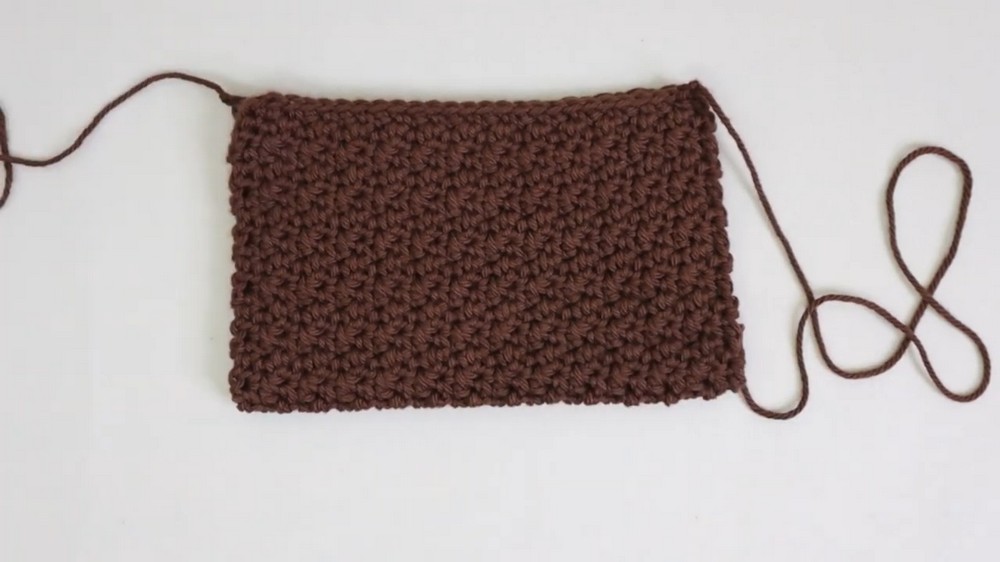
- Body Base: Using the 4.5 mm crochet hook and brown yarn, leave an 18–20-inch tail to begin.
- Make a slip knot and ch 27.
- Row 1: Starting in the second ch from the hook, work:
- 1 sc, 1 dc, alternating across.
- Final stitch should be a dc. You’ll have 26 stitches.
- Rows 2–End:
- Chain 1, turn. Continue using the lemon peel stitch.
- Alternate sc into dc, and dc into sc from the row below.
- Always ensure the final stitch in a row is a dc.
- Chain 1, turn. Continue using the lemon peel stitch.
- Length of the Body:
- Crochet rows until the body reaches 8 inches in height.
- Finish the Body:
- Chain 1, leave a long tail, and fasten off.
- Assembly:
- Fold the rectangle in half, short ends touching.
- Whipstitch the sides together using the long tail or your preferred joining method (e.g., sl st, or sc).
- Weave in all ends.
Part 2: The Flap (Pie Slice)
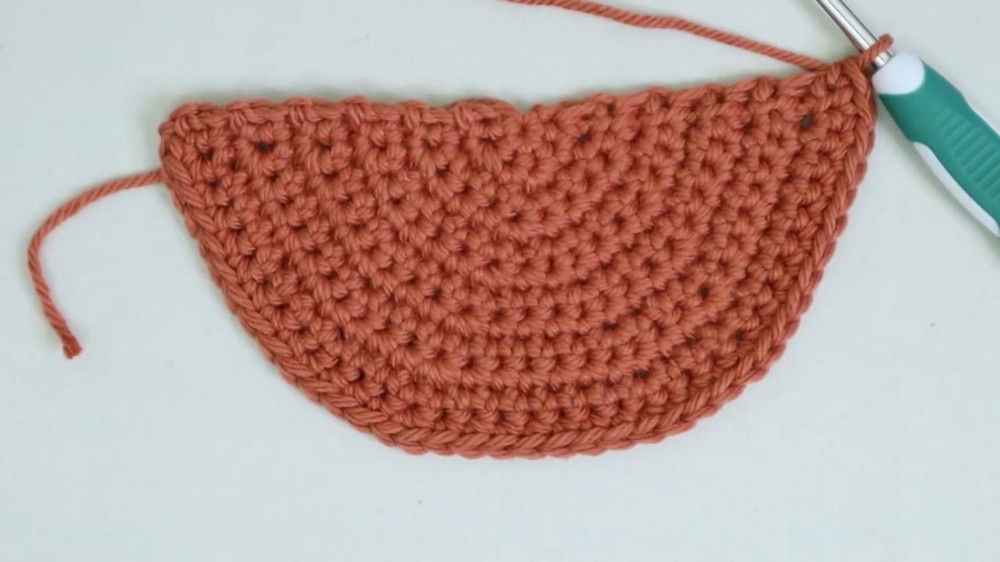
- Using the 4.5 mm hook and orange yarn, create a magic circle.
- Chain 1 to secure, then work 6 sc into the circle.
- Round 2:
- Chain 1, turn. Work 2 sc (inc) into each stitch across (12 stitches).
- Round 3:
- Chain 1, turn. Work:
- (Inc in first st, 1 sc in next) across (18 stitches).
- Chain 1, turn. Work:
- Round 4:
- Chain 1, turn. Work:
- (Inc in first st, 1 sc in next 2 sts) across (24 stitches).
- Chain 1, turn. Work:
- Continue Increasing:
- Repeat the pattern of: Chain 1, turn, increase 6 total stitches per row by spacing the increases evenly:
- Round 5: (Inc in first st, 1 sc in next 3) (30 stitches).
- Round 6: (Inc in first st, 1 sc in next 4) (36 stitches).
- Round 7: (Inc in first st, 1 sc in next 5) (42 stitches).
- Repeat the pattern of: Chain 1, turn, increase 6 total stitches per row by spacing the increases evenly:
- Once the semi-circle flap reaches desired size (approx. 8 inches wide), fasten off and weave in ends.
Part 3: The Crust
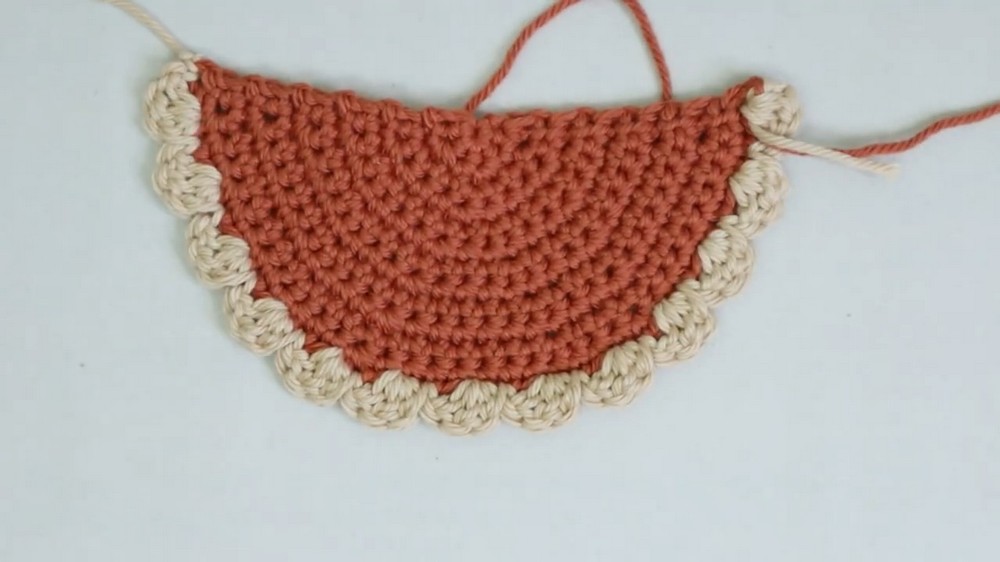
- Attach tan yarn to the flat edge of the flap with a 5 mm crochet hook.
- Chain 2, turn. Work 2 dc into the first stitch.
- Skip 1 stitch, and sl st into the next.
- Repeat: (3 dc into next st, skip 1, sl st into next) across the edge to create the wavy crust.
- Fasten off and weave in ends.
Part 4: Attaching the Flap
- With the 4.5 mm crochet hook, attach the brown yarn to one side of the body.
- Line the flap up with the top of the pouch body. Mark the 29 corresponding stitches for alignment.
- Slip stitch the flap to the body, ensuring it is secure and even. Fasten off and weave in ends.
Part 5: Whipped Cream Topping
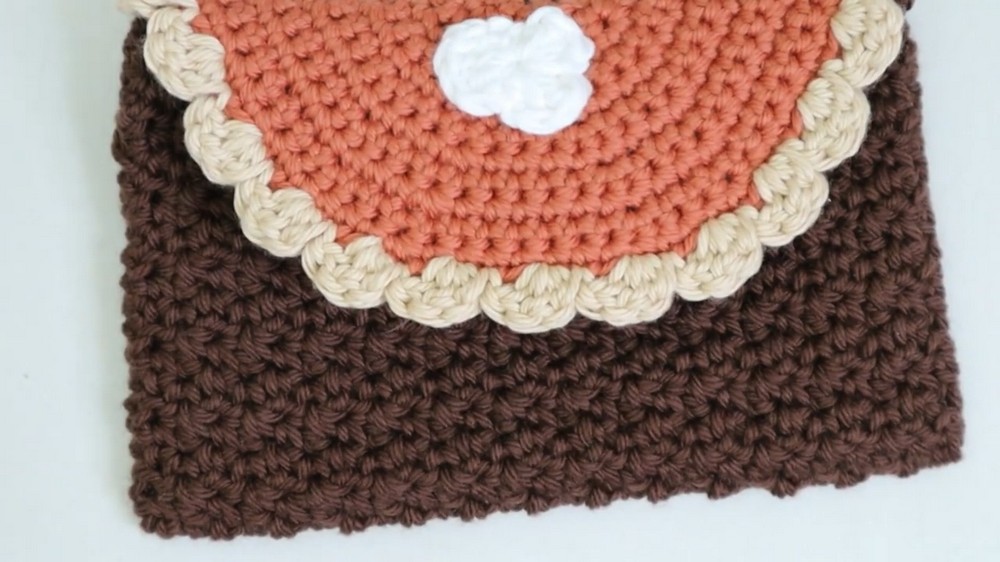
- Use the white yarn and 4.5 mm hook to create a magic circle.
- Chain 3 (counts as 1 dc).
- Work: 4 dc, sl st into the circle, repeat 3 times.
- Pull the magic circle tight and secure with a sl st.
- Attach the whipped cream to the center of the flap using a darning needle. Weave ends to secure.
Part 6: Closure Tie
- With brown yarn and the 4.5 mm hook, chain 75.
- Fasten off and knot both ends of the chain to secure.
- Weave the chain through the flap and body to create a drawstring closure.
Customization Notes
- Add extra personalization using embellishments like beads or embroidery.
- You can leave out the crust if you prefer a simpler flap design.