Festive Crochet Pumpkin Hat for Cats and Dogs
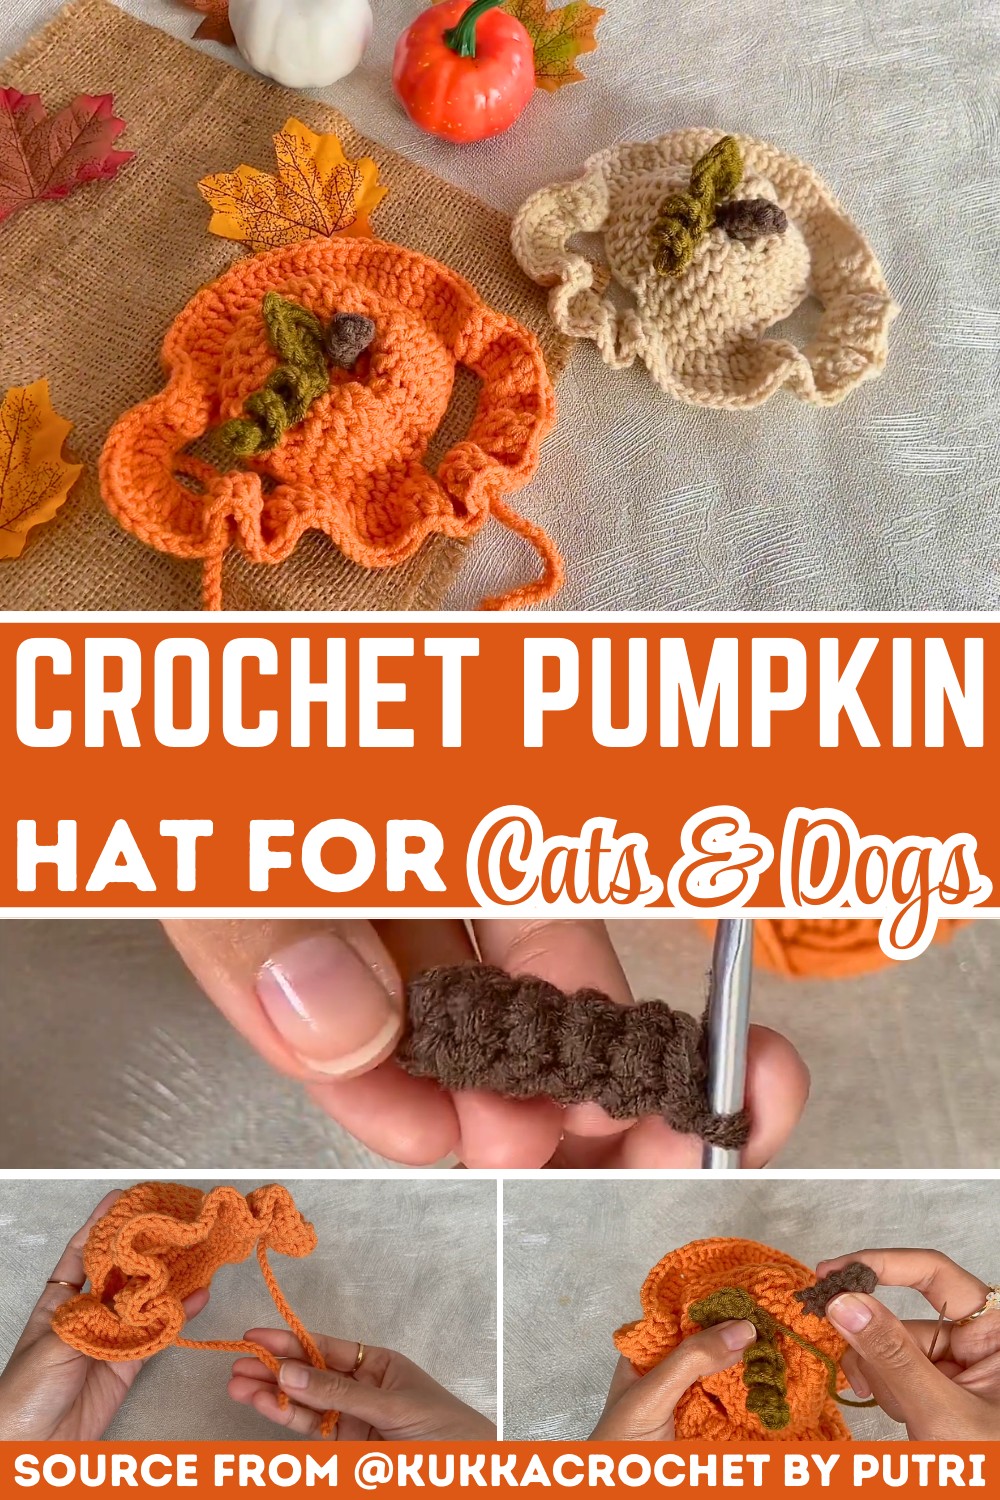
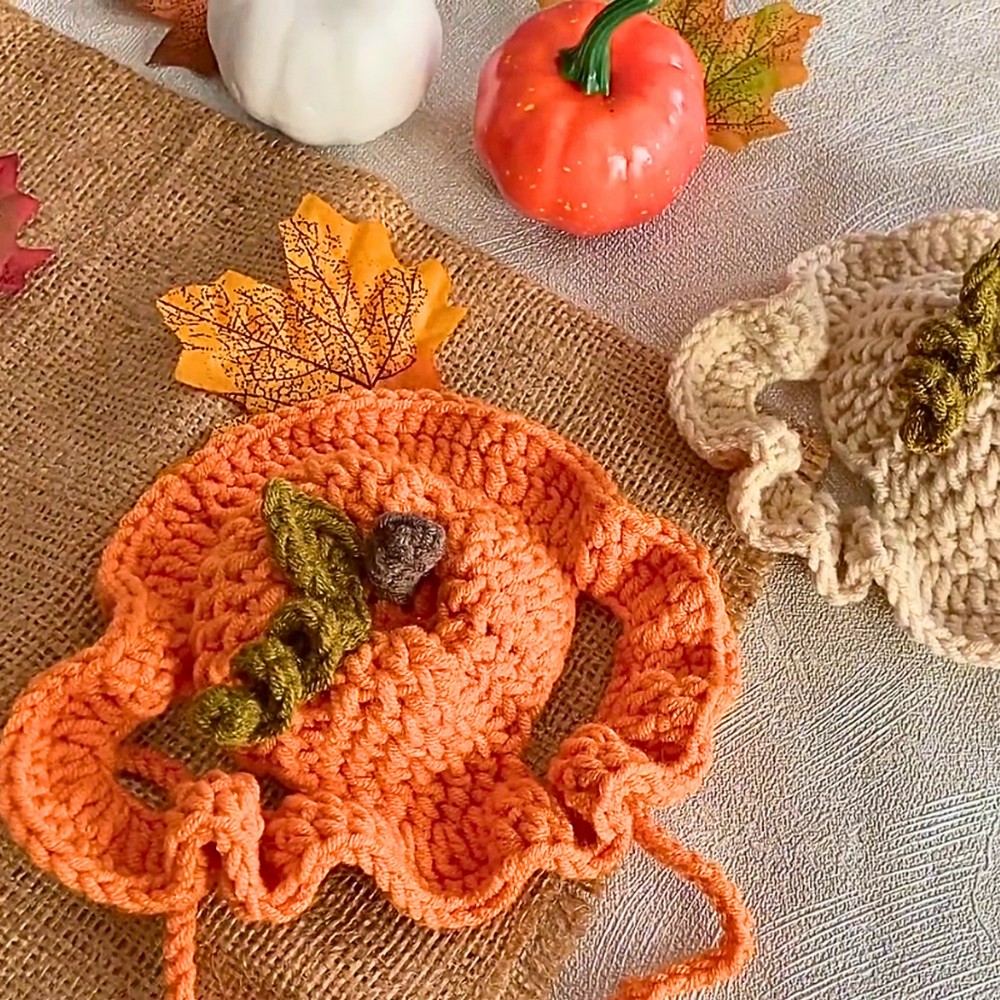
Thanksgiving gets even more memorable when your cat or dog joins the celebration wearing a tiny crochet pumpkin hat. The rounded pumpkin design, playful stem, and leafy accents turn a simple pet accessory into a festive highlight for family gatherings, seasonal photos, or autumn walks. It’s a charming crochet piece that adds a handmade touch to your pet’s holiday look without being overly complicated.
Crochet Pumpkin Hat Pattern

This pattern walks you through each section in a clear, beginner-friendly order, from shaping. The pumpkin and crocheting the stem to adding the leaf, vine, and adjustable strap. Every step builds naturally on the last, making the hat easy to assemble while creating a neat, secure fit. Keep reading to see how each crochet piece comes together into an adorable Thanksgiving accessory for your furry companion.
Credit Kukkacrochet By Putri
Materials & Tools Needed
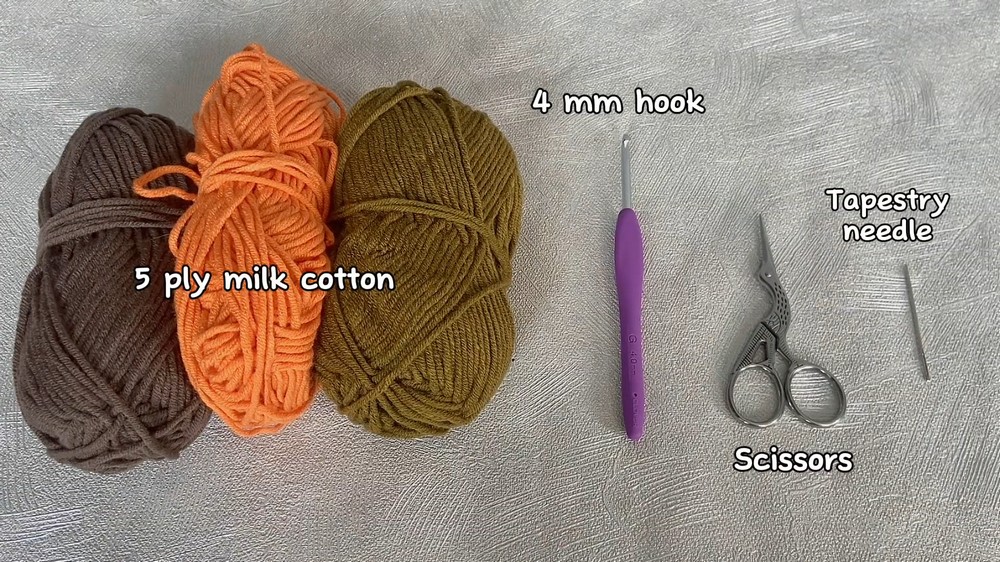
- Yarn: 5-ply milk cotton yarn (orange for the body, green for the stem and leaves, optional contrasting colors for straps)
- Hook: 4 mm crochet hook
- Additional Tools: Scissors, tapestry needle
Finished Size & Customization Ideas
- Finished Size: Dimensions work for cats or small dogs. Adjust the strap length and chain counts if your pet has a larger or smaller head.
- Customization Ideas:
- Adjust the strap chains to fit your pet’s head circumference.
- Add additional leaves and vines for embellishment.
Pattern Abbreviations & Terminology
- ch = chain
- sc = single crochet
- sl st = slip stitch
- dc = double crochet
- hdc = half double crochet
- inc = increase (work 2 stitches in 1 stitch)
- st = stitch(es)
Terminology: US crochet terms are used.
Step-by-Step Detailed Crochet Instructions
Stem
- Foundation: Start with a slip knot (or magic ring).
- Round 1: Ch 2, work 4 sc into the first chain.
- Sl st into the first sc and ch 1 to begin each new round.
- Rounds 2–5: Work 4 sc in each round (maintaining the stitch count).
- At the end of Round 5, sl st to the first sc and ch 1.
Result: A cylindrical stem shape.

Pumpkin Body
Round 6:
- Change yarn to orange (or body color).
- Attach yarn to the last stitch of the stem. Ch 2 (counts as 1 dc).
- Work dc inc in the same stitch.
- Repeat dc inc 4 times around. (You will have 8 dc total.)
- Sl st into the top of the ch 2 to close the round.
7–13:
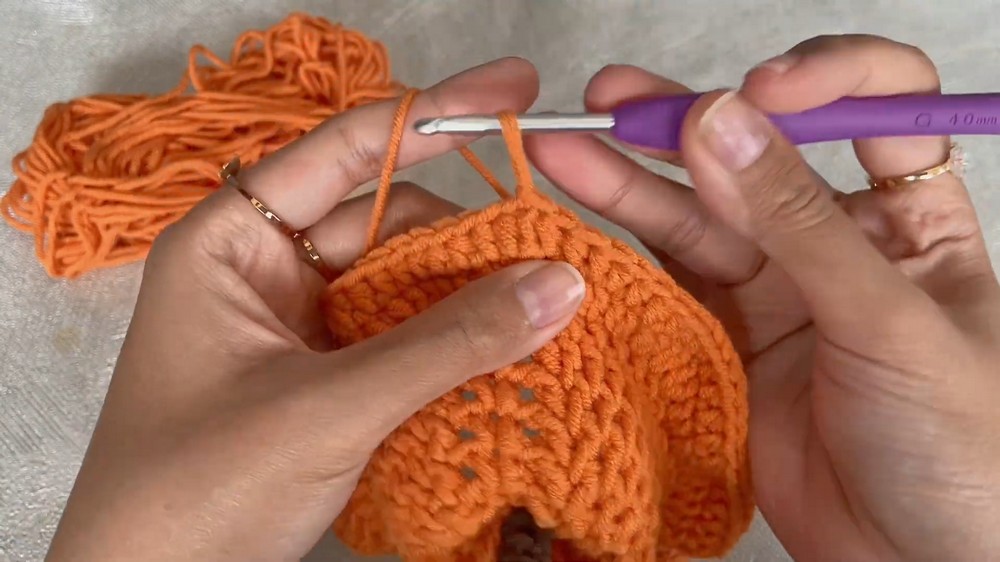
Follow a specific repeating stitch pattern with increases in each row to shape the pumpkin.
Round 7:
- Ch 1, sc in the same st, ch 1.
- 1 dc in the next st.
- Repeat: ch 1, sc, ch 1, dc 4 times around.
- Sl st to the first sc to close.
Round 8:
- Ch 1, sc in the same st, ch 1.
- Work 2 dc:
- 1st dc goes between the previous round’s sc and dc.
- 2nd dc goes on top of the dc from the previous round.
- Repeat: ch 1, sc, ch 1, 2 dc 4 times around.
- Sl st to the first sc to close.
9:
- Ch 1, sc in the same st, ch 1.
- Work 3 dc:
- 1st dc goes on top of the previous stitch.
- 2nd dc goes between two dc stitches from the previous round.
- 3rd dc goes on top of the next stitch.
- Repeat: ch 1, sc, ch 1, 3 dc 4 times around.
- Sl st to the first sc to close.
Round 10:
- Ch 1, sc in the same st, ch 1.
- Work 4 dc:
- 1st and last dc go on top of their respective stitches.
- 2nd and 3rd dc go between two dc stitches.
- Repeat: ch 1, sc, ch 1, 4 dc 4 times around.
- Sl st to the first sc to close.
Then Round 11:
- Ch 1, sc in the same st, ch 1.
- Work 5 dc (similar placement style as above).
- Repeat: ch 1, sc, ch 1, 5 dc 4 times around.
- Sl st to the first sc to close.
Round 12:
- Ch 1, sc in the same st, ch 1.
- Work 6 dc (similar placement style as above).
- Repeat: ch 1, sc, ch 1, 6 dc 4 times around.
- Sl st to the first sc to close.
Round 13:
- Ch 1, sc in the same st, ch 1.
- Work 7 dc (similar placement style as above).
- Repeat: ch 1, sc, ch 1, 7 dc 4 times around.
- Sl st to the first sc to close.
Straps
Round 14:
- Ch 1, work 5 hdc starting from the first sc.
- Ch 15 (adjust as needed for your pet).
- Skip 4 stitches, work 7 hdc starting from the fifth stitch.
- Repeat: Ch 15, skip 4 stitches, work hdc to complete the round.
- Sl st to the first hdc.
15:
- Push the stem down to flatten the shape into a pumpkin.
- Ch 2 (counts as 1 dc), work dc inc around (including chain spaces).
- Sl st to the top of the ch 2.
Round 16:
- Ch 1, work hdc all around.
- Sl st to the first hdc.
- Finish off: Ch 1, cut yarn, and fasten off.

Leaf and Vine
Leaf:
- Start with a slip knot or magic ring.
- Ch 3, work 3 dc into the first chain.
- Ch 2, sl st into the first chain.
- Work another 3 dc.
- Ch 2, sl st into the same first chain.
Vine:
- Do not fasten off the leaf.
- Ch 12, start from the second chain of the hook.
- Work 11 sc inc (2 sc in each stitch). You should have 22 sc total.
- Sl st into the center of the leaf, finish with ch 1, cut yarn, and let the tail remain for sewing.

Assembly & Finishing
- Sew the leaf and vine onto the top of the pumpkin hat.
- Adjust straps to ensure they fit securely around your pet’s head.
Final Notes
- Use the customization ideas to fit different pets.
- Feel free to embellish with additional decorations if desired.