Crochet a Cute Halloween Jack-o-Lantern for Fall Décor
A Halloween display feels even more inviting when a smiling jack-o’-lantern is made with yarn instead of carving tools. Soft, cheerful, and full of seasonal charm, this crochet pumpkin brings a playful spooky touch to shelves or cozy fall corners. Its friendly face makes it a decoration you’ll look forward to bringing out every Halloween.
Crochet a Halloween Jack-o-Lantern
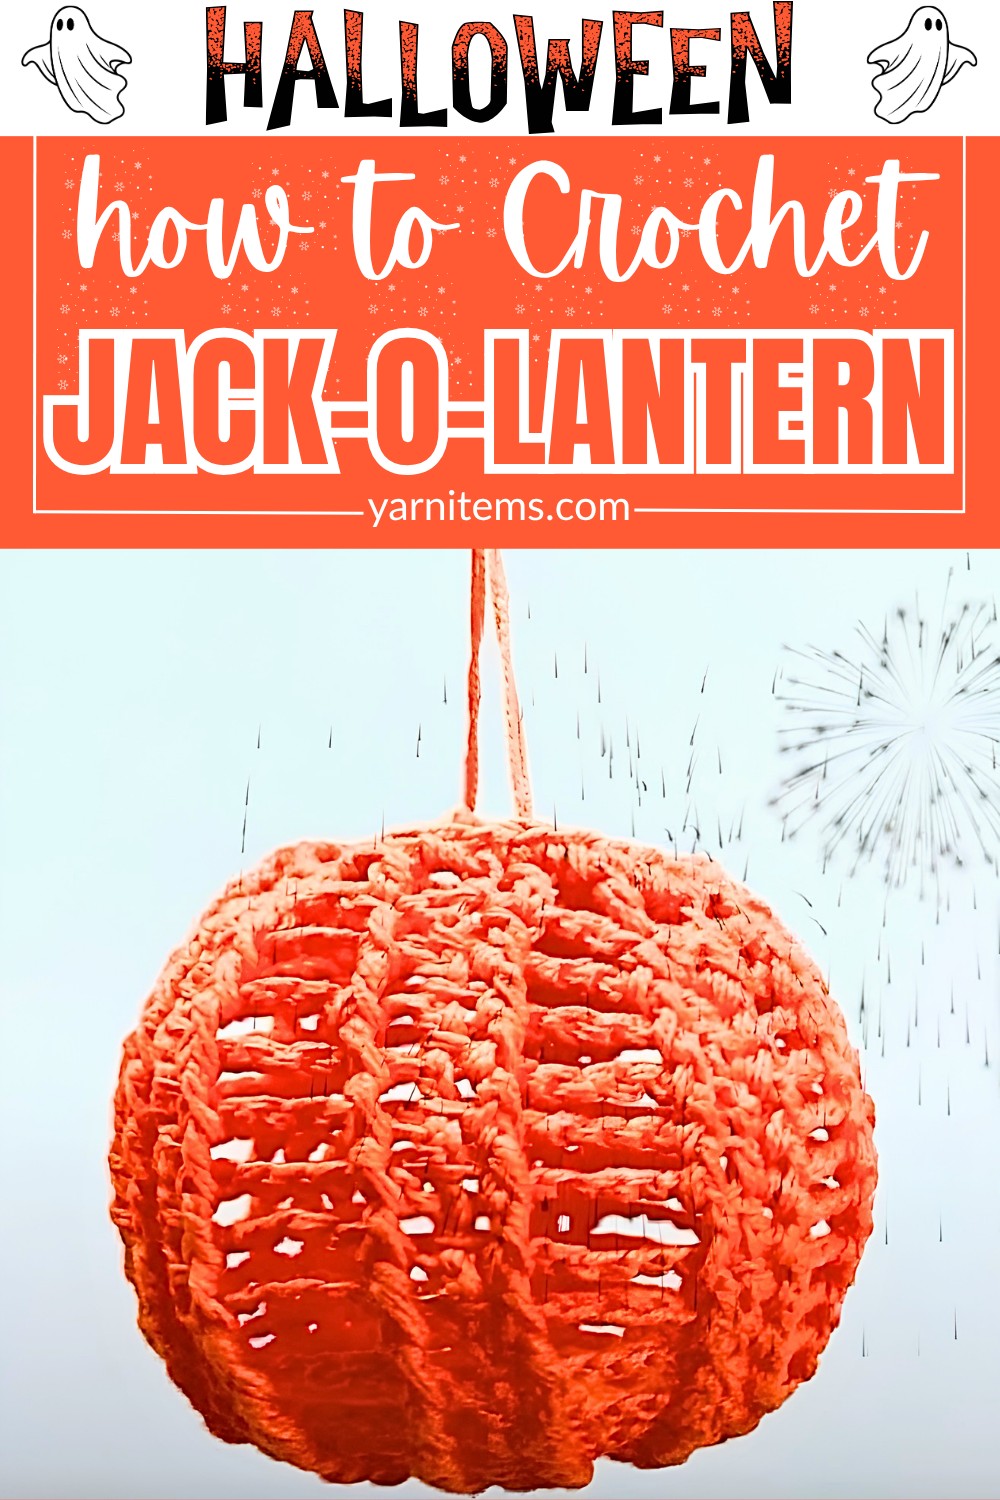
This crochet pattern breaks the piece into simple, manageable steps. Making it easy to build the pumpkin shape before adding its expressive face and finishing details. The design works up into a lightweight decoration that’s easy to store and reuse every season. Keep reading to see how this charming jack-o’-lantern comes together, one crochet stitch at a time.
Credit Let’s crochet
Materials & Tools
- Yarn: Soft cotton yarn, approximately 1 mm in diameter (orange).
- Crochet Hook: 2.5 mm.
- Other Tools:
- Stitch markers
- Scissors
- Tapestry needle
- Standard balloon
- Fabric stiffener or liquid starch (e.g., Stiffen Quik).
Finished Size & Customization
- Size: The size depends on how much you inflate the balloon during shaping.
- Customization:
- Use as a decorative cover for an LED tealight.
- Add a spooky Jack-o’-lantern face with black felt cutouts glued to the stiffened structure.
Pattern Abbreviations
-
ch: Chain
-
sc: Single crochet
-
dc: Double crochet
-
FPdc: Front Post double crochet
-
sl st: Slip stitch
-
R: Round
Step-by-Step Crochet Instructions
Foundation
- Chain 6: Form a center ring by joining the last chain with a sl st to the first chain.
Rounds
- Round 1 (R1):
- Ch 3 (counts as 1st dc).
- Work 15 dc into the center ring (16 total stitches).
- Join with sl st to the top of the initial ch-3.
- Round 2 (R2):
- Ch 4 (counts as 1 dc + ch-1 space).
- Repeat: [1 dc in the next stitch, ch 1] 15 times.
- Join with sl st to the 3rd ch of the starting ch.
(Result: 16 dc, 16 ch-1 spaces).
- Round 3 (R3):
- Ch 3, work 1 FPdc around the same starting post, then ch 2.
- Repeat: [FPdc, 1 dc, FPdc, ch 2] 7 times.
- Finish with 1 FPdc, join with sl st.

- Round 4 (R4):
- Ch 3, FPdc, ch 3.
- Repeat: [FPdc, 1 dc, FPdc, ch 3] 7 times.
- Finish with 1 FPdc, join with sl st.
- Round 5 (R5):
- Ch 3, FPdc, ch 4.
- Repeat: [FPdc, 1 dc, FPdc, ch 4] 7 times.
- Finish with 1 FPdc, join with sl st.
- Round 6 (R6) (Widest Point):
- Ch 3, FPdc, ch 5.
- Repeat: [FPdc, 1 dc, FPdc, ch 5] 7 times.
- Finish with 1 FPdc, join with sl st.
- Round 7 (R7) (Start Decreasing):
- Ch 3, FPdc, ch 4.
- Repeat: [FPdc, 1 dc, FPdc, ch 4] 7 times.
- Finish with 1 FPdc, join with sl st.
- Round 8 (R8):
- Ch 3, FPdc, ch 3.
- Repeat: [FPdc, 1 dc, FPdc, ch 3] 7 times.
- Finish with 1 FPdc, join with sl st.
- Round 9 (R9):
- Ch 3, FPdc, ch 2.
- Repeat: [FPdc, 1 dc, FPdc, ch 2] 7 times.
- Finish with 1 FPdc, join with sl st.
- Round 10 (R10):
- Ch 3, FPdc, ch 1.
- Repeat: [FPdc, 1 dc, FPdc, ch 1] 7 times.
- Finish with 1 FPdc, join with sl st.
- Round 11 (R11) (Final Edge):
- Work sc evenly around the entire bottom opening (into stitches and spaces).
- Join with sl st (32 total sc).

Finishing
- Fasten Off:
- Use a tapestry needle to weave in your yarn ends.
- Optional: Save yarn at the top to create a hanging loop.
Shaping & Hardening Process
- Soak the Crocheted Piece:
- Fully saturate the pumpkin in fabric stiffener or liquid starch (soak in a small bowl).
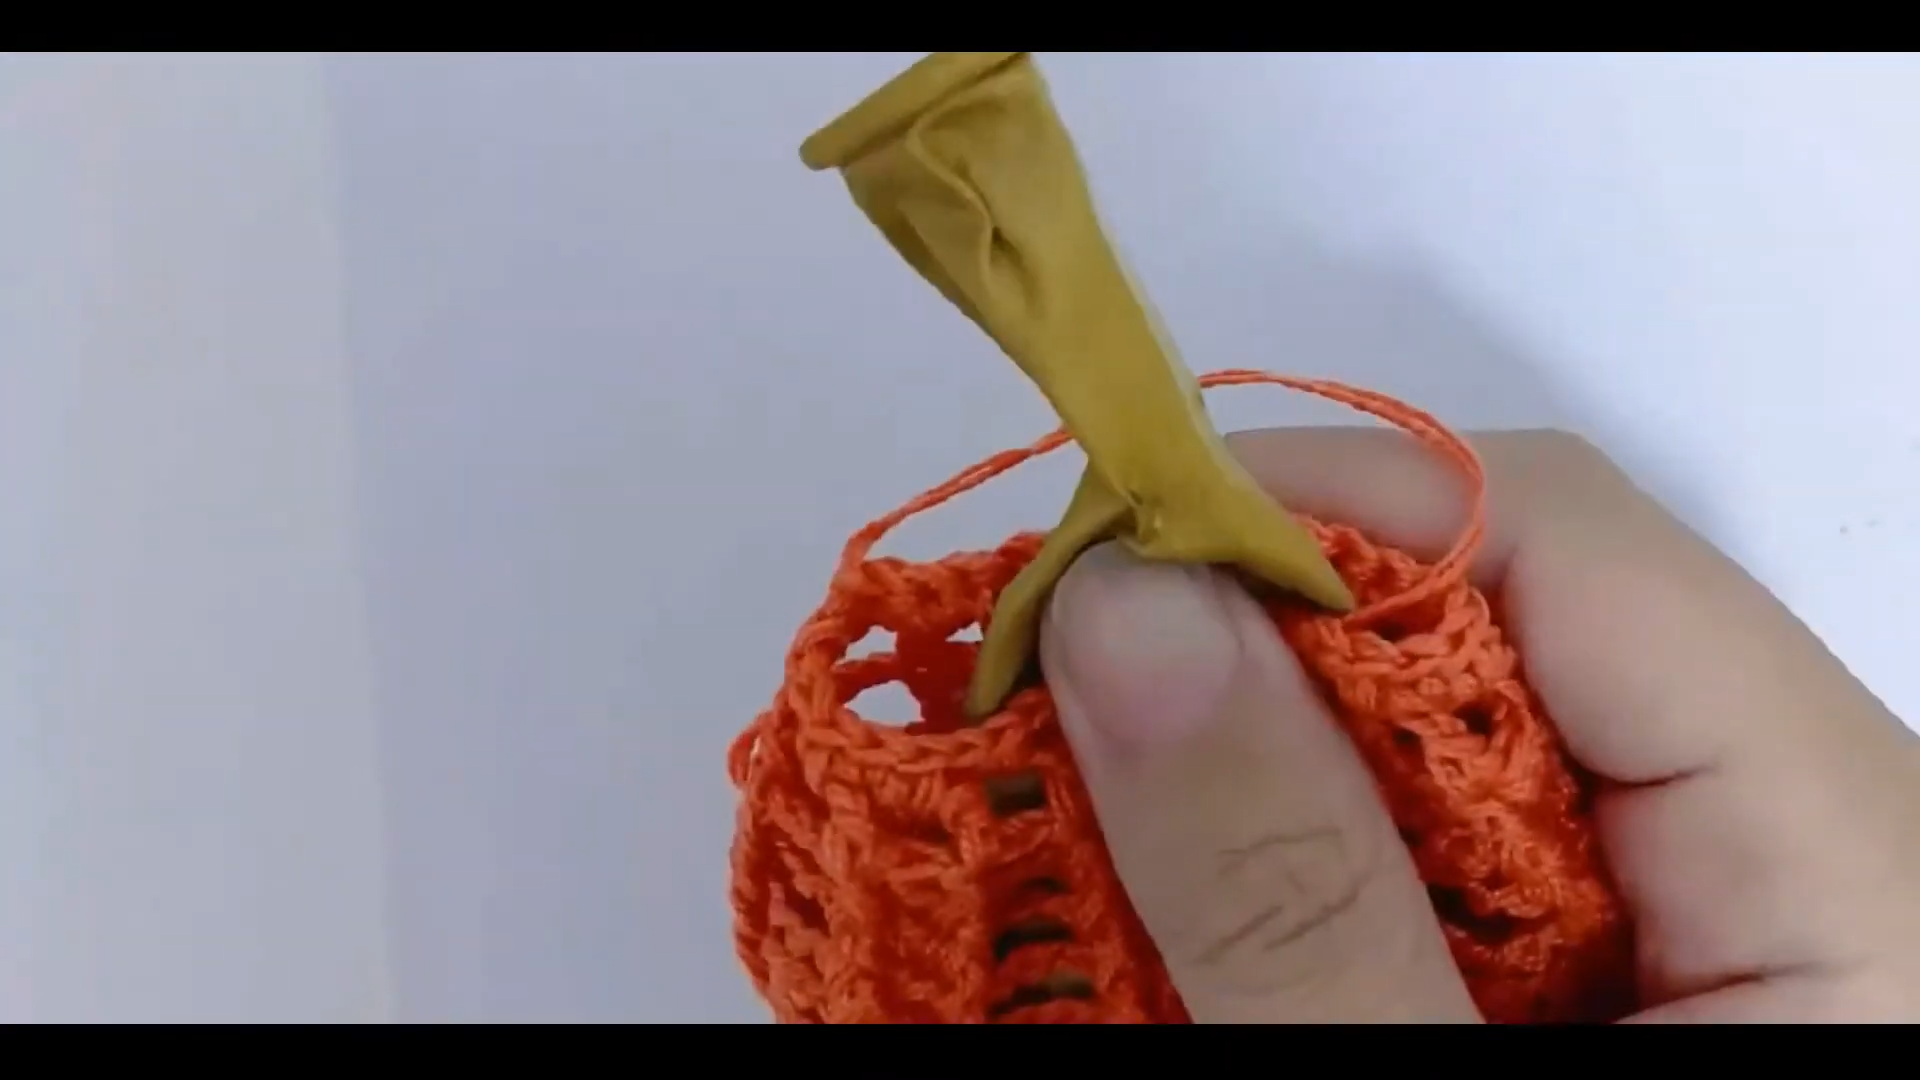
- Insert the Balloon:
- Squeeze out excess liquid.
- Push an uninflated balloon through the opening into the center of the wet piece.
- Inflate & Shape:
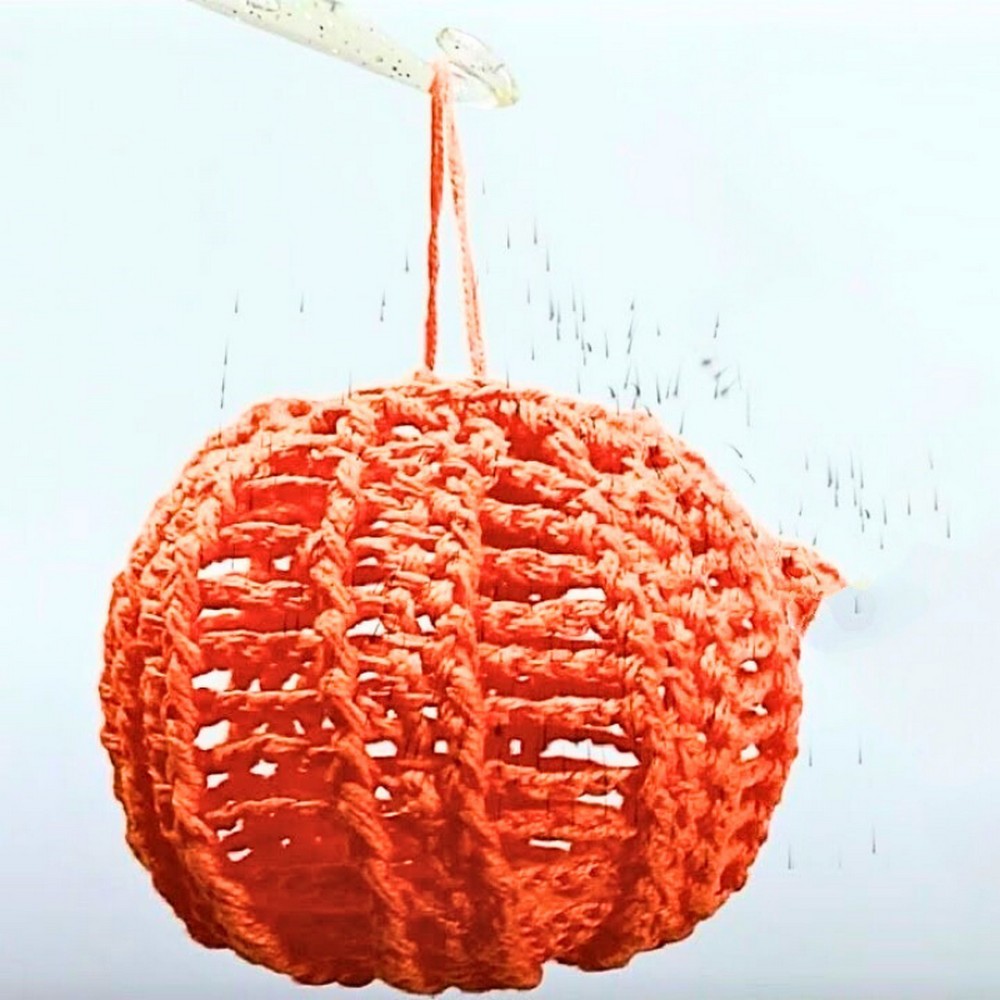
- Gently inflate the balloon inside the structure. Expand until it forms a smooth, round pumpkin shape.
- Knot the end of the balloon.
- Dry & Finalize:
- Let the pumpkin air-dry completely (use a warm place or a fan to speed up drying).
- Once the structure is rigid, carefully pop the balloon and pull it out.
Extras
- Decorate the pumpkin with black felt cutouts for a Jack-o’-lantern face.
- Use it as a cover for an LED tealight or fairy lights for a soft, glowing effect.