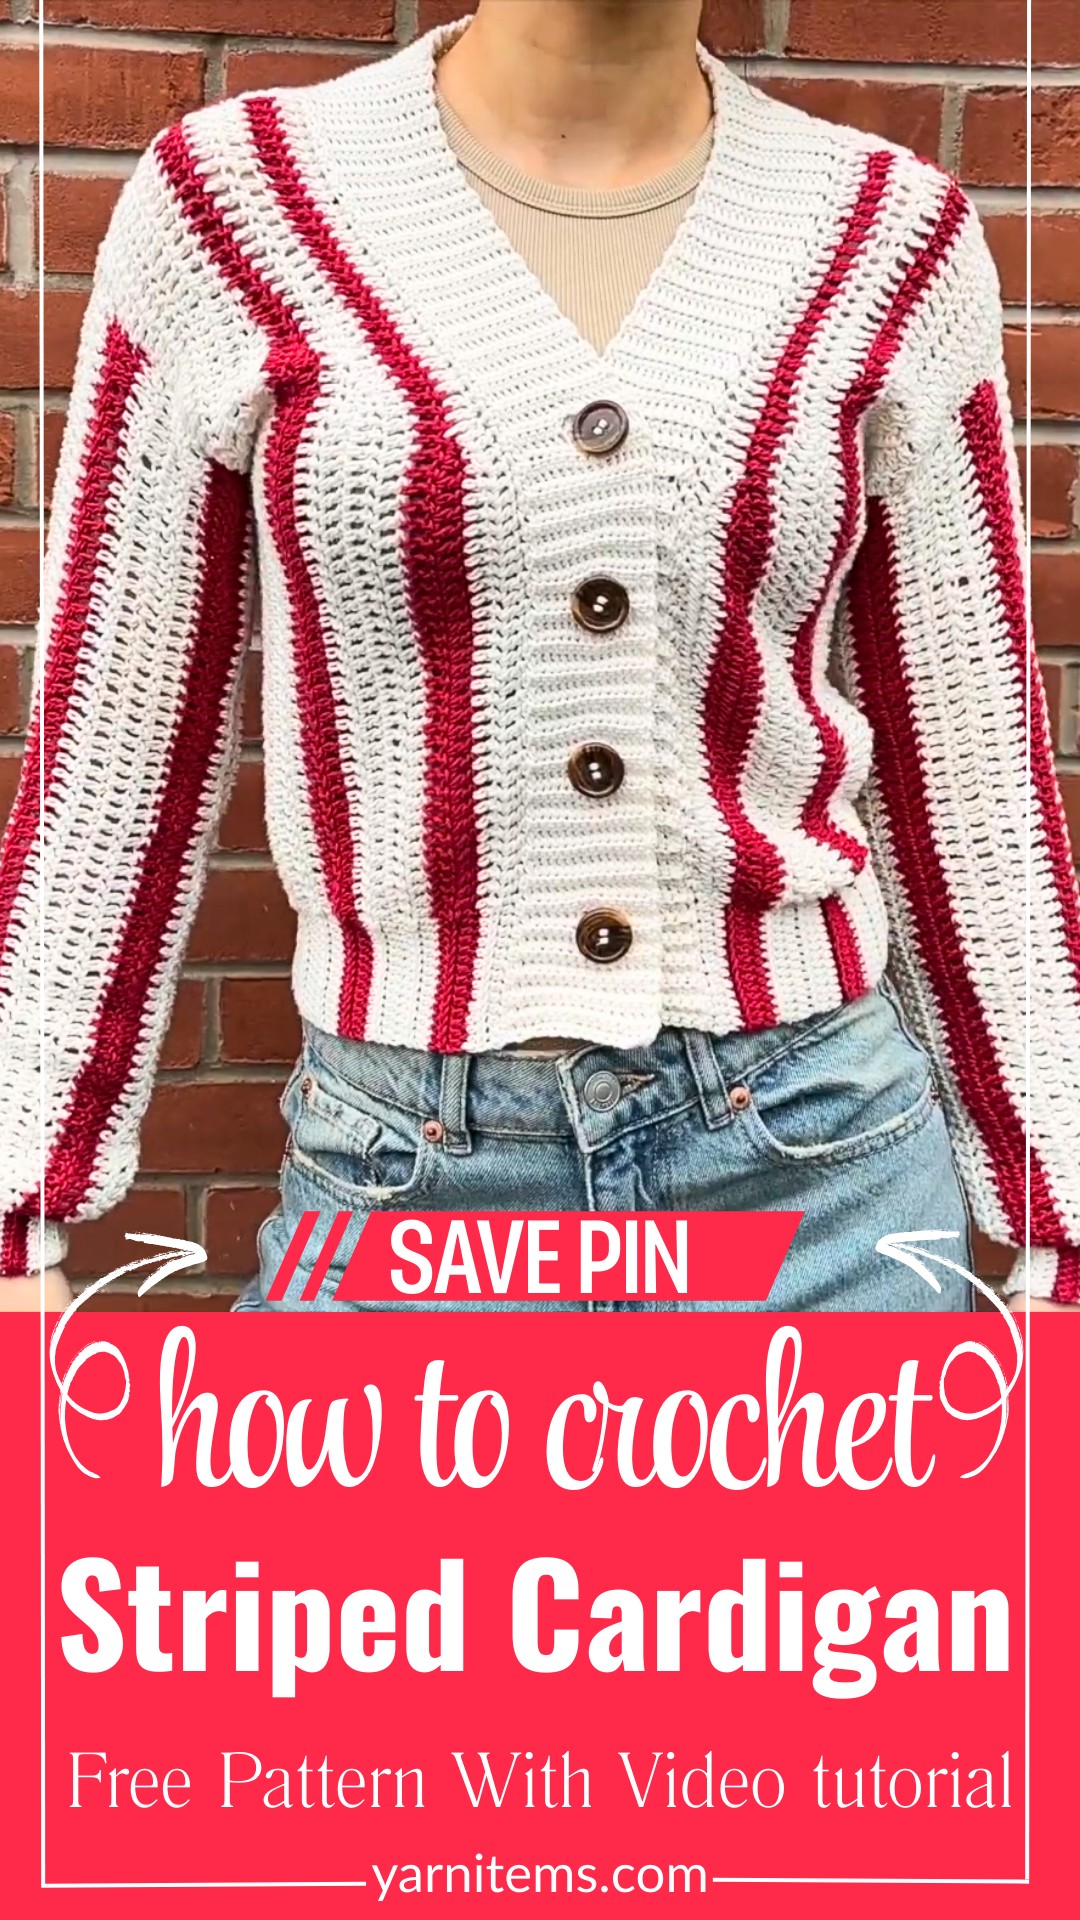
Striped Crochet Cardigan Patten – Buttoned Cardigan
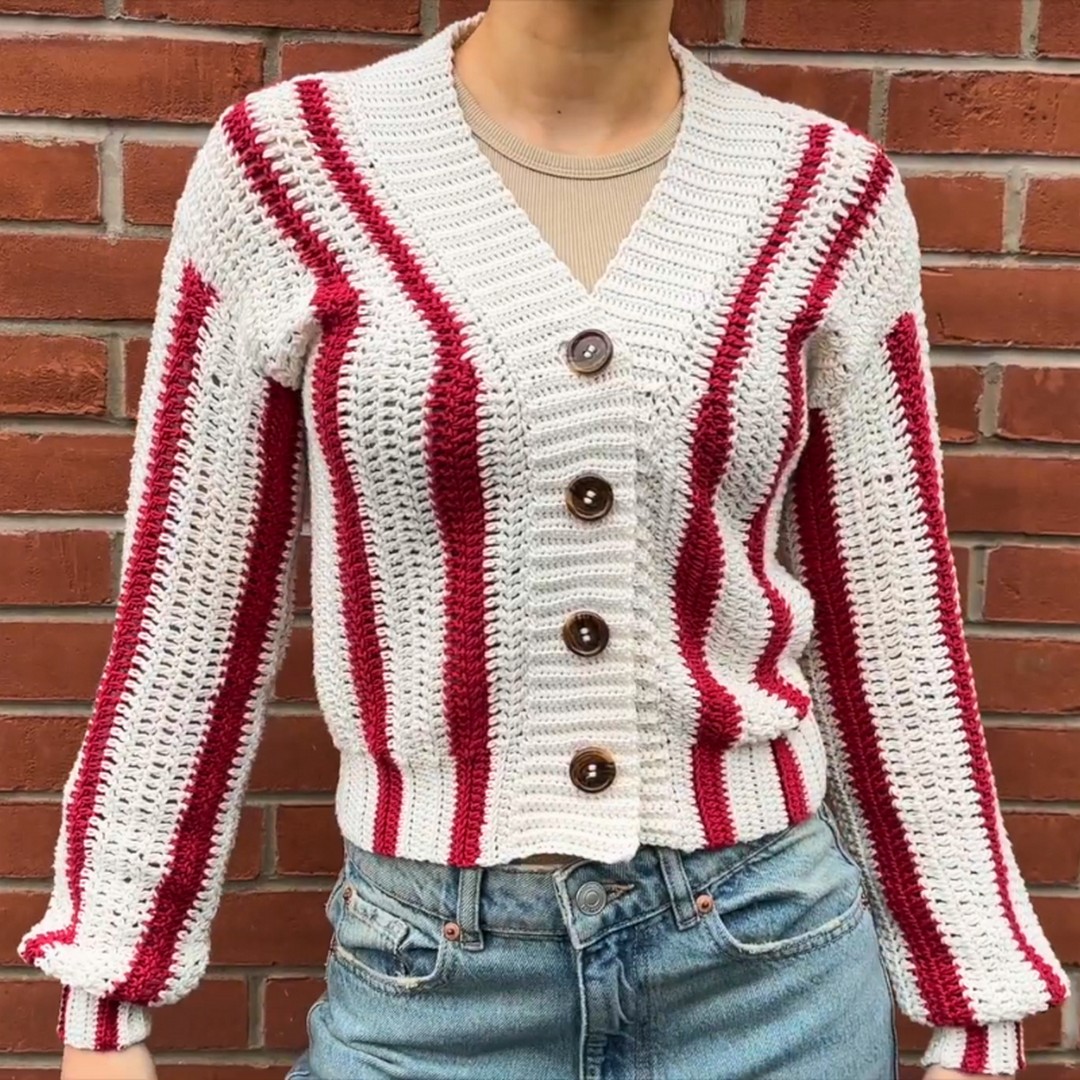
Soft stripes, simple shaping, and cozy ribbed edges come together in this wearable crochet cardigan. Follow the construction step by step, then adjust the length, sleeves, and colors for your perfect fit.
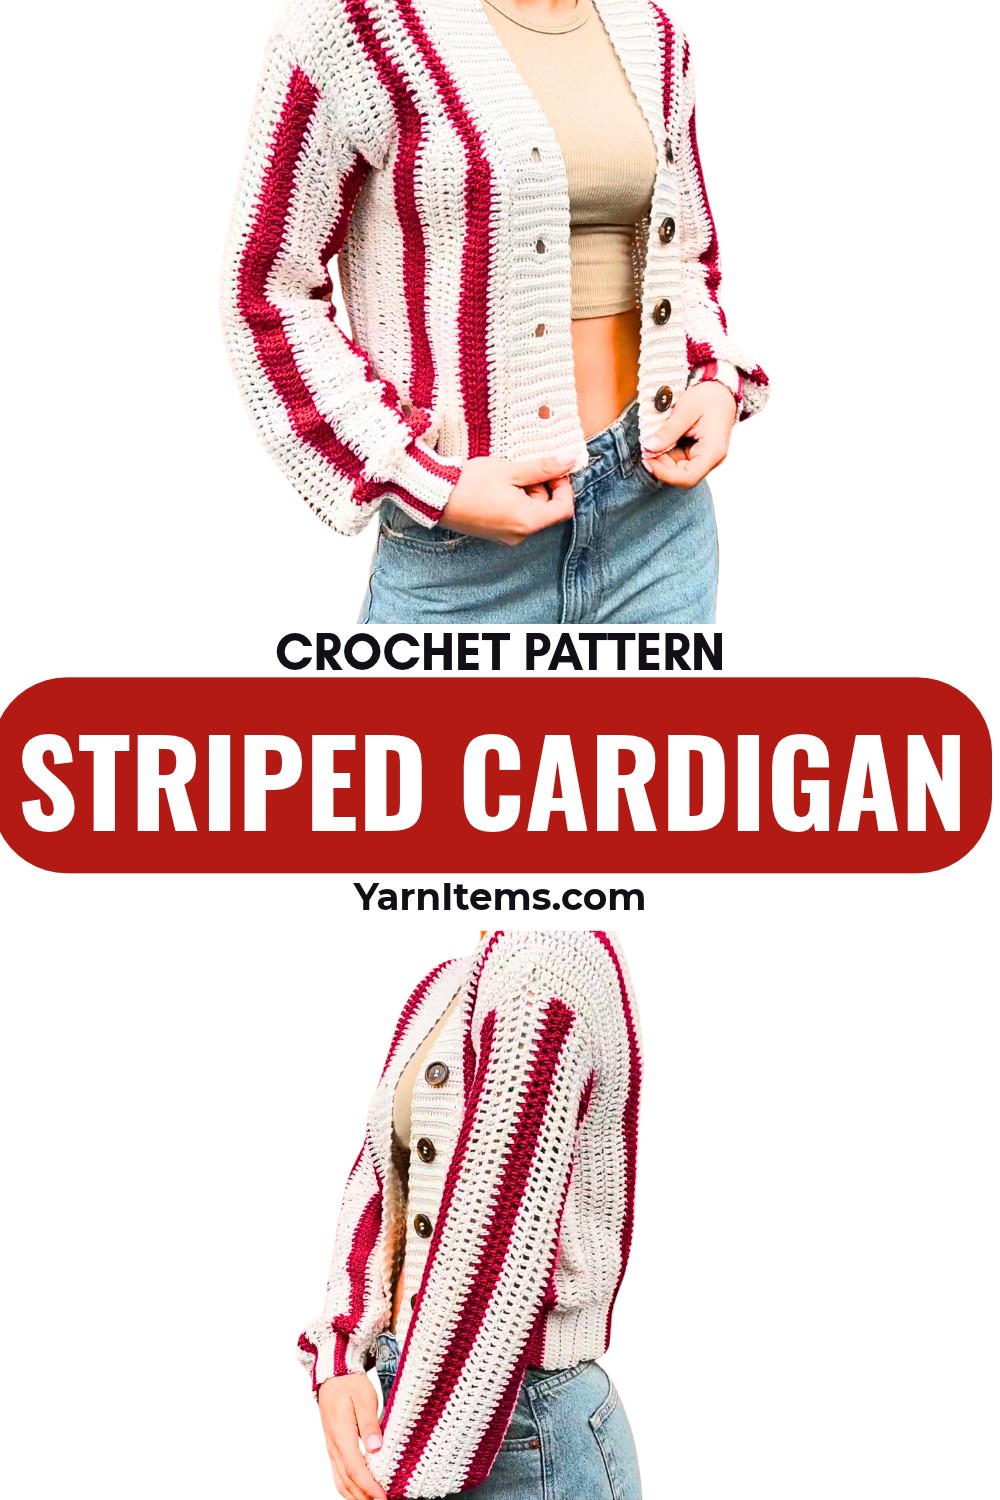
A striped crochet cardigan is the kind of handmade layer that can become an everyday favorite. The changing colors give a simple stitch crochet pattern plenty of personality, while the ribbed edges help the finished garment look neat and structured.
What I especially like about this construction is that you can check the measurements as you go instead of waiting until the entire crochet cardigan is finished.
Taking a few moments to compare the back, front panels, and sleeves with your own measurements can make a big difference in the final fit.
Credit Kenikse Crochet
Why I Like This Cardigan Construction
The stripes may be the first thing you notice, but the panel-based construction is what makes this cardigan easier to understand. The back, front panels, and sleeves are made separately, so you can check each piece before joining everything together.
I’d pay particular attention to the measurements rather than treating the sample numbers as fixed rules. A cardigan can look completely different depending on the wearer’s shoulder width, preferred length, and sleeve fit, so measuring while you crochet is one of the most useful habits here.
The ribbing is another detail worth keeping. It gives the cuffs and edges a little structure and helps the cardigan look more finished without requiring complicated stitches.
Materials & Tools Needed
- Yarn: Cotton double-knit yarn in two colors, such as beige and gray.
- Medium sample: approximately 5 skeins beige
- Approximately 3 skeins gray
- Adjust the amount for your size and chosen stripe arrangement.
- Crochet Hook: 4.0 mm for the main body
- Crochet Hook: 3.5 mm for ribbing
- Measuring Tape
- Scissors
- Stitch Markers
- Yarn Needle
- Buttons: 4 buttons, approximately 2.5 cm wide
Finished Size & Customization
The supplied measurements are based on a medium-size sample, but this cardigan is better treated as a made-to-measure garment.
Before beginning, measure:
- Shoulder-to-shoulder width
- Desired cardigan length
- Upper-arm circumference
- Sleeve length
- Wrist circumference
You can also change the stripe sequence or make the cardigan entirely in one color.
Teaching tip: If you want a roomier cardigan, don’t simply add random rows. Check the back width and sleeve measurements separately so the extra ease is distributed where you actually need it.
Gauge
Before starting the main panels, make a small swatch with the 4 mm hook.
Work approximately 14 double crochet stitches across 4 rows, then measure the swatch.
Your gauge determines how many starting chains and rows you’ll need for your own measurements. If your swatch is noticeably larger or smaller than the intended gauge, change the hook size before beginning the cardigan.
Pattern Abbreviations
- ch: Chain
- dc: Double crochet
- hdc: Half double crochet
- sc: Single crochet
- sl st: Slip stitch
- BLO: Back loop only
- st(s): Stitch(es)
Step-by-Step Crochet Instructions
Part 1: Crochet the Back Panel
The back panel establishes the overall width and length of the cardigan, so it is worth checking your measurements before moving too far ahead.
Foundation Row
Chain 65 sts for the main double crochet section, adjusting the number according to your gauge and desired width.
For the ribbed section, add 16 chains.
Row 1: Work 1 hdc into the ribbing section, working through the appropriate loop to create the ribbed edge, then continue with 65 dc across the main body section. Turn.
Row 2: Work the ribbing section in hdc, then continue across the main cardigan body in dc. Turn.
Subsequent Rows
Continue working the back panel in the same basic structure, keeping the ribbed section consistent and working the main body in double crochet.
Teaching tip: Measure the panel against your back before completing all the rows. If the width is correct but the length isn’t, adjust the number of rows rather than changing the stitch count.
Adding the Stripes
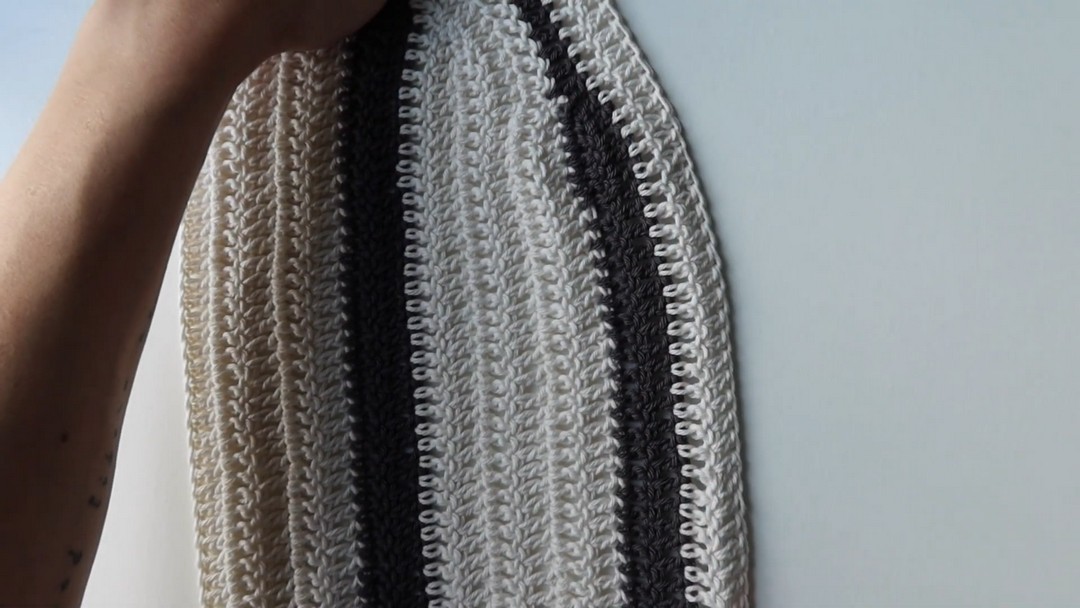
For the medium sample, use a stripe sequence such as: 5 rows Color A → 2 rows Color B → 5 rows Color A
Repeat the sequence while keeping the stripe boundaries consistent.
When changing colors, finish the final stitch of the old color with the new color so the transition is cleaner.
Teaching tip: Keep a written record of your stripe sequence. This becomes especially useful when making the two front panels and sleeves because matching the stripes makes the finished cardigan look much more intentional.
Shaping the Back Neckline
When you reach the upper portion of the back, leave approximately 8 stitches unworked at the center to form the neck opening.
Work the remaining stitches on each shoulder separately.
Keep both shoulders the same width and make sure the stripe placement remains symmetrical.
Crochet the Front Panels
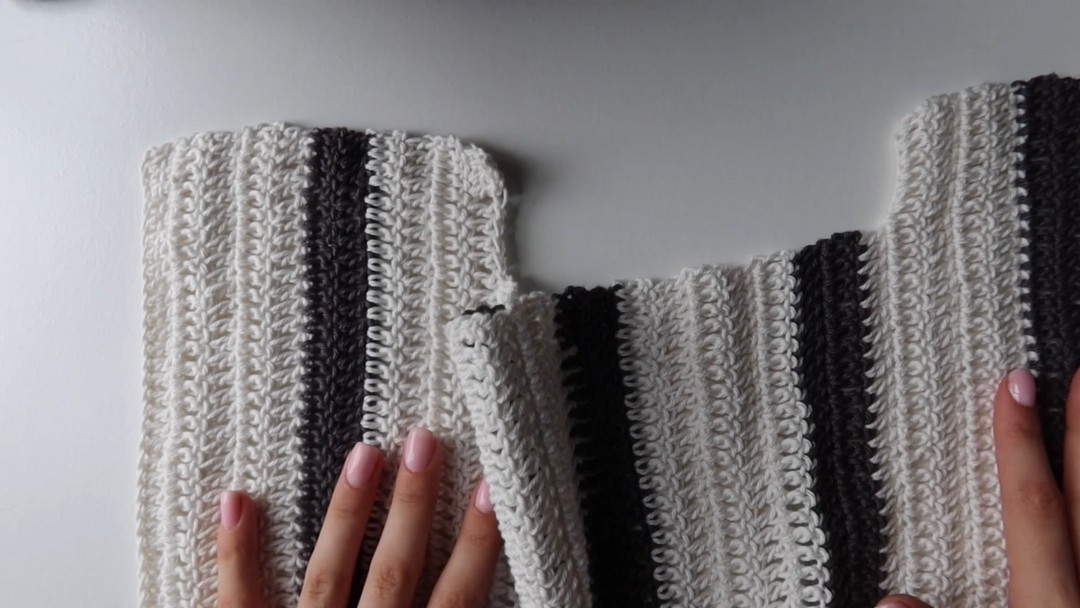
The front consists of two separate panels.
Each panel should correspond to approximately half of the back width, while leaving room for the front ribbing and button band.
First Front Panel
Begin with the same basic ribbing and double crochet construction used for the back.
Work the stripe sequence to match the back panel.
As you approach the neckline, gradually reduce the stitches to create the front neckline shape.
For the neckline shaping, the supplied construction uses a gradual transition such as: 1 hdc → 1 sc → 1 sl st
Then turn and continue shaping as required.
Second Front Panel
Make the second front panel to mirror the first.
Teaching tip: Put the two front panels next to each other before moving on. Their shoulder height, neckline shape, stripe placement, and overall length should match.
Crochet the Sleeves
The sleeves use the same general combination of ribbing and double crochet.
Foundation Row
For the medium sample, chain approximately 80 sts.
This includes the ribbed cuff section and the main sleeve section.
Row 1: Work the cuff portion in sc, then continue across the remaining stitches in dc. Turn.
Row 2: Work the cuff section in sc-BLO, then continue the sleeve body in double crochet. Turn.
Subsequent Rows
Repeat the ribbing and double crochet structure until the sleeve reaches the required width and length.
For the sample, the sleeve length is approximately 51 cm, but measure your own arm rather than relying solely on this number.
Sleeve Stripes
Keep the sleeve stripe sequence consistent with the body, for example:
5 rows Color A → 2 rows Color B → 4 rows Color A
Repeat as needed.
Teaching tip: Before making the second sleeve, lay the first sleeve beside the cardigan. This makes it easier to match the stripe placement and avoid accidentally reversing the sequence.
Assemble the Cardigan
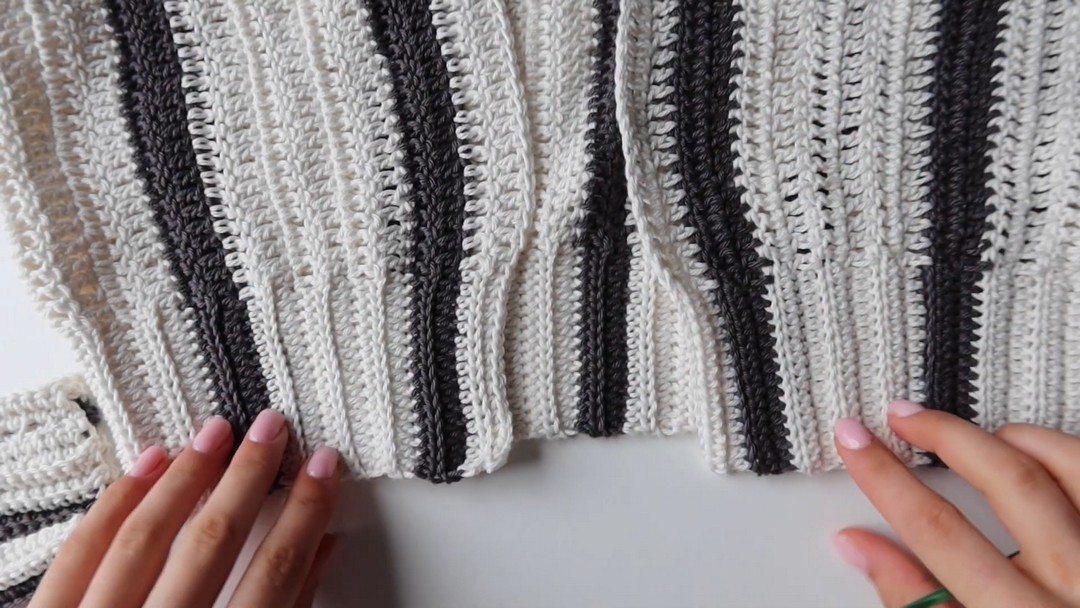
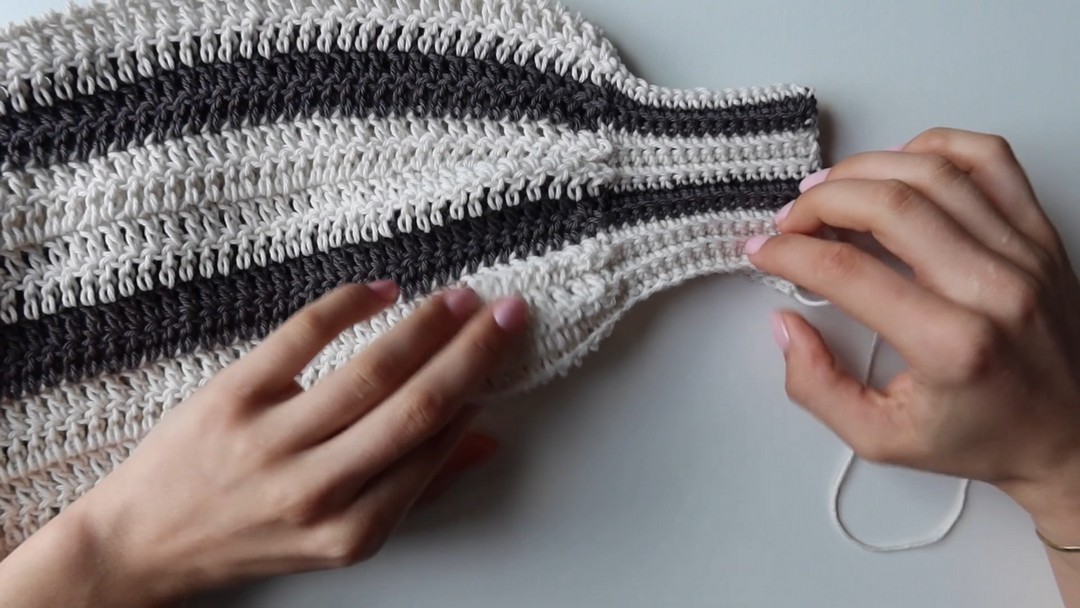
Once all panels are complete, place the pieces together with the wrong sides facing outward.
Shoulder Seams
Align the front panels with the back panel.
Match the shoulder edges and stripe rows carefully.
Sew both shoulder seams securely with a yarn needle.
Attach the Sleeves
Fold each sleeve in half lengthwise and sew the sleeve seam.
Position the center of the sleeve at the shoulder seam.
Use stitch markers to hold the sleeve evenly around the armhole before sewing it in place.
Teaching tip: Don’t sew the entire sleeve immediately. Pin or mark several points around the armhole first. If the sleeve is slightly off-center, you’ll notice it before you’ve committed to the seam.
Side Seams
With the cardigan still wrong-side out, sew from the bottom edge upward along the sides.
Continue into the sleeve seam where appropriate.
Fasten off and weave in the ends.
Add the Ribbed Button Band
The ribbed edging gives the cardigan a cleaner front edge and provides the area where the buttons and buttonholes will sit.
Ribbing Foundation
Attach yarn to the bottom corner of the front panel.
Chain 16 sts for the ribbing width.
Ribbing Row 1: Work sc across the chain, then slip stitch into the next 2 stitches along the cardigan edge. Turn.
Ribbing Row 2: Skip the two slip stitches and work sc-BLO across the ribbing. Turn.
Ribbing Row 3: Chain 1, then work sc-BLO across. Slip stitch into the next 2 stitches along the cardigan edge. Turn.
Repeat Ribbing Repeat Rows 2–3 around the cardigan edge until the entire front and neckline are covered.
Teaching tip: Keep the ribbing tension consistent. Pulling the stitches too tightly can make the front edge shorter than the cardigan body.
Add the Buttonholes
Mark the button positions before crocheting the buttonholes.
For four buttons, space the markers evenly along the front band.
Buttonhole Row
Work approximately 6 sc, chain 3 to create the opening, then continue with 6 sc.
Adjust the number of stitches if your button size requires a larger or smaller opening.
Repeat at the remaining marked positions.
Important: Test one buttonhole with your actual button before making all of them. This is much easier than discovering at the end that the opening is too tight.
Sew on the Buttons
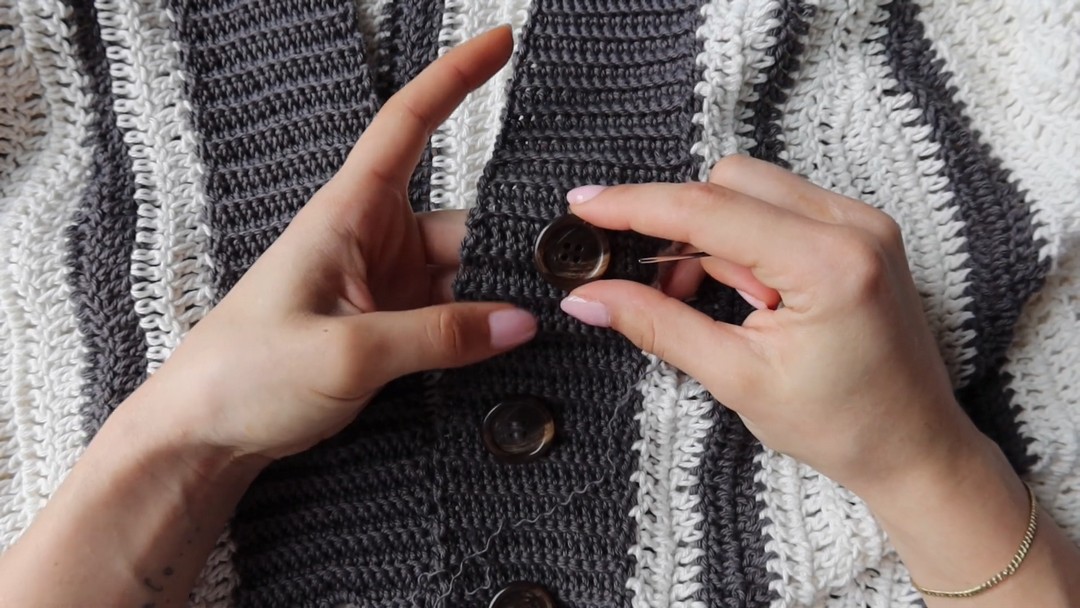
Place each button opposite its corresponding buttonhole.
Sew the buttons securely to the opposite front panel using the yarn needle.
Before securing the final knots, close the cardigan and check that all four buttons line up evenly.
Finishing
Weave in every remaining yarn end on the wrong side of the cardigan.
Lightly block the finished cardigan if needed to even out the panels and help the garment settle into its intended shape.
Try the cardigan on before trimming the ends. This is a good point to check the shoulder position, sleeve length, front overlap, and overall body length.
A Few Fit Checks Before You Finish
- Back width: Does it comfortably cover your shoulders?
- Body length: Does it end where you intended?
- Sleeves: Are both sleeves the same length?
- Neckline: Does it sit comfortably without pulling?
- Button band: Do the buttons close without stretching the fabric?
- Ribbing: Does it lie flat rather than pulling inward?
These small checks can save a lot of frustration after the cardigan is completely assembled.
Final Thoughts
The beauty of this striped cardigan is that the basic construction stays fairly straightforward while giving you plenty of room to make the finished garment your own. The stripes can be bold or subtle, and the length and sleeve measurements can be adjusted as you work.
Most importantly, measure the cardigan as you go. The stitch counts in a sample are useful starting points, but your own measurements, gauge, and preferred fit should guide the final size.