Crochet a Sweet and Stylish Cardigan for a 1-Year-Old
One tiny crochet cardigan can make chilly days feel a little warmer and a lot more special.
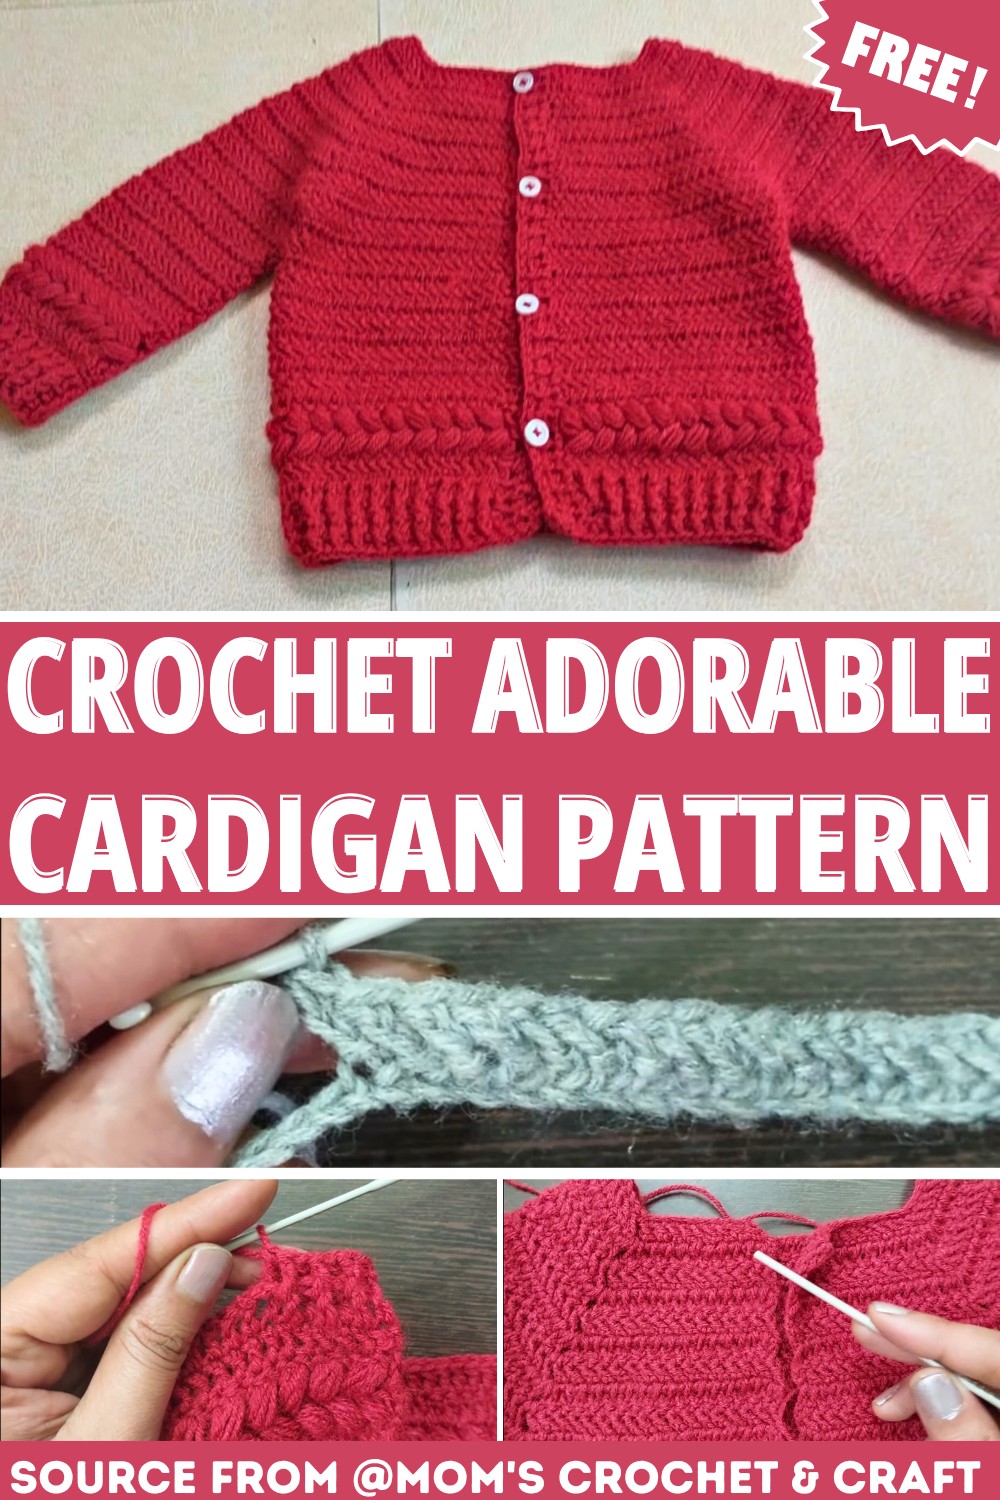
Designed for a one-year-old, this handmade piece combines the cozy texture of herringbone stitch with charming puff stitch details for a look that feels both classic and playful. The soft Ganga Cuddly yarn adds lightweight warmth, making it comfortable for everyday wear, playtime, or cool afternoon outings.
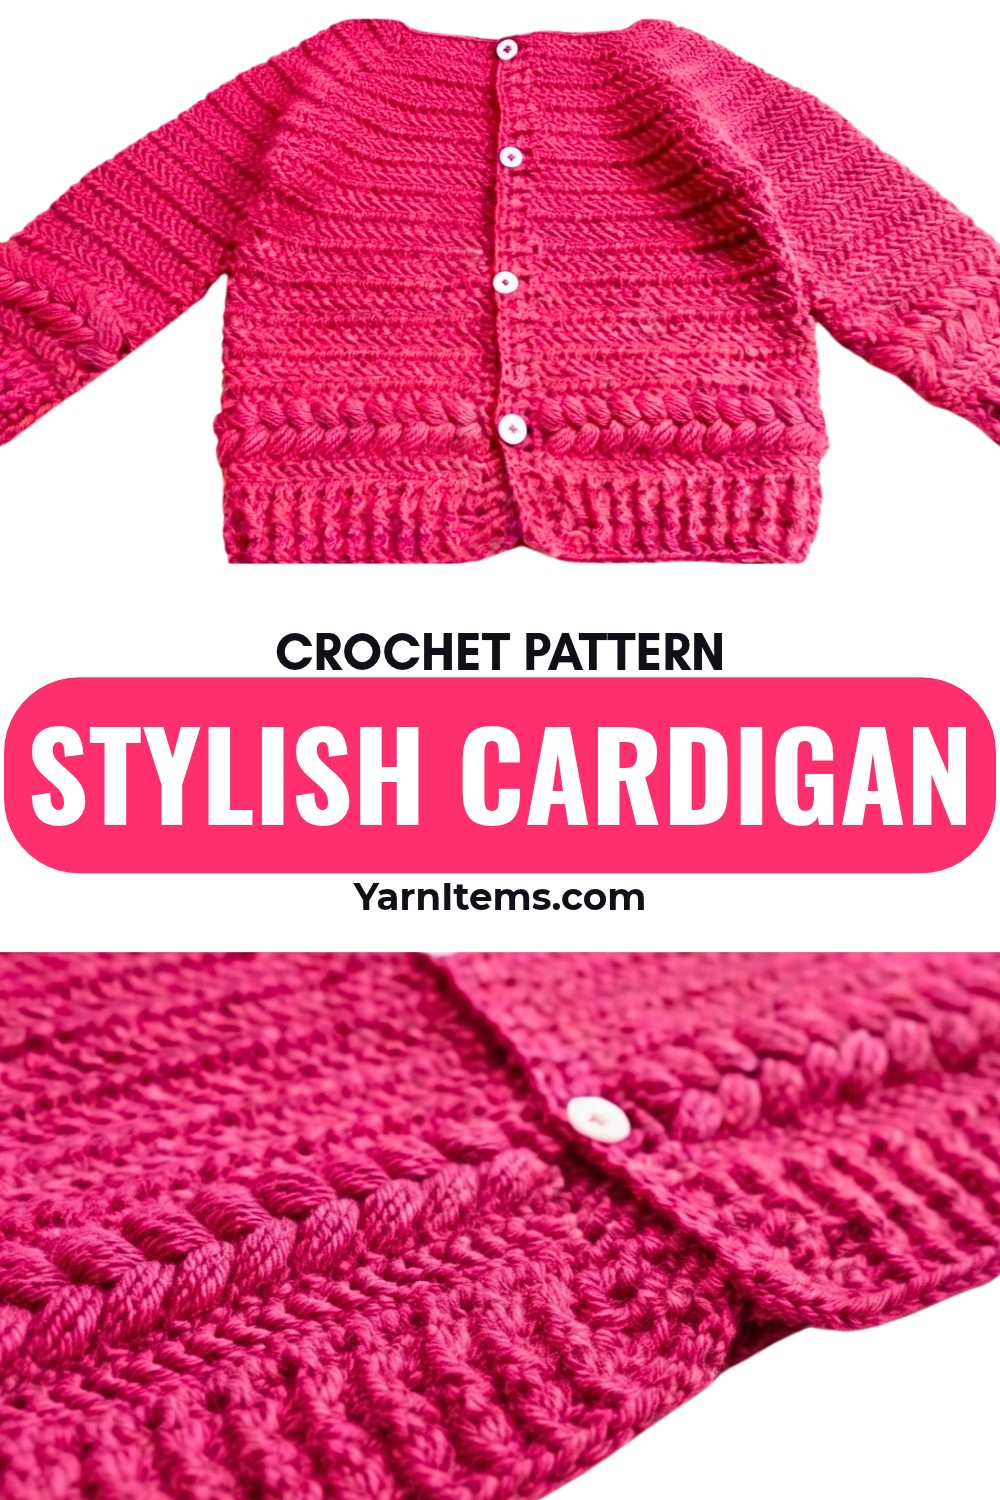
The thoughtful details are what give this little crochet cardigan its lasting charm. From the neatly finished edges to the versatile shape, every element comes together to create a piece that pairs easily with a child’s everyday wardrobe.
Its construction is approachable for crocheters who want to create something meaningful, while the stitch combination adds just enough texture to keep the finished cardigan interesting.
Credit Mom’s Crochet & Craft
Materials & Tools Needed
- Yarn: Ganga Cuddly Yarn (or any similar DK weight yarn)
- Hook: 3 mm crochet hook
- Scissors
- Yarn needle (for weaving ends)
- Stitch markers (optional but recommended)
- Measuring tape (optional, for customization)
Finished Size & Customization Ideas
- Finished Size: Designed for a 1-year-old baby.
- Customization Ideas:
- For smaller/larger sizes, adjust the number of chains in the foundation chain (add or subtract in multiples of the stitches between increases).
- Change colors as desired for stripes or color-block effects.
- Use alternative yarn choices for texture variation.
Pattern Notes
- This pattern uses herringbone stitches, half double crochet (hdc), and puff stitches.
- The chains at the beginning of each row do not count as stitches unless otherwise noted.
- Always join rounds with a slip stitch and chain up in the next round.
- Repeat rows are indicated clearly to streamline the process.
Pattern Abbreviations & Terminology
- ch = chain
- sts = stitches
- st = stitch
- hdc = half double crochet
- sc = single crochet
- sl st = slip stitch
- tr = treble crochet
- htr = half treble crochet
- puff st = puff stitch
- space = chain space
- rep = repeat
- YO = yarn over
Tips Before You Start
- Practice the herringbone stitch, as it is key for the foundation rows.
- If you’re new to puff stitches, take time to learn the technique as shown in the video tutorial.
- Keep stitch markers handy to mark important points like the armholes and joins.
- Work evenly on both sleeves and edges for a symmetrical finish.
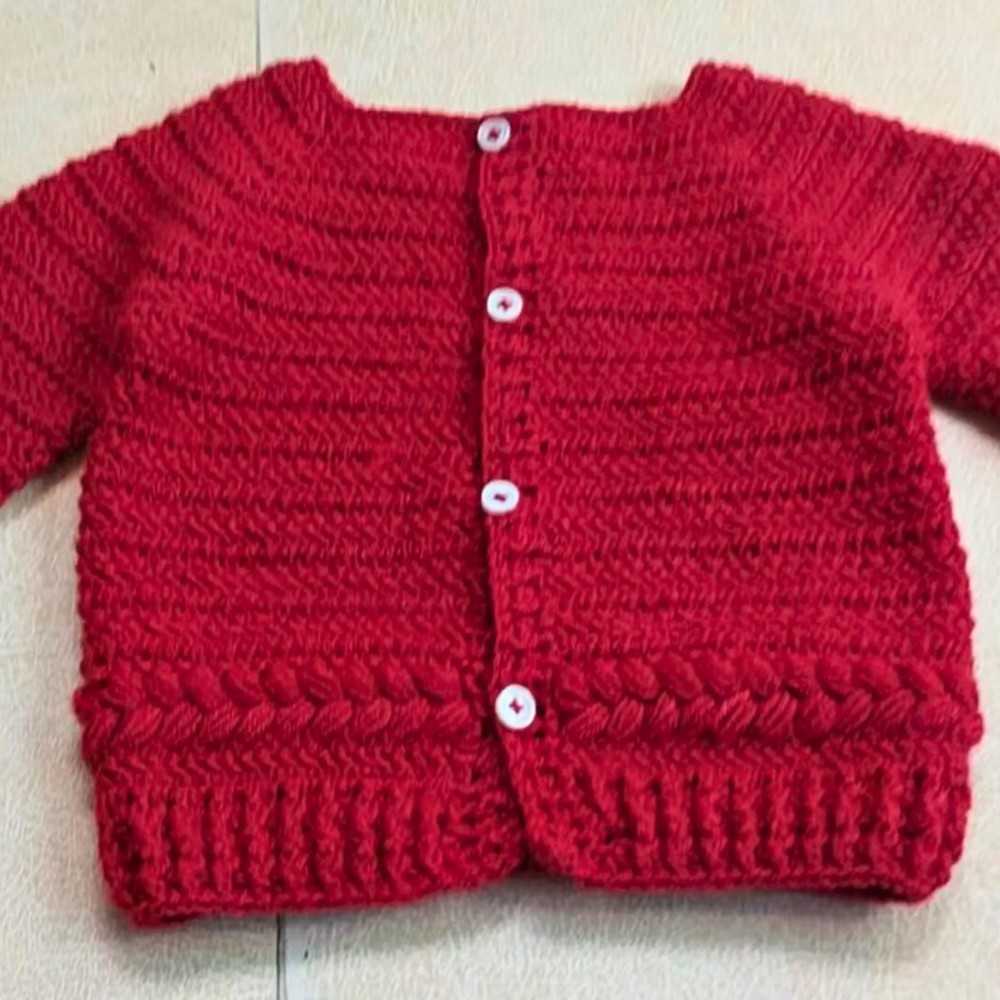
Step-by-Step Detailed Crochet Instructions
Foundation Chain
- Create a slip knot on your hook.
- Chain 68 stitches.
- Skip the first 3 chains (these will count as 1 stitch).
- Begin working into the 4th chain.
First Row
- Work 9 Herringbone stitches in the next 9 chains:
- Insert the hook into the chain, yarn over, and pull through — you’ll now have 2 loops on your hook.
- Pull the first loop through the second loop, yarn over again, and pull through both loops on the hook.
- Next Section:
- Work 1 chain space + Herringbone stitch over the next 13 stitches:
- After each Herringbone stitch, create 1 chain before moving to the next stitch.
- Work 1 chain space + Herringbone stitch over the next 13 stitches:
- Middle Section:
- Continue working 1 chain space + Herringbone stitch over the next 20 stitches.
- Next Section:
- Work 1 chain space + Herringbone stitch through the next 13 stitches.
- Final Section:
- Continue working 1 chain space + Herringbone stitch in the last 10 chains.
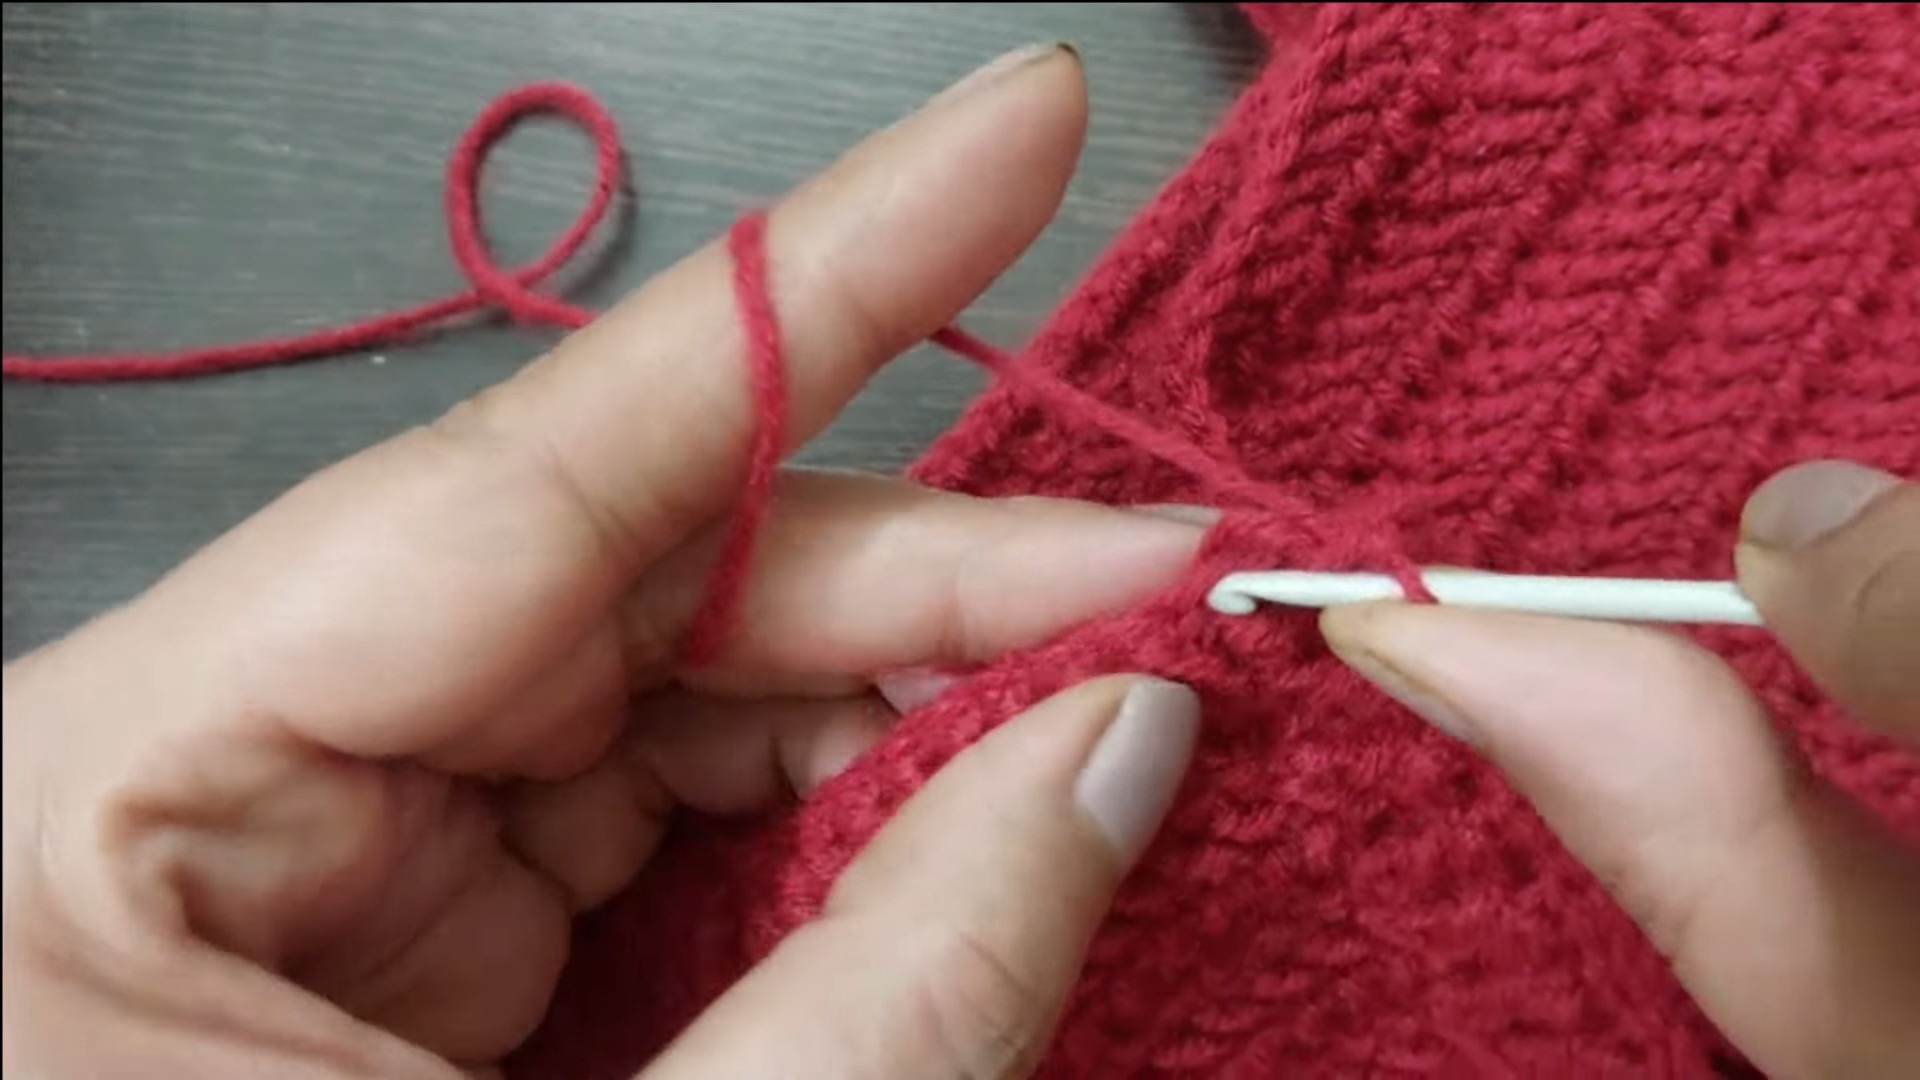
Rows 2–11
Row 2:
- Chain 1 and turn your work.
(Reminder: The chain at the start of the row does not count as a stitch.) - Work 1 Herringbone stitch in each stitch up to the first chain space.
- Continue across the row until you reach the first chain space.
- In each chain space:
- Work 1 Herringbone stitch.
- Chain 1.
- Work 1 more Herringbone stitch.
- Repeat the “Herringbone stitch + chain space + Herringbone stitch” pattern for every chain space across the row.
- At the end of the row, instead of a normal Herringbone stitch, work a single crochet into the third stitch.
Rows 3–11:
- Repeat the instructions for Row 2 for every row from 3 through 11.
Row 12
- Chain 1 and turn. Then:
- Work 1 Herringbone stitch in each stitch up to the first chain space.
- Skip the middle stitch in the chain space and work 1 hdc stitch into the second chain space.
- Continue hdc stitches across, skipping middle stitches in chain spaces as instructed.
- Repeat Row 13 to Row 24.
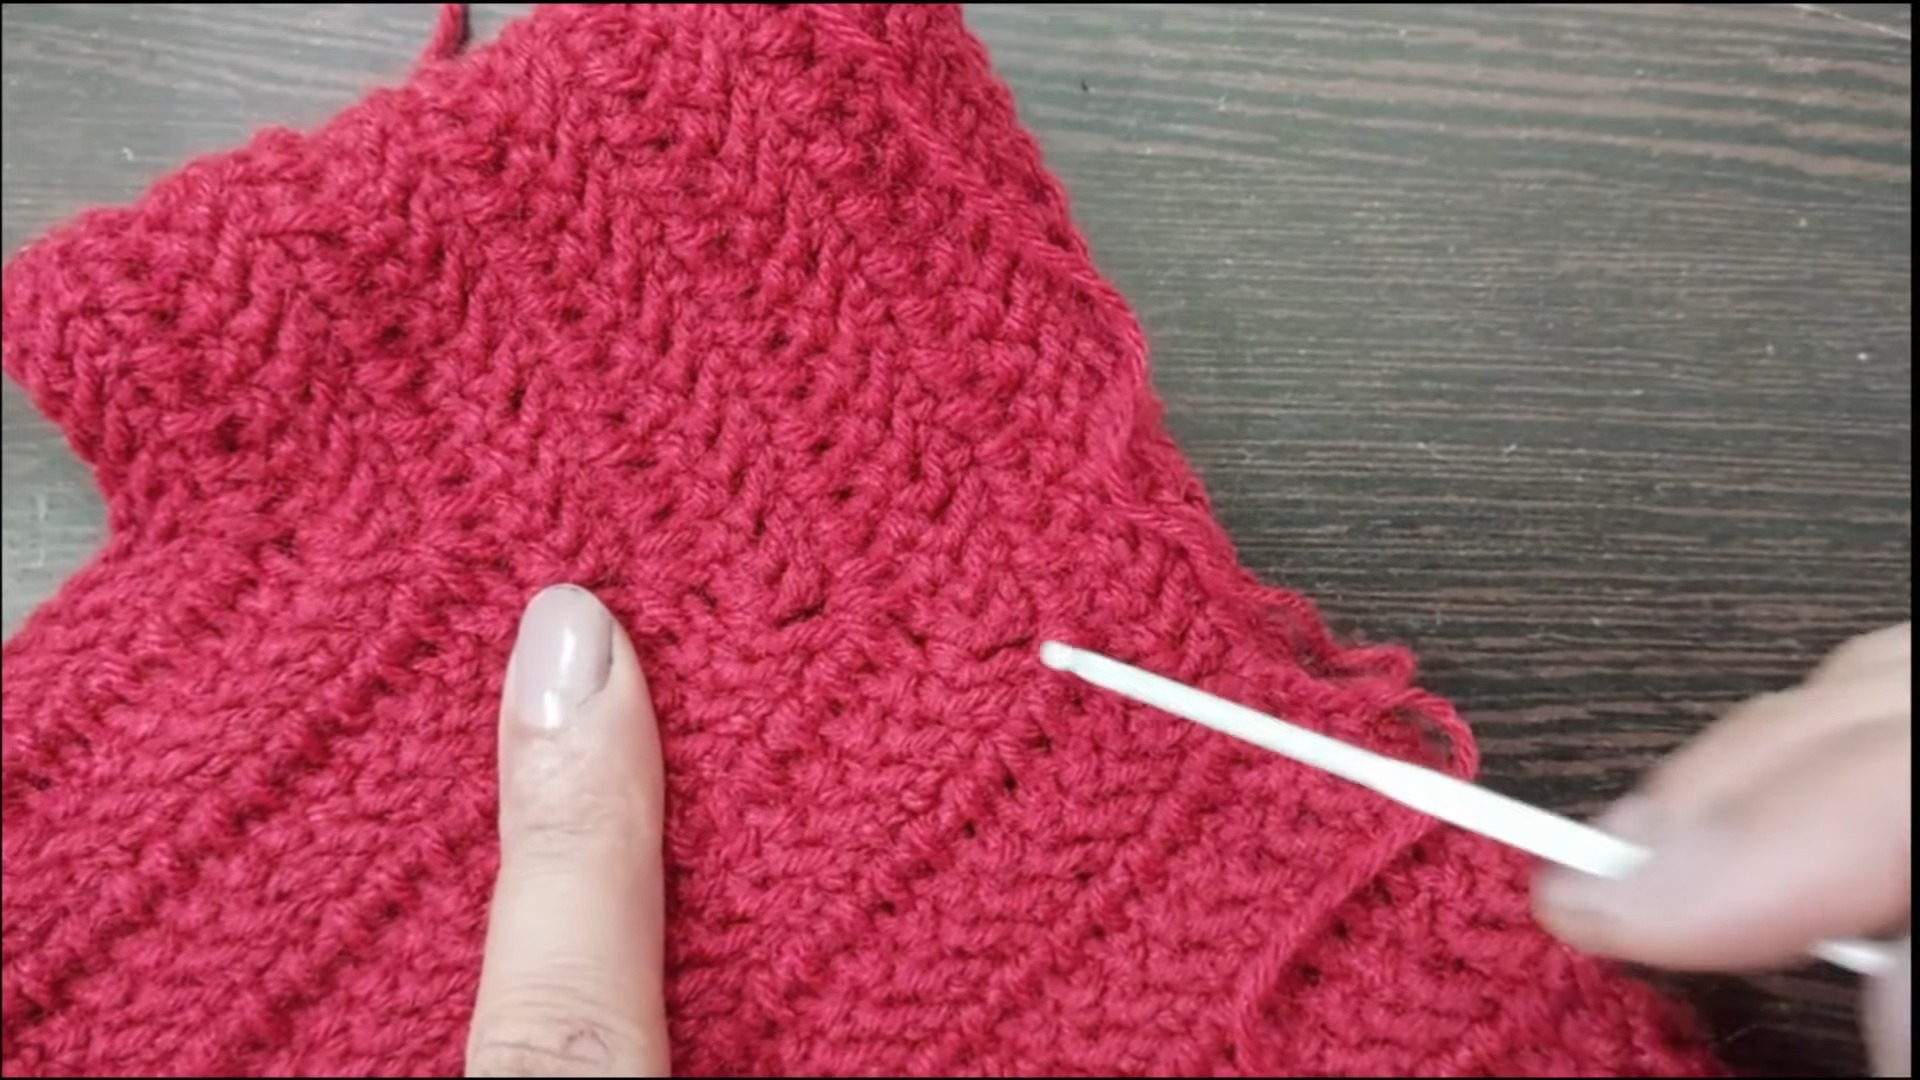
Puff Stitch Section
Row 25:
- Chain 1 and turn.
- Work 1 single crochet in the first stitch, then:
- Skip 1 stitch and chain 1 in the next.
- In the previous stitch where you made the chain, work a puff stitch.
- Repeat this sequence to the end of the row.
Row 26:
- Chain 1 and turn.
- Work single crochets around puff stitches from the previous row.
- Row 27–32: Continue pattern as specified.
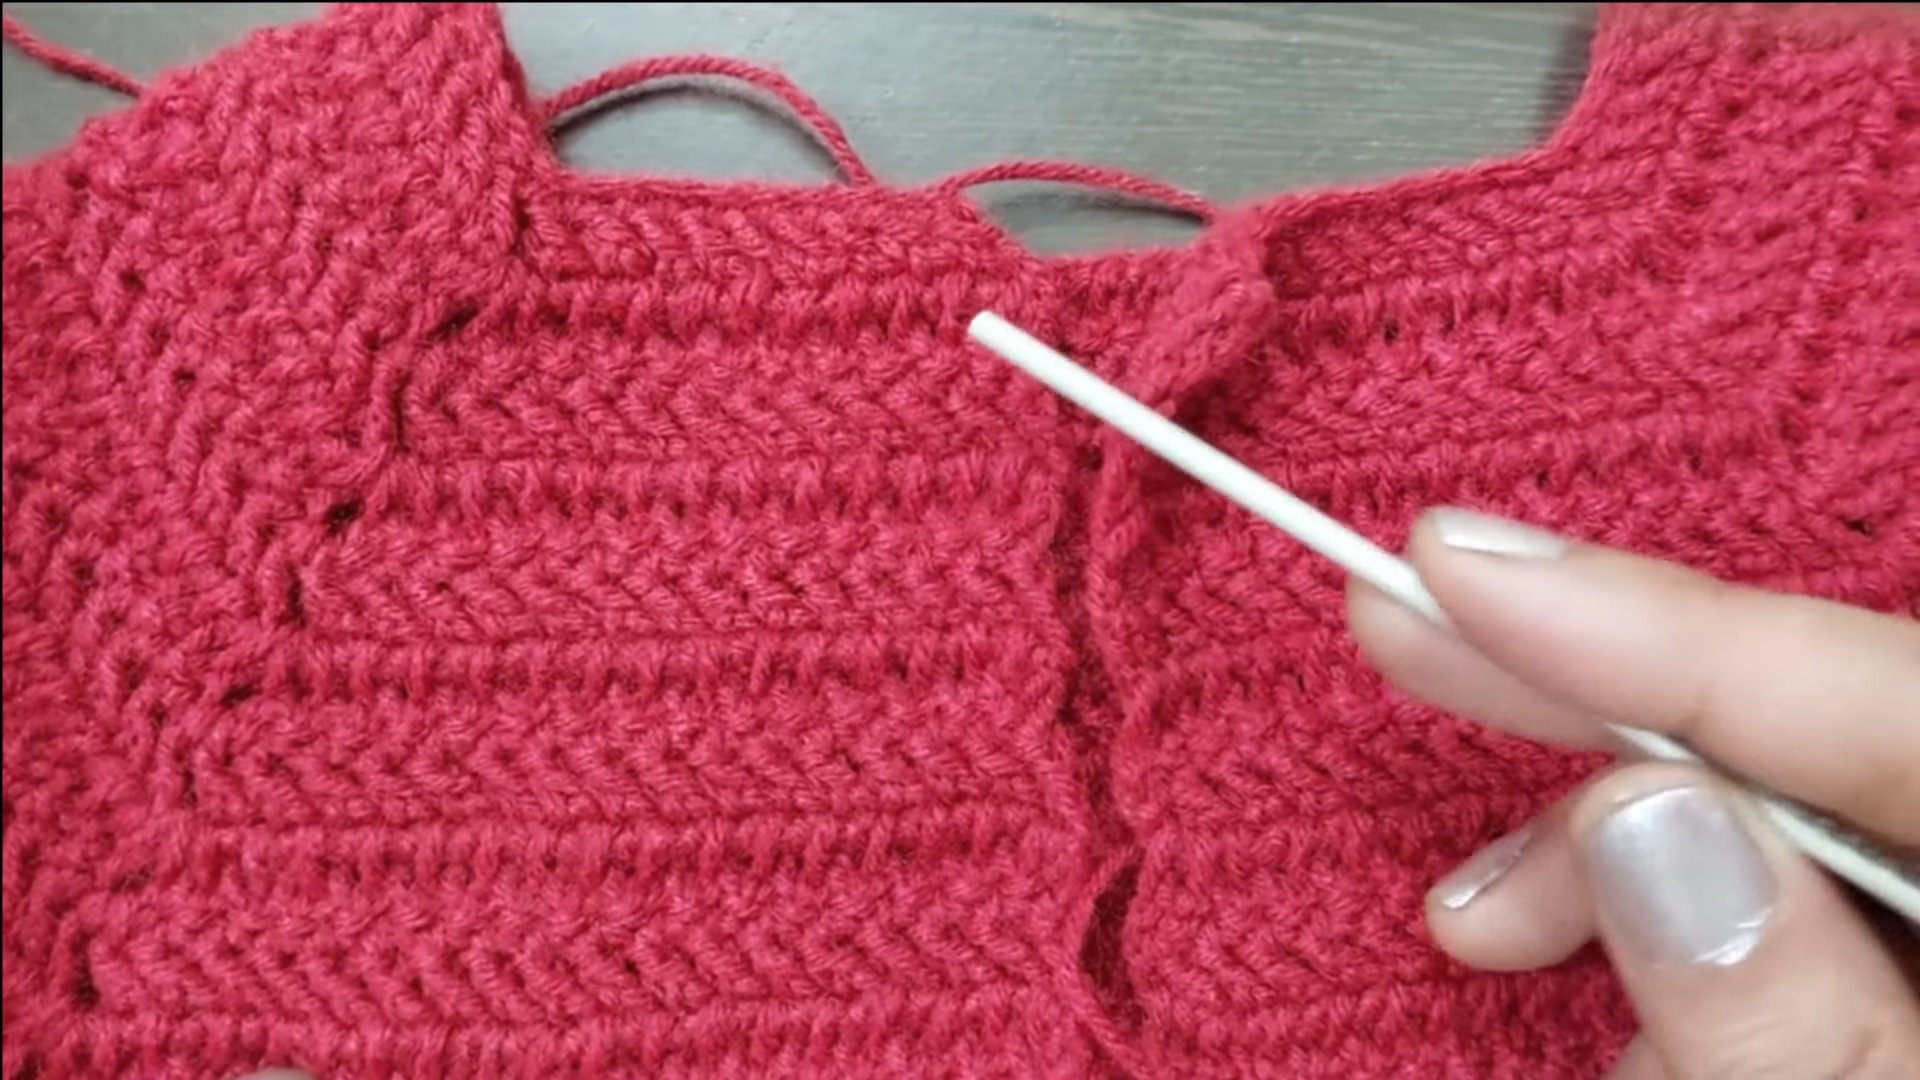
Front Edge
- Join yarn at the bottom corner of the front edge.
- Work 48 single crochets up to the neckline.
- Repeat herringbone stitches for a neat border.
Sleeves
- Join yarn in the center of the armhole.
- Row 1: Pull yarn through, chain 2, and work 37 hdc stitches, join with slip stitch.
- Row 2: Decrease 1 stitch on both ends (work first 2 stitches together and last 2 stitches together).
- Repeat rows to Row 12, decreasing stitches accordingly.
Final Assembly
- Block the Cardigan
- Lightly block the cardigan to shape it evenly, if necessary.
- This will help ensure it lays flat and achieves the intended measurements.
- Weave in Loose Ends
- Use a yarn needle to carefully weave in all loose ends on the inside of the cardigan for a clean and polished finish.
- Attach Buttons or Embellishments
- Sew on buttons or add any additional embellishments as desired to complete the look of your cardigan.
Conclusion
Congratulations! You’ve finished crocheting an adorable cardigan for a 1-year-old using herringbone and puff stitch techniques. You can adapt this pattern by exploring different color combinations or slight size alterations for different age groups.