Crochet Pineapple Stitch Beanie Pattern for All Ages
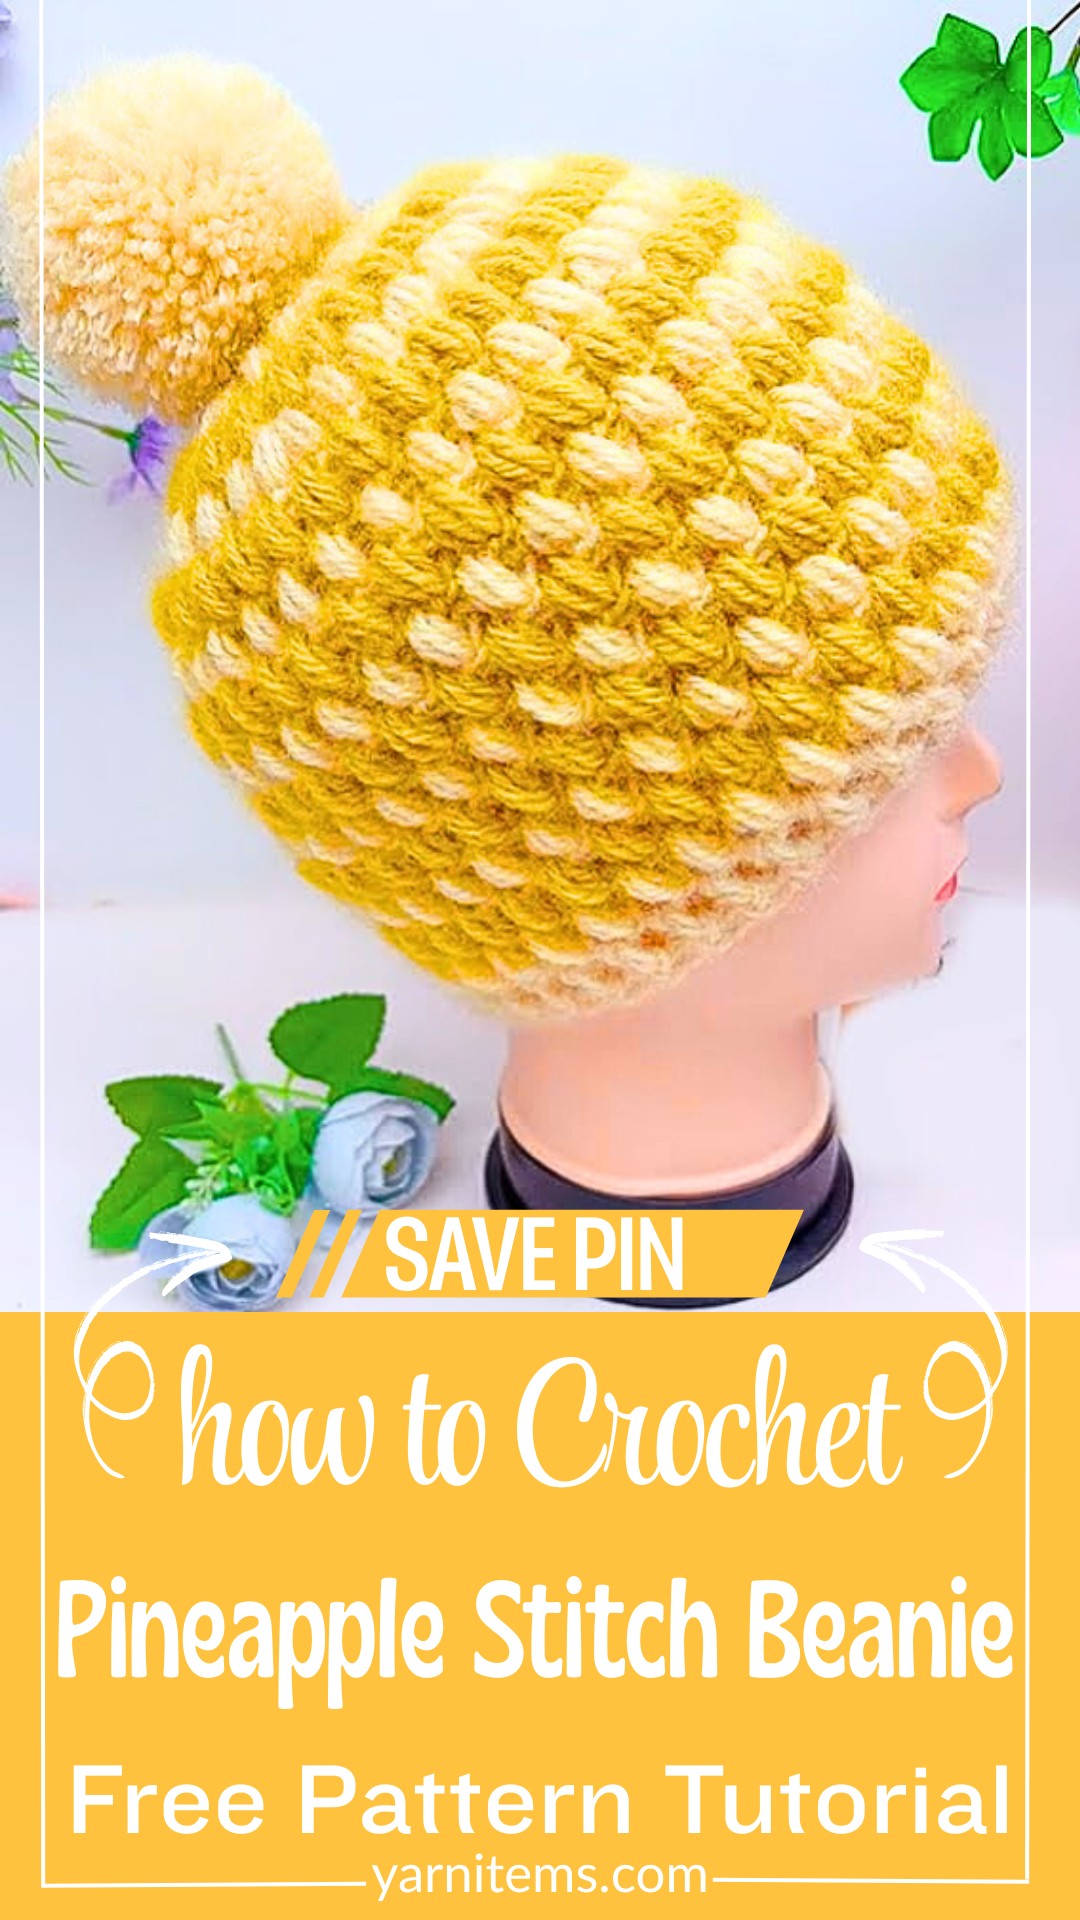
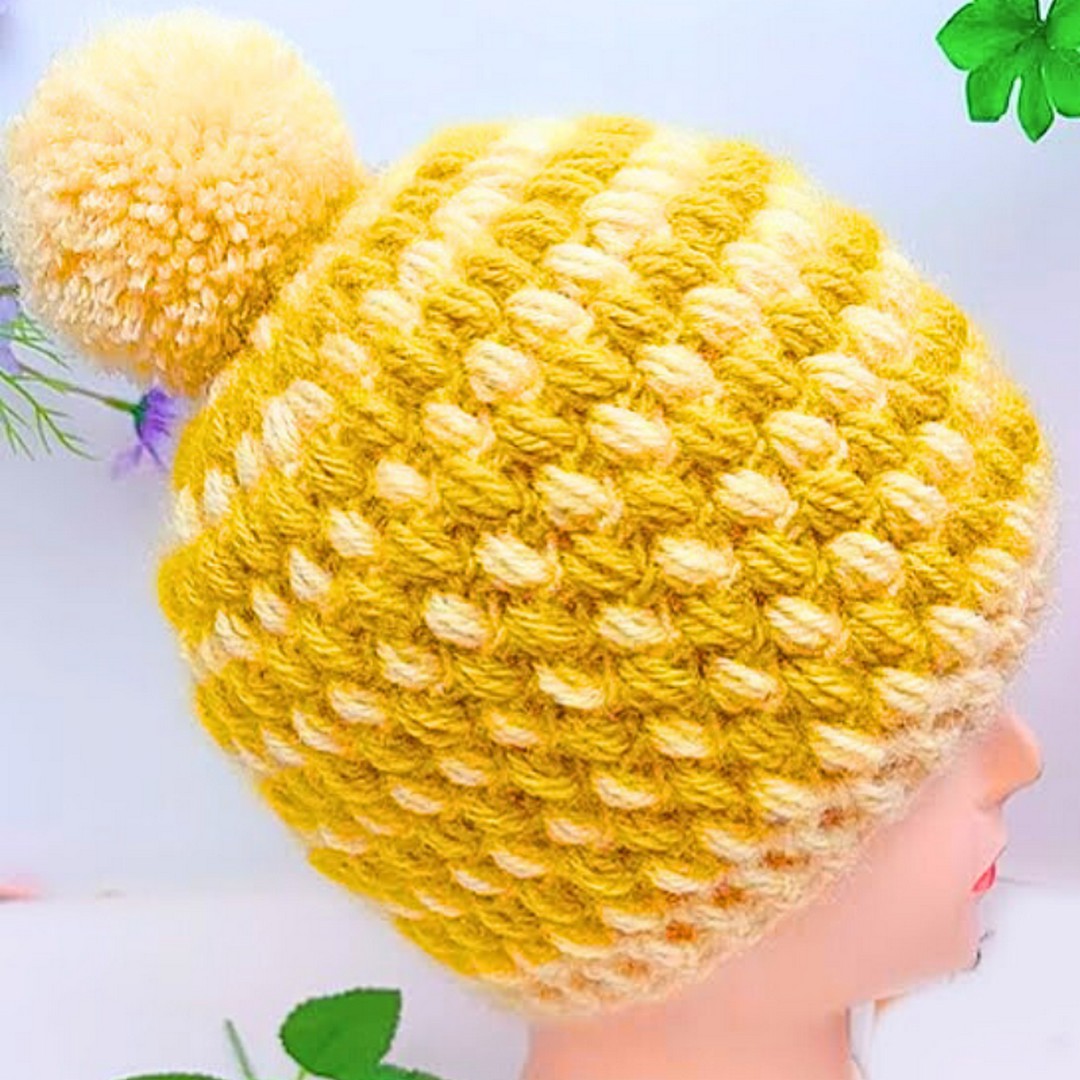
The beautiful texture of a pineapple stitch can turn a simple beanie into something truly eye-catching. This crochet beanie combines cozy warmth with an elegant layered design that gives the hat its distinctive appearance.
Adjustable stitch counts make it suitable for babies, children, adults, and seniors without losing its comfortable fit. Using two yarn colors can highlight the texture even more and give the finished crochet piece a lively, personalized look.
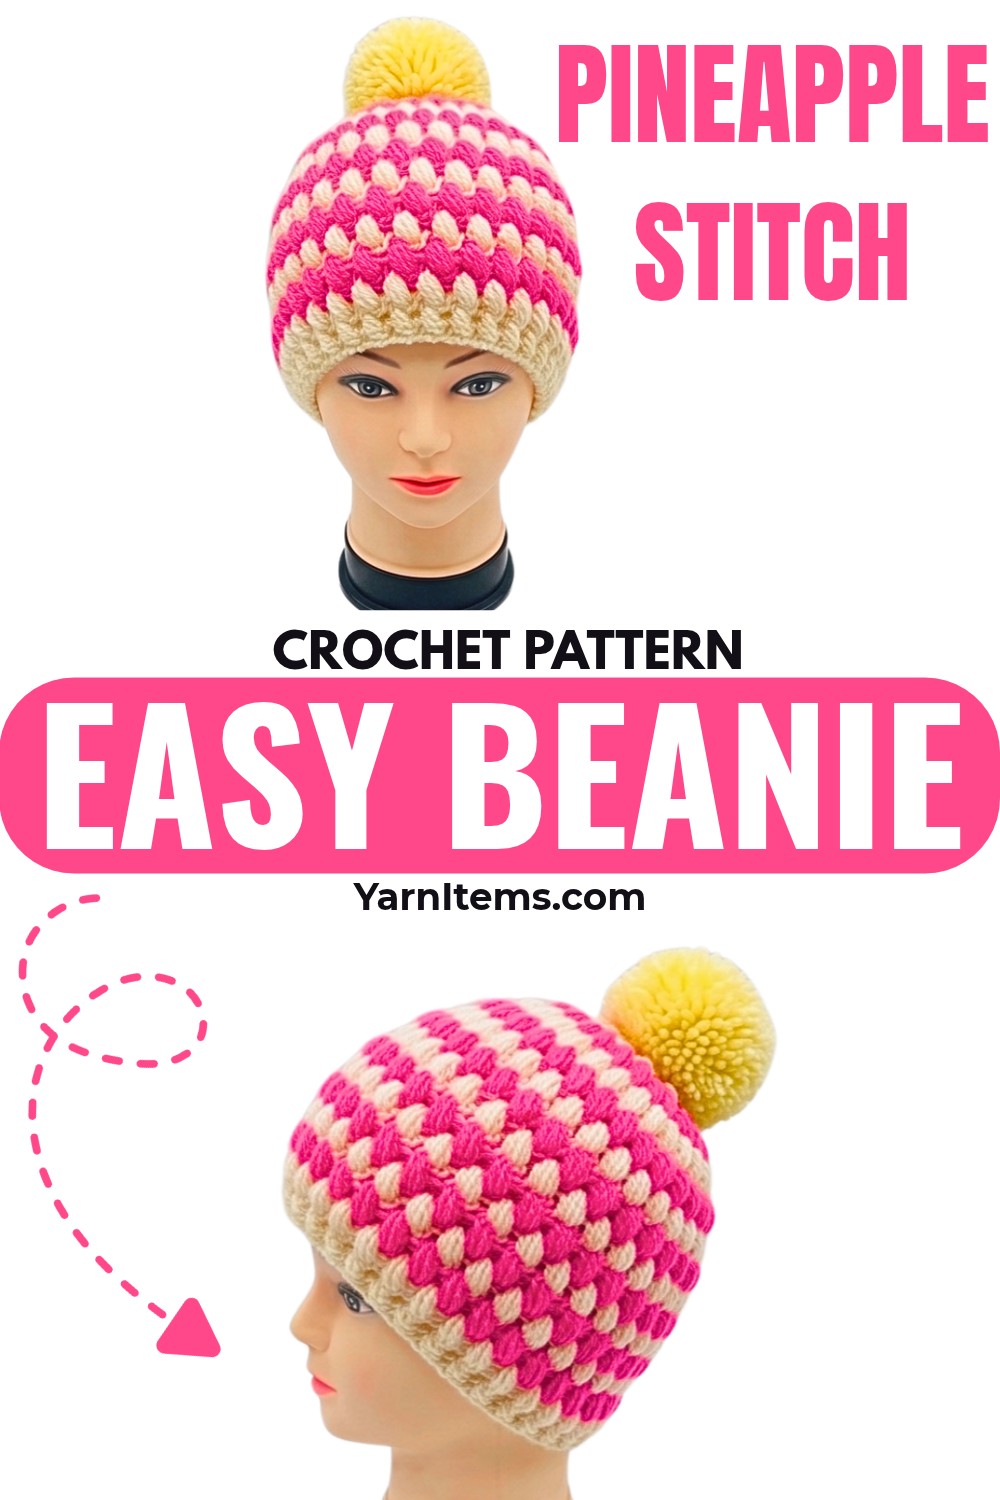
A small finishing detail can give this warm accessory an entirely different personality. Adding a playful pompom works especially well for children, while a simpler finish keeps the beanie stylish and versatile for adults. With only one or two balls of yarn and basic crochet tools, you can create a practical item for everyday winter wear or thoughtful gifting. The flexible sizing and color choices make this pineapple beanie an appealing option for the whole family.
Credit anxin_crochet
Materials & Tools Needed
- Yarn: Chunky velvet/chenille yarn (~150g per ball; approx. 3 taels).
- Color A: Beige/Cream.
- Color B: Turmeric/Yellow-Brown or Pink/Purple for accent.
- Note:
- 2 balls (one in each color) = 2 hats without pom-poms.
- 3 balls recommended if adding pom-poms.
- Crochet Hook: Size suited for bulky yarn (5.0–6.0 mm).
- Stitch Marker: 1 piece.
- Scissors & Yarn/Tapestry Needle: For seamless joins and weaving in ends.
- Pom-Pom Maker Tool: Optional, for fluffy embellishments.
Finished Sizes
- 1–3 Years Old: 31 clusters (after crown); 8 body rounds.
- 4–7 Years Old: 33 clusters (after crown); 9 body rounds.
- 8–Adult: 35 clusters (after crown); 10 body rounds.
- Customization Idea:
- Without pom-pom: Suitable for men/elderly.
- With pom-pom: Great for women and children.
Abbreviations & Techniques
- Magic Ring (MR): Adjustable starting loop.
- Ch: Chain stitch.
- Cluster: 3-yarn-over puff stitches, joined via chain to lock.
- Inc (Increase): 2 Clusters in the same space.
- DC: Double Crochet.
- FPDC & BPDC: Front/Back Post Double Crochet.
Important Stitch Tips
- For clusters: Pull loops up and press with the right middle finger to keep stitches flat.
- Use a stitch marker for the first cluster of each round.
- Join color changes seamlessly by carrying unworked yarn along the back.
Step-By-Step Instructions
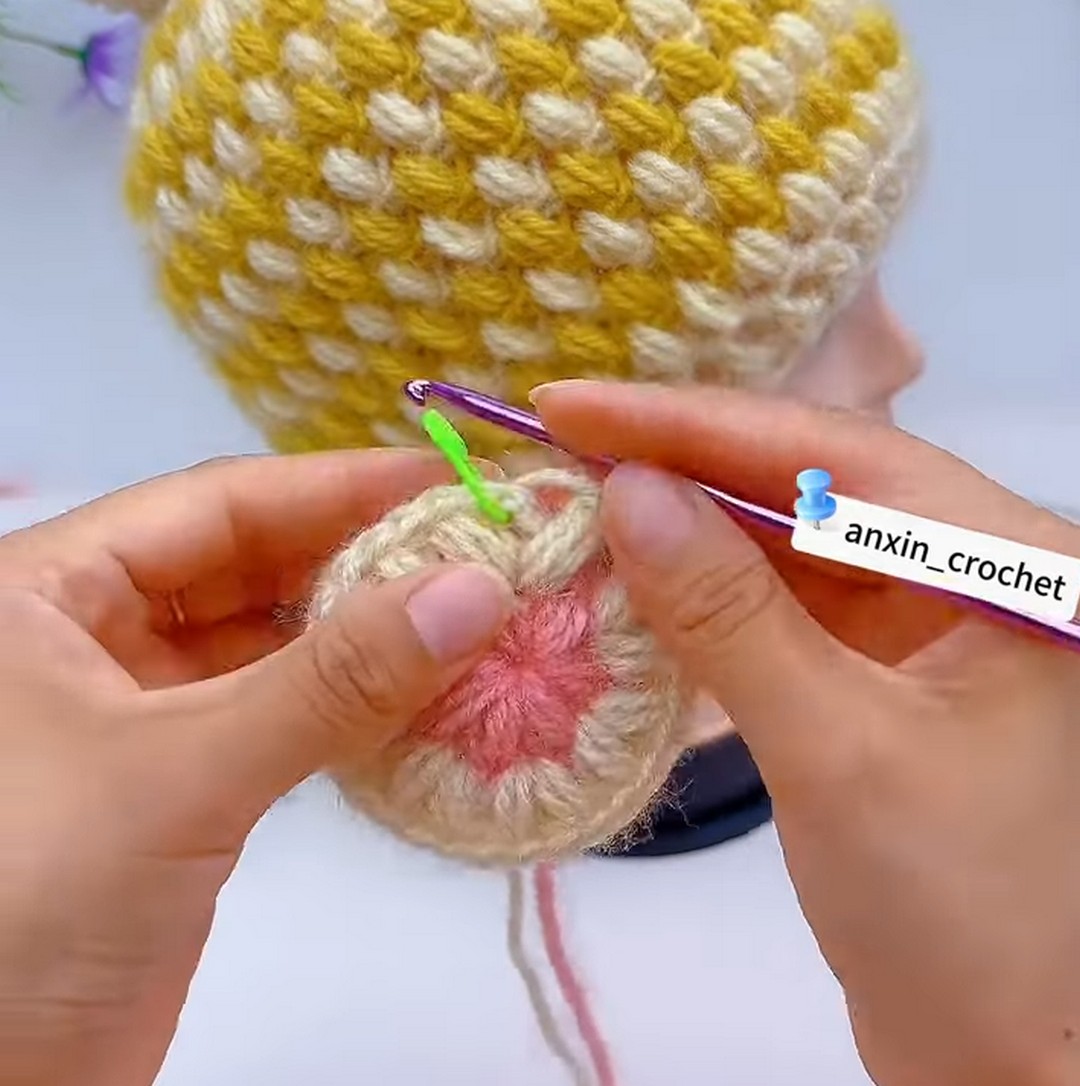
Phase 1: The Crown (Rounds 1 – 5)
Round 1 (Color A)
- Form a Magic Ring: Wrap yarn around your fingers and create a loop to start the ring.
- Chain 3: Create 3 small chains to begin your base.
- Work 1 Cluster:
- Wrap yarn 3 times around the hook.
- Press the hook down with the middle finger while maintaining tension.
- Pull through all loops on the hook.
- Chain 1 to lock the cluster.
- Place Marker: Insert a stitch marker into the top hole of this first cluster for tracking.
- Complete Magic Ring:
- Make 6 more Clusters into the magic ring, following the same steps as above.
- Pull the short yarn tail tight to close the ring.
- Stitch Count: You should have 7 Clusters at the end.
Round 2 (Color B)
- Change Color: Insert hook into the marked stitch hole from Round 1, drop Color A, and pull Color B through to join.
- Chain 2: Begin this round with 2 small chains.
- Increase All Around:
- Work 2 Clusters (an increase) into each of the 7 spaces around.
- Stitch Count: You should have 14 Clusters (representing 7 pairs/flowers).
Round 3 (Color A)
- Change Color: Join Color A into the marked stitch from Round 2.
- Chain 2 to start.
- Pattern Sequence:
- [Work 1 Cluster in the next space, followed by 2 Clusters (Inc) in the next].
- Repeat this pattern 7 times around.
- Stitch Count: You should have 21 Clusters.
Round 4 (Color B)
- Change Color: Join Color B into the marked stitch from Round 3.
- Chain 2 to begin the round.
- Pattern Sequence:
- [Work 1 Cluster in each of the next 2 spaces, followed by 2 Clusters (Inc) in the next space].
- Repeat this pattern 7 times in total.
- Stitch Count: You should have 28 Clusters.
Round 5: Custom Size Expansion Round (Color A)
Special Note: Do not make chains at the start of this round; instead:
- Size-Based Instructions:
- Size 1–3 Years: Add 3 increases evenly spaced across the round. Final Stitch Count = 31 Clusters.
- Size 4–7 Years: Follow the sequence: [1 Cluster in 4 spaces, 1 Inc] repeated around. Final Stitch Count = 33 Clusters.
- Size 8–Adult: Stagger increases:
- Start with 1 Cluster and 1 Inc.
- Then follow the sequence [3 Clusters, 1 Inc], repeating 7 times.
- Finish with remaining clusters. Final Stitch Count = 35 Clusters.
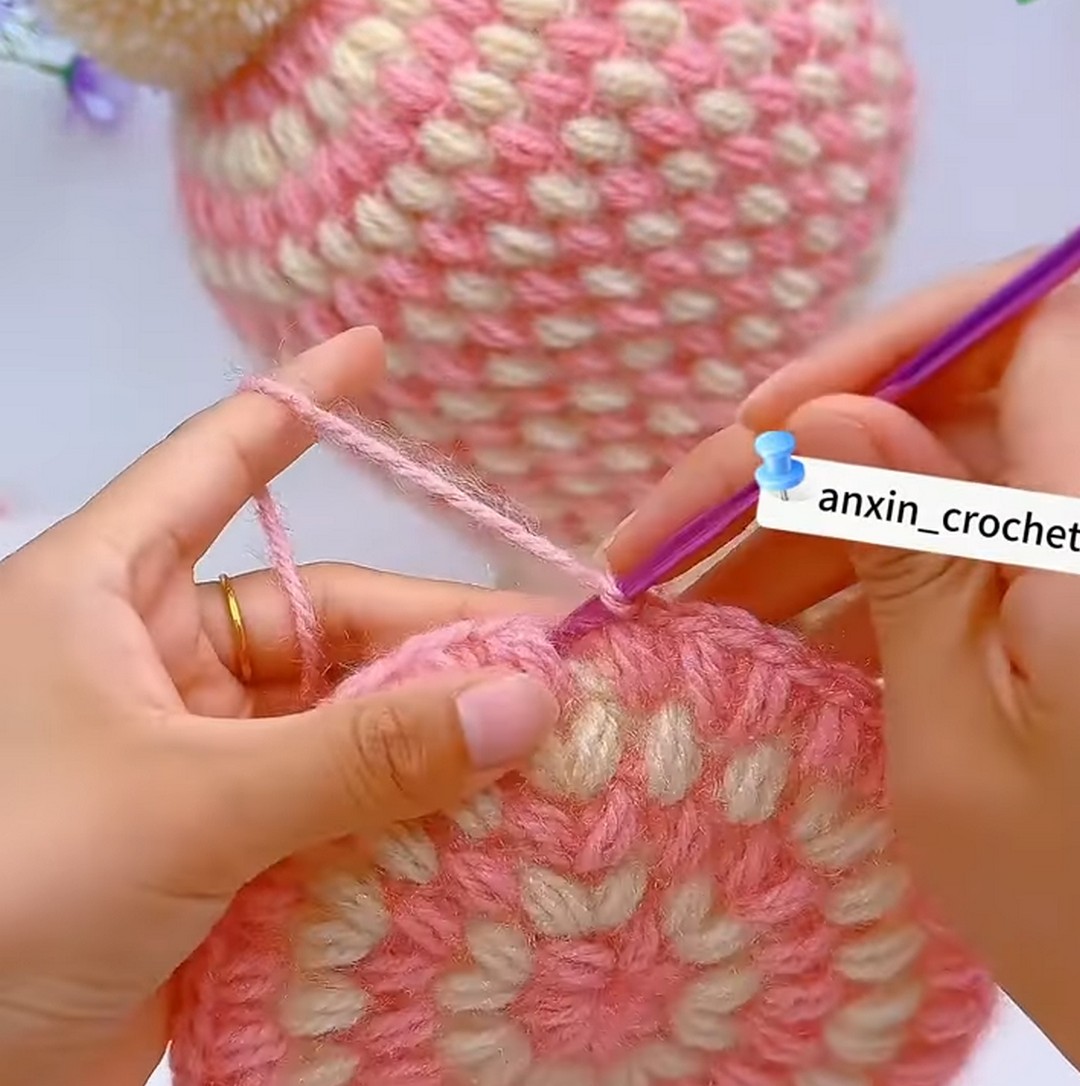
Phase 2: Hat Body (Straight Rounds)
Color Alternation:
- Alternate colors every round to create stripes (carry unused yarn along the edge of the stitches).
- Rounds by Size:
- 1–3 Years: Work 8 straight body rounds in this phase.
- 4–7 Years: Crochet 9 total body rounds.
- Adult: Complete 10 body rounds.
- Method:
- In each round, work 1 Cluster into the left space of each cluster below.
- Carry the non-working yarn along as you go.
Phase 3: Hat Brim
Brim Round 1 (Single Color):
- Cut Contrast Yarn: Secure the secondary yarn into the back stitches and cut it off.
- Attach Main Color:
- Attach the main color and chain 3 (this counts as your first DC).
- Double Crochet:
- Work 2 Double Crochets (2 DC) into every cluster hole around.
- Join:
- Finish with a slip stitch into the top of the starting Ch-3.
Brim Round 2 (Ribbing):
- Chain 3: Begin with 3 chains.
- Ribbing Sequence:
- Alternate [1 Front Post DC (FPDC), 1 Back Post DC (BPDC)] in every stitch around to create texture.
- Join:
- Complete the round with a slip stitch.
Optional Ribbing Round 3:
- Extra Depth:
- If the beanie feels shallow after fitting, repeat Brim Round 2 one more time for added ribbing.
Final Assembly & Finishing
Seamless Invisible Join & Weaving
- Cut the yarn, leaving a 6″ (15 cm) tail.
- Thread the tail onto a tapestry needle.
- Insert the needle under both loops of the first stitch of the round, then bring it back down through the center of the last chain loop to create a seamless, invisible edge.
- Weave the remaining tail into the dense cluster areas on the inside of the hat.
- Tie off securely if desired, then weave in any other loose ends on the inside.
Pom-Pom (Optional)
- Using a standard pom-pom maker, double-strand your remaining yarn.
- Wind the yarn evenly around both curved arms/sides of the pom-pom maker.
- Close the tool securely.
- Holding the center gap between your fingers to keep the yarn from shifting, cut along the center groove all the way around.
- Using a double strand of yarn, tie tightly around the center of the cut strands, making double knots on both sides to secure.
- Remove the pom-pom from the maker tool.
- Trim the pom-pom all around to form an even, spherical shape.
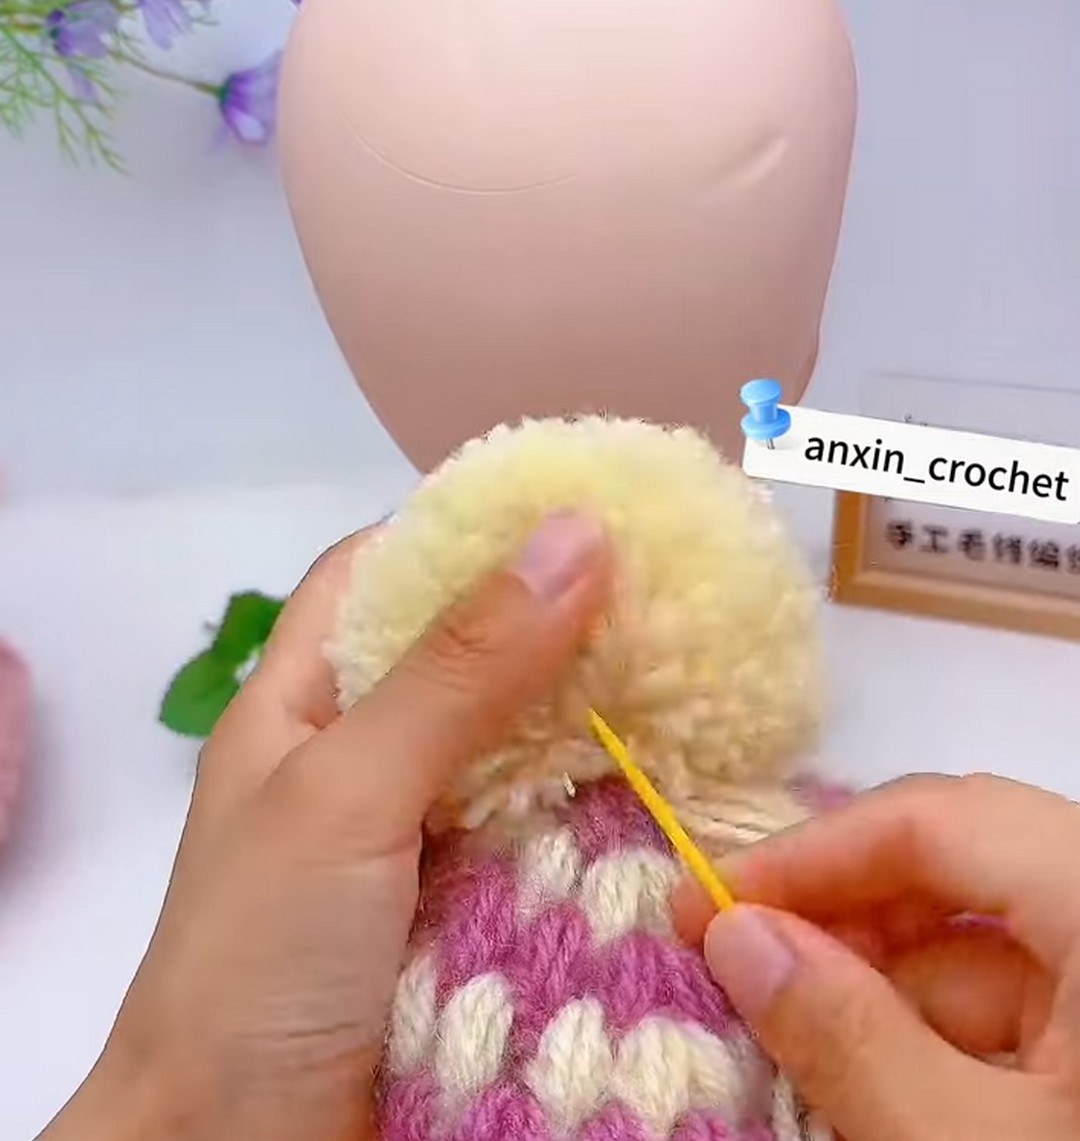
- Thread the pom-pom’s tie-strings onto a yarn needle and pull them through the center top hole of the hat crown.
- Turn the hat inside out, tie multiple tight knots to secure the pom-pom, then weave the remaining ends back into the inside of the pom-pom or hat.
Conclusion
Enjoy your warm, cozy Crochet Pineapple Stitch Beanie! With its plush texture, intricate clusters, and optional pom-pom, this project creates a stylish accessory for all ages.