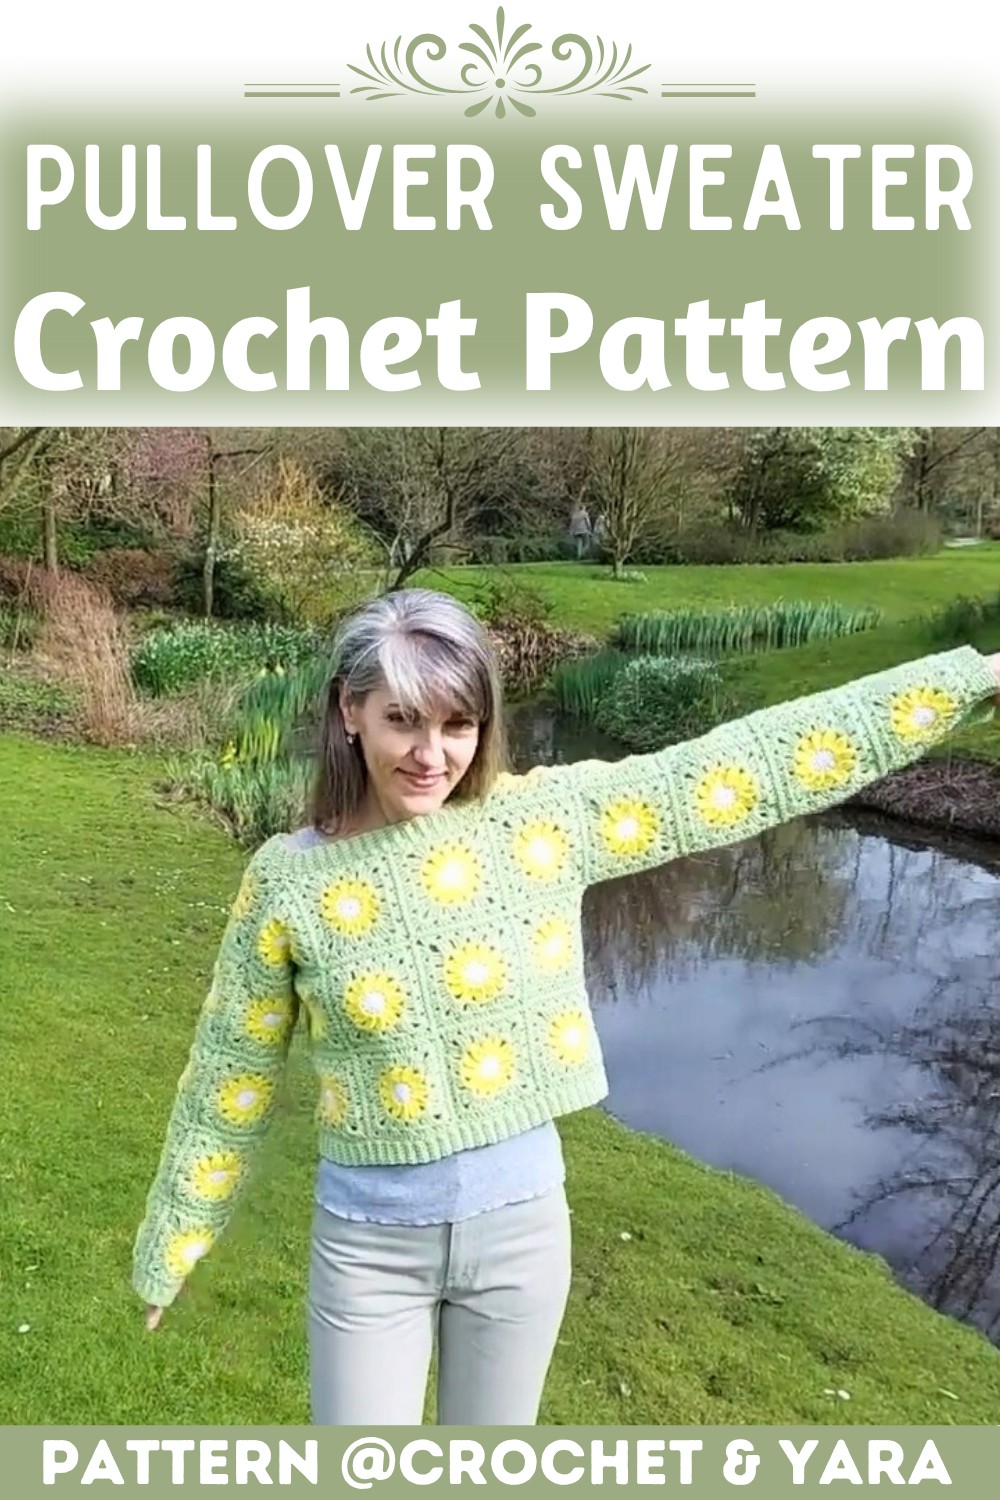
Crochet Daisy Granny Square Pullover Sweater Pattern
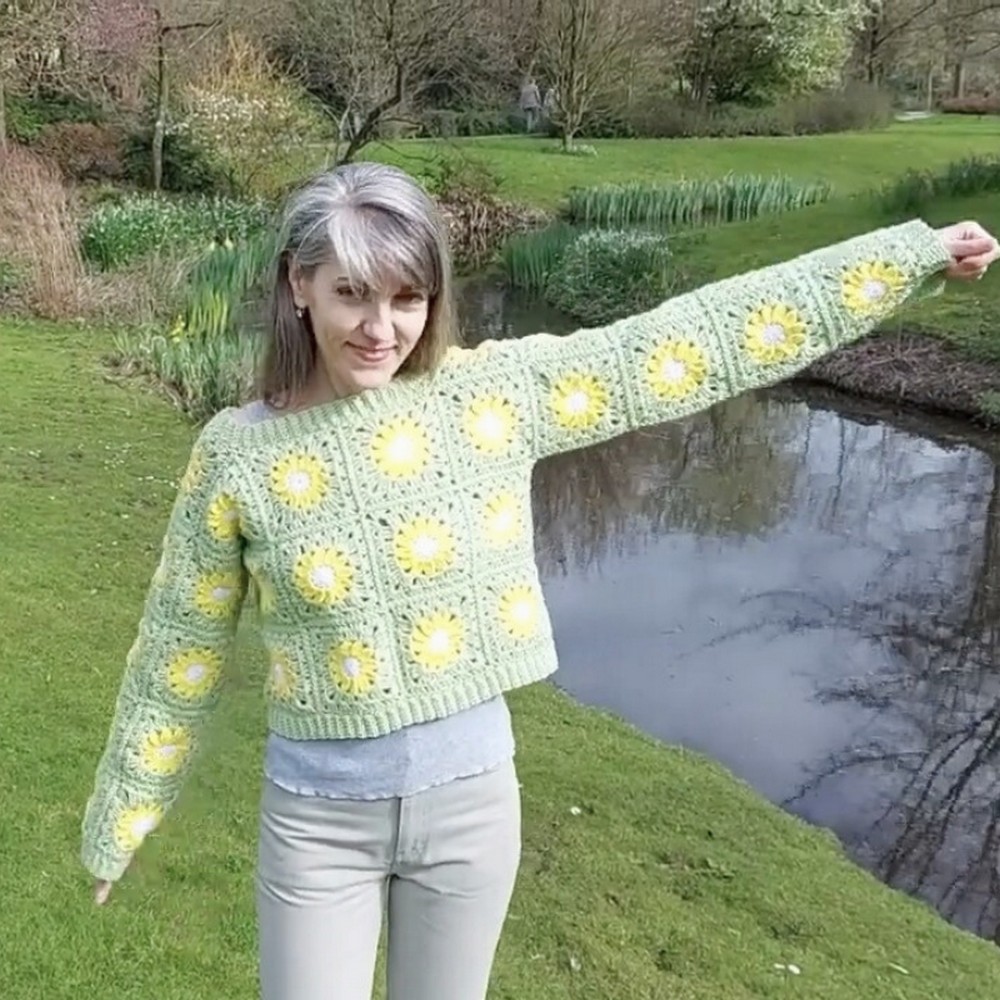
Turn cheerful crochet daisy motifs into a cozy pullover by keeping each square even in size, then combining the finished motifs into a colorful wearable you can personalize.
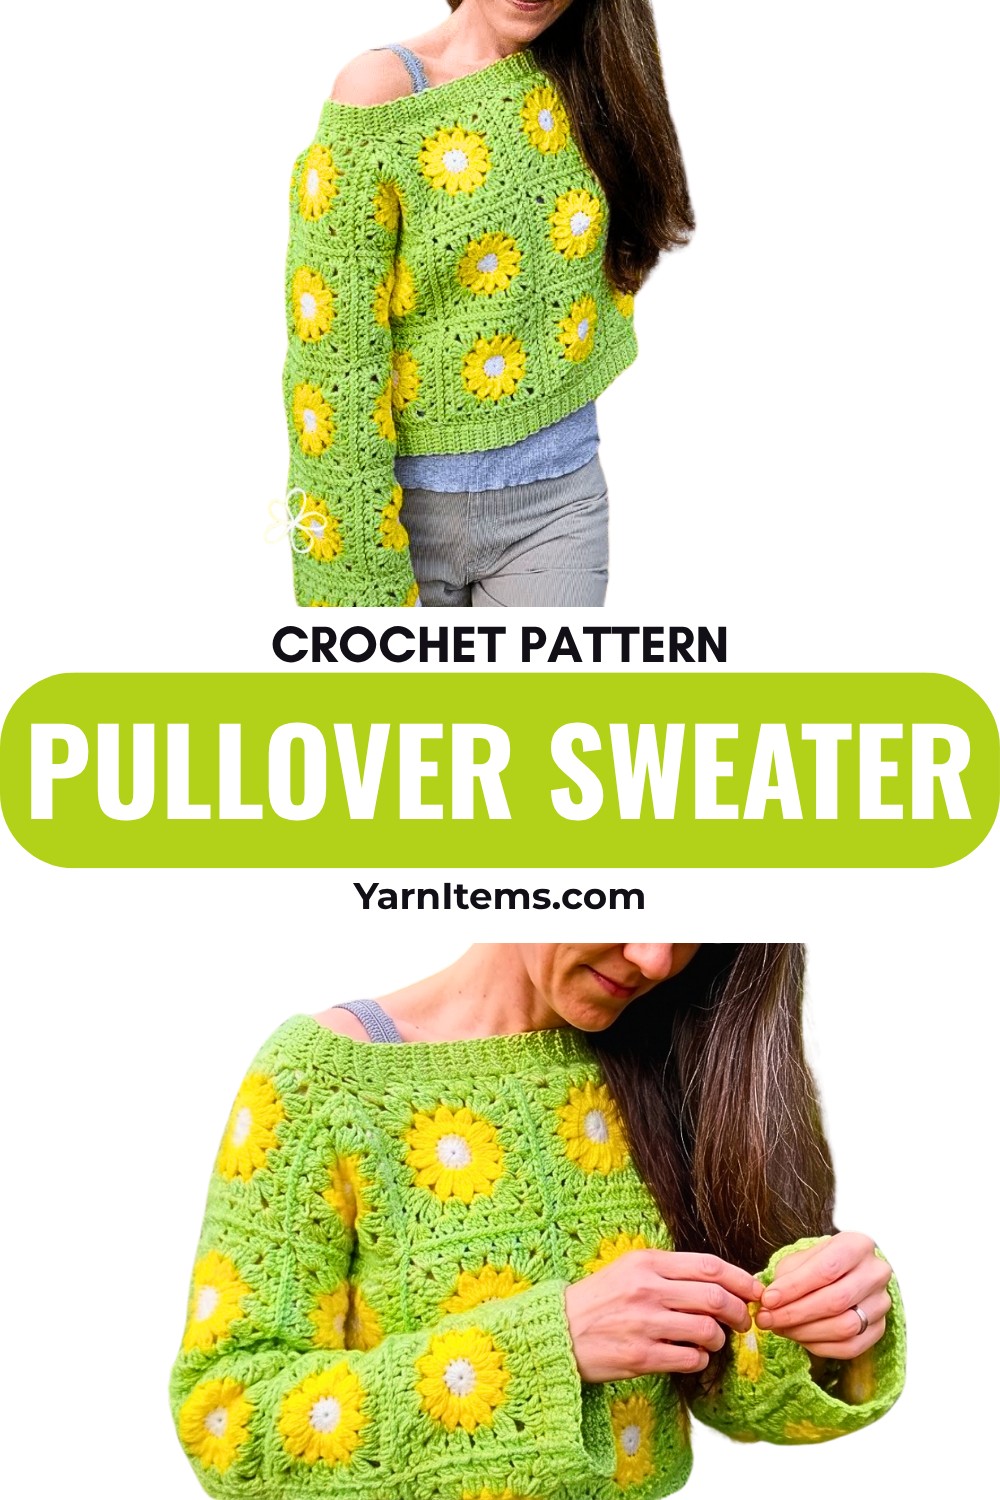
Crochet Daisy Granny Square Pullover Sweater
A daisy granny square brings two satisfying parts of crochet together: a small floral motif that is enjoyable to repeat and a simple square shape that can eventually become something you can wear. With yellow, white, and a background color, each motif develops from a small flower center into a finished crochet square.
The key to getting a polished pullover is consistency from one crochet square to the next. When every motif reaches the same dimensions and the corners remain clearly defined, the squares are much easier to line up. Keeping an eye on those details while making the individual motifs will make the later joining much more straightforward.
Credit Crochet & Yara
Materials & Tools Needed
- Yarn: Medium-weight Worsted or Aran yarn in several colors:
- Color A: Yellow for the daisy center
- Color B: White for the petals
- Color C: Your main background color, such as cream, green, or black
- Color D: Joining and edging color
- Crochet Hook: Approximately 4.0 mm or 5.0 mm, matched to your yarn
- Tapestry Needle: For securing yarn ends
- Scissors
Finished Size & Customization Ideas
The supplied pattern is designed around a Size Small.
For a larger fit, you can make each square larger by adding another round of granny stitches, use a heavier yarn, or increase the hook size while keeping your tension in mind.
You can also change the overall appearance by mixing daisy squares with solid-colored squares or using a different background color around the flowers.
Pattern Abbreviations & Terminology
- Ch: Chain
- Sl st: Slip stitch
- Sc: Single crochet
- Hdc: Half double crochet
- Dc: Double crochet
- Tr: Treble crochet
- St(s): Stitch(es)
- Sp(s): Space(s)
- BLO: Back loop only
- Cluster / Popcorn Stitch: A group of stitches worked together to create a raised petal-like texture
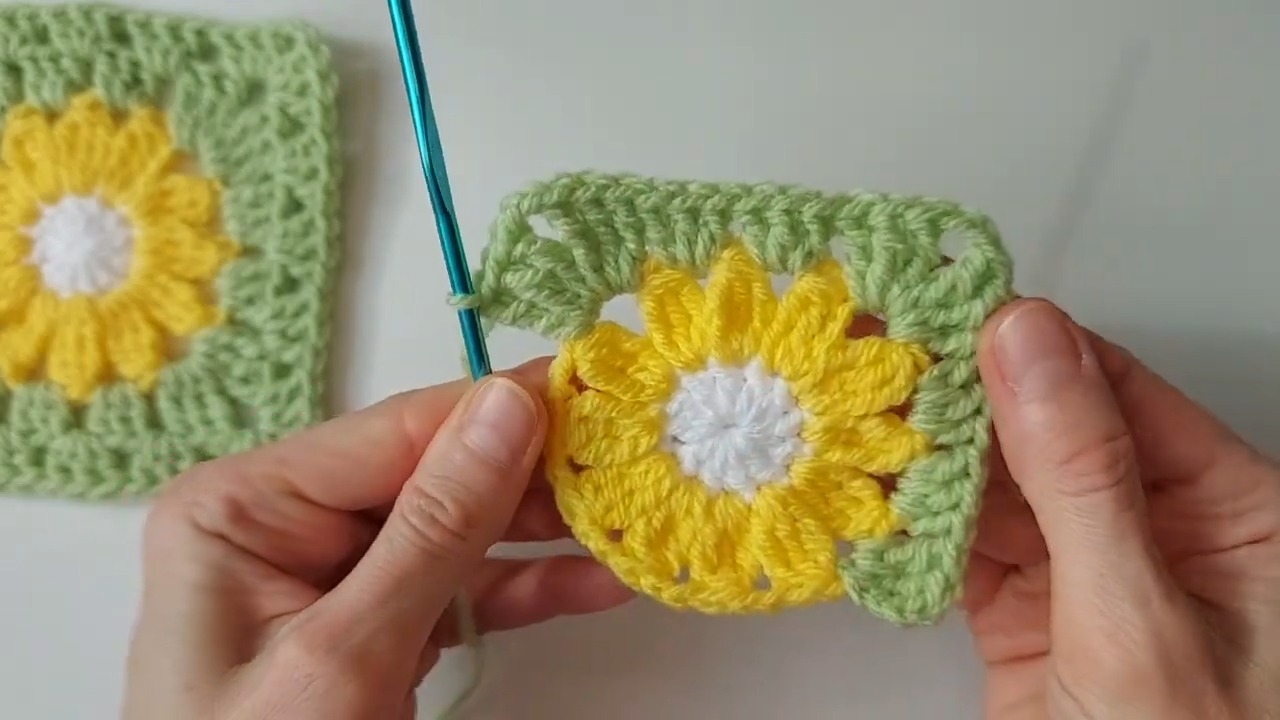
Step-by-Step Daisy Granny Square Pattern
Round 1: Create the Yellow Flower Center
Using Color A, begin with a magic ring.
Alternatively, chain 4 and join with a Sl st to form a ring.
Chain 3; this counts as the first DC. Work 11 additional DC into the ring.
Join with a Sl st to the top of the beginning Ch 3.
You should have 12 DC in total.
Fasten off Color A.
Round 2: Add the Daisy Petals
Attach Color B to any stitch around the yellow center.
Chain 3, then work a cluster or popcorn-style petal stitch into the same stitch.
Chain 2. Work another cluster petal into the next stitch.
Continue repeating: [Cluster petal, Ch 2] around the center until you have completed all 12 petals.
Join with a Sl st to the top of the first petal.
Fasten off Color B.
Petal Check: Keep the chain spaces between petals consistent. These spaces become the points where the next color is worked, so noticeably different spacing can make the flower look uneven.
Round 3: Begin the Square
Attach Color C into any Ch-2 space between the petals.
Chain 3, then work: 2 DC, Ch 2, 3 DC into the same space.
This creates the first corner.
Continue around the flower by working 3 DC into each following Ch-2 space.
Whenever you reach a corner space, work: 3 DC, Ch 2, 3 DC to form the next corner.
Continue until all four corners are established.
Join with a Sl st to the top of the beginning Ch 3.
Fasten off Color C.
Round 4: Complete the Square
Attach Color C to a suitable corner Ch-2 space.
Work the granny-square pattern around the motif, placing 3 DC clusters along the sides and 3 DC, Ch 2, 3 DC into every corner.
Continue around until the square reaches the desired size.
Join with a Sl st to the beginning Ch 3 and fasten off.
Square Size Check
Before making the next motif, place the completed square flat on a table and compare its width and height.
The corners should sit naturally at four clear points, and the sides should not pull inward.
This is worth checking before making a whole batch of squares. If your first square is noticeably smaller or larger than intended, adjust your hook or tension now so the remaining motifs match it rather than trying to compensate later.
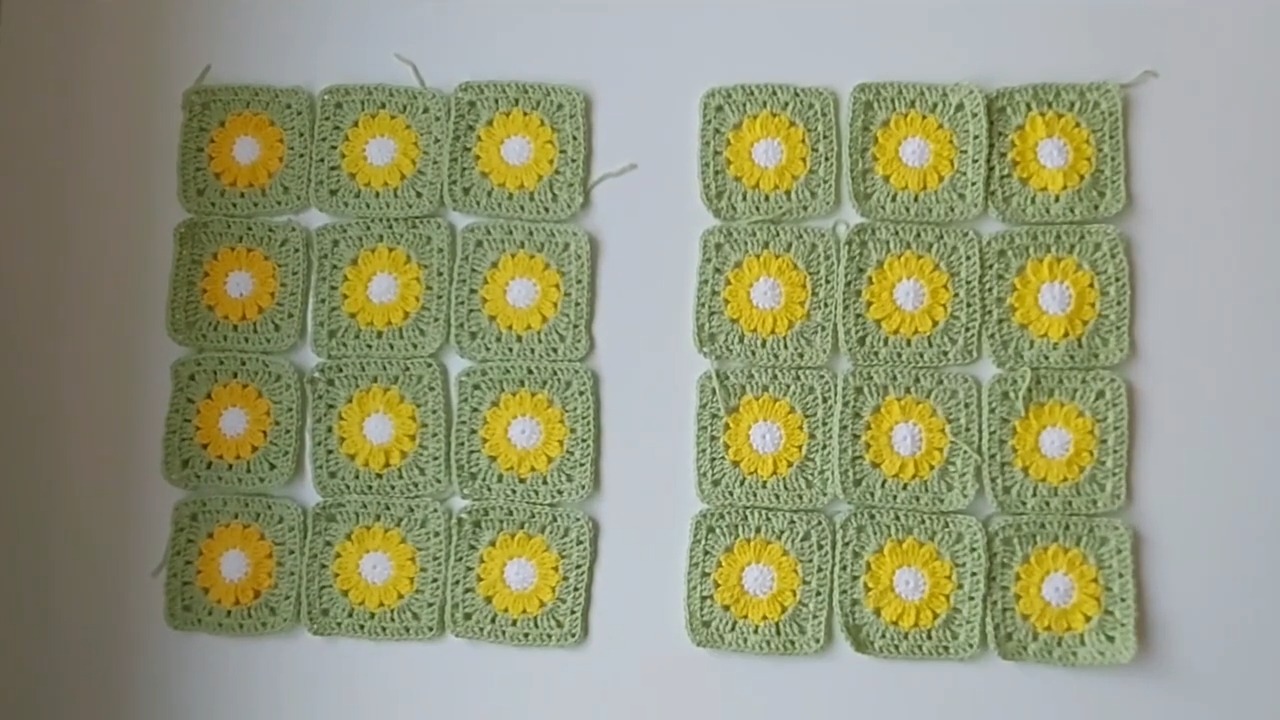
Prepare the Sweater Pieces
Once you have made enough matching daisy squares, arrange them into the desired layout.
Front
Place the completed squares into an even grid for the front of the pullover.
Keep the direction of the daisy motifs consistent unless you intentionally want a mixed arrangement.
Back
Arrange another matching set of squares for the back.
The back should correspond in width and height with the front so the shoulder and side edges can meet neatly.
Sleeves
Arrange additional squares to form each sleeve.
You can keep the sleeves relatively straight or create a gradual taper by changing the number of squares used toward the wrist.
Join the Granny Squares
Use Color D to join the squares.
Several joining options can work, including:
- Flat slip-stitch joining
- Whip stitch from the wrong side
- Join-as-you-go
Whichever method you choose, keep the tension consistent throughout the joins.
When joining two squares, align their corners and corresponding side spaces before securing the seam. This helps prevent one square from sitting higher than its neighbor.
Join the Sweater Pieces
Place the front and back sections together and join the shoulder edges, leaving the required opening for the neckline.
Attach the sleeves around the armhole openings.
Fold the garment so the front and back side edges meet, then seam from the lower edge upward toward the underarm.
Finish the underside of each sleeve in the same way.
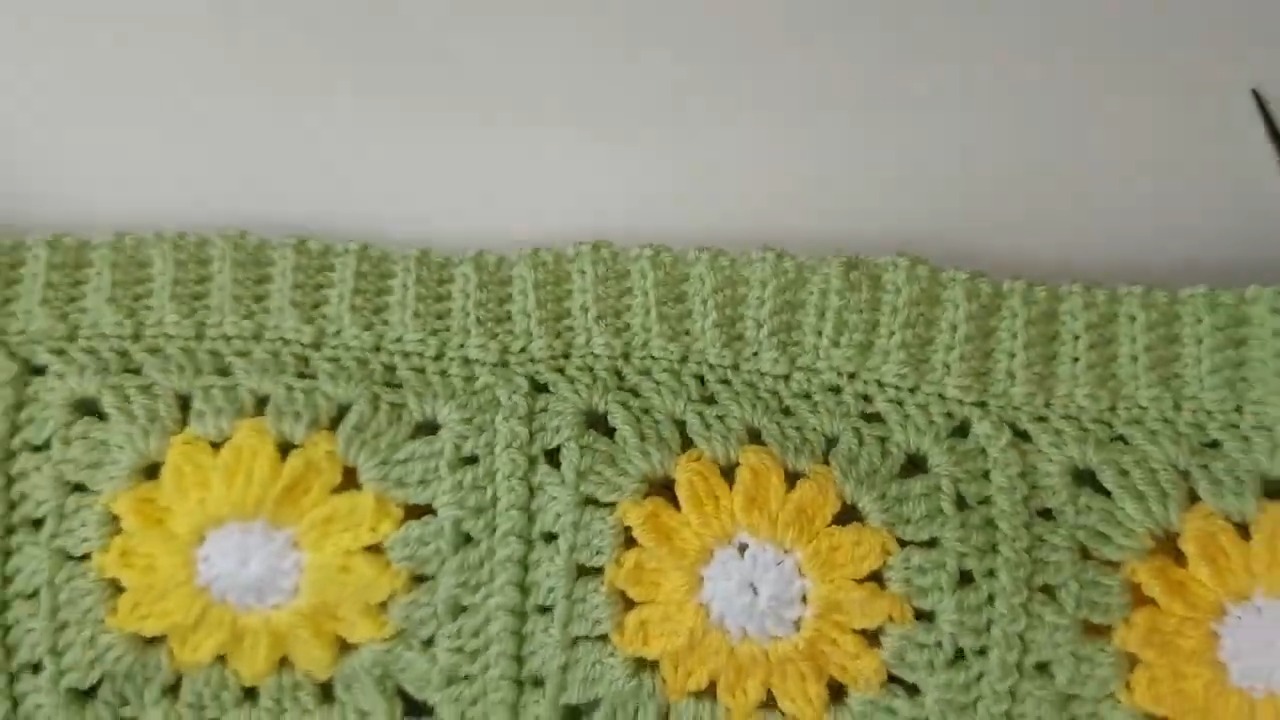
Finish the Edges
Weave in the remaining yarn tails on the wrong side using a tapestry needle.
For a cleaner edge, attach Color D around the bottom hem, sleeve cuffs, and neckline.
Work rounds of Sc or Hdc around these openings until the edges have the amount of structure you prefer.
For the neckline, keep the stitches evenly distributed so the opening remains smooth rather than becoming tight or wavy.
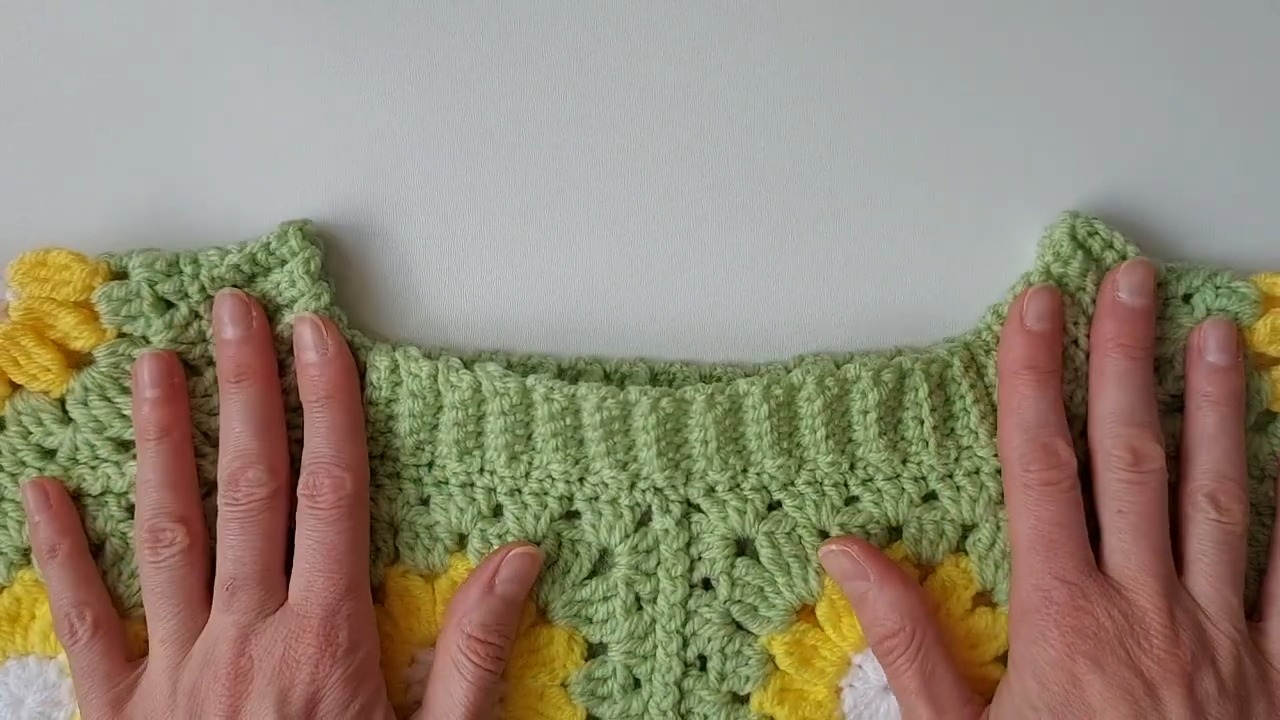
Final Fit Check
Before finishing all the edges, try the pullover on or hold it against a garment with a similar fit.
Check the neckline opening, body width, sleeve length, and overall length. If the fit needs changing, it is easier to adjust before the final edging is completed.
With consistent daisy squares, coordinated colors, and clean edges, the finished pullover has a cheerful floral look while still leaving plenty of room for your own color choices and sizing preferences.