How to Crochet an Easy Fan Web Stitch Beanie Hat
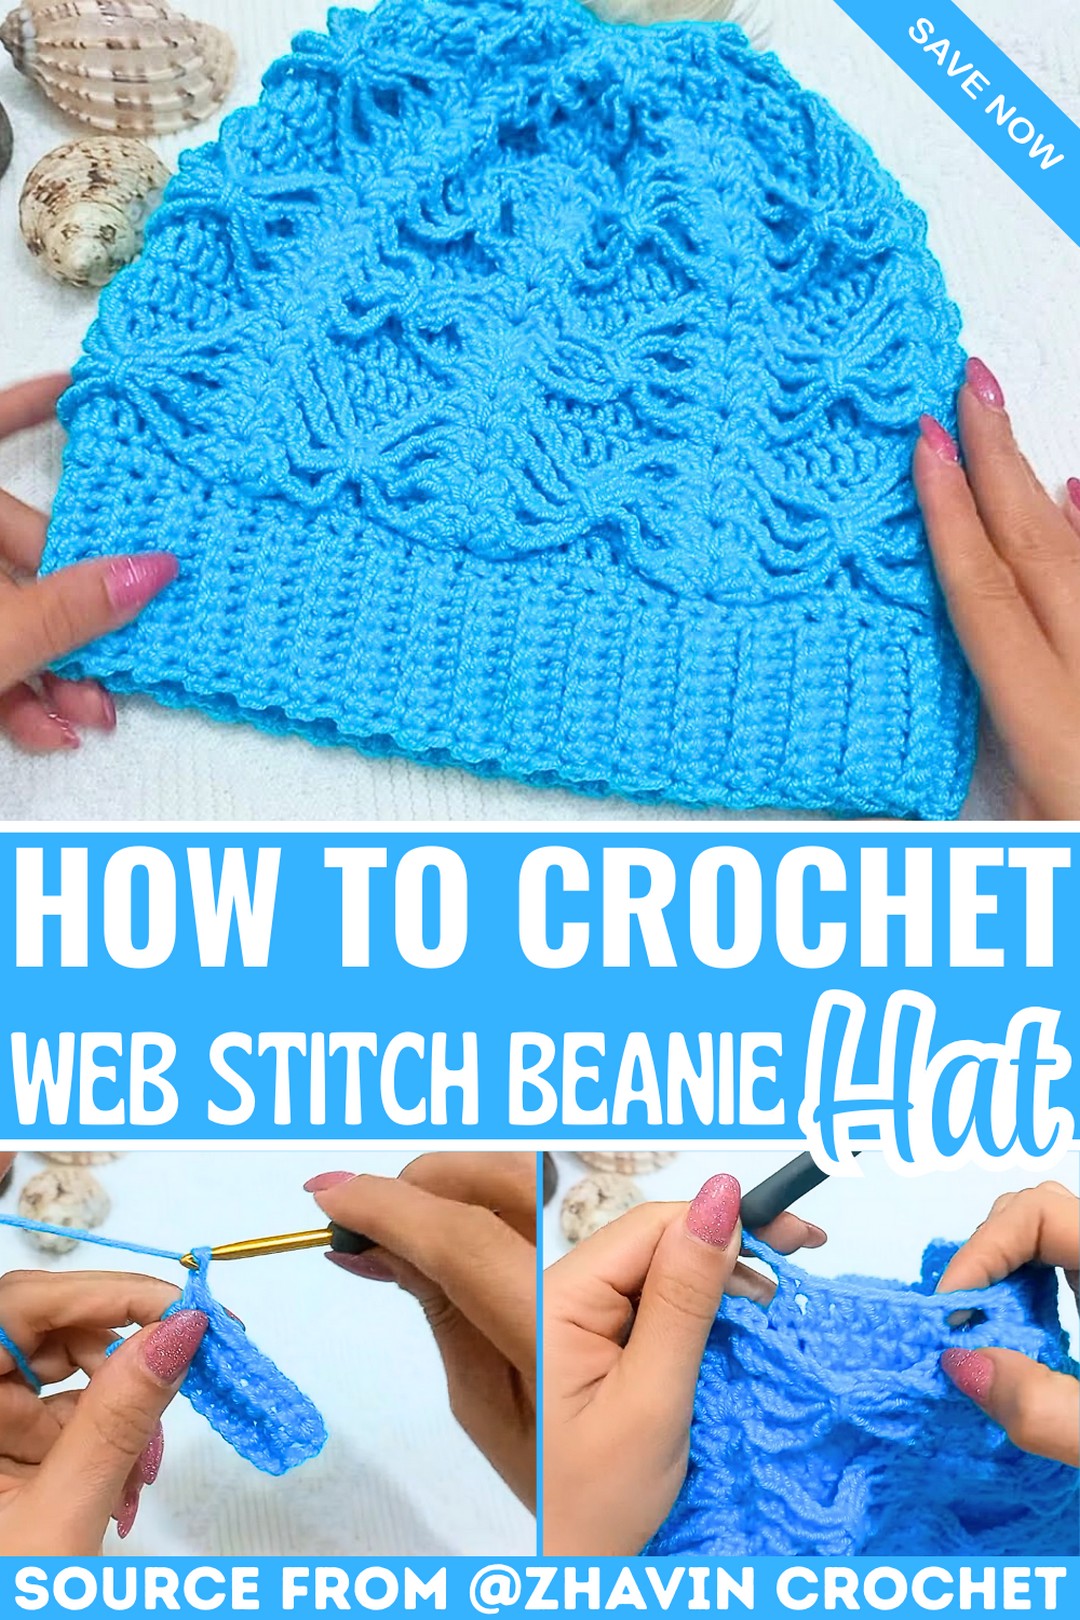
A beautiful stitch crochet pattern can completely transform a simple winter hat into something unforgettable. This fan web stitch beanie blends a soft textured brim with graceful fan details that create a warm and eye-catching piece.
It feels comfortable to wear during cold weather while adding a handmade touch to everyday outfits. The finished crochet item is stylish enough for daily use and thoughtful enough to share as a heartfelt gift.
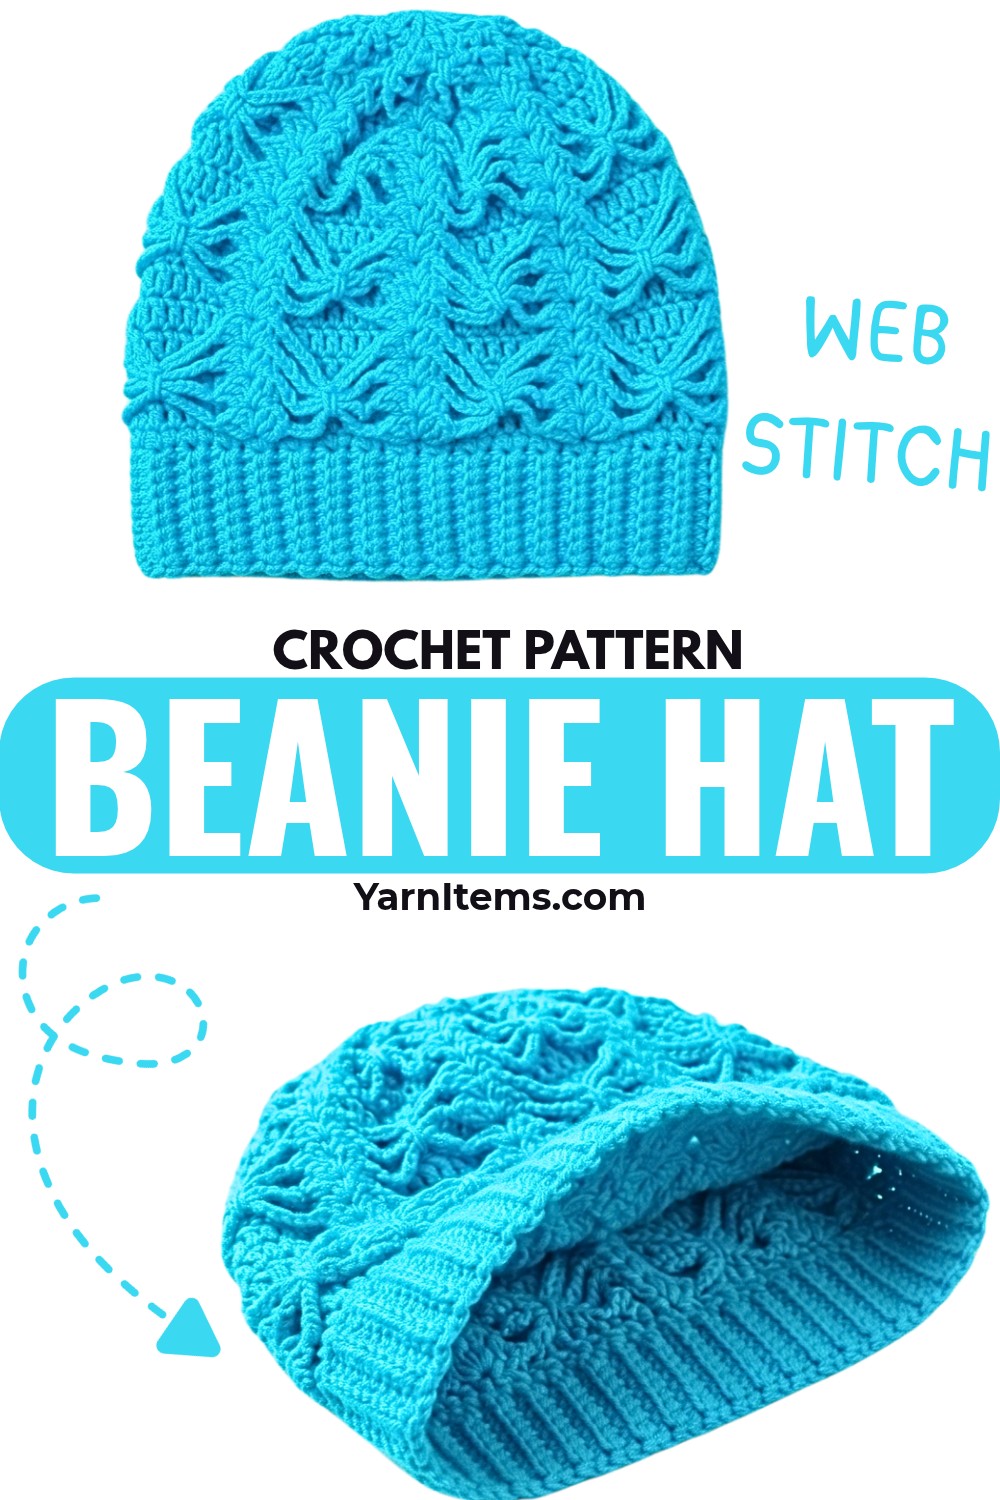
Nothing compares to the charm of a handmade crochet piece that looks elegant without being difficult to create. This beanie can be adjusted for kids, teens, and adults, making it a flexible choice for different sizes. The fan web stitch adds lovely texture, while a fluffy pom-pom gives the finished item extra personality. Whether you’re refreshing your winter wardrobe or making a cozy gift, this design is both practical and enjoyable to crochet.
Credit zhavin crochet
Materials & Tools Needed
- Yarn: Worsted weight yarn
- Hooks:
- 4.5mm hook (for the brim)
- 5mm hook (for the body and crown)
- Additional Tools: Scissors, yarn needle, optional pom-pom
Finished Size & Customization Ideas
- Default Size: Designed for an adult head (approx. 21–23 inches in circumference).
- Customization:
- Adjust brim width: Start with a larger or smaller foundation chain for a taller brim.
- Change the circumference: Add or subtract rows to the brim in multiples of 9.
Pattern Notes
- The beanie is worked bottom-up, starting with the brim and progressing to the body and crown.
- The brim is worked flat in rows and then seamed into a tube.
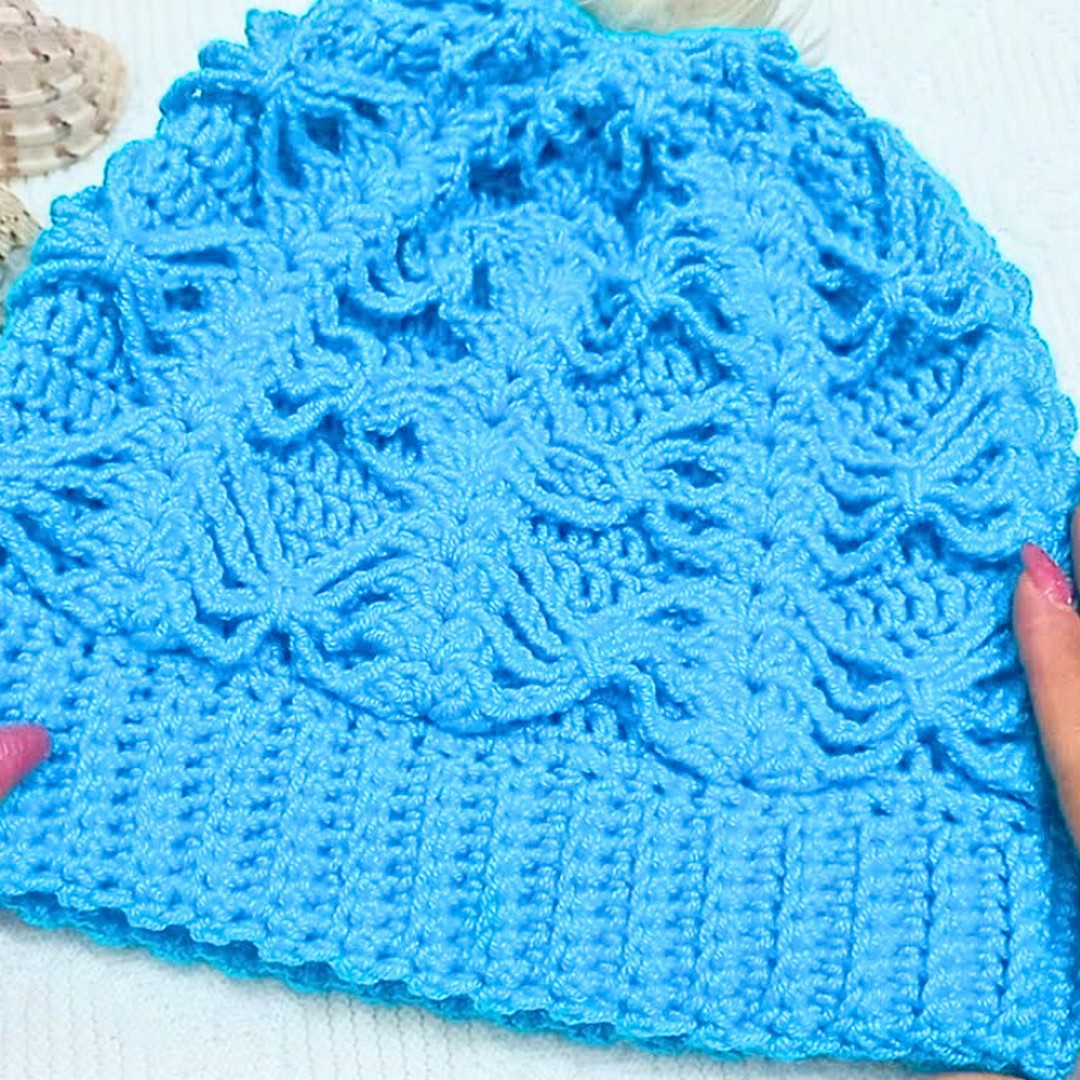
- The fan web stitch pattern is repeated across the body, and gradual decreases are used at the crown.
Pattern Abbreviations & Terminology
- ch: chain
- sc: single crochet
- dc: double crochet
- st: stitch
- sl st: slip stitch
- ch-sp: chain space
- dec: decrease
- bo: back loop only
- yo: yarn over
- RS: right side
- US Terminology is used throughout the pattern.
Tips Before You Start
- Make sure your foundation chain and brim are the correct size for the head circumference you’re making the beanie for.
- Always ensure stitch counts match the instructions, especially when forming the fan web stitch or decreasing on the crown.
- The fan stitch pattern requires you to skip 8 stitches, so ensure your foundation row stitch count is divisible by 9.
Step-by-Step Detailed Crochet Instructions
Step 1: The Brim
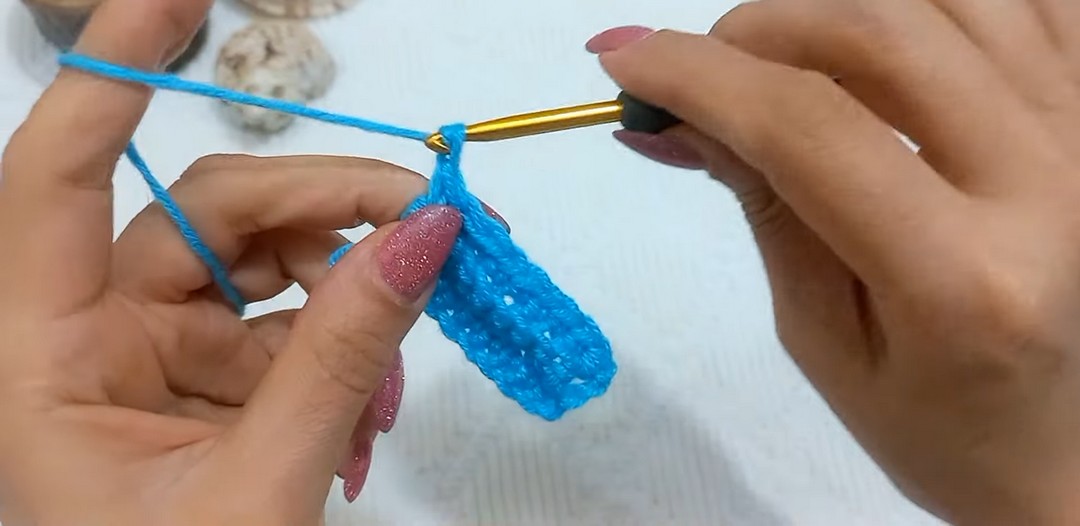
- Using the 4.5mm hook, make a slipknot and chain 10 (or adjust for a taller brim).
- Row 1: Starting from the 2nd chain from the hook, work 1 sc into each chain across (9 sc).
- Row 2: Ch 1, turn. Work 1 sc under both loops of the 1st st. Work 1 sc in the back loop only for the next 7 sts, and 1 sc under both loops in the last stitch.
- Repeat Row 2 until your brim reaches the circumference of the head you’re making it for. Ensure the total number of rows is a multiple of 9 (e.g., 72 rows for an adult size).
Step 2: Join the Brim into a Tube
- Fold the brim in half, placing the two short edges together.
- Use sl st to join: Insert the hook under both loops of the last row and the back loop of the foundation row; yarn over and pull through all loops on the hook. Repeat across (9 sl sts).
- Turn the joined brim inside-out so the seam is on the inside.
Step 3: Body of the Hat
- Switch to the 5mm hook.
- Round 1: Ch 1, work 1 sc into the seam, 1 sc in the top of the next row of the brim, 1 sc into the space at the end of the following row.
- Repeat this sequence around the brim until you have 72 sc. Join with a sl st to the first sc.
- Round 2 (Fan Stitch Setup):
- Start with a chainless starting dc or a ch 3 (counts as your first dc).
- Work 2 more dc into the same st as the beginning dc. This forms a mini fan of 3 dc.
- Ch 10. Skip the next 8 sts.
- In the next st, work 3 dc, ch 2, 3 dc. This forms a full fan stitch.
- Ch 10. Skip the next 8 sts and work another fan stitch (3 dc, ch 2, 3 dc) into the following st.
- Repeat this pattern until you have 8 full fan stitches with 10 chain spaces between them.
- To close the round, after the last ch-10, work 3 dc into the same st as the beginning 3-dc group. Ch 2 and join with a sl st to the first dc.
- Round 3 (Filling in the Web Stitch):
- Fold the fan stitches forward.
- Work 1 dc into each of the 8 skipped sts from Round 1.
- Ch 2 behind the fan stitch.
- Repeat: Work 1 dc into each of the next 8 skipped sts, ch 2 behind the fan stitch, around.
- End with a sl st into the first dc of the round.
- Repeat Pattern Rounds:
- Continue alternating between a fan round (Round 2) and a filling round (Round 3).
- Work the fan rounds into the 2 ch spaces behind the fan stitches, and the filling rounds into the skipped stitches two rounds below.
- Adjust the height of your beanie by repeating Rounds 2 and 3 until you have the desired number of fan rows (e.g., 3 total repeats).
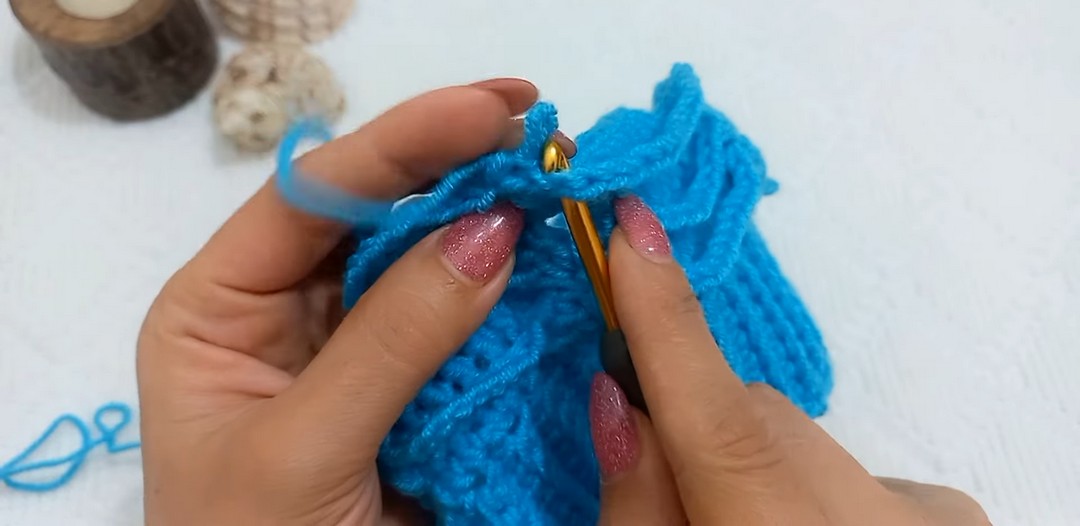
Step 4: Shaping the Crown
- Crown Rounds 1–7:
- Gradually reduce the number of chains in the fan rounds (e.g., from ch 10 to ch 8, ch 6, etc.).
- As you shape the crown, reduce the number of dc in the fan stitches and filling rows.
- For example, from 3 dc in the fan stitch, decrease to 2 dc and then 1 dc.
- In filling rows, decrease the skipped stitches or work decreases over paired stitches.
- Final Round of the Crown:
- Use a yarn needle to weave the remaining stitches together tightly at the top of the beanie.
- Secure with a knot and fasten off.
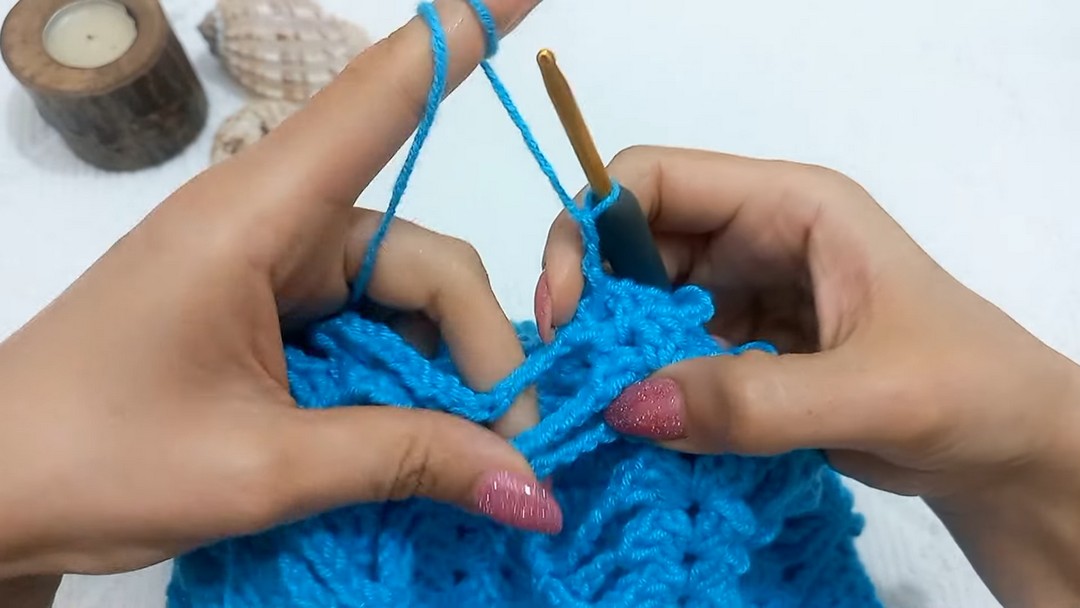
Final Assembly
- Attach a pom-pom to the crown (optional). You can use a store-bought pom-pom or make your own using yarn scraps.
- Weave in all loose ends and trim excess yarn.
Conclusion
The fan web stitch beanie combines aesthetic design with a practical, warm construction. Perfect for winter, this bottom-up hat pattern can be customized in size, color, and detail. Whether you’re creating it for yourself or as a gift, the textured brim and intricate web-like fans add a stylish touch to your crocheting repertoire. Happy crocheting!