
Crochet Flower Hairclip with Layered Petals
Create a stunning layered crochet flower hairclip with delicate petals, decorative touches, and charming dimension—perfect for hairstyles or handmade gifts.

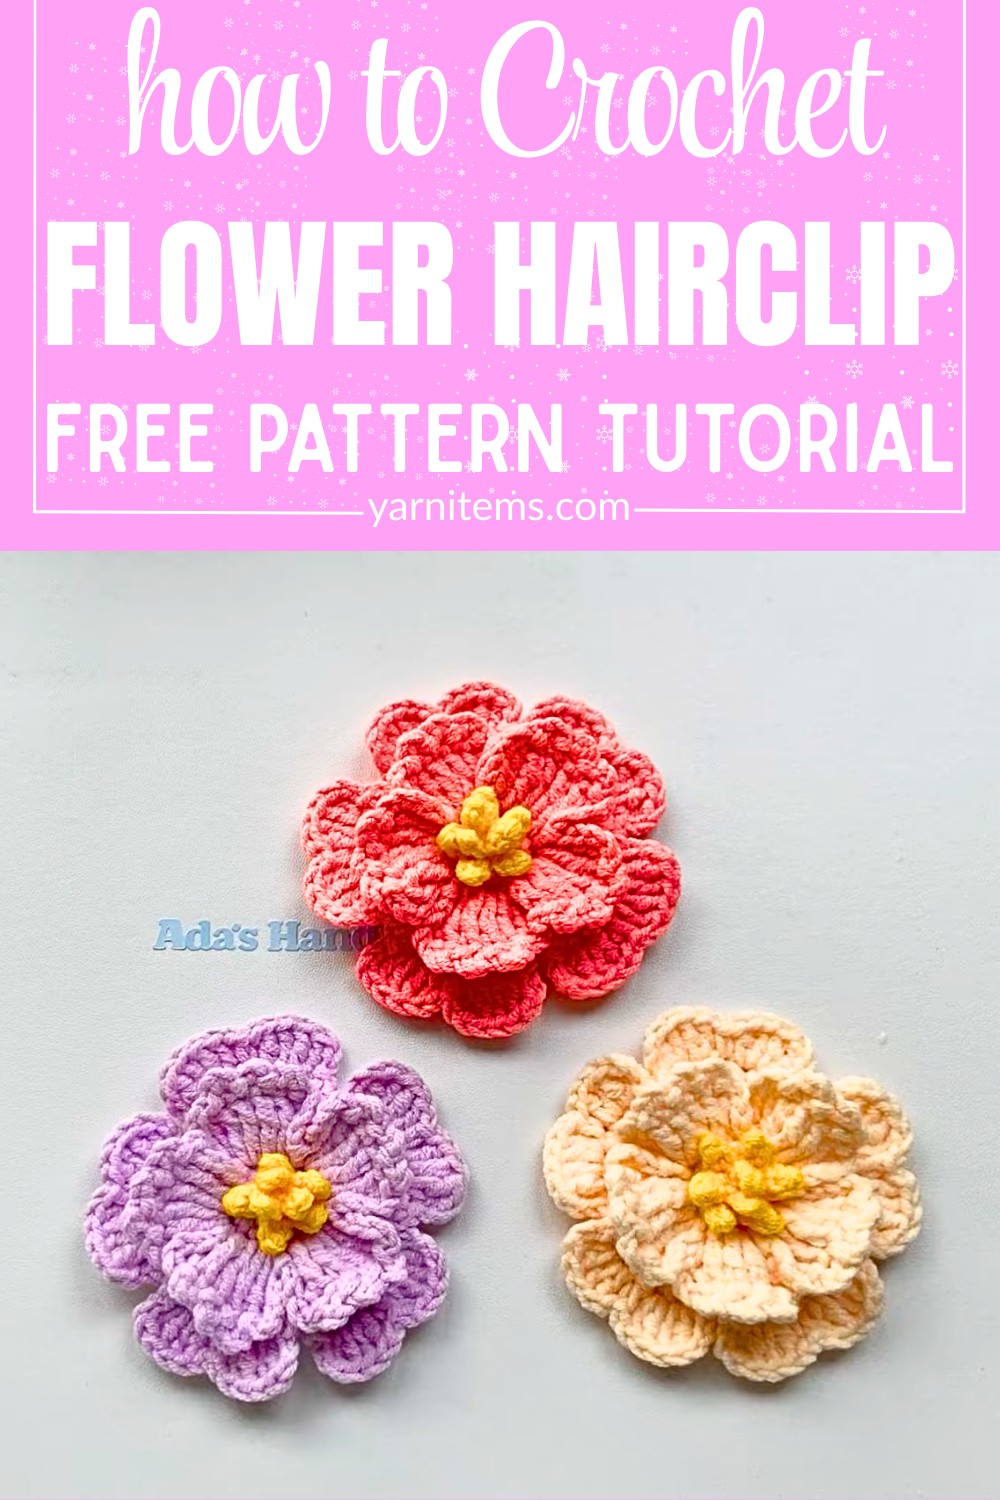
Looking for a simple yet beautiful accessory? This crochet flower hairclip is sweet, stylish, and incredibly versatile! If you wear it as a lovely touch for your hair, add it to a hat or bag, or even gift it to someone special, this little flower is sure to brighten any day. Its delicate, layered petals and creative design make it stand out as both elegant and fun.
Crochet Flower Hairclip with Layered Petals
Making a Crochet Flower Hairclip is easier than you think. By working with basic crochet stitches, you’ll shape petals that come together in a stunning layered look. Although the following instructions might seem complex, each step is simple and perfectly suited for beginners who want to try creating something adorable. Using soft yarn and a small hook, you can create this charming flower in any colors you love. Once finished, attach it to a clip, and it’s ready to wear.
Credit Ada’s Handmade
Construction & Key Features Summary:
- Round 1: Starts with a magic ring, forming the flower’s base with simple single crochet stitches.
- Round 2: Adds the first layer of petals using front loops only, creating soft, textured bloom shapes.
- Round 3: Builds the back layer of larger petals worked into the back loops, creating a dimensional flower effect.
- Decoration Rounds: Incorporate decorative chains and textured stitches for added elegance.
- Final Finish: Wraps up with lace-like details and neat chains, ready to attach to a hairclip.
This crochet flower begins with a magic ring—a classic technique that ensures a seamless, tidy center. After forming 5 single crochet stitches, the first round closes tightly with a slip stitch for a firm and compact foundation. From here, chain stitches lead into the second round, where front loop increases pave the way for the first layer of petals.

In Round 2, the fun begins with petal formation. By working treble crochet stitches into specific front loops and connecting them with slip stitches, you’ll create five beautifully shaped petals. These petals have fullness and texture, owing to the combination of treble crochet and chain stitches. For added flair, small decorative chain loops are included between patterns, enhancing the flower’s whimsical charm.

The back petals (Round 3) are crocheted into the back loops from Round 1 to give a multilayered effect. With slightly larger stitches like double trebles and evenly spaced increases, these back petals provide a fuller look and complement the smaller front petals. This juxtaposition of layering adds dimension, making the flower look rich and realistic.
Finally, the decoration rounds add tiny embellishments like lace-like detailing and chain motifs for extra shine. These finishing touches give the flower elegance and a polished appearance, ensuring it stands out when attached to the hairclip. With careful chaining and slip stitching, the flower is perfect for any occasion.

To attach the finished crochet flower, simply sew or glue it onto the hairclip base (such as an alligator clip or barrette). The result is a stunning handmade accessory that’s sure to turn heads!
Video Tutorial
Required Materials:
- 2.5 mm crochet hook
- 4 ply cotton yarn

Detailed Step-by-Step Instructions:
Round 1:
- Make a magic ring.
- Work 5 sc into the ring.
- Pull the yarn to tighten the ring.
- Slip stitch in the first stitch.
- Chain 1.
Round 2:
- Work 1 sc increase (inc) in each stitch (5inc), total 10 sc.
- Slip stitch in the first stitch.
- Chain 4.
- 2 tr in the first stitch (front loop only), 2 tr in next stitch (front loop only), chain 4, slip stitch in the same stitch.
- Repeat from * to * to make 5 petals in total.
- Chain 5, slip stitch.
- (Chain 3, 1 slst) repeat 3 times.
- Chain 5, slip stitch.
- Repeat from * to complete the round.
Round 3 (Back Loops Only):
- Slip stitch in the first stitch.
- Chain 1.
- (sc, inc) repeat 5 times to make 10 sc.
- Slip stitch in the first stitch.
- Chain 4.
- 2 tr in the same stitch, 1 dtr in the next stitch, 2 tr in the next stitch, chain 4, slip stitch in the same stitch.
- Repeat from * to complete 5 petals.
Decoration Rounds:
- Chain 3, slip stitch in the 4th chain.
- Chain 2.
- *Work 2 dc in the next 2 stitches.
- Chain 1, 1 sc in the next stitch, chain 1, 2 dc in the next 2 stitches.
- Chain 2, slip stitch.
- Chain 3, slip stitch.
- Repeat from * to complete the round.
Final Finish:
- Chain 3, slip stitch in the 2nd and 3rd chain from the hook.
- Repeat: chain 3, 2 slip stitch.
- Make 8 repetitions.
- Chain one and cut the yarn.
Your crochet flower is now ready to be attached to a hairclip! Enjoy your crocheting.
Troubleshooting & Suggestions:
Common Issues:
- Magic Ring Troubles: If the magic ring feels loose or doesn’t tighten properly, ensure the initial wrap of yarn is snug and secure before crocheting into it. Practice pulling the tail firmly after placing your first round of stitches.
- Petal Placement Confusion: Using front loops for Round 2 and back loops for Round 3 is key to layering the petals. Double-check which loops you’re working into to avoid uneven shaping.
- Consistent Stitch Size: Treble and double treble crochet stitches are taller than most other stitches, so maintain even tension to keep your petals symmetrical and attractive.
Creative Modifications:
- Play with Colors: Use a gradient or ombré yarn for a stunning transition from front petals to back layers. Alternatively, make each petal in a different color for a bold, eye-catching flower!
- Add Embellishments: Sew on beads, pearls, or mini buttons at the center of the flower for a dazzling focal point.
- Repurpose the Design: Turn this pattern into a brooch, keychain, or bag charm by sewing the finished flower onto alternative bases.


