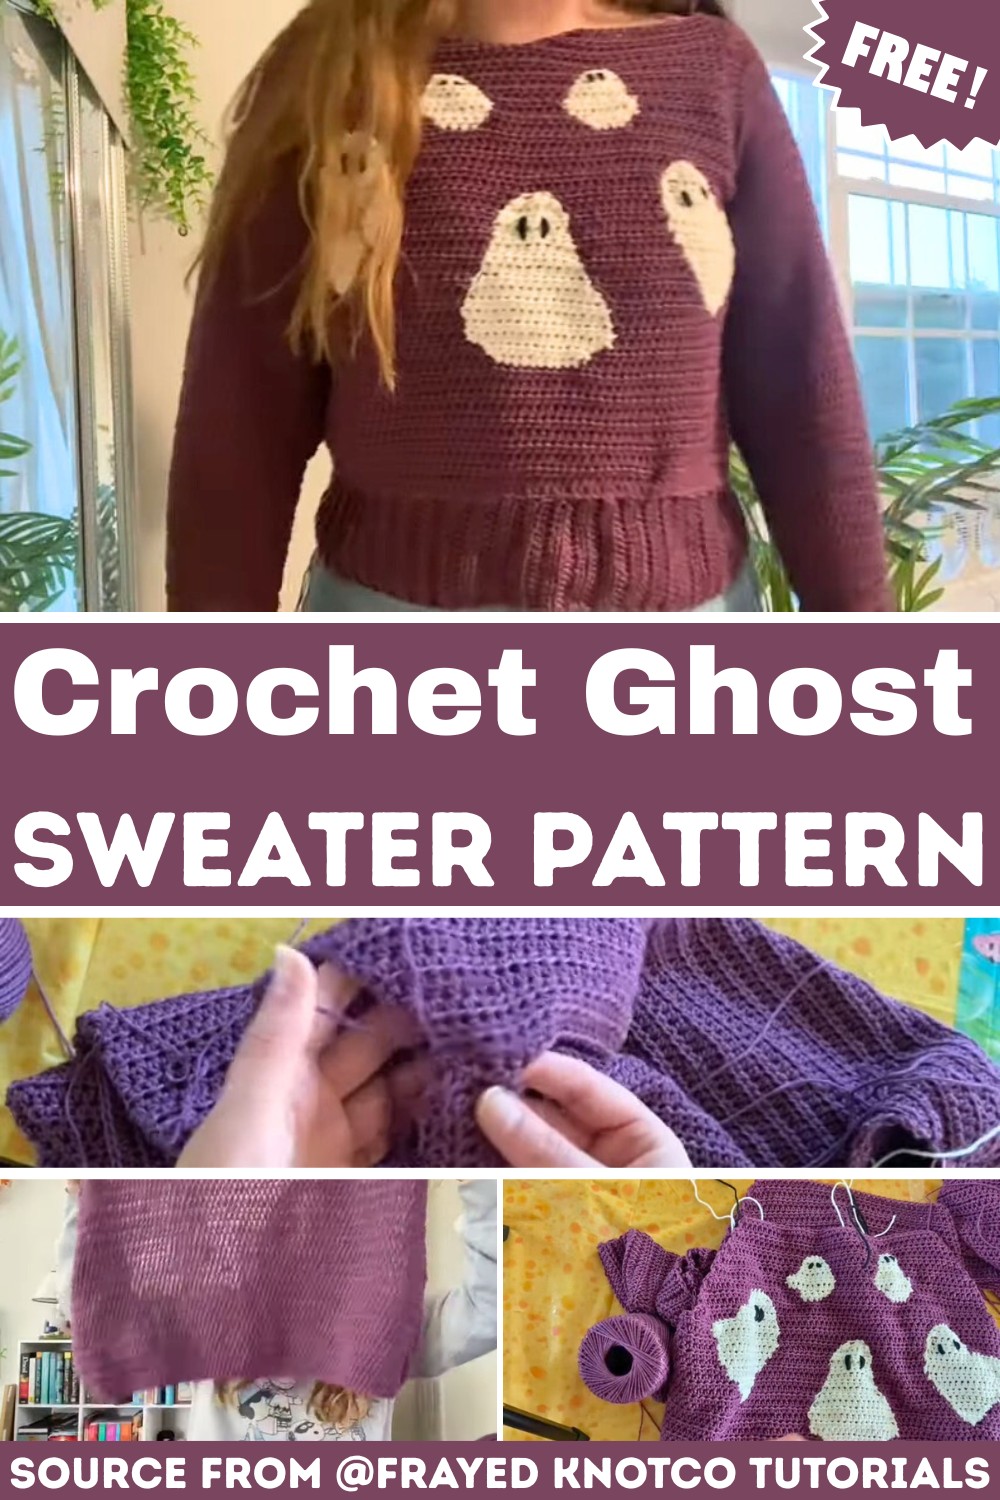
This cozy and playful sweater, adorned with adorable floating ghosts, is perfect for celebrating Halloween in style while keeping warm during the chilly autumn season.

The Crochet Halloween Ghost Sweater combines festive charm with cozy style, making it the perfect handmade option for spooky season attire. Featuring a delightful ghost design, this sweater adds a touch of Halloween whimsy while keeping you comfortable and warm. If you’re celebrating at a party or handing out candy, this pattern is a creative way to stand out.
Crochet Halloween Ghost Sweater
This sweater’s standout feature is its playful ghost motif that embraces the Halloween spirit without being over-the-top. The pattern blends a clever mix of texture and simplicity, making it suitable for both beginner and intermediate crocheters. The balance of seasonal imagery and timeless design ensures it remains relevant for years to come.
Credit Frayed KnotCo Tutorials
Key Features & Construction Summary
- Yarn Selection: Made with Premier Cotton Fair yarn in a deep purple for the base, cream for the ghosts, and black for the details (like ghost eyes).
- Stitching Techniques: Incorporates single crochet, half-double crochet, and ribbing for cuffs, hem, and neckline.
- Panel Construction: Worked in two main panels (front and back) with added sleeves and ribbed edging to finish.
- Freehand Ghost Design: Ghosts are created with color changes and simple stitch shaping, giving them unique movement and personality.
- Customization Options: Adjust the fit (e.g., cropped or boxy), ghost placement, and neckline for your personal style.
How the Sweater Comes Together
To start, this sweater is worked in panels, making it beginner-friendly yet customizable. The back panel is constructed first, offering a chance to size your piece by modeling it after an existing sweater. A foundation row of single crochet sets the stage, followed by rows of half-double crochet to create the slouchy, loose weave typical of this design. The back panel can be left plain for simplicity, while the front panel features ghost designs.

The signature ghost motifs are created using skillful color changes with cream yarn. A stitch marker is used to plot their placement, ensuring clean and consistent shaping. Each ghost begins with a wider base and gradually narrows, mimicking the “floating” look of traditional sheet ghosts. Additional details, like ghost eyes and subtle embellishments, are later worked in black yarn using a tapestry needle. This step adds a whimsical, expressive charm to each design.

The sweater achieves its polished, sweater-like appearance through ribbing. This texture is created by working into the back loop only for all cuff, hem, and neckline edges. The slightly cropped fit and gently puffed sleeves make it flattering yet relaxed. A small v-neck modification can also be added to change up the neckline for those wanting a unique touch.

Assembly involves adding the sleeves to the front and back panels, shaping them into a dolman-like fit. Strategic seaming creates a cohesive sweater while maintaining the adorable Halloween aesthetic. The finishing step sees crocheters weaving in ends and blocking the sweater to give it a professional, even shape.

Video Tutorial
Step-by-Step Pattern
Materials
To crochet this Halloween ghost sweater, you’ll need the following:
- Yarn:
- Main color (e.g., purple): Cotton Fair Premier Yarns in the color “Plum” (approximately 4-5 skeins, depending on size).
- Accent color (cream for ghosts): Cotton Fair Premier Yarns in cream (approximately 1 skein).
- Black yarn (for ghost eyes): Acrylic yarn (you can substitute another type if you prefer).
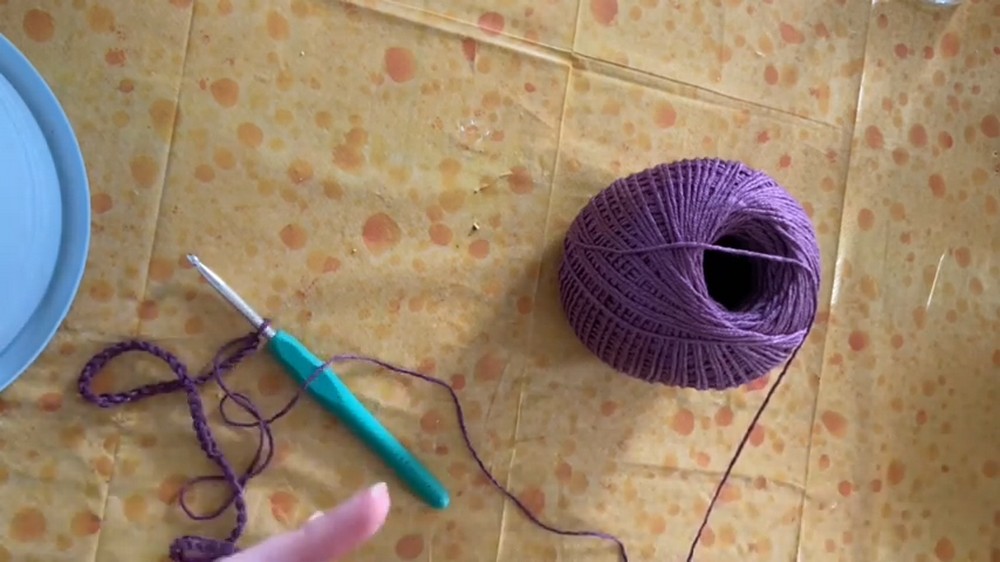
- Crochet Hook: 4.5 mm hook.
- Optional Tools:
- Stitch markers (helpful for marking sleeve rows or graphic placement).
- Yarn needle (for sewing pieces together and adding the ghost details).
- Scissors (for cutting yarn).
Pattern Instructions
Step 1: Make the Back Panel
- Foundation Chain: Start with a chain of 95 stitches (more or fewer depending on the width you prefer).
- This creates a slightly oversized, boxy fit.
- Adjust the length of the chain if you want it more fitted or wider.
- Row 1 (Single Crochet): Skip the first chain, then single crochet (sc) across the entire row. Chain 1, turn.
- Rows 2–11 (Half Double Crochet):
- Work half double crochets (hdc) across each row. This will create the base for your sweater. At the end of each row, chain 1 and turn.
- Continue without Ghost Details: For the back panel, you do not need to add the ghost design. Crochet to your desired length (approximately 24 rows for this version).
Step 2: Make the Front Panel (with Ghost Design)
- Foundation and Row 1: Follow the same steps as the back panel (chain 95, then sc across the first row).
- Rows 2-10: Work 10 rows of half double crochet (hdc).
- Adding the Ghost Design (Row 11 Onward):
- Fold your pattern in half to find the center. Use stitch markers to mark the placement of each ghost.
- Begin incorporating the cream yarn for the ghost shapes. To add cream stitches, insert the hook into a stitch, yarn over with the new color, and pull through. Use this technique to switch colors seamlessly.
- For the first row of the ghost, crochet 5 cream stitches. Continue the rest of the row in purple.
- Gradually expand the ghost design by adding 2 cream stitches on each side in the next few rows. For example:
- Row 12: 9 cream stitches.
- Row 13: 13 cream stitches.
- Adding More Ghosts:
- Once the first ghost reaches its desired height, start on additional ghosts. Adjust placement as desired for a staggered effect.
- Work intuitively here—some ghosts can be taller or wider, giving them a “floating” effect.
- Finishing the Front Panel:
- When the ghosts are complete, continue the rest of the panel in purple. End with the same number of rows as the back panel (approximately 24 rows).
Step 3: Make the Sleeves
- Foundation Chain: Start with a chain that matches the width of your desired sleeve (e.g., 40–50 stitches).
- Work Rows: Use the same stitch pattern (sc for Row 1, hdc for subsequent rows).
- To create a slightly puffed sleeve, increase the stitches in the middle rows and taper the row width as you approach the wrist.
- Ideal sleeve length for this pattern is around 24 rows, but adjust as needed.
- Add Cuffs: Create ribbing cuffs by working back-loop-only single crochets in rows. Sew the cuffs to the sleeve ends.
Step 4: Assemble the Sweater
- Joining Panels (Shoulder Seams):
- Lay the front and back panels together, right sides facing. Sew or crochet the top edges together, leaving space for the neckline.
- Attach Sleeves:
- Line up the center of each sleeve with shoulder seams. Sew or crochet sleeves onto the body panel.
- Side Seams:
- Fold the sweater in half (inside out) and sew or crochet the side seams, continuing down the sleeves.
Step 5: Add Final Touches
- Hem:
- Add a ribbed hem by crocheting single crochet rows in the back loop only around the bottom of the sweater. This adds a polished, professional look.
- Outline Ghosts (Optional):
- For added definition, use a yarn needle and cream or black yarn to outline the ghosts. This makes their shapes stand out more.
- Eyes and Details:
- Use black yarn and a yarn needle to embroider eyes onto each ghost. Stitch three loops per eye for added thickness and definition.
- Block Your Sweater:
- Soak your sweater in lukewarm water, lay it flat on a towel, and gently shape it to block. This helps even out stitches and refine the design.
Troubleshooting and Suggestions
Troubleshooting:
- Color Changes: Be sure to carry yarn neatly on the wrong side when switching colors. A loose or tangled carry can make the ghosts look uneven.
- Ghost Shaping: If your ghost appears uneven, use cream yarn and a tapestry needle to “fix” mishaps by mimicking stitches along the edges.
- Fit Adjustments: For a boxier or looser fit, add extra starting chains or rows; for a more fitted design, reduce them.
Suggestions and Creative Mods:
- Color Variations: Try experimenting with green or orange in place of cream for a funky Halloween twist, or use a black background for a spookier vibe.
- Ghost Embellishments: Add extra details like embroidered mini pumpkins or stars around the ghosts. You can even attach appliquéd shapes for a 3D look.
- Adaptability: Transform this design into a cardigan by splitting the front panel down the center and adding buttons!