Make a Crochet Ruffle Hairclip for Handmade Accessory
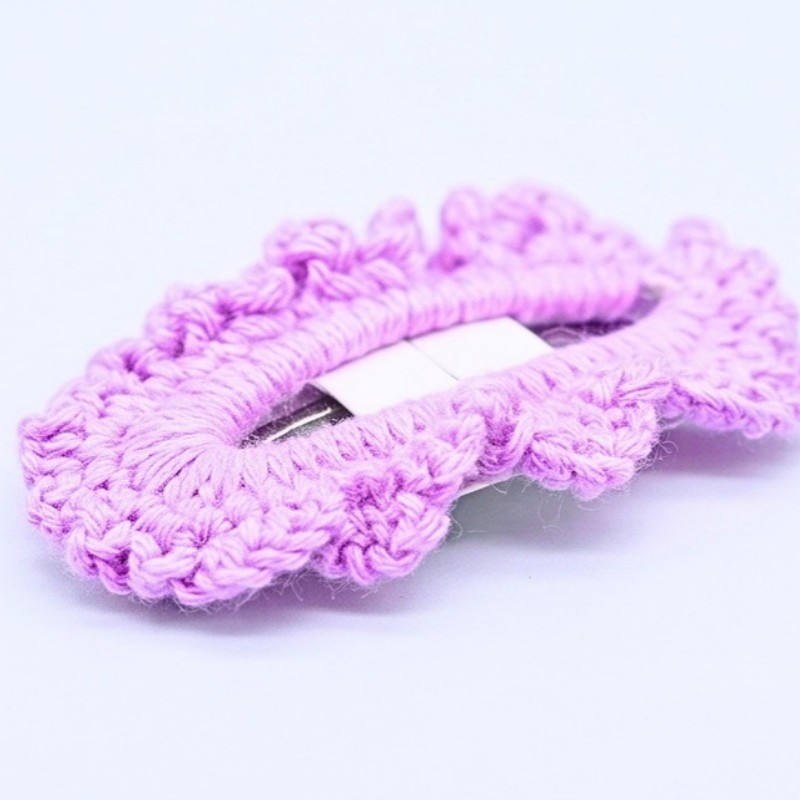
A crochet ruffle hair clip is a small, handmade detail that adds a fresh, playful touch to any hairstyle. Instead of a simple clip, this design turns a basic accessory into a textured piece with soft crochet layers and eye-catching ruffles. Its unique shape and handmade feel make it a lovely item to wear, gift, or add to your crochet collection.
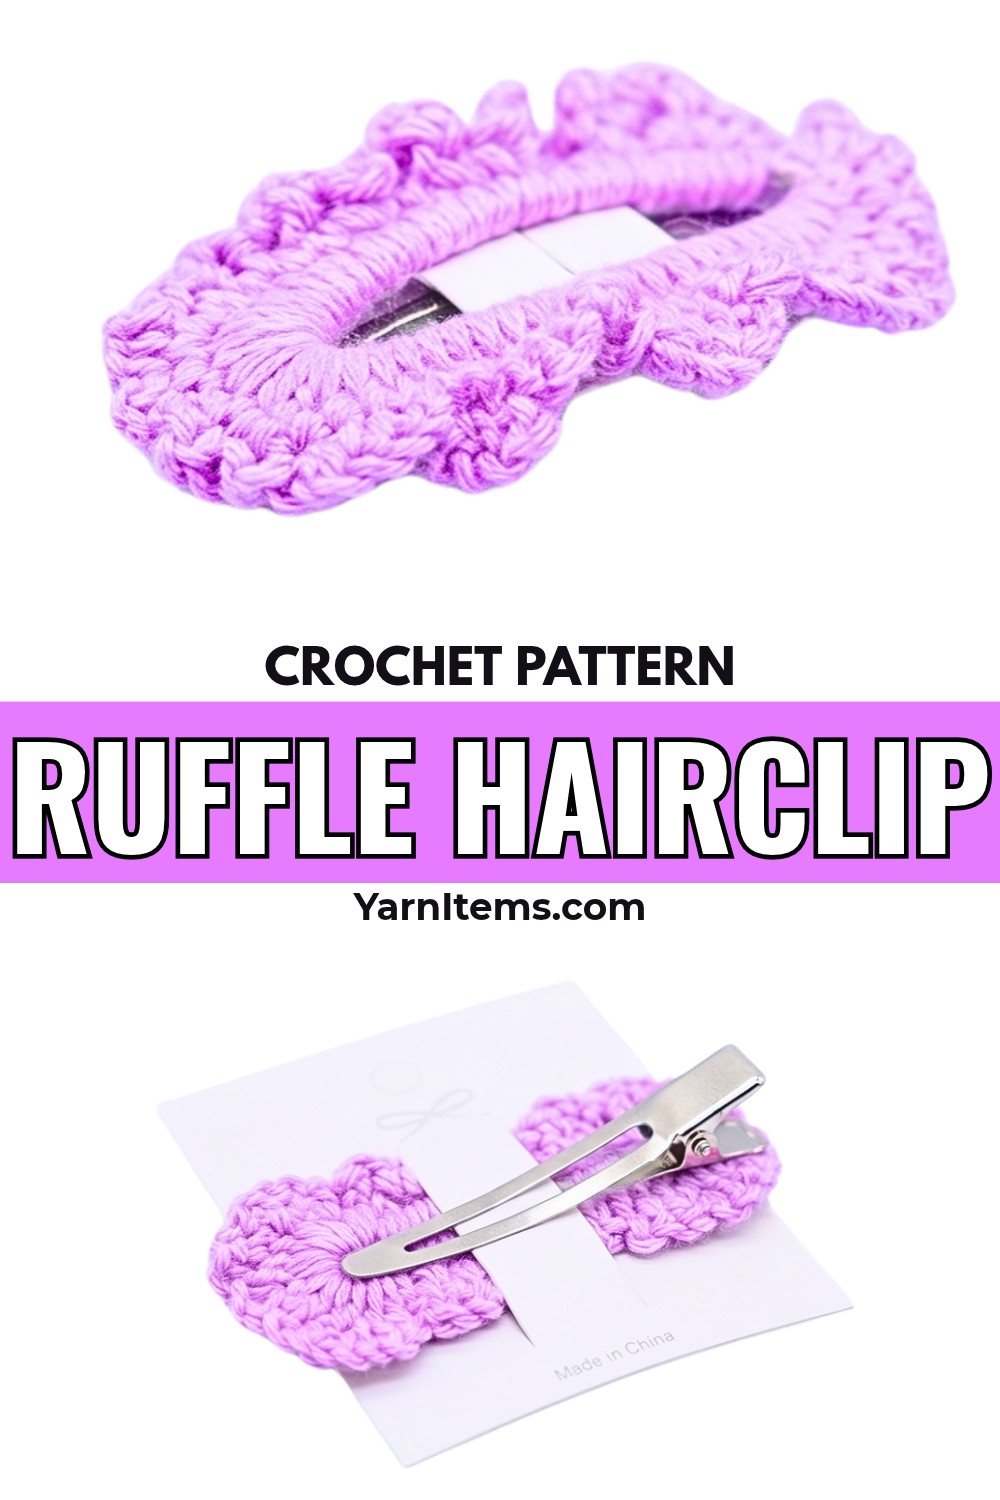
This crochet pattern shows how to decorate an ordinary hair clip using simple stitches and a few basic materials. The tutorial guides you step by step through attaching the crochet piece, building the ruffled layers, and shaping the final design. Keep reading to discover how this tiny item comes together and create a ruffle hair clip that matches your own style.
Credit LnM Crochet & Handmade
Materials & Tools Needed
- Yarn: Small (approximately 1 mm) cotton yarn.
- Hook: 2.5 mm crochet hook.
- Hair Clip: Oval-shaped hair clip (approx. 6 cm/2.4 inches long). The oval shape makes it easy to attach and crochet.
- Other Materials:
- Scissors.
- Tapestry needle (optional, for securing ends).
Finished Size & Customization Ideas
- Finished Size: Designed to fit an oval hair clip around 6 cm long. Ensure the stitches comfortably cover the clip without being too loose or crowded.
- Customization:
- Use different yarn weights and adjust the hook size to create larger or smaller ruffles.
- Experiment with colors—try solid, gradient, or variegated yarns.
- Attach beads or embellishments for extra flair.
- Use metallic or sparkly yarn for a more decorative look.
Pattern Abbreviations & Terminology
(This pattern uses US terminology.)
- ch: chain
- sc: single crochet
- sl st: slip stitch
- st: stitch(es)
Step-by-Step Detailed Crochet Instructions
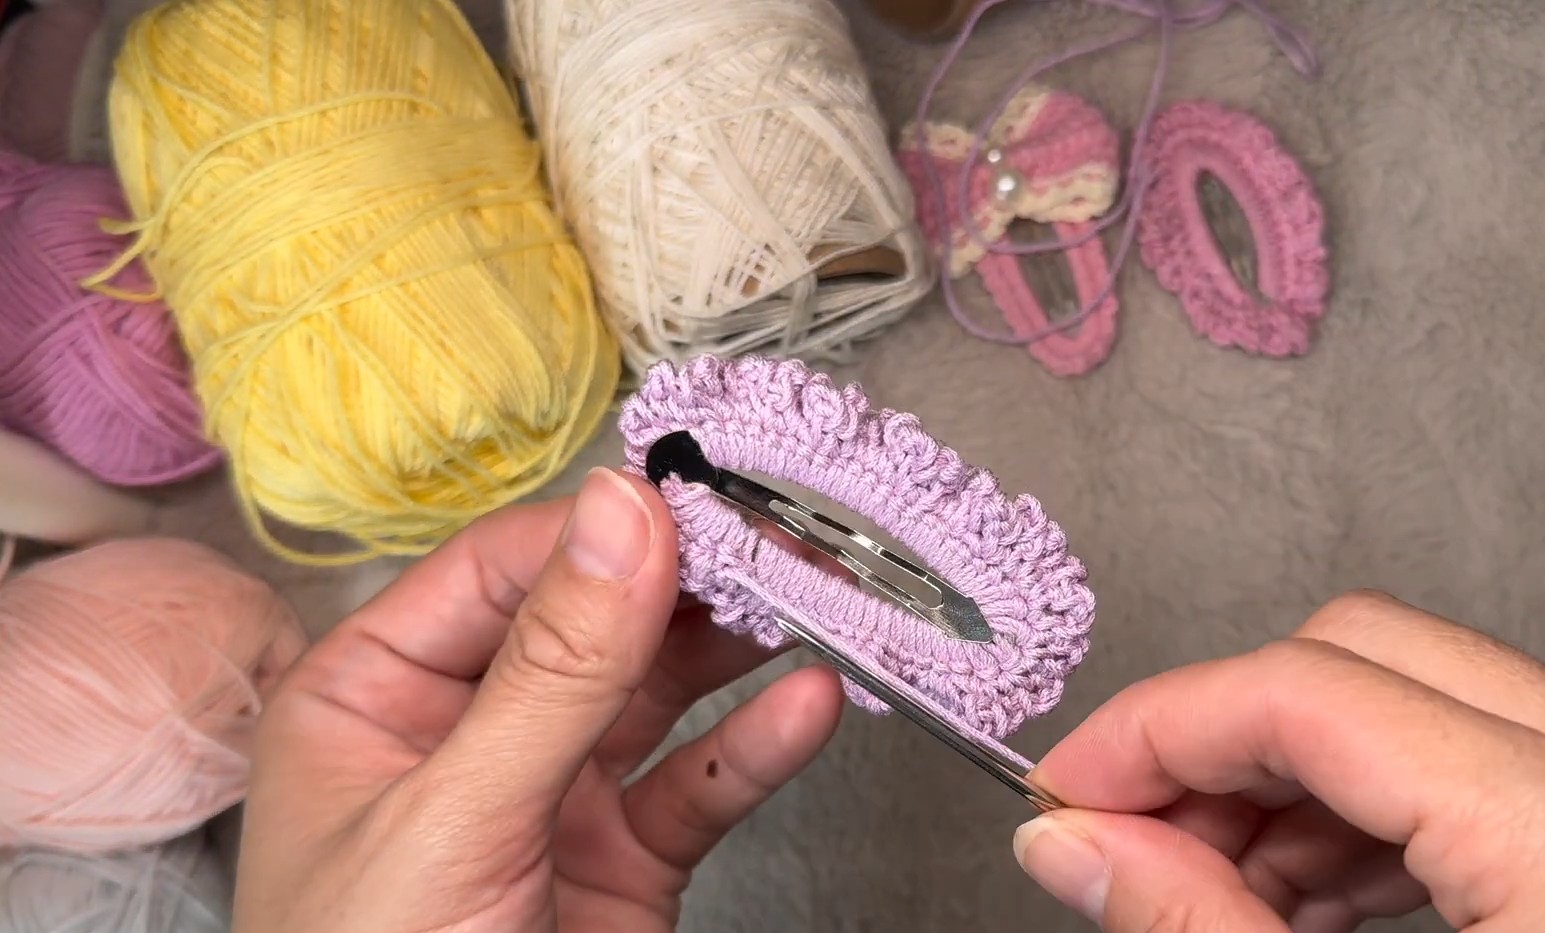
Step 1: Attach Yarn to the Hair Clip
- Secure the yarn onto the hair clip by starting at one end.
- Holding the clip and yarn steady, pull the yarn through an opening in the clip to create a loop.
- Make 1 single crochet (sc) to secure the yarn to the clip.
Step 2: Crochet Around the Hair Clip
- Work 4 single crochet (sc) on the first side of the hair clip, ensuring they sit snugly.
- Chain 2 (ch 2) (or ch 3, depending on your yarn thickness) to bridge across the narrow end of the hair clip.
- On the opposite long side of the clip, work single crochets (sc), spreading them out evenly as you go along.
- Adjust the number of stitches based on yarn thickness, aiming to cover the curve of the clip fully.
- In this example, approximately 30 single crochets (sc) are used to cover the entire clip.
- When you reach the narrow top edge, ensure the yarn is pulled tight to fully cover the edge for a neat appearance.
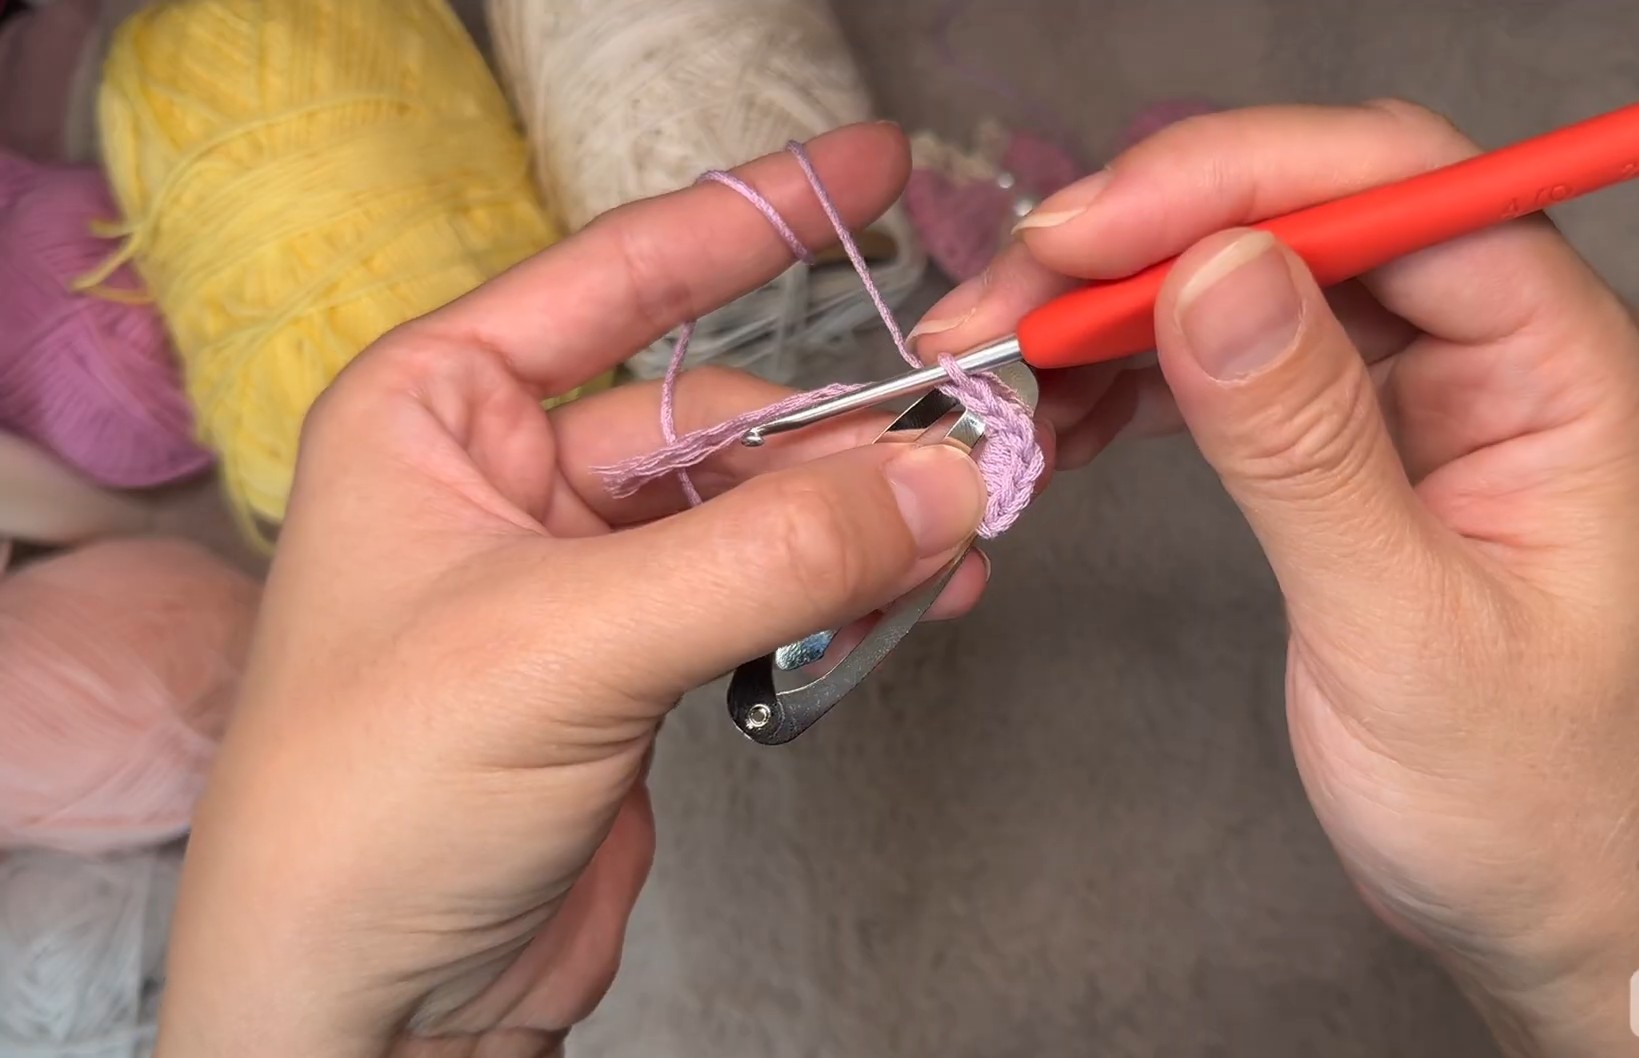
Step 3: Join the Round
- Once the entire hair clip is covered with single crochets, join with a slip stitch (sl st) into the first single crochet (sc).
Step 4: Start the Ruffles
- Make 1 single crochet (sc) into the same stitch where you joined the round.
- Begin the ruffle pattern:
- Chain 3 (ch 3).
- Single crochet (sc) into the next stitch.
- Repeat this sequence (ch 3, sc in the next st) across the length of the clip.
Step 5: Adjust the Ruffles
- As you work the ruffle pattern, ensure the chains and single crochets create a ruffled texture.
- If the ruffles look too crowded, you can:
- Skip a stitch between ruffles occasionally, or
- Use a longer chain (e.g., ch 4 instead of ch 3) for looser ruffles.
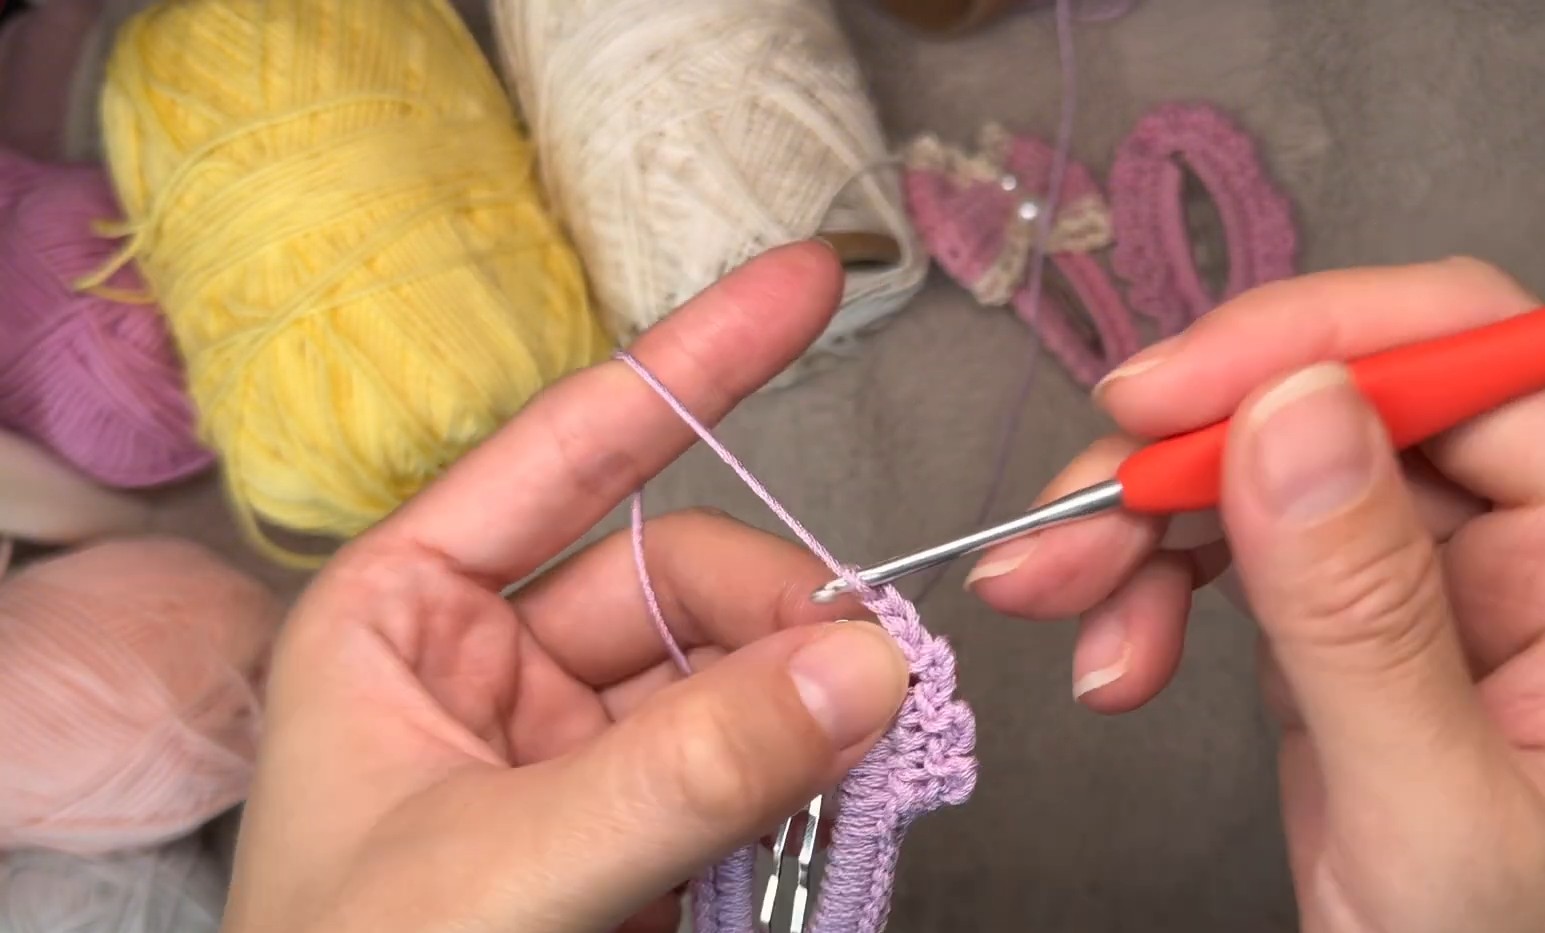
Step 6: Finishing the Project
- When you reach the end of the clip, join the last stitch of the ruffle with a slip stitch (sl st) into the first single crochet of the round.
- Cut the yarn, leaving a small tail.
- Secure the yarn tail and weave it into your stitches to hide it.
- If needed, trim any excess yarn or threads.
Customization Notes:
For changing colors, you can switch yarn when starting the ruffle round.