
Light & Easy Crochet Mesh T-Shirt Tote Bag Pattern
At first glance, this crochet mesh T-shirt tote bag looks effortlessly stylish. But its simple construction is what makes the pattern so satisfying to create.
The open mesh keeps the bag light for warm-weather use, while the T-shirt-inspired shape gives it a clean, modern look you’ll enjoy carrying all summer. This practical crochet piece combines everyday function with handmade charm.
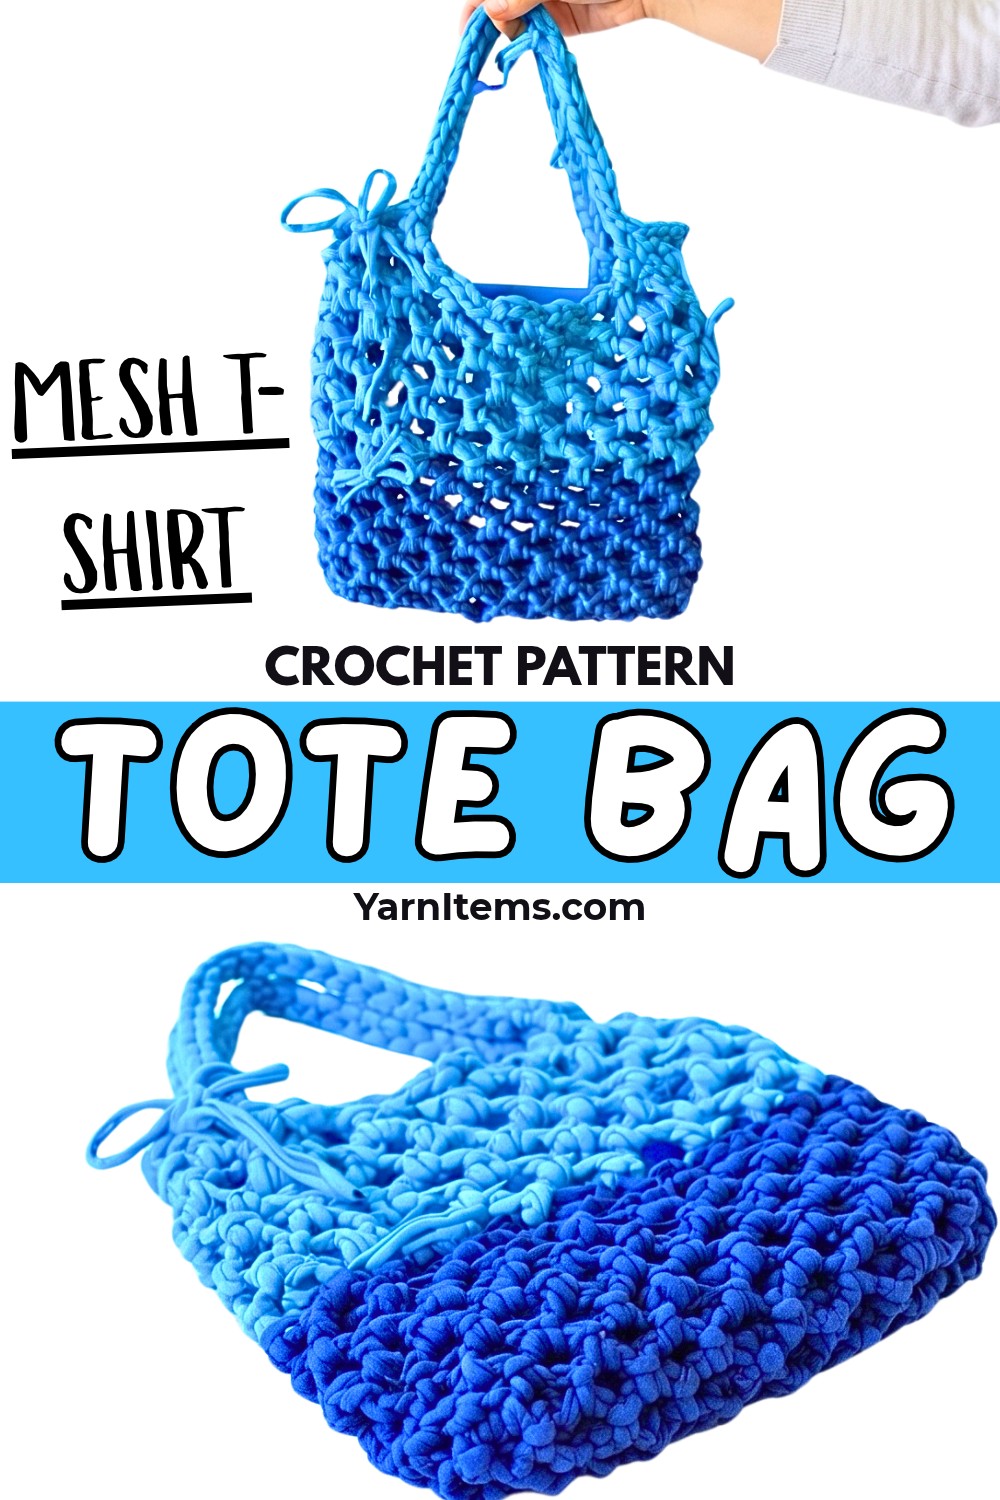
This tutorial walks you through the crochet pattern step by step, showing how the mesh sections and simple shaping come together to form a roomy, lightweight tote. The easy construction also leaves plenty of room to personalize the size or color to match your style. Keep reading to see how each section fits together and create a crochet summer bag you’ll use again and again.
Credit Felicia Andronic
Materials & Tools Needed
- T-shirt Yarn (color 1 and color 2 for customization)
- Note: This type of yarn is stretchy, which makes the bag flexible and expandable.
- 9 mm Crochet Hook
- Scissors
- Tapestry Needle (for weaving in ends)
Finished Size & Customization Ideas
- Finished Size: The bag size depends on your preference for body depth and handle length.
- The video suggests stopping when you are satisfied with the bag’s depth.
- Customization Ideas:
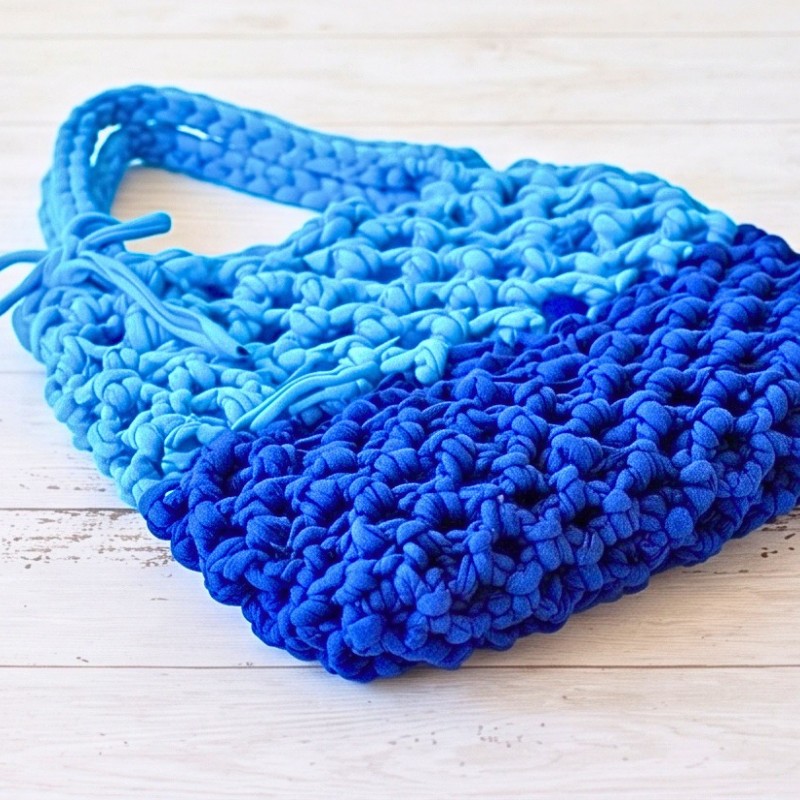
- Use multiple yarn colors for a striped or color-blocked effect.
- Add decorative elements like bows or tassels at the color change points.
- Adjust the handle length to your preference (short for a handbag, longer for a shoulder bag).
Pattern Abbreviations & Terminology
- ch: chain
- sc: single crochet
- sl st: slip stitch
- Numbers in parentheses () indicate stitch repeats.
- Pattern uses US crochet terminology.
Step-by-Step Detailed Crochet Instructions
1. Create the Base
- Using the 9 mm hook and color 1 of T-shirt yarn, make a foundation chain of 25 chains:
- Begin with 21 chains as the base.
- Add 4 extra chains (21 + 4 chains = 25 chains in total).
- Skip the first 3 ch from the hook.
- In the 4th chain from the hook, work 1 sc.
- Chain 3 (ch 3).
- Skip the next 3 ch, then work 1 sc into the 4th chain.
- Repeat this pattern:
- Chain 3, skip 3 ch, then work 1 sc into the 4th ch.
- Continue until the end of the foundation chain.
2. Begin the Spiral Mesh Design
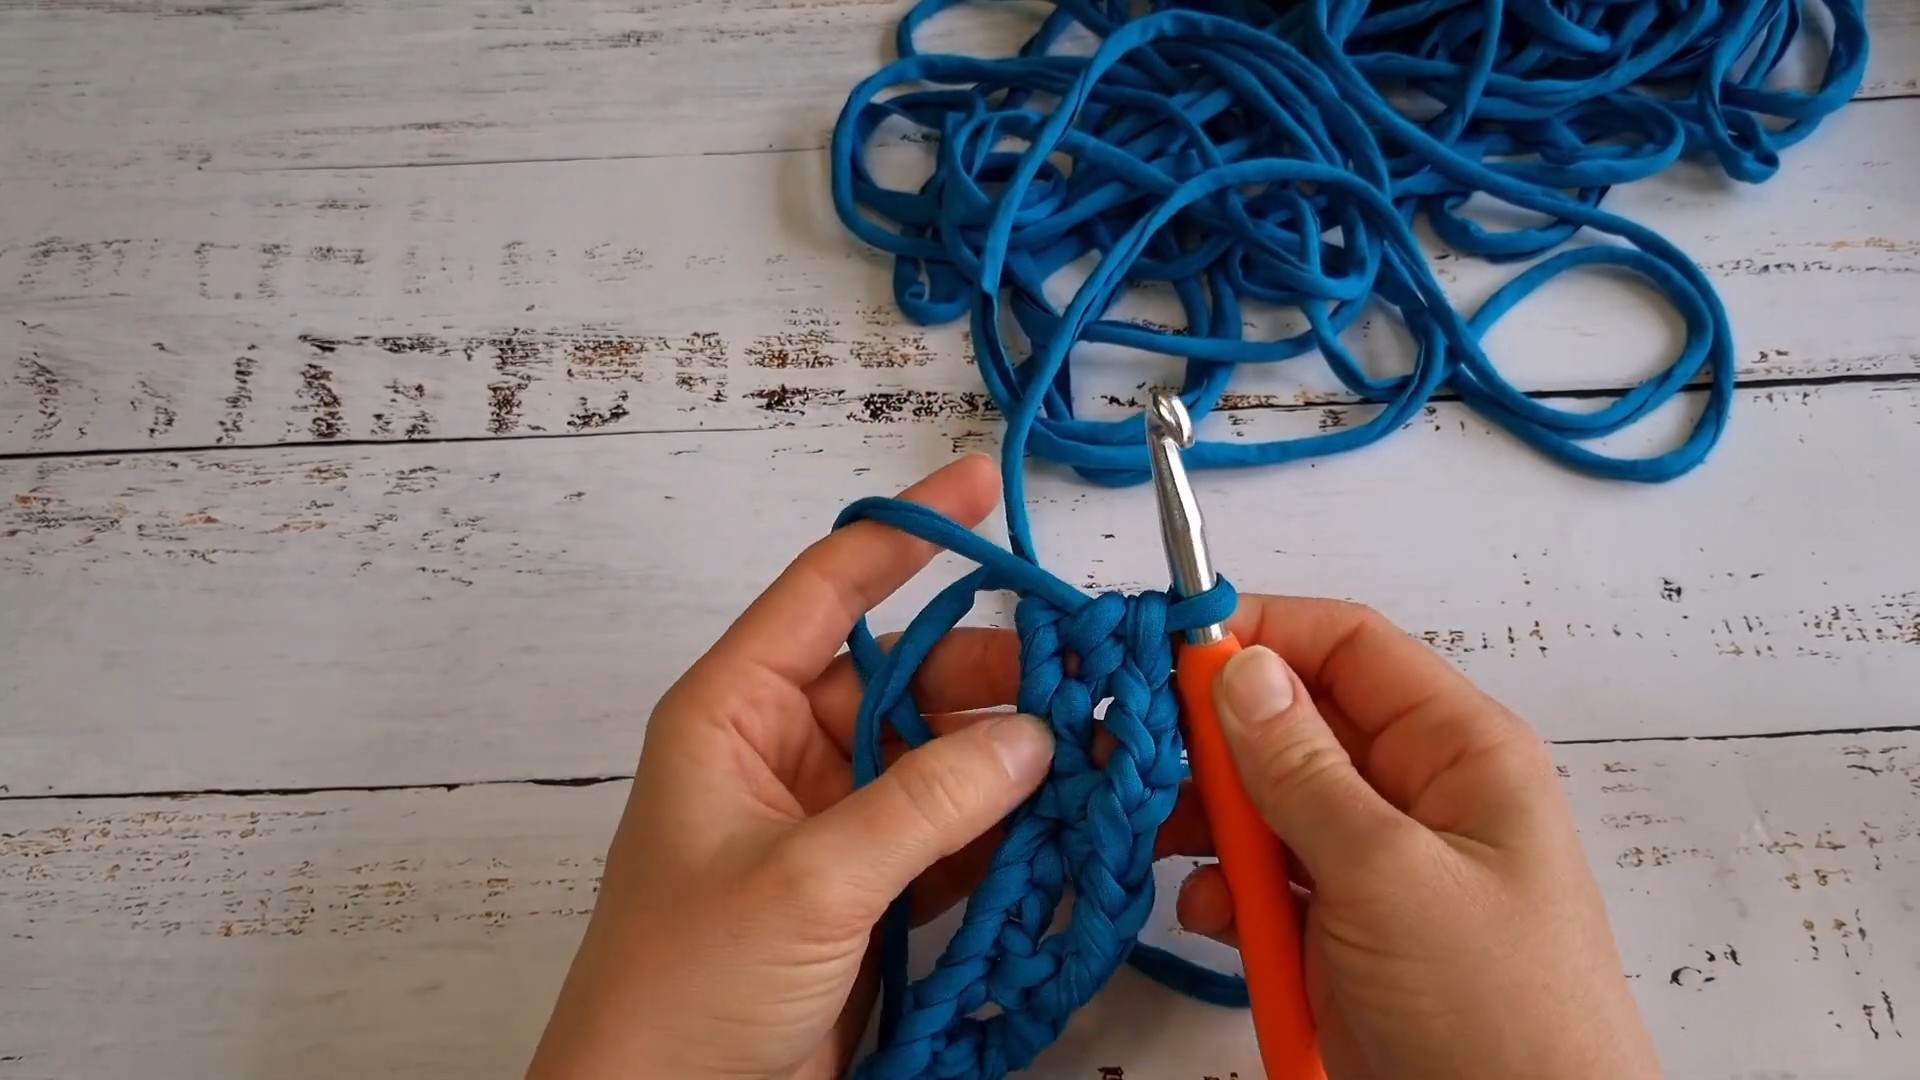
- At the end of the foundation chain, make 3 ch, and then turn the work.
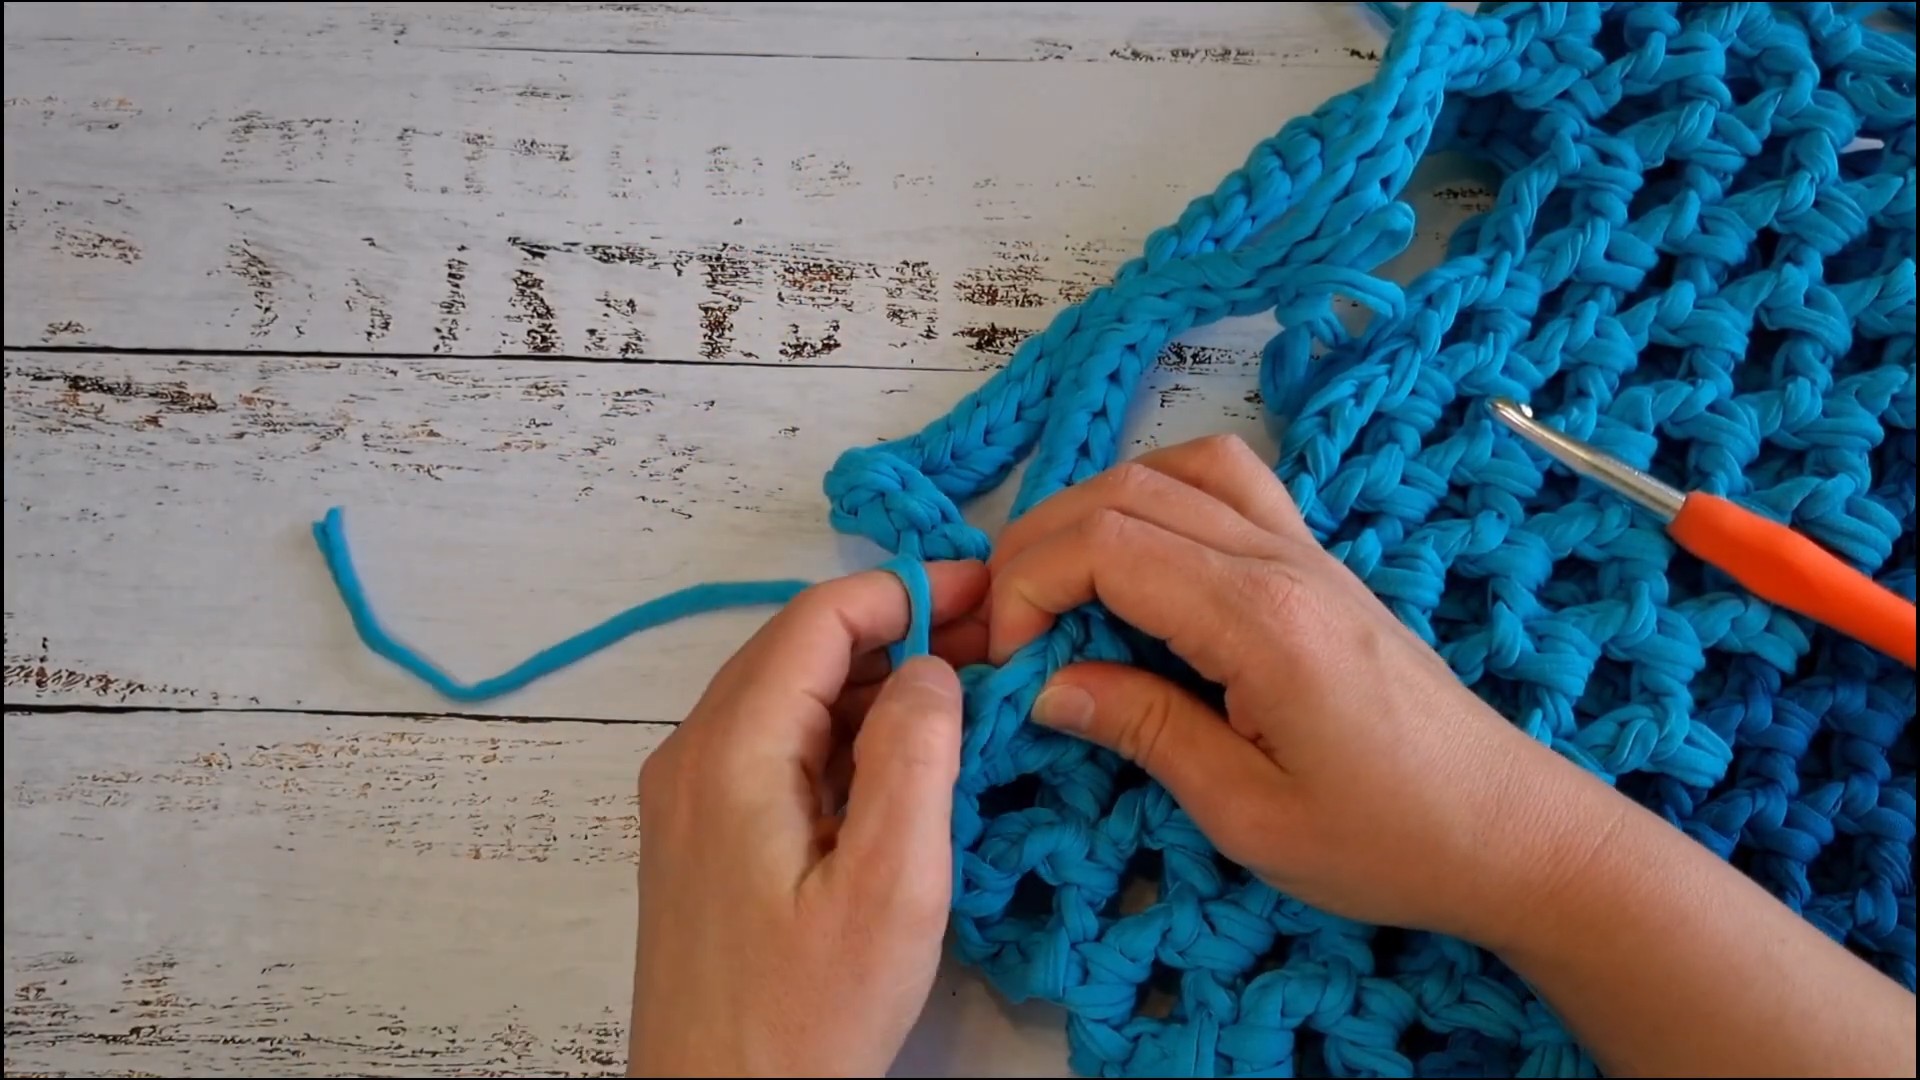
- Rotate the chain so you’re working on the other side of the loops of your foundation chain.
- Work 1 sc into the same chain.
- This creates the first loop for the spiral.
- Create more loops:
- Chain 3 and then work 1 sc into the 4th stitch.
- Keep repeating this (ch 3, sc in 4th st) in a spiral pattern.
- Work one side of the chain and continue around the foundation without closing your rounds (work in a spiral).
3. Build the Body of the Bag
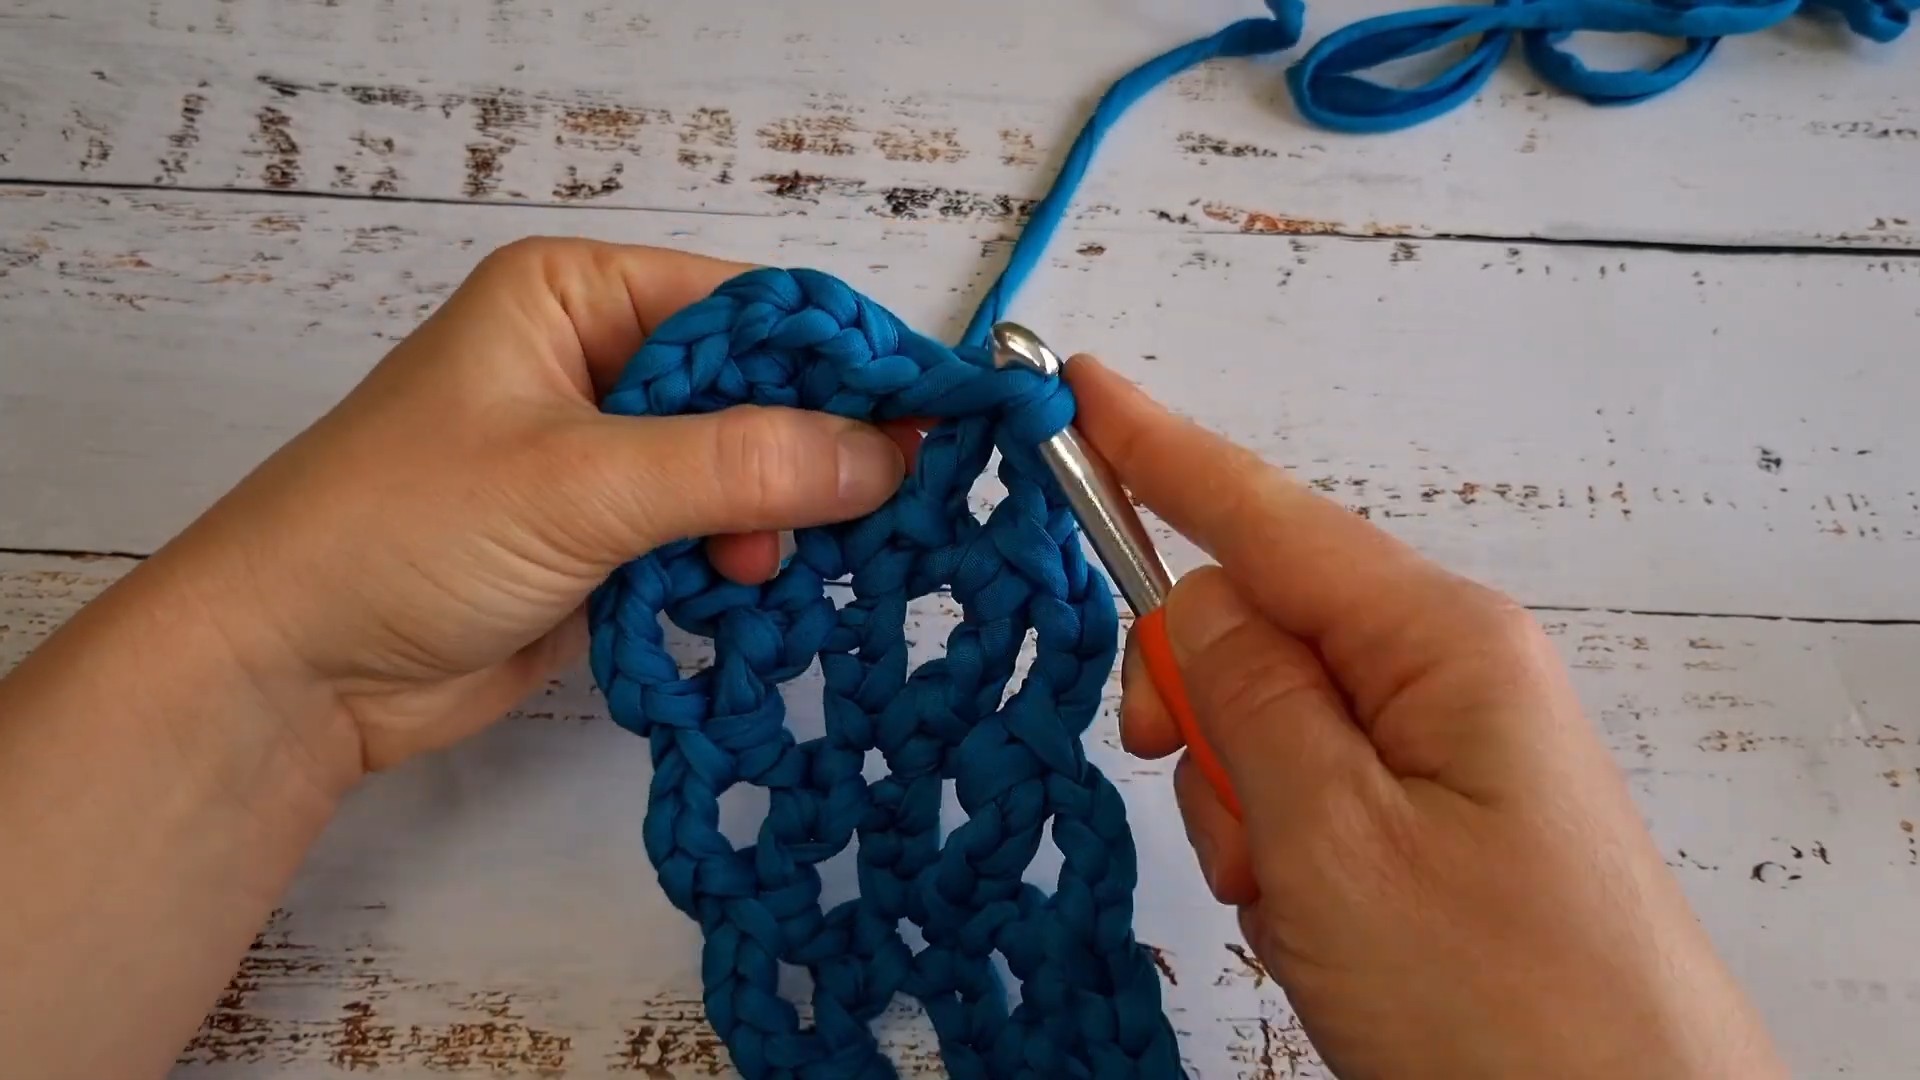
- Continue working in a spiral mesh pattern:
- Work ch 3 followed by sc into the 4th chain along the previous row’s loops.
- Always work into the chain spaces created in the previous round, ensuring the spiral builds upward seamlessly.
- Stop increasing or decreasing stitches—continue working in this pattern seamlessly in a circle.
- Work until the bag reaches your desired depth.
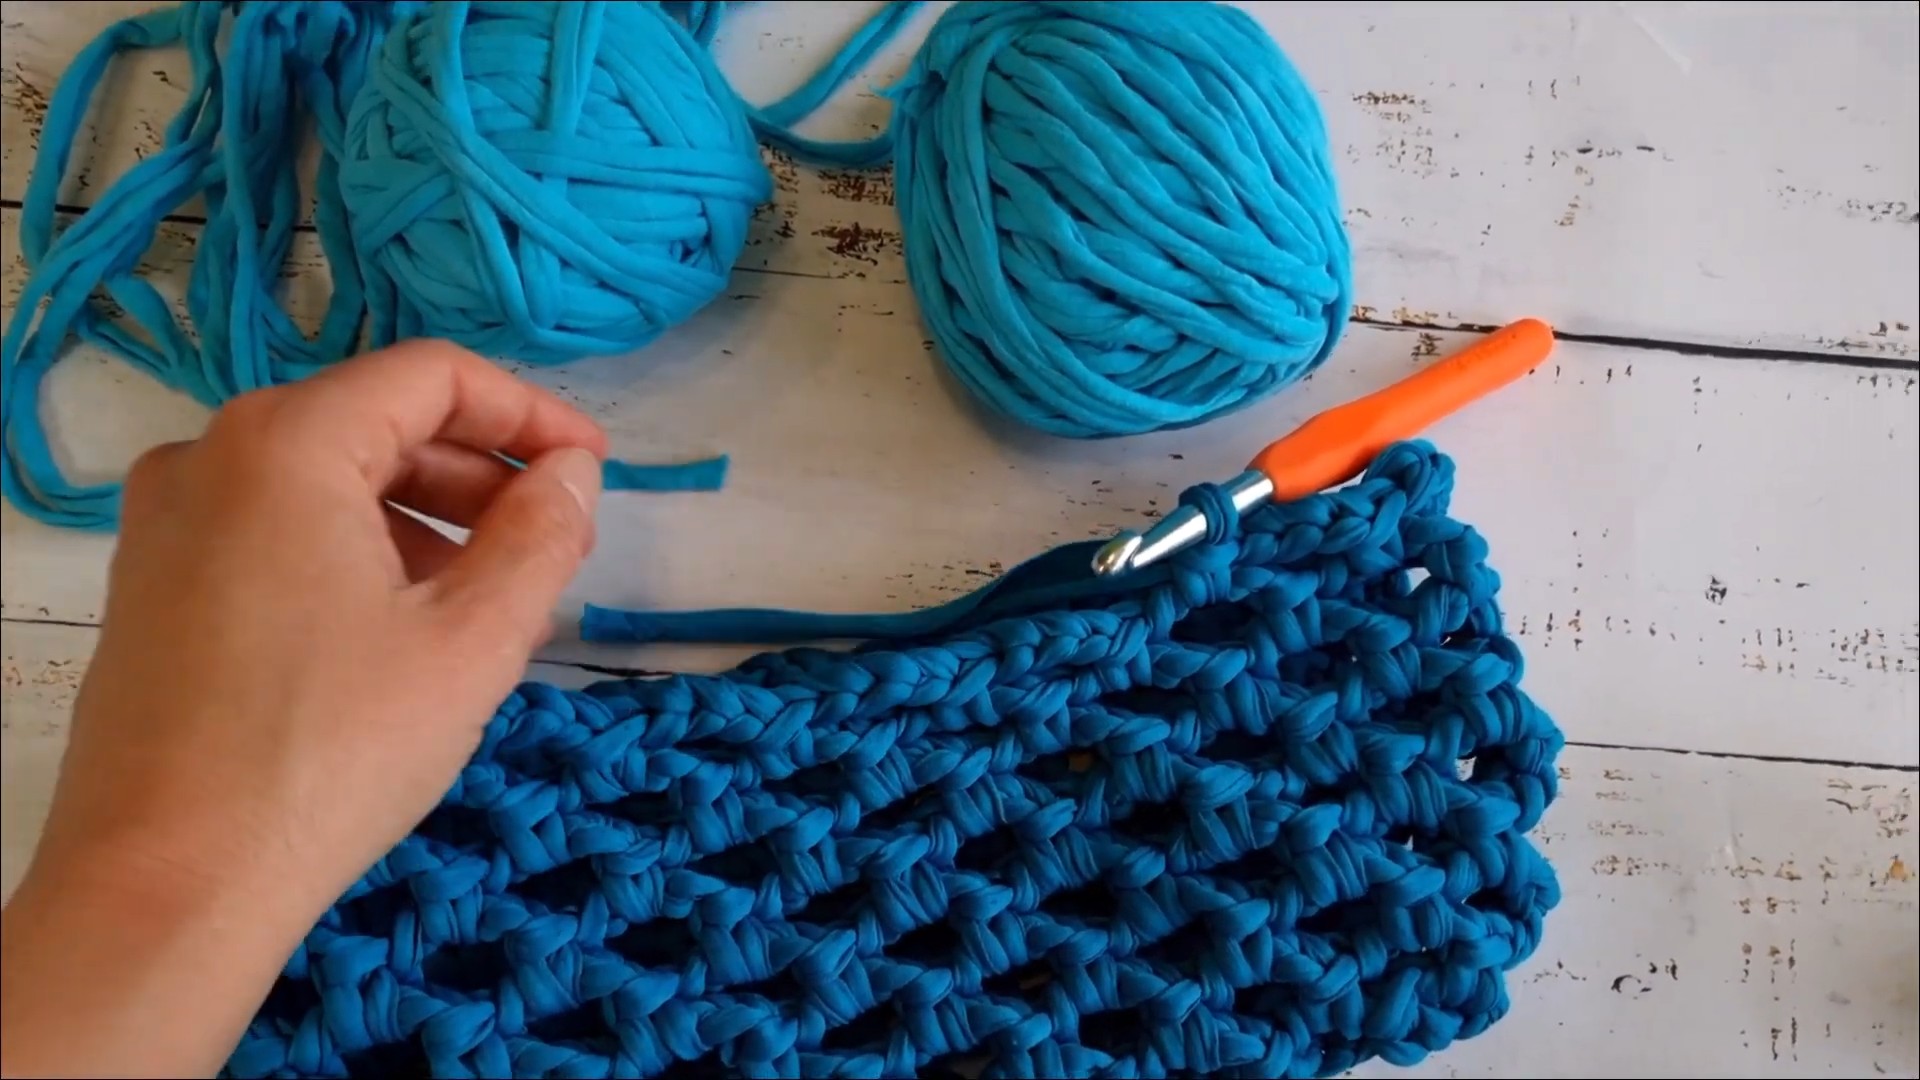
4. Add a New Yarn Color (Optional)
- To add a second color when the first color is finished:
- Attach the new yarn by pulling the yarn through the last stitch you worked.
- Secure with a slip knot or simply begin working with the next round in the new color.
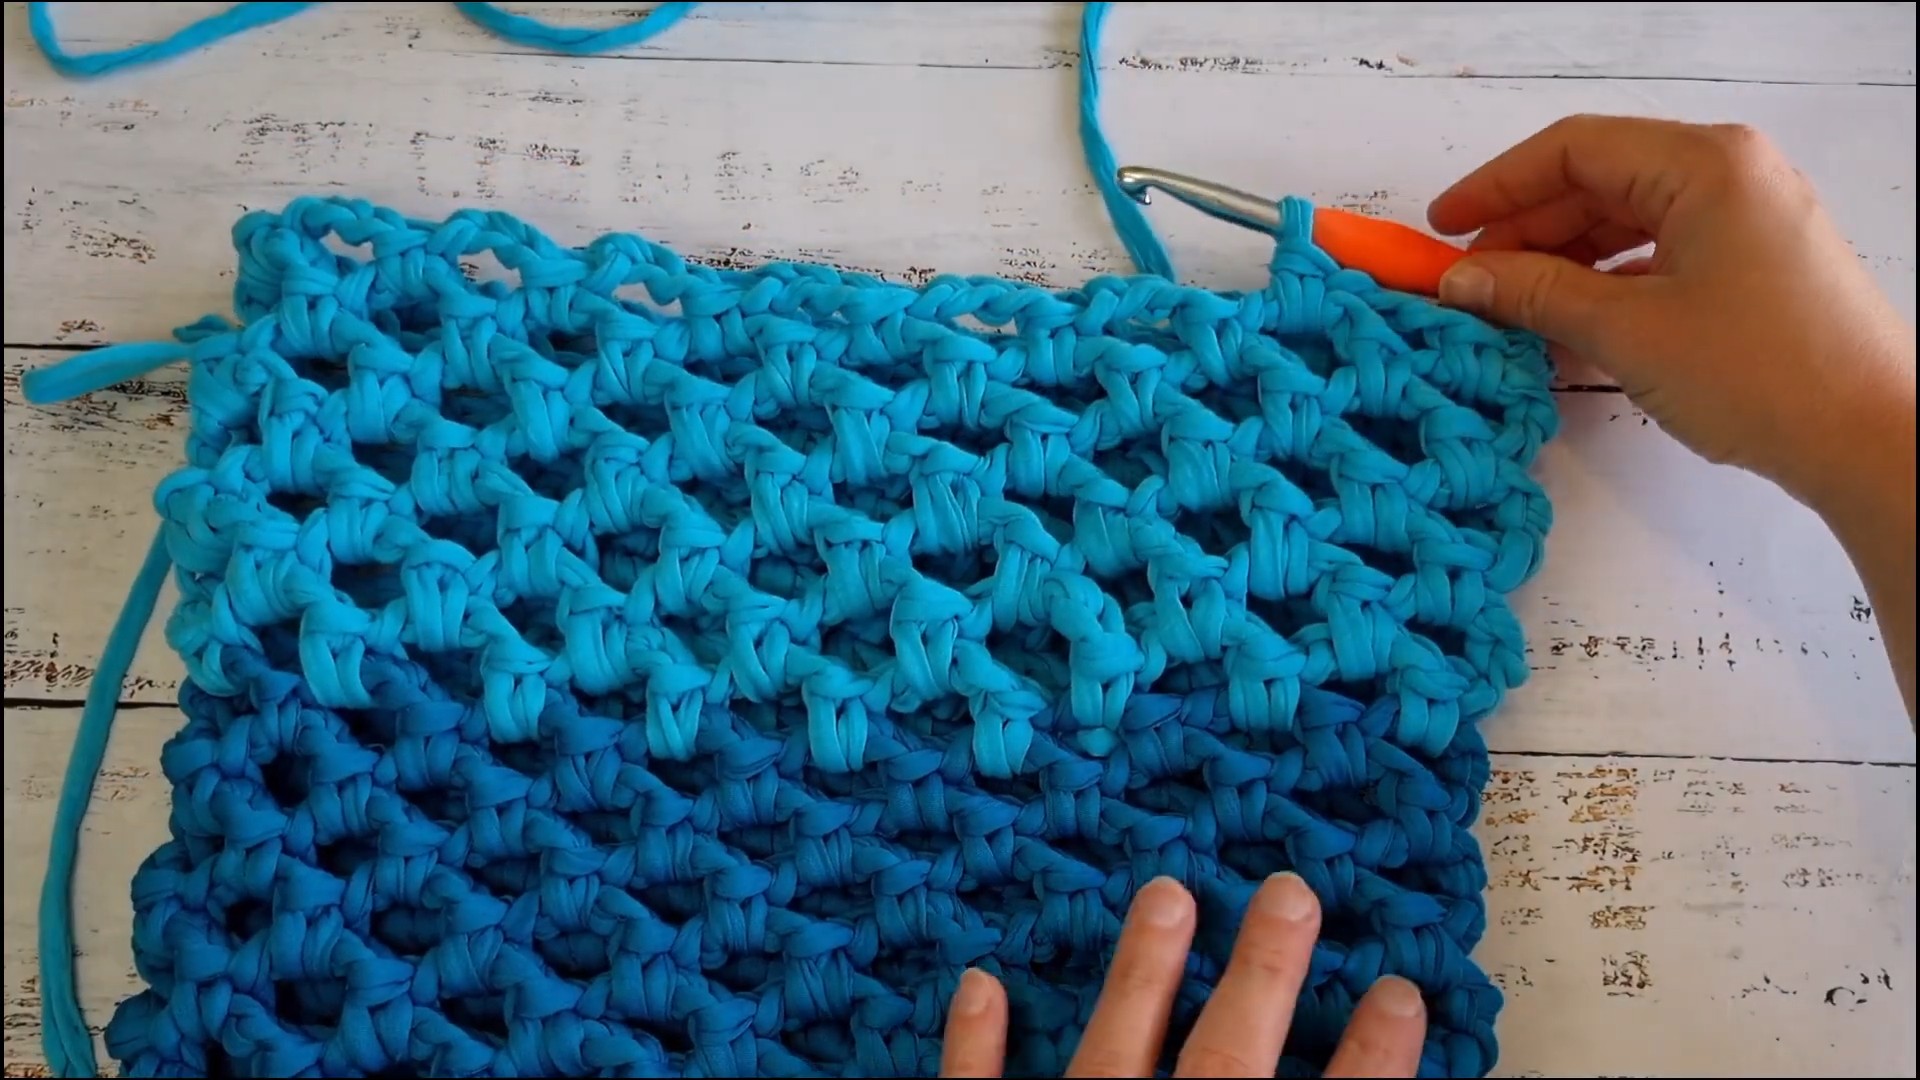
5. Make the Handles
- Once the desired bag depth is reached, create the handles:
- From one mesh space, make a chain for the first handle (28 chains suggested in the video).
- Attach the chain to a corresponding space on the opposite side of the bag with a single crochet.
- Repeat the same for the second handle:
- Start from another mesh space and make the same number of chains as the first handle.
- Attach it symmetrically to the opposite side with a single crochet.
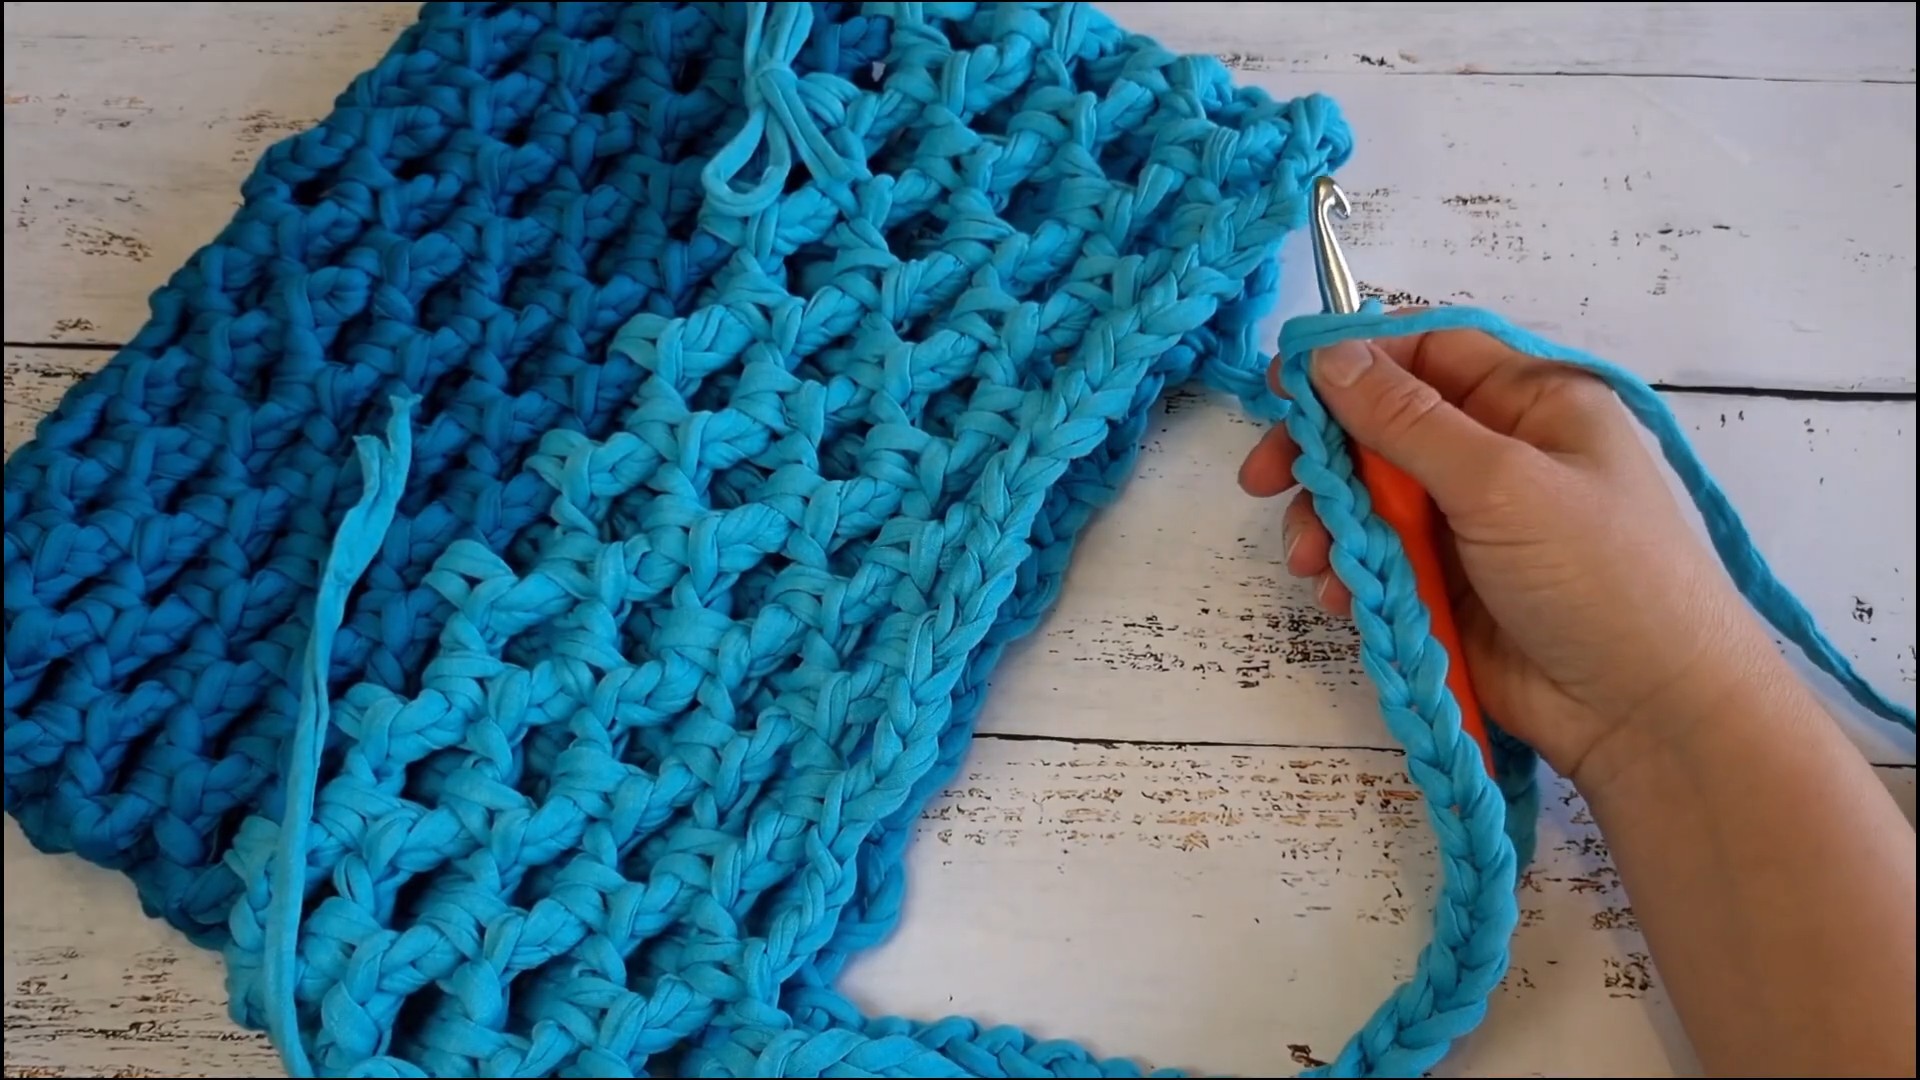
6. Reinforce the Handles
- To reinforce the handles, work a slip stitch (sl st) along each handle chain:
- Start from the attachment point, and work 1 sl st into each chain stitch along the handle.
- Repeat this for the second handle.
7. Finish the Edges
- After completing the handles, work 1 sc into the mesh spaces along the bag edge to give the bag a clean finish.
- Close your bag:
- Join the last stitch with the first stitch using a sl st.
- Cut the yarn, leaving a tail.
- Pull the tail through the final stitch and fasten off.
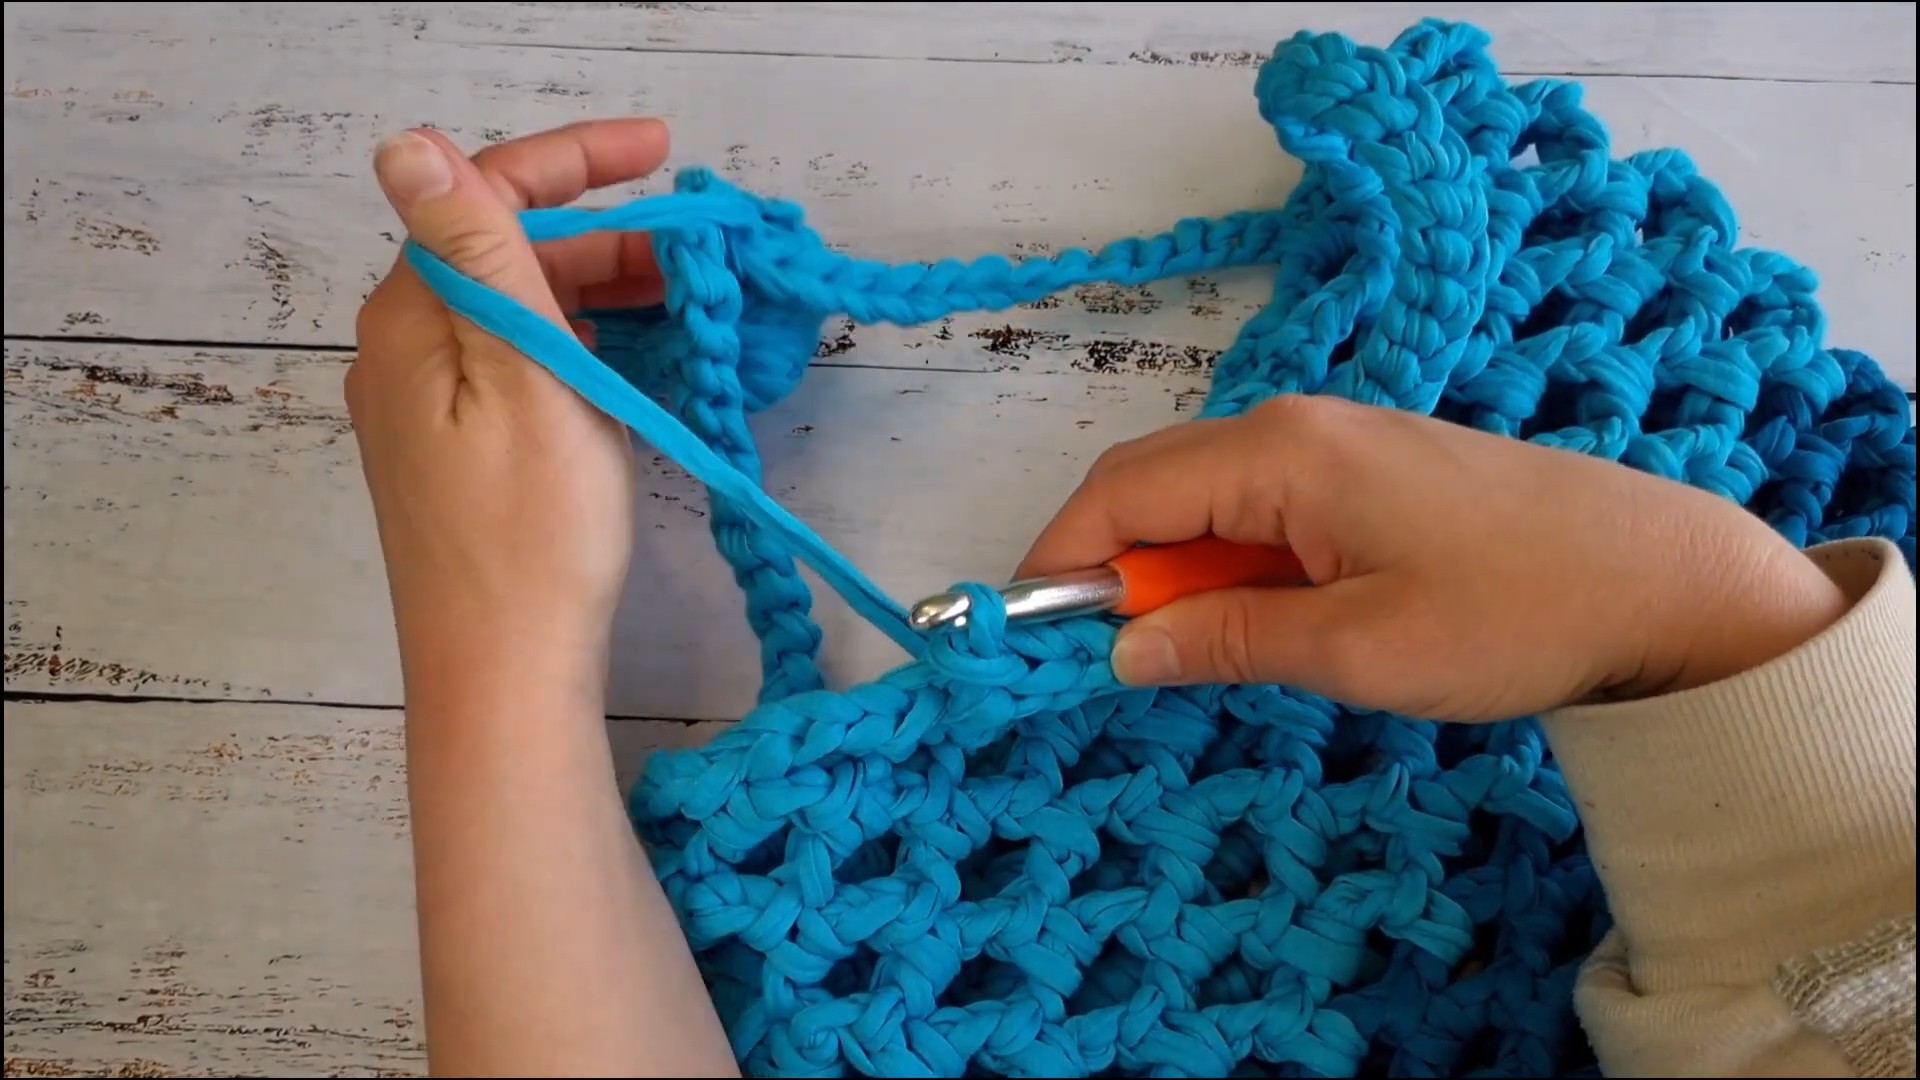
8. Add Decorative Bow (Optional)
- To add decorative bows at the color change points:
- Cut a small piece of yarn.
- Tie it around the mesh space where the yarn color changes.
- Secure with a bow or a knot.
9. Final Steps
- Weave in all loose ends with a tapestry needle.
- Stretch and shape the bag gently for an even finish.
Additional Notes
- The spiral method eliminates the need for joining rounds, which gives the bag a neater look.
- You can adjust the number of chains in the foundation and handles to resize the bag.
- For a stiffer bag structure, consider lining it with fabric.



One Comment