Quick Crochet Mesh Headband with Adjustable Tie Straps
Need a quick handmade style? This airy mesh headband uses little yarn and finishes with long ties for flexible, comfortable wear.
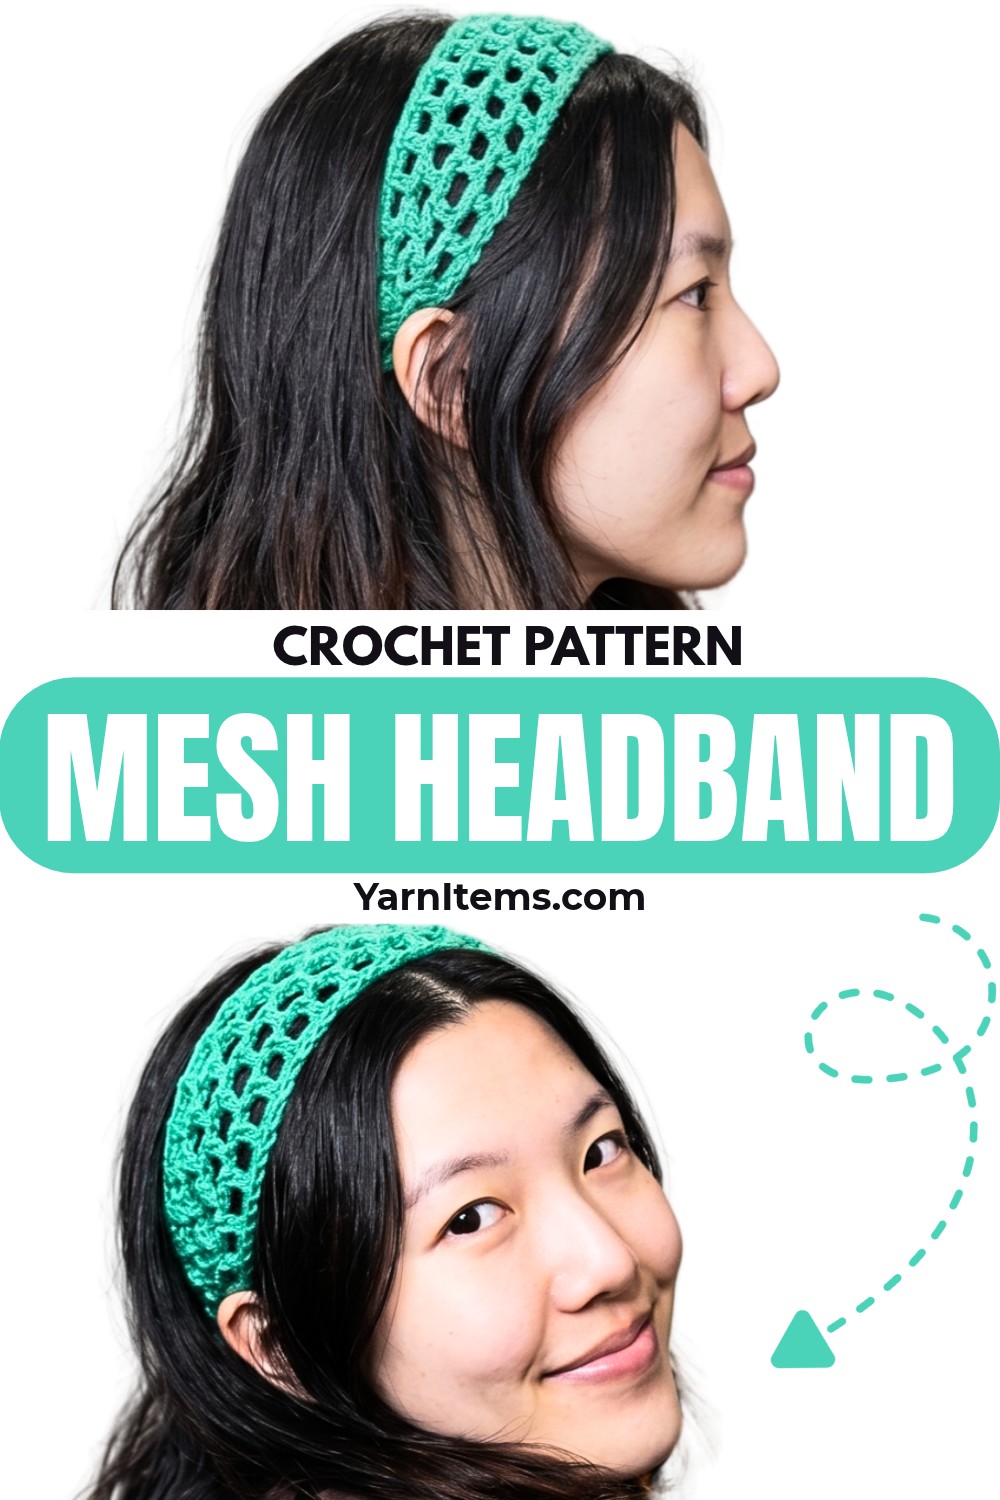
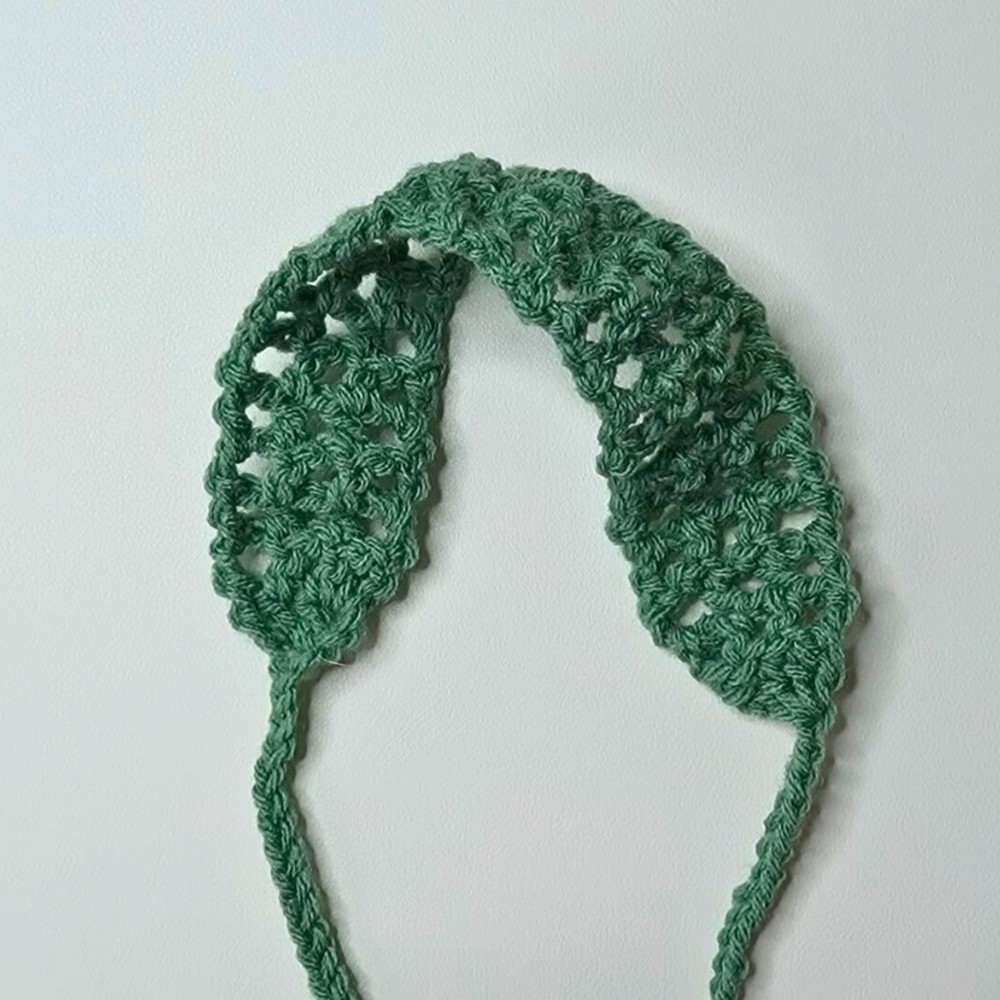
Open mesh gives this crochet headband its light, delicate appearance, while long tie straps create an easy way to adjust its fit. Tapered ends add definition to both sides, giving the finished crochet piece a clean shape without adding complicated shaping.
Starting with the first 40-chain strap, you will build crochet mesh across the main section, then use two final rows to close one end into a pointed shape before creating the second strap. Pay close attention to final dc placement in each mesh row, since keeping those edge spaces even helps maintain straight sides as length grows.
Materials & Tools Needed
- Yarn: Medium-weight worsted yarn, approximately 10 grams of Red Heart Super Saver in Light Sage
- Crochet Hook: 5.0 mm crochet hook
- Scissors
Finished Size & Customization
Main headband body measures approximately 24 cm (9.4 inches) long, excluding tie straps. Each strap measures approximately 26 cm.
For shorter straps, chain fewer than 40. For longer straps, chain more than 40.
For headband length, repeat mesh rows until fabric reaches comfortably from ear to ear across top of head. Since mesh stretches during wear, stop slightly shorter than desired final length.
Leave 2 rows for tapered finishing. Stopping too late will not leave enough room for closing rows.
Pattern Abbreviations & Terminology
- ch: Chain
- dc: Double Crochet
- dc3tog: Double Crochet 3 Together, decrease
- st / sts: Stitch / Stitches
- sk: Skip
- sp: Space
First Strap & Base Setup
Step 1 – Slip Knot
Create a slip knot, leaving a short tail.
Step 2 – First Strap
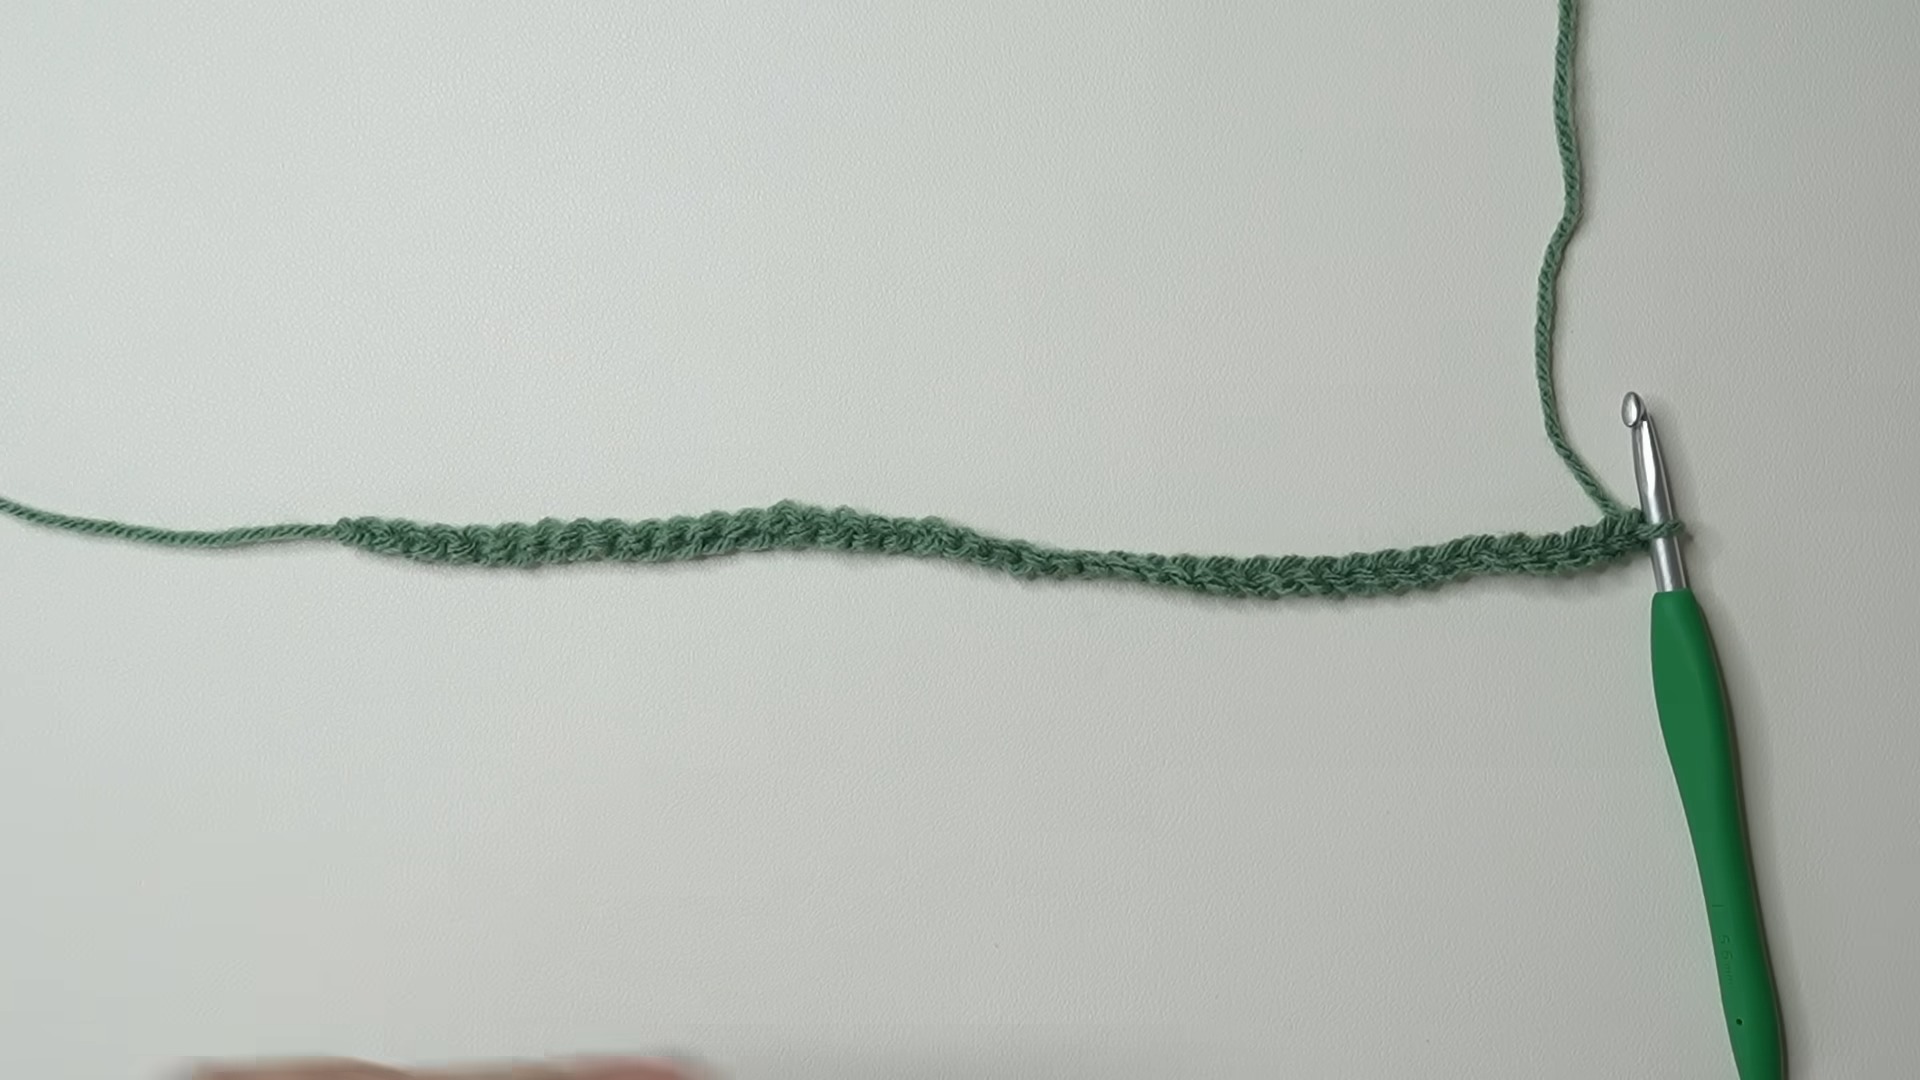
Ch 40.
This creates the first strap, measuring roughly 26 cm.
Step 3 – Form Base Loop
Pinch and hold the 40th chain with your thumb. Tighten the working yarn so the 40th chain becomes a small, tight loop.
Keep thumb on this chain while preparing next stitches. Holding this loop securely prevents it from loosening before the base cluster is completed.
Step 4 – Begin Row 1
Ch 3.
This ch-3 counts as the first dc.
Main Headband Body
Row 1 – Base Cluster
Work 3 dc directly into the small 40th chain being held.
Stitch Count: 4 sts total – initial ch-3 counts as 1 dc, plus 3 dc worked into 40th chain.
This compact cluster creates a transition from the first tie into mesh body.
Row 2 – Starting Mesh
Ch 3, turn; sk first st at base of ch-3; dc under top V of next st; ch 1; dc into next st; ch 1; dc directly into final turning-chain space.
Stitch Count: 4 dc posts and 2 ch-1 spaces.
For final dc, use wide gap beside starting chains rather than placing it directly beside previous dc. This establishes open edge spacing needed for straight sides.
Row 3 – Mesh Repeat
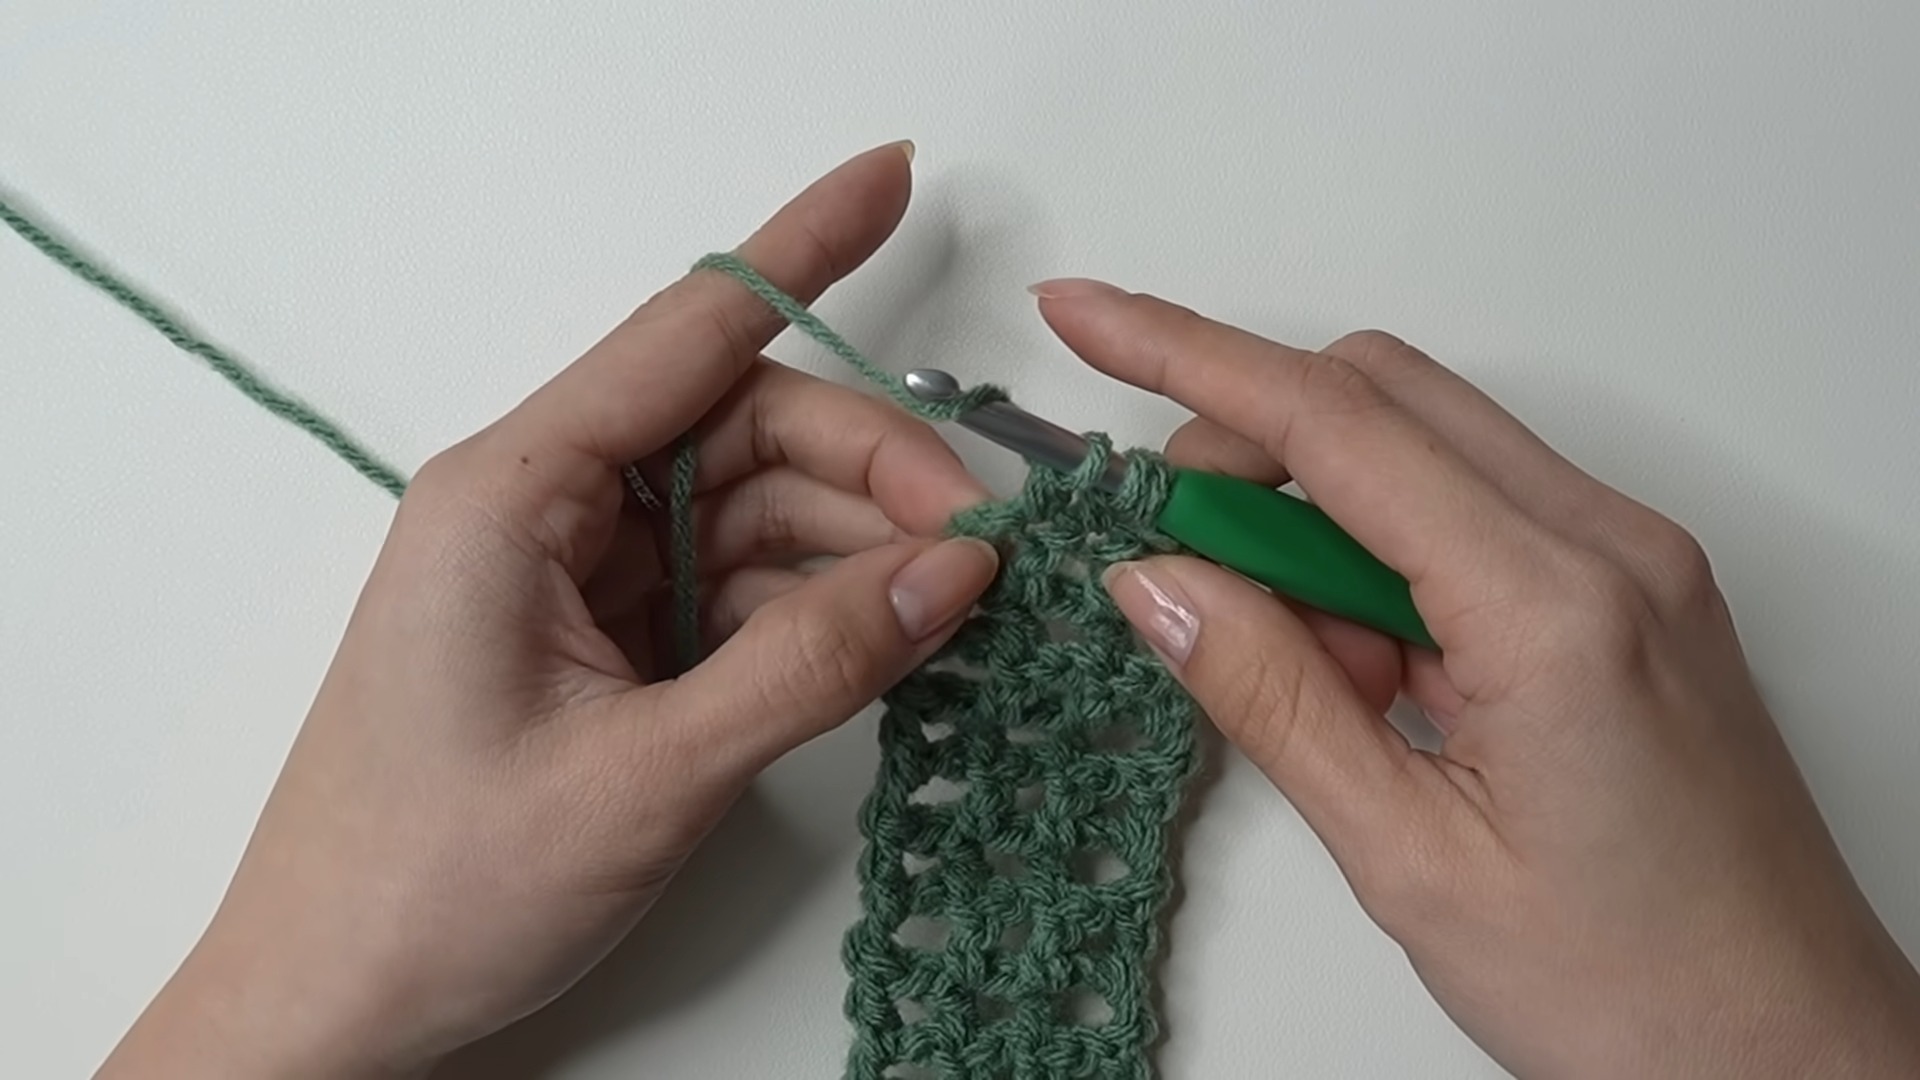
Ch 3, turn; sk first st; dc into top of next dc; ch 1; dc into top of next dc; ch 1; dc into outside edge of final chain space.
Pay close attention to the final dc. Place it farther out within the final chain space rather than crowding it against the previous stitch. Distinct spacing keeps headband edge straight.
Rows 4-22 – Continue Mesh
Repeat Row 3 continuously until desired length is reached; tutorial completes 22 total rows for approximately 24 cm. Stop with 2 rows remaining for tapered finish.
As you approach desired measurement, stretch fabric gently before measuring. Mesh opens naturally, so measuring without allowing for its stretch can result in a headband that becomes too loose after wearing.
Check both side edges occasionally. Consistent ch-1 gaps should create an even, open mesh without wavy edges.
Closing Taper
Row 23 – Solid Row
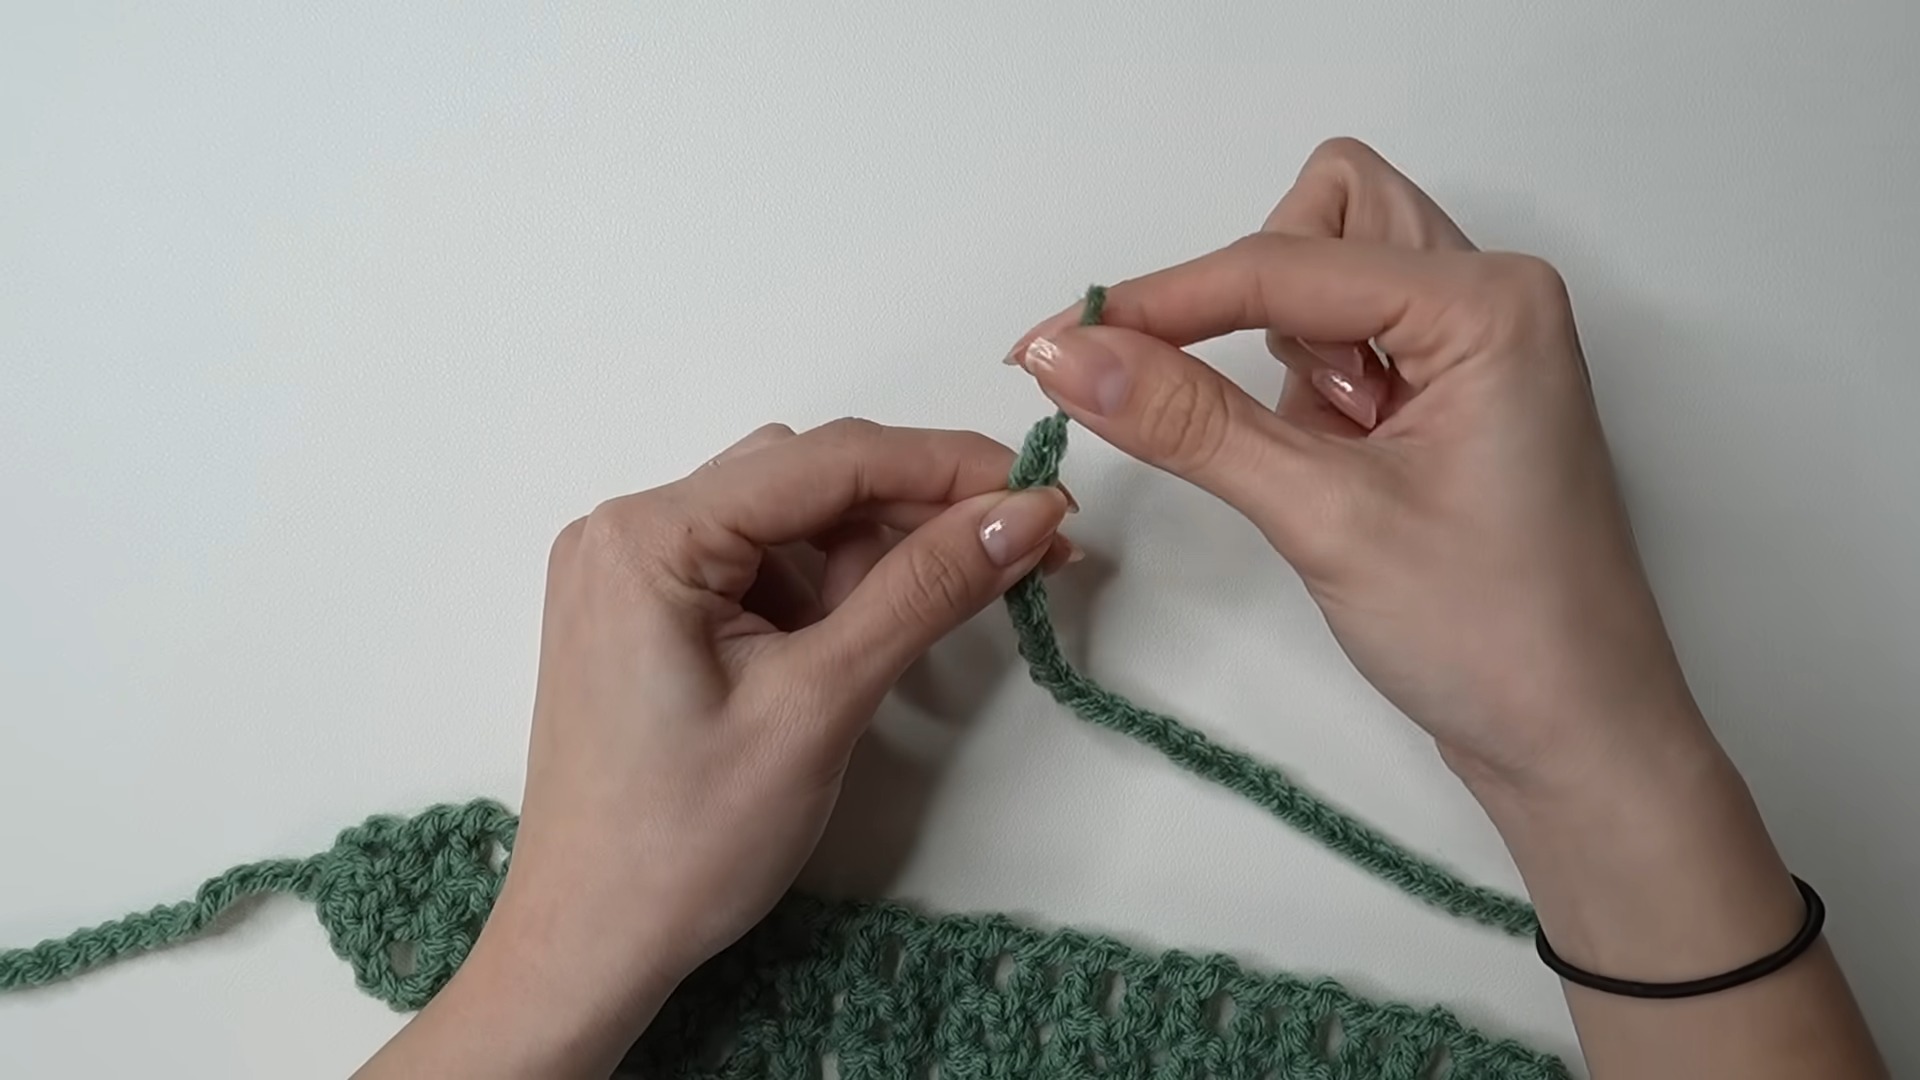
Ch 2, turn; sk first st; dc into next st without chaining; dc into next st without chaining; dc into final chain space.
Stitch Count: 4 sts total, with no ch-1 spaces.
Change from ch-3 to ch-2 marks the start of the taper. Removing chain-1 gaps creates compact fabric for pointed ending.
Row 24 – Decrease Point
Ch 2, turn; sk first st; work dc3tog across remaining stitches.
For dc3tog: Yarn over, insert hook into next st, pull up loop, yarn over, pull through 2 loops; yarn over, insert hook into next st, pull up loop, yarn over, pull through 2 loops; yarn over, insert hook into final chain space, pull up loop, yarn over, pull through 2 loops; yarn over and pull through all 4 loops on hook.
This decrease brings remaining stitches together into a pointed end.
Make sure all three portions of dc3tog are worked before final pull-through. Each section contributes to a single tapered point.
Second Tie Strap
From the newly formed point, ch 40 to create the second tie strap.
Match first strap count for balanced length, or use your customized chain count if first strap was adjusted.
Because the entire headband has been worked continuously, the second strap grows directly from the tapered point without any joining.
Finishing
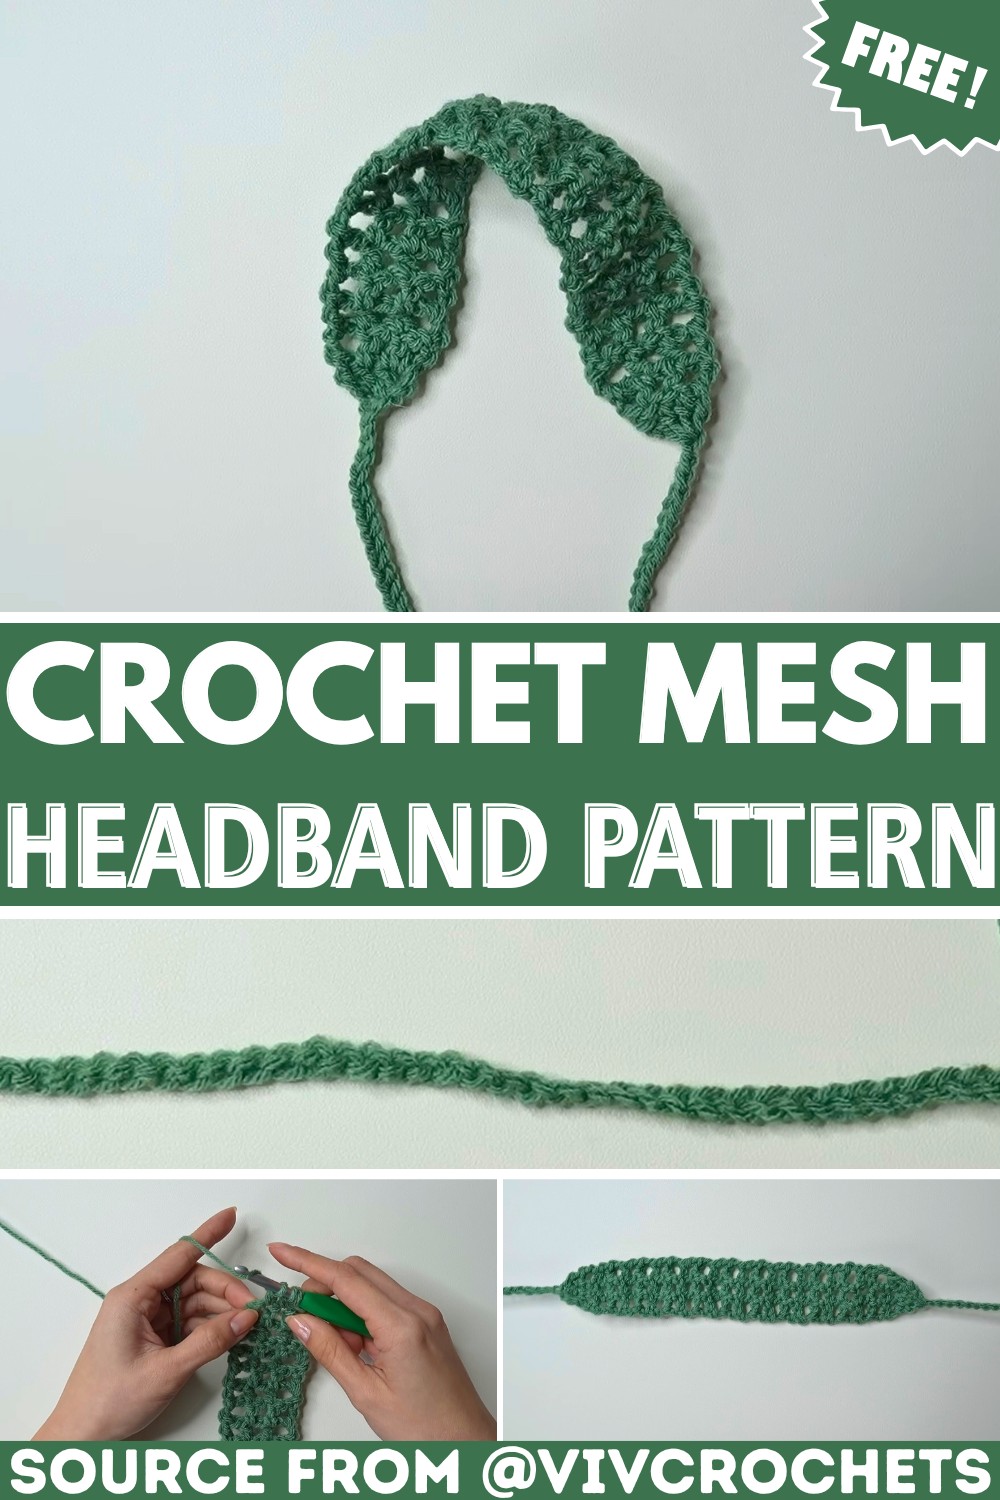
Once the second strap reaches 40 chains, cut the yarn, leaving a very short tail.
Pull tail completely through final loop on hook and pull tight to fasten off.
Place both straps side by side to compare lengths. If both contain the same chain count but look slightly different, gently straighten chains before trimming.
Snip tiny yarn tails at ends so both straps have clean, even finishes.