
Crochet Flower Hair Clip Pattern with Ruffled Clip Cover
Need a pretty handmade hair accessory fast? This crochet flower hair clip combines a neat ruffled cover with a tiny six-petal blossom.
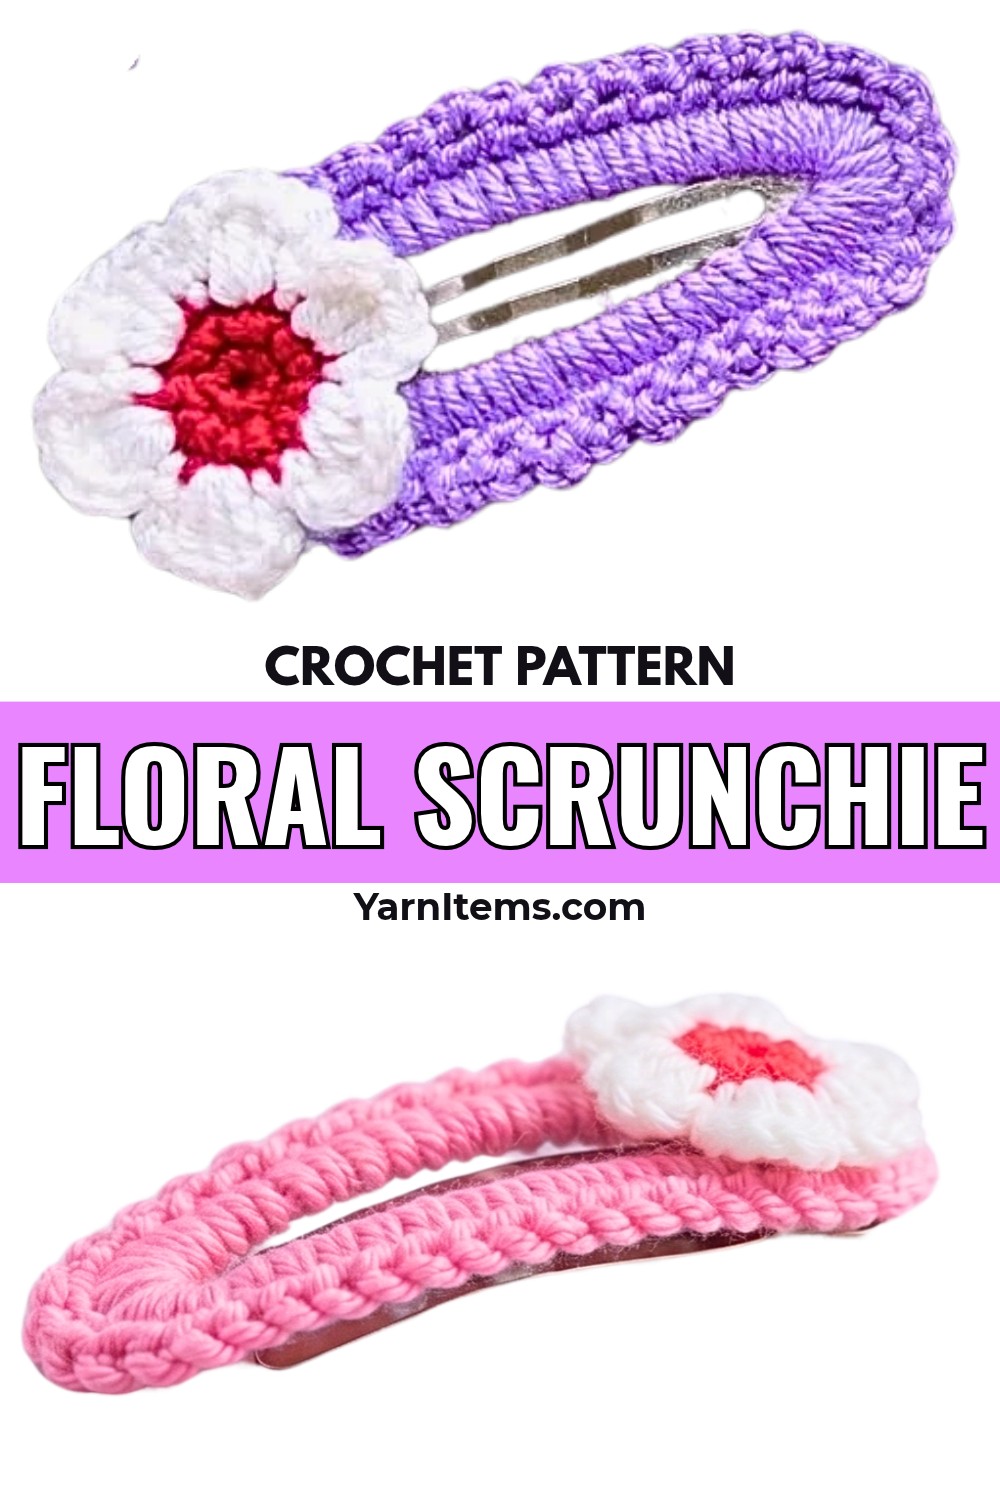
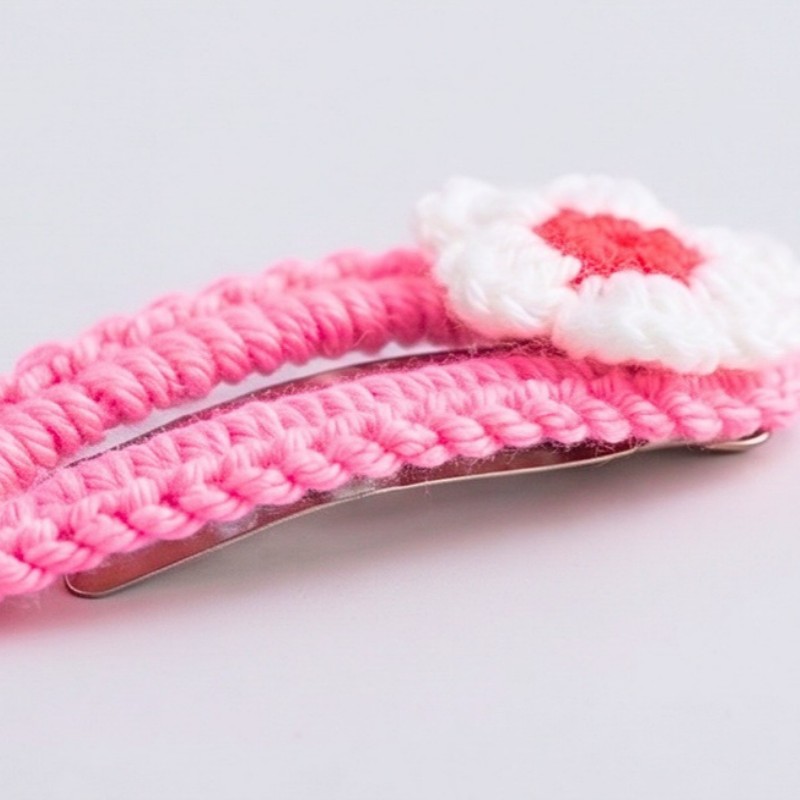
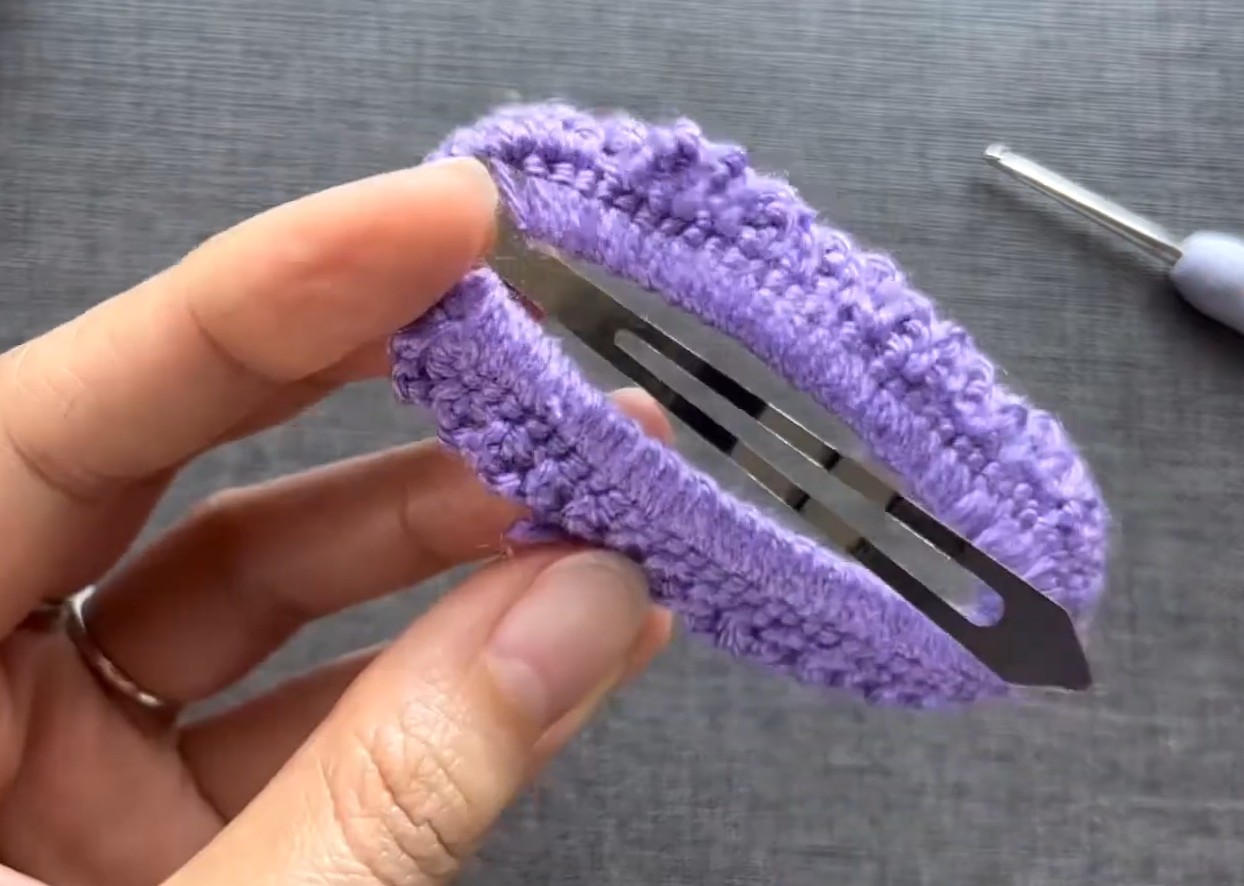
Bright purple edging gives the metal snap clip a soft crocheted finish, while the red-and-white flower adds a cheerful focal point at the wider end. The small size makes it easy to tuck into a hairstyle, and changing the three yarn colors lets you create versions for different seasons, outfits, or gifts.
Starting with the clip itself, you’ll crochet directly around the metal base so the cover encloses it rather than sitting visibly underneath. You’ll make the flower separately in two simple rounds for the center and a repeating six-petal round, then attach it to the finished cover. The tutorial also shows where the chain bridge belongs, how to form the ruffle, and how to adapt the idea for a different crochet clip size.
Credit Rin Crochet
Materials & Tools Needed
- Yarn: Light worsted or DK weight cotton yarn in three colors:
- Purple for the clip cover
- Red for the flower center
- White for the petals
- Crochet hooks:
- 1.75 mm for the clip cover
- 2.00 mm for the flower
- Hardware: 8 cm metal snap hair clip
- Other tools: Scissors, tapestry or yarn needle, hot glue gun, and glue sticks
Finished Size & Customization
The crocheted clip cover measures just over 8 cm long, making it suitable for a standard 8 cm snap clip. The finished flower is approximately 3 cm wide.
Color changes can completely alter the look. Try orange and black for Halloween, red and green for Christmas, or soft pink and yellow combinations for spring. For a smaller 5 cm or 6 cm clip, reduce the number of single crochets worked around the metal base in Round 1 so the cover matches the hardware.
The flower also works independently as a small appliqué. Sew or attach it to a beanie, cardigan, bag, or another accessory instead of placing it on a hair clip.
Pattern Abbreviations
This pattern uses standard US crochet terminology.
- ch = Chain
- sc = Single crochet
- dc = Double crochet
- sl st = Slip stitch
- inc = Increase; work 2 sc into the same stitch
- st(s) = Stitch(es)
- [ ] / * * = Repeat the enclosed sequence as directed
Crochet the Clip Cover
Use the Purple yarn and 1.75 mm hook for the entire cover.
The important part of the first round is working around the actual metal clip rather than making a separate crocheted oval. Keep the stitches close together as you travel around the edge so the metal does not show through the finished cover.
Round 1: Make a slip knot, open the 8 cm metal snap clip, insert the hook through the center opening, grab the working yarn, and work 2 sc over the bottom metal bar near the top curve; ch 4 to bridge the widest part/hinge; continue working sc around the entire outer metal edge, packing the stitches closely together so the metal is covered; sl st into the first sc to join, ch 1.
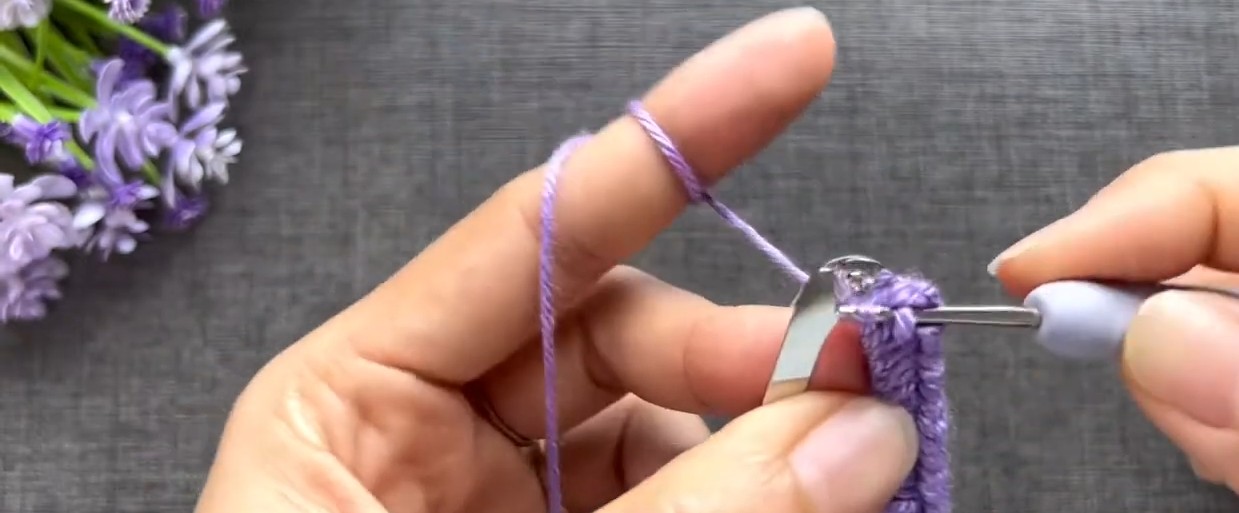
That ch-4 bridge is intentional. It crosses the wider hinge area instead of forcing single crochets directly through that opening, giving you a workable base for the next round.
Before moving on, check that the crocheted stitches are sitting securely around the clip and that the metal is not pulling the fabric out of shape.
Round 2: Inc in the first st, inc in the next st (2 increases total); sc in the next 4 sts across the 4-chain bridge; inc in the next 2 sts; sc in each remaining st around the straight sides and bottom curve of the clip; sl st to the first st to join.
The increases help the cover widen and settle into an oval shape. Pay particular attention to the four stitches worked across the chain bridge, since this section replaces the original opening around the hinge.
Add the Ruffled Edge
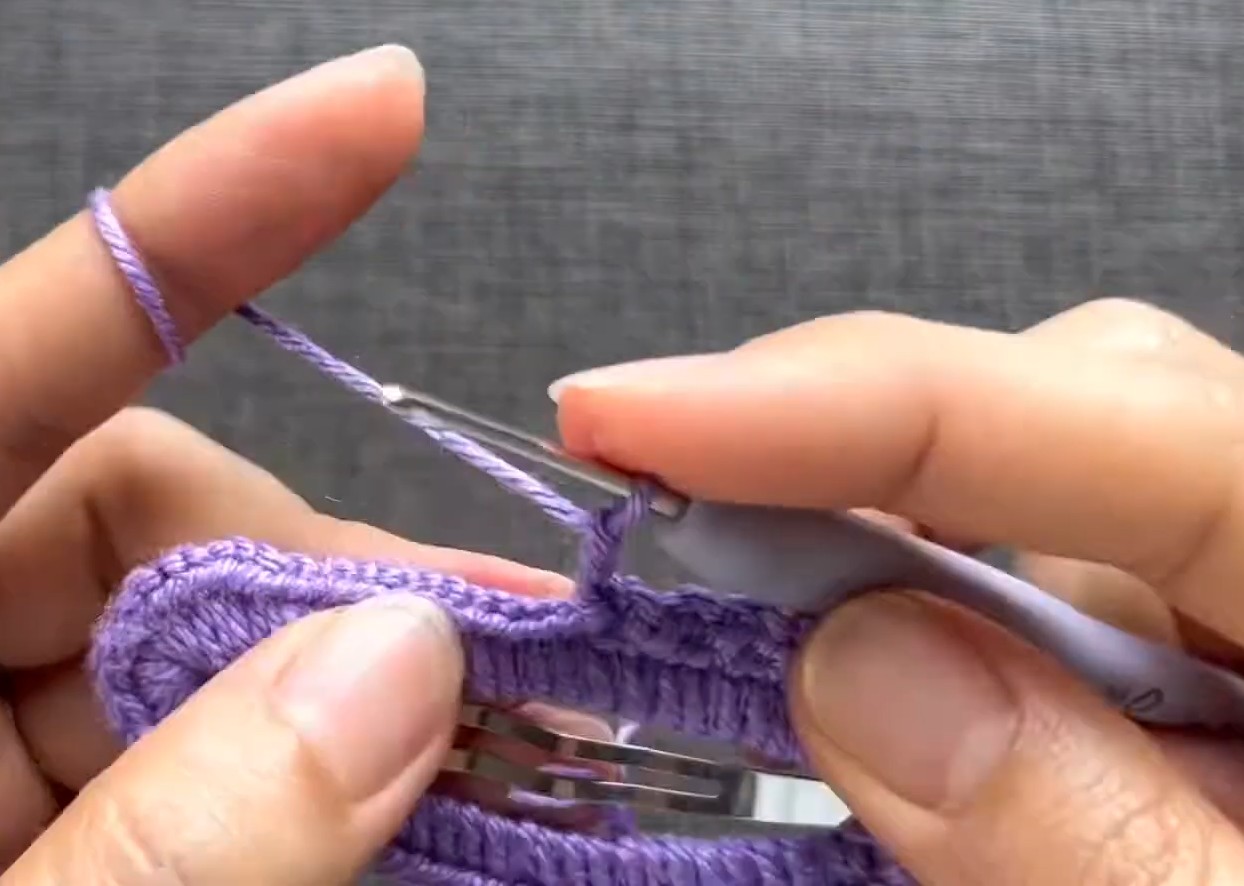
The final round gives the clip a decorative scalloped look without making the cover bulky. Each small loop is created by a three-chain section anchored one stitch later.
Round 3: Ch 3; skip 1 st, sl st in the next st; repeat [ch 3, skip 1 st, sl st in next st] around the entire perimeter of the clip cover; ch 1 and fasten off.
Pull the yarn tail through to the back of the cover, weave it securely under several stitches with a tapestry needle, and trim the excess. Once finished, the edge should have a repeated chain-loop ruffle around the clip.
Make the Red Flower Center
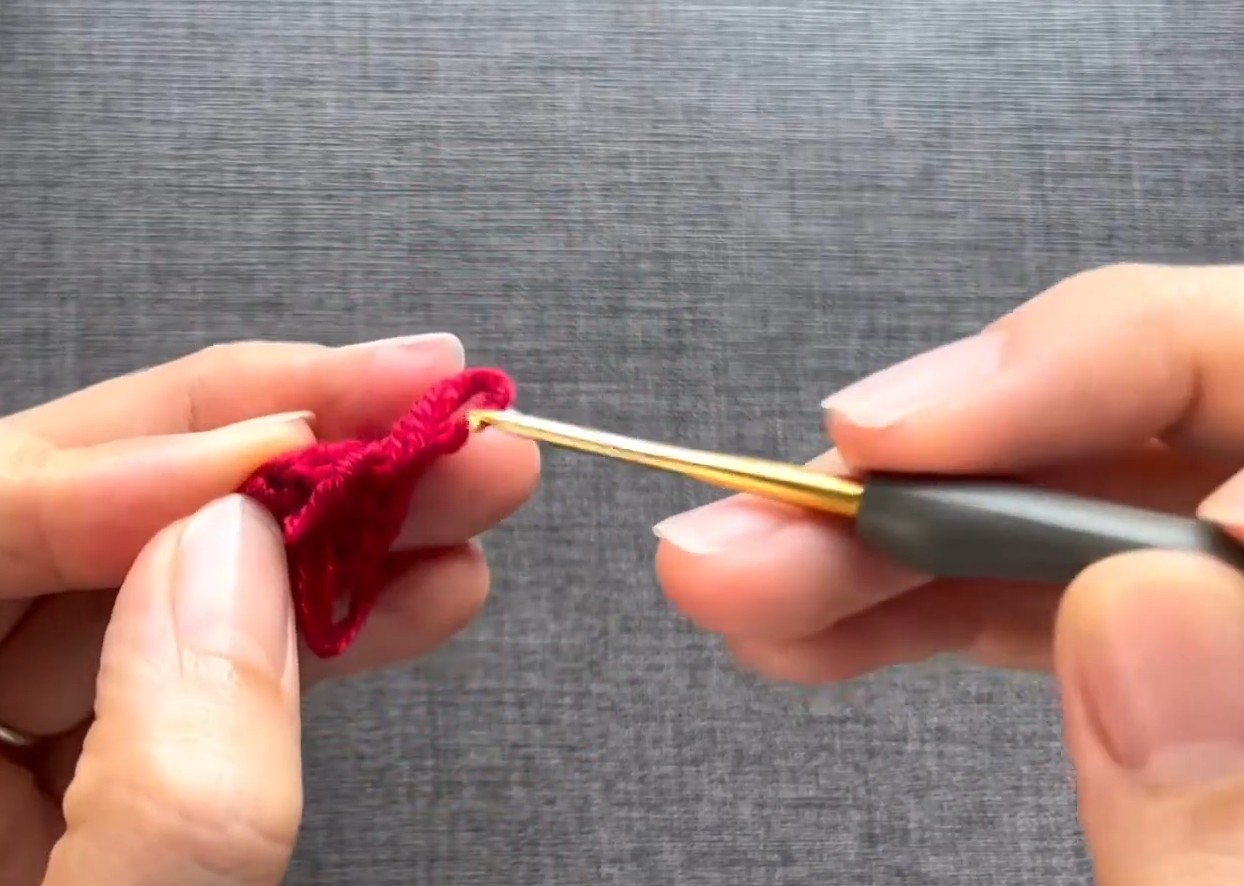
Switch to the Red yarn and 2.00 mm hook. The center is deliberately small, giving the finished flower a compact shape.
Round 1: Make a magic ring; work 6 sc into the ring; pull the yarn tail firmly to close the center; sl st into the first sc to join, ch 1.
Round 2: Work inc in every stitch around for a total of 12 sc; sl st into the first sc to join; fasten off, leaving a small tail, and weave the ends into the back of the circle.
Take a quick look at the center before adding the petals. It should be a small, closed circle with 12 stitches around its outer edge.
Add the Six White Petals
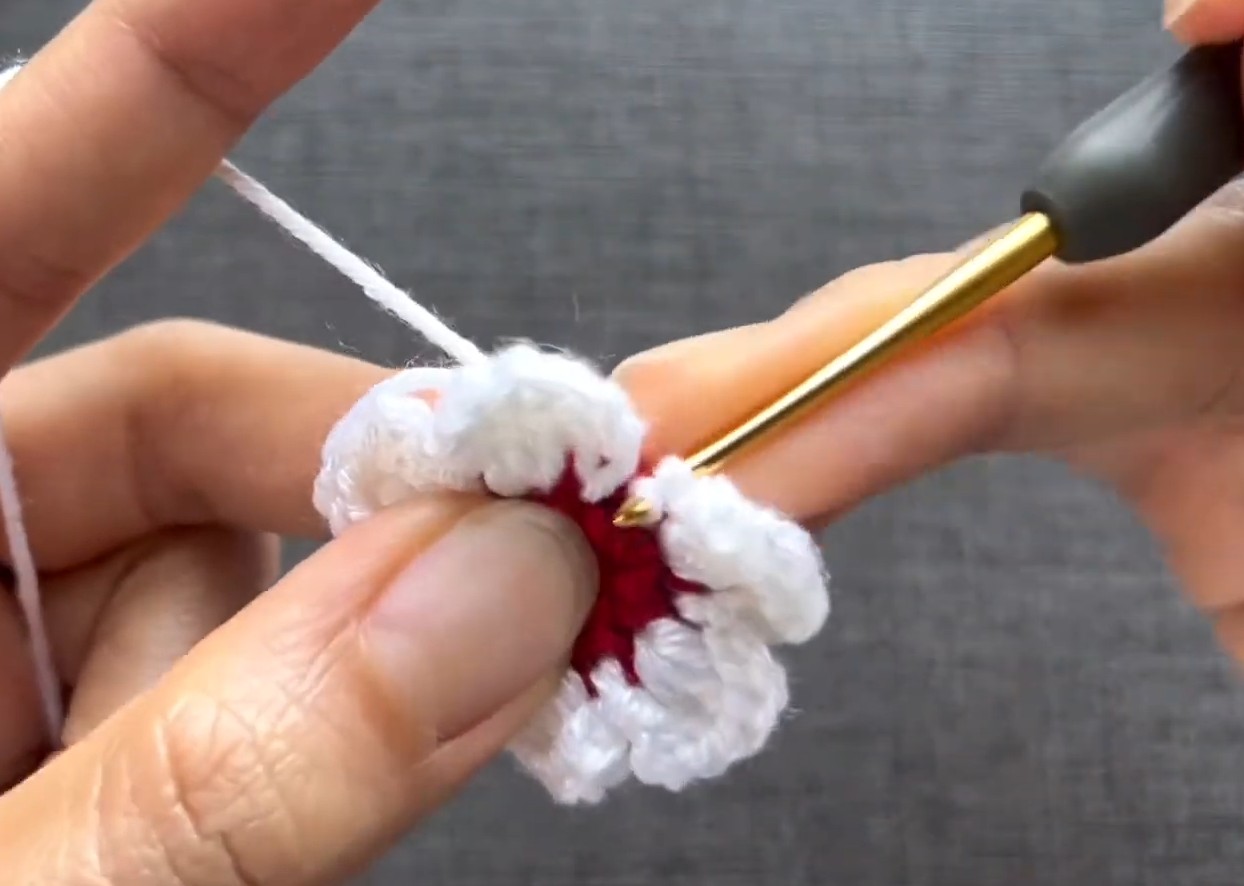
Keep using the 2.00 mm hook and switch to the White yarn. Attach it to any stitch along the edge of the red center with a sl st.
Each petal uses one stitch for its taller stitches and the next stitch as its outer anchor. The extra slip stitch between petals helps separate the six petals evenly around the small center.
Round 1: Attach white yarn to any st with a sl st; ch 3; work 3 dc in the same st; ch 3, sl st in the next st to complete the first petal; sl st in the following st to anchor the start of the next petal; repeat [ch 3, 3 dc in the same st, ch 3, sl st in the next st, sl st in the following st] around until 6 petals are made; fasten off.
Keep an eye on the petal count as you work. Since the red center has 12 stitches and each petal uses two stitches in the repeating sequence, six evenly spaced petals should bring you back around the entire circle.
Tie the starting and ending white tails securely together at the back of the flower, then trim the excess.
Attach the Flower to the Clip
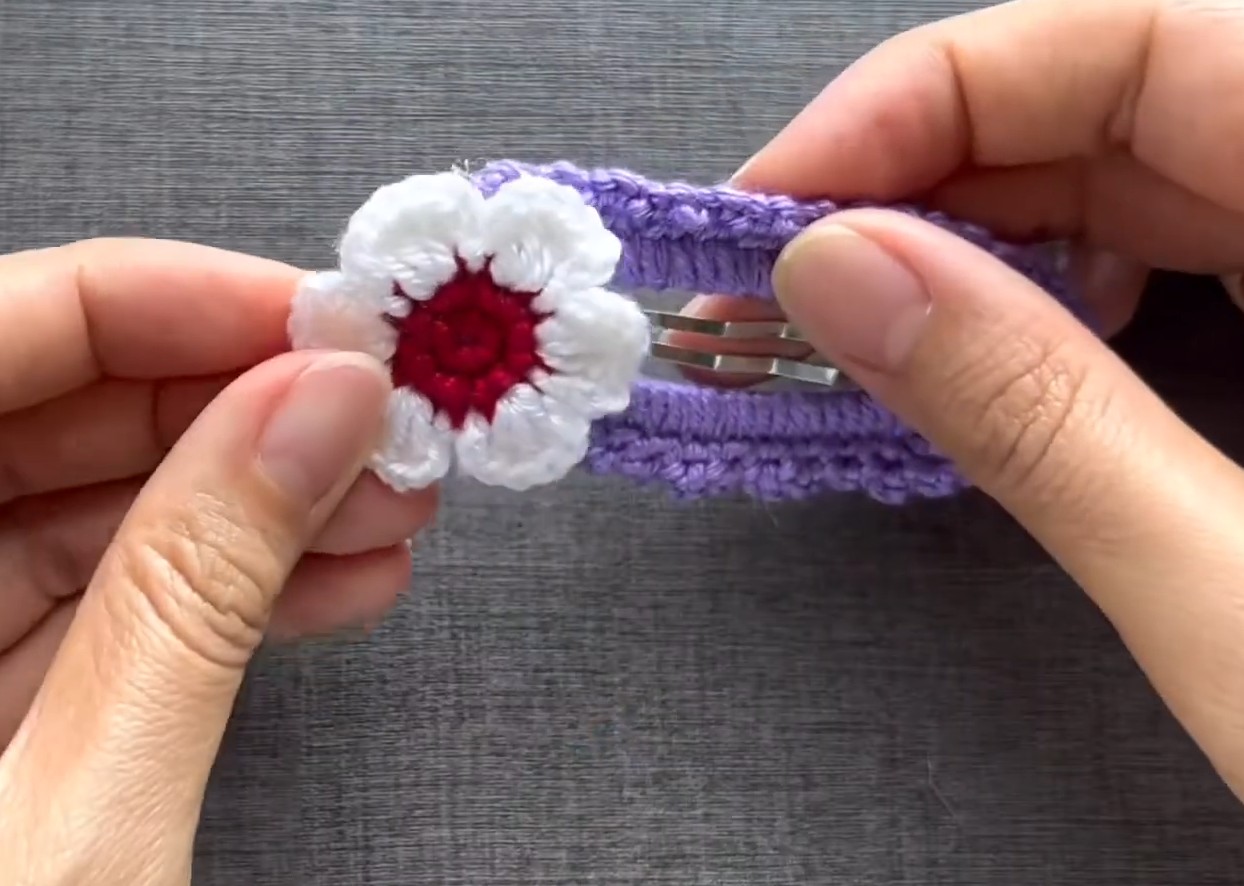
With both pieces finished, position the flower before adding glue. The wider, solid end of the purple clip cover is the top curve where Round 1 was started, and this is the area where the flower should sit.
- Warm the hot glue gun.
- Place a generous but controlled dab of hot glue directly onto the crocheted surface at the wider end of the clip cover.
- Immediately press the back center of the flower into the glue.
- Hold it firmly for a few seconds while the glue sets.
- Allow the clip to cool and dry completely before wearing it.
Positioning the flower at the center of the wider end keeps the decoration balanced and leaves the snap mechanism usable. Avoid spreading glue over the moving parts of the metal clip.
More Ways to Use the Flower
Once you have the six-petal flower memorized, it does not have to stay attached to a hair clip. Make several in different color combinations and use them as small embellishments for hats, cardigans, bags, or other handmade accessories.
For seasonal sets, keep the flower shape the same and simply change the palette. That gives you a quick way to create several coordinated versions without learning a different flower pattern each time.

One Comment