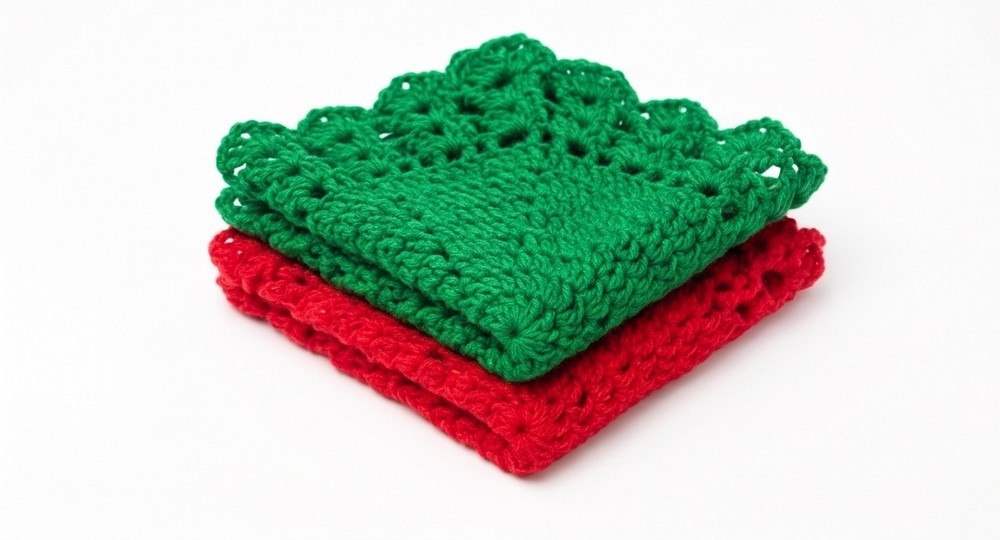
Crochet Christmas Place Mats Pattern Free
A Christmas table feels more special when small handmade details become part of the celebration. And these crochet place mats simply bring that charm.
Their round shape, layered stitch texture, and festive color options make them a lovely base for plates, candles, or holiday centerpieces. Instead of using ordinary table pieces, this crochet pattern lets you create a yarn-made accent that reflects your own Christmas style while adding a handmade story to your dining space.
Easy Crochet Christmas Place Mats
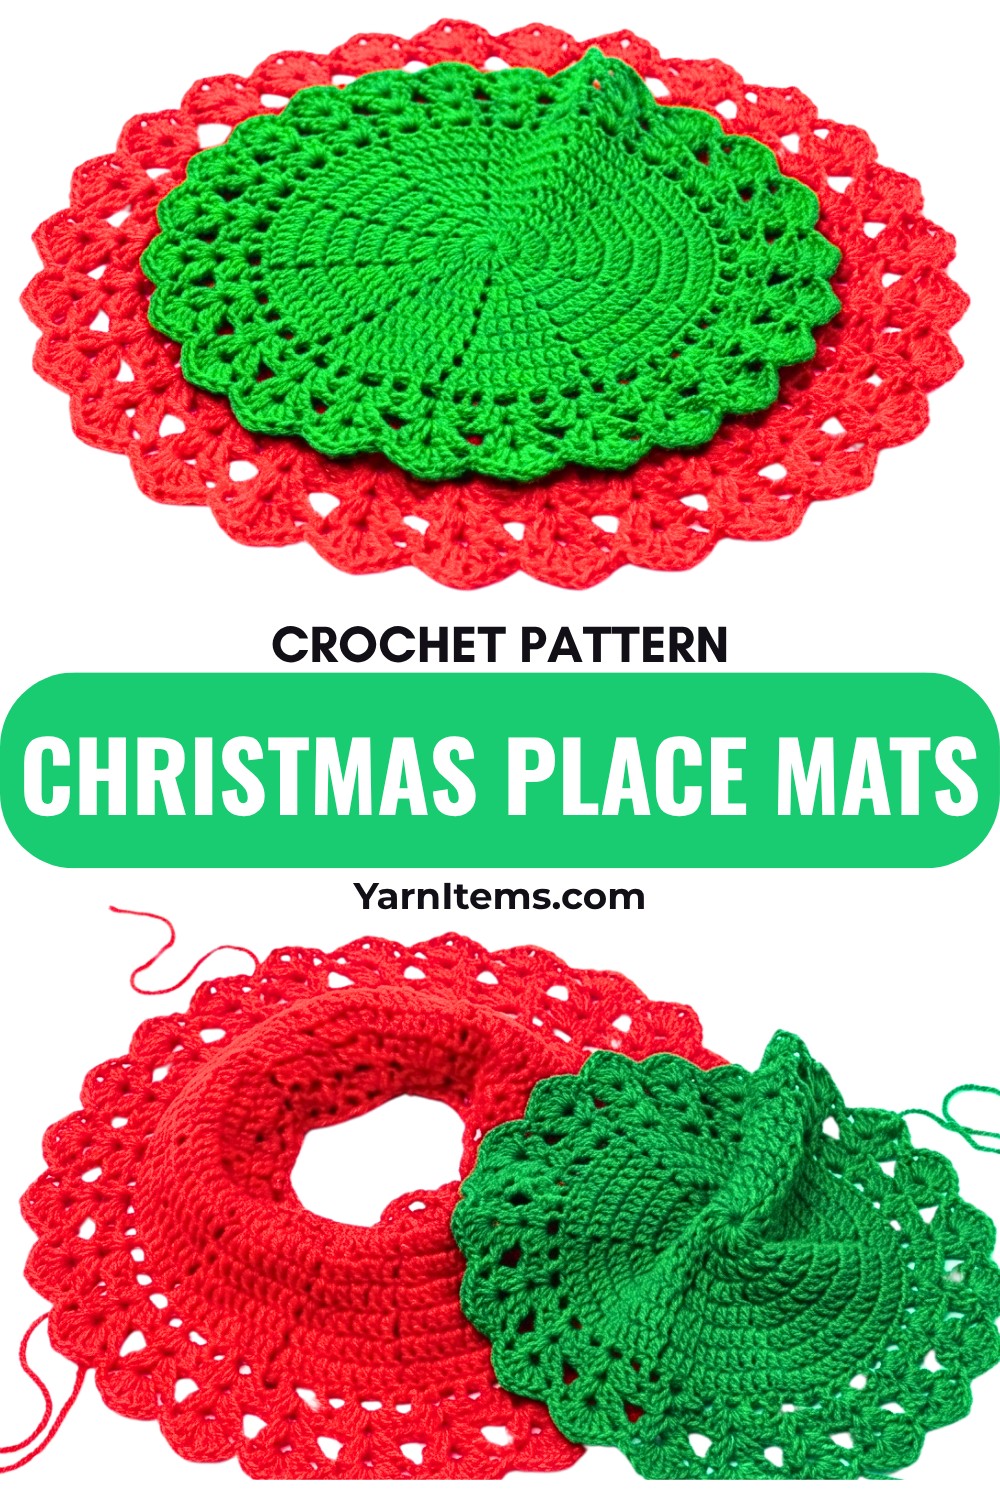
This crochet pattern begins from the center and grows outward with simple stitches, creating a neat circular mat without complicated techniques. You can adjust the colors, add your preferred finishing details, and make a set that matches your holiday theme or gifting ideas. Follow the step-by-step pattern below to see how basic crochet rounds transform into a practical Christmas decoration for your table.
Credit Hooks And Stitches
Materials & Tools Needed
- Yarn – Use a yarn suitable for a 2.5mm crochet hook. For a festive Christmas feel, consider using red, green, white, or gold.
- Crochet Hook – 2.5mm crochet hook.
- Scissors
- Yarn Needle – For weaving in ends.
Finished Size & Customization Ideas
- Approximate Size: Size will depend on how many rounds you complete, but typically, this place mat will be circular and appropriate for a standard-size dinner plate.
- Customization Ideas:
- Alternate festive colors each round.
- Add metallic yarn for a decorative edge.
- Use larger yarn and hook for a larger mat.
Pattern Abbreviations & Terminology
The tutorial follows US Crochet Terminology.
- ch: chain
- dc: double crochet
- sl st: slip stitch
- st: stitch
- sp: space
- yo: yarn over
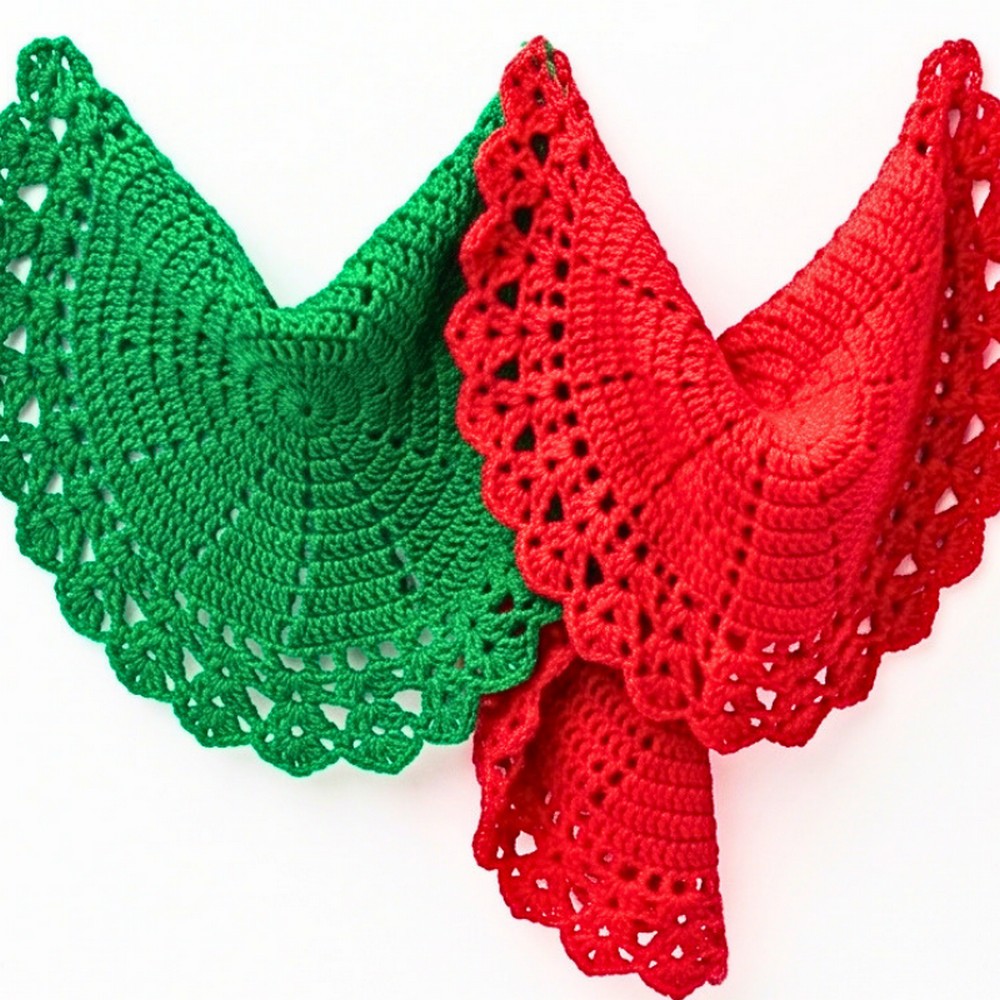
Step-by-Step Detailed Crochet Instructions
Round 1: Start the Center Ring
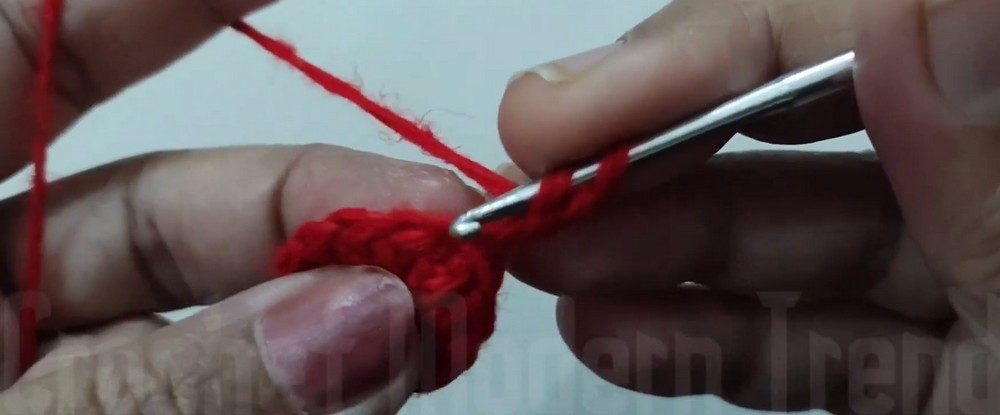
- Make a slip knot and ch 5.
- Insert the hook into the 4th ch from the hook, yarn over, and make a sl st to form a ring.
- Ch 3 (counts as first dc) and work 12 dc into the center of the ring.
- You should have 12 dc total, including the starting chain 3.
- Close the round by joining with a sl st to the top of the initial ch 3.
Round 2: Begin Clusters with Chain Spaces
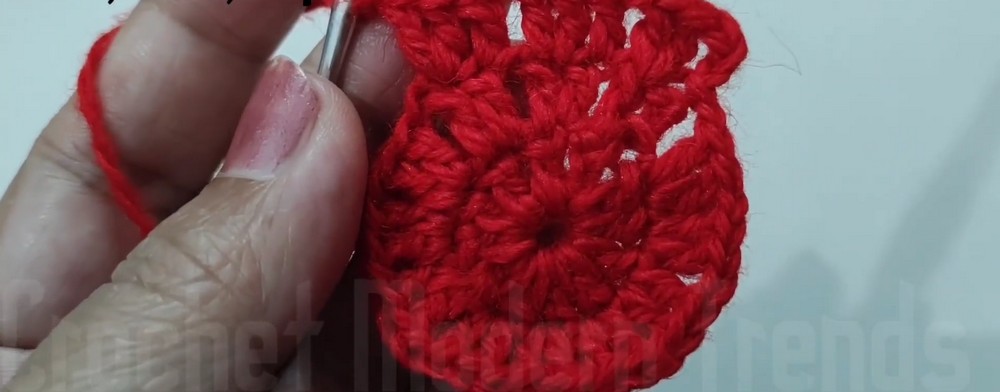
- Ch 3 (counts as dc).
- In the same st, work 2 additional dc, ch 1.
- Move to the next st and work 1 dc, followed by 2 dc in the same st, then ch 1.
- Repeat this pattern (1 dc, 2 dc in same st, ch 1) in each st to complete the round.
- At the end of the round, join with a sl st to the top of the initial chain.
Round 3: Expand the Clusters
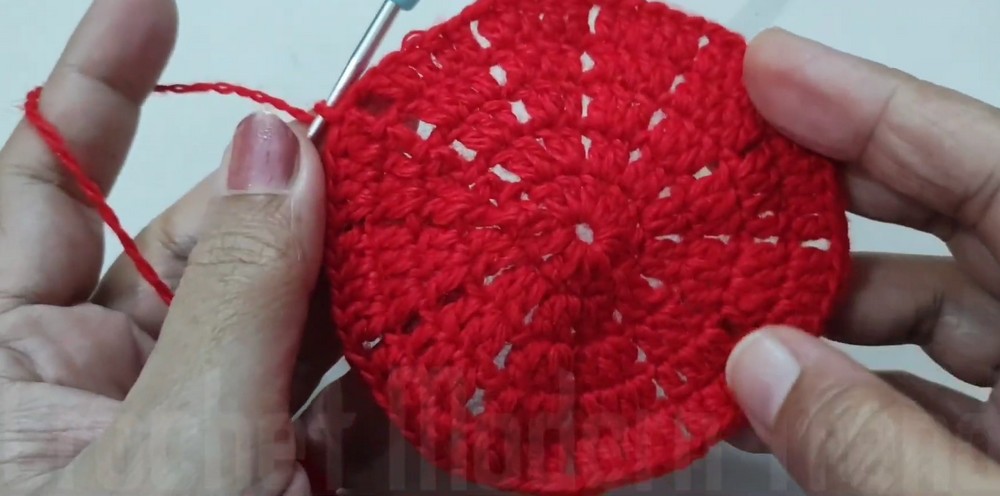
- Ch 3 (counts as 1 dc).
- Work 1 dc in the next st, then 2 dc in the same st, followed by ch 1.
- Continue across the round, increasing at regular intervals to maintain a flat circle.
- For this round, on top of every previous cluster, you’ll work 1 dc + 2 dc in the same st + ch 1.
- Join the round with a sl st to the top of the initial ch.
Round 4–8: Gradual Increases
For Rounds 4–8, continue the same technique:
- Cluster Increases:
- For each round, add 1 more dc at the start of each cluster.
- Example: For Round 4, each cluster will consist of 4 dc, for Round 5, 5 dc, and so forth.
- Always place the increase (2 dc in the same stitch) at the final st of each cluster.
- Chain Spaces: Continue to ch 1 between clusters.
- Joining: Close each round with a sl st to the top of the starting chain.
By Round 8: Each cluster will have 9 dc, separated by ch 1.
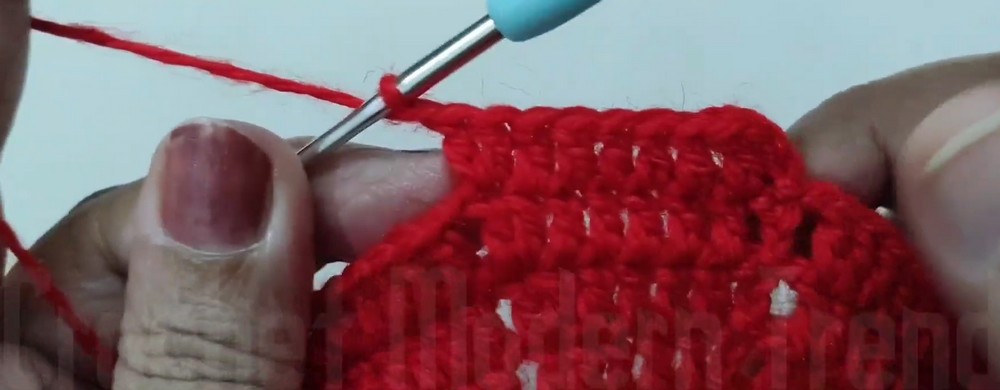
Edge Detailing (Final Rounds)
- Round 9 (Chain Spaces):
- Ch 3 (counts as 1 dc), ch 1, skip 1 st, dc in the next st. Continue alternating ch 1, skip 1 st, dc around.
- Join with a sl st to the top of the initial ch.
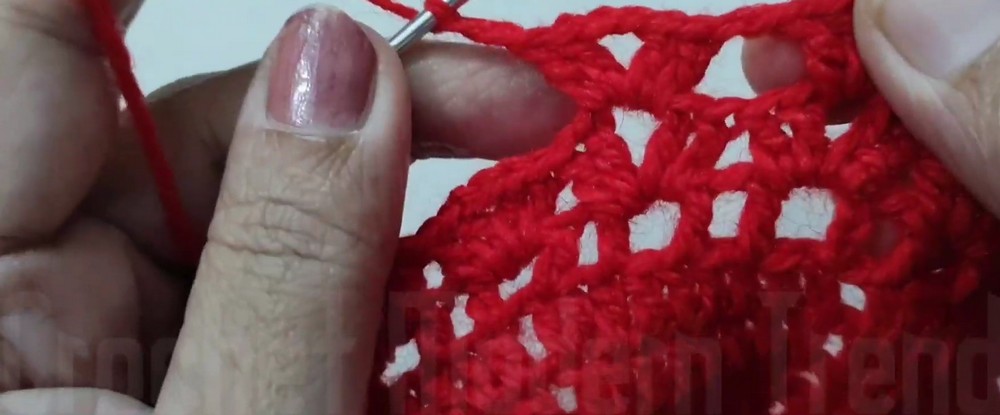
- Round 10 (Decorative Double Clusters):
- Ch 3 (counts as 1 dc), work 2 dc into the same sp, ch 2, 2 dc again into the same sp.
- Skip to the next ch sp, and repeat (2 dc, ch 2, 2 dc) in each sp.
- Join with sl st at the end of the round.
- Round 11 (Edging):
- Sl st into the next ch-2 sp, and work decorative edges by following:
a) Ch 3, 2 dc into the same sp.
b) Ch 2 for chain space, sl st into the next ch-2 sp.- Repeat this decorative edging pattern around and join with a sl st.
- Sl st into the next ch-2 sp, and work decorative edges by following:
Optional Customization
- Add a metallic border in the last few rows for a festive flair.
- Use contrasting or alternating colors for each round for added visual interest.
Note on Stitch Counts
If your mat starts to ruffle or curl:
- Ruffling: You may be adding too many stitches. Adjust by skipping to every other stitch for increases.
- Curling: You may not be adding enough increases. Add extra stitches evenly spaced around.
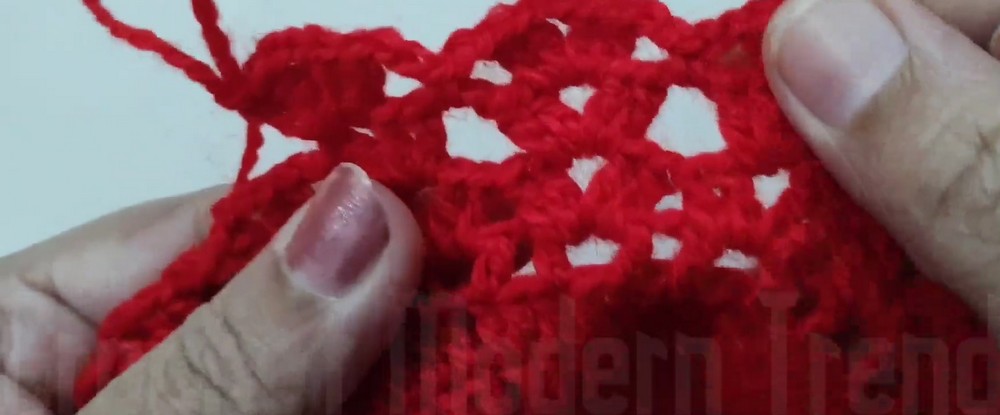
Finishing
- Use a yarn needle to weave in all ends securely.
- Block the placemat by dampening it lightly and pinning it to shape. Allow it to dry completely to set the stitches.