Crochet Flower Coaster Pattern – Step-by-Step
Looking for a pretty crochet coaster with floral detail? This easy pattern combines simple rounds, color changes, and petal shaping for a useful handmade finish.

Bright colors and simple circular stitches can turn an everyday coaster into a small crochet piece of handmade home décor. For beginners, keeping round increases even and shaping decorative petals neatly can take some practice, but this crochet design breaks those details into manageable stages.
This crochet coaster tutorial shows how to build the round base, create the open mesh section, form the solid backing, and finish the outer flower border. You’ll also find size ideas, color options, and finishing guidance for a neat coaster that works with mugs, glasses, and cups.
Credit Erfin R. Tangdilintin
Materials & Tools
- Yarn: Cotton or milk cotton yarn in two contrasting colors, such as white for the center and green or olive for the flower border.
- Crochet Hook: 2.0 mm hook, or size suited to your chosen yarn.
- Yarn Needle: For weaving in yarn ends.
- Sharp Scissors: For cutting yarn cleanly.
Finished Size & Customization
The finished coaster measures approximately 4 to 5 inches in diameter, depending on yarn weight and hook size.
For a softer seasonal look, try pastel pink, yellow, or blue shades for the flower border. To make a larger and thicker coaster or small trivet, use Sport or DK-weight yarn with a 3.0 mm or 3.5 mm hook.
Pattern Abbreviations & Terminology
- ch: Chain
- sl st: Slip stitch
- sc: Single crochet
- dc: Double crochet
- dc2inc: Double crochet increase – work 2 double crochets in same stitch
- st(s): Stitch(es)
- ( ): Repeat instructions inside parentheses as directed
- [ ]: Stitch count or timestamp reference
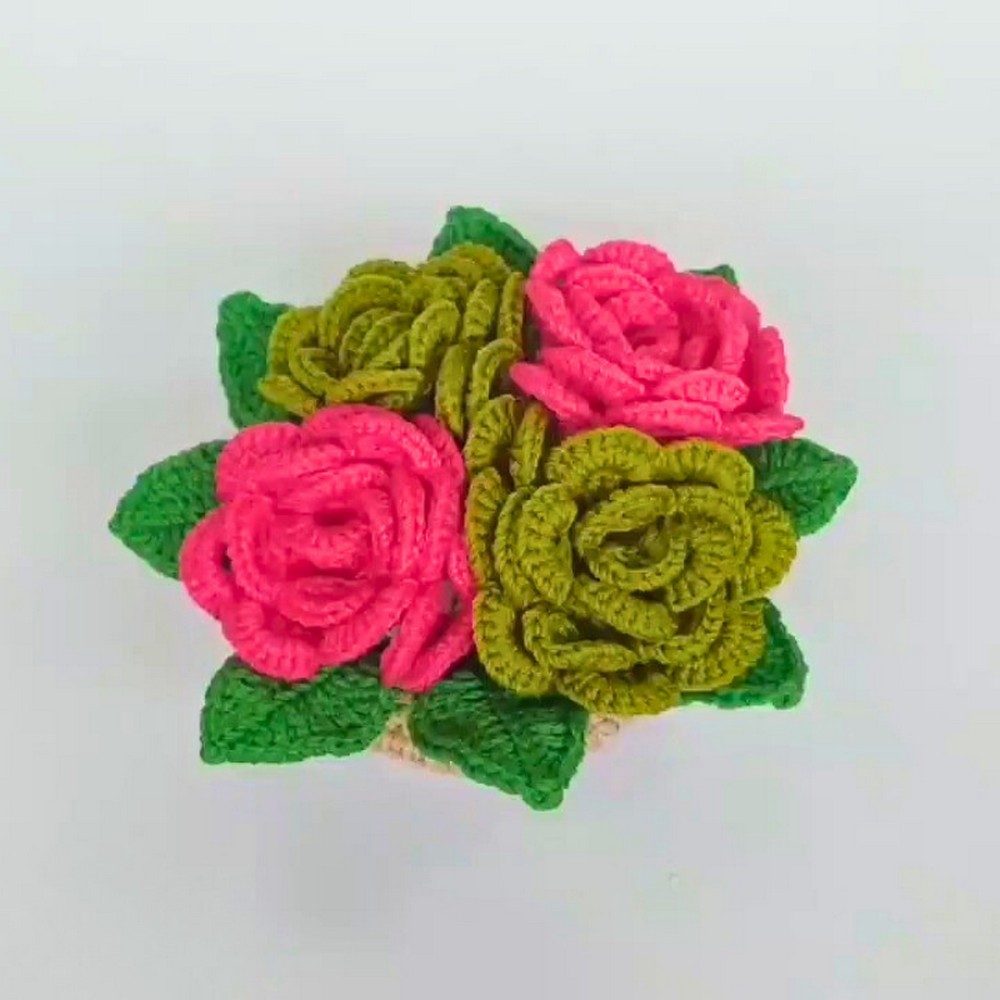
Step-by-Step Crochet Coaster Instructions
Step 1: Create the Center Ring
Begin Round 1 with white yarn by making a magic ring.
Chain 3, then work 17 dc directly into the magic ring. The starting chain counts as part of the total, giving you 18 stitches for the round.
Slip stitch into the 3rd chain of starting ch 3 to close the circle, then fasten off white yarn.
Check the center: The stitches should sit closely around the magic ring, creating a compact circular beginning rather than a loose opening.
Step 2: Expand the Circular Base
For Round 2, attach white yarn to any stitch.
Chain 3, then work 1 dc into the same stitch.
Continue around by working a dc2inc in every stitch. Each stitch receives 2 double crochets, expanding the center evenly.
You should finish with 36 double crochet stitches.
Join with a slip stitch into the 3rd chain of starting chain-3 and fasten off.
Helpful tip: Keep your increases consistent around the entire circle. Even spacing at this stage helps the coaster remain flat.
Step 3: Add the Open Mesh Round
Attach white yarn again for Round 3.
Chain 6, then skip 1 stitch and work 1 dc into the next stitch. Follow this with ch 3.
Repeat the sequence: skip 1 st → 1 dc → ch 3
Continue this pattern around the entire circle.
Join with a slip stitch into the 3rd chain of the initial ch 6 space, then fasten off.
This round creates the open spaces that frame the center before the solid outer section is added.
Step 4: Build the Solid Circular Backing
For Round 4, attach white yarn and chain 3.
Work 3 dc into the first chain space.
Then work 1 dc into the top of the next double crochet, followed by 3 dc into the next chain space.
Continue alternating: 1 dc in dc → 3 dc in chain space
Work around the entire perimeter.
Join with a slip stitch into the 3rd chain of starting ch 3 and fasten off securely.
Result check: The coaster should now have a solid circular body surrounded by the decorative structure created in earlier rounds.
Step 5: Begin the Flower Border
Switch to green or olive yarn for Round 5.
Join the border yarn, then chain 3 and work 3 dc in the same area.
Next, chain 5.
Slip stitch into the 3rd chain from hook, then chain 1.
These chains establish the foundation for the first raised petal shape.
Step 6: Shape the First Petal
Work 10 sc down the loop created by the chain section.
Keep the single crochets close and even as you work down the loop. This gives the petal its structured outer edge instead of leaving the chain loose.
Teaching check: The completed section should begin looking like a small curved petal attached to the coaster border.
Step 7: Create the Next Petal Cluster
Skip 3 dc from the base.
Then work the next petal cluster: 4 dc → ch 5 → sl st in first dc of cluster → ch 1 → 10 sc
The chain-5 section forms the petal loop, while the 10 single crochets create its defined edge.
Keep the petal structure similar to the first one so the flower border develops evenly around the coaster.
Step 8: Repeat the Flower Border
Continue repeating the complete petal cluster around the outer edge.
For every new petal, maintain the same sequence: 4 dc → ch 5 → sl st → ch 1 → 10 sc
Work around the entire coaster until the floral border is complete.
Shape check: Petals should remain evenly distributed around the circle. If one petal appears noticeably tighter or looser than the others, check your chain tension before continuing.
Step 9: Close the Decorative Round
When the final petal has been completed, finish Round 5 with a sl st into the 3rd chain of the starting section.
This closes the flower border and completes the circular motif.
Because the entire design is worked in the round, there are no separate pieces to sew together.
Step 10: Secure the Final Yarn
Cut the working yarn, leaving approximately a 4-to-6-inch tail.
Pull the tail completely through the final loop to lock the last stitch.
Thread the yarn needle with the remaining tail and weave it horizontally through the back loops of nearby stitches.
Repeat with any other loose yarn ends.
Finishing check: The woven ends should be concealed on the back of the coaster without creating bulky areas that could affect how it sits on a table.
Step 11: Flatten the Flower Petals
Blocking is optional but can help the finished petals sit more evenly.
Lightly steam or block the coaster using a damp cloth, taking care to arrange the flower petals into their intended shape.
Allow the coaster to settle flat before using it.

Your flower-shaped crochet coaster is now ready for mugs, glasses, and cups, while its contrasting border gives everyday tableware a simple handmade floral finish.