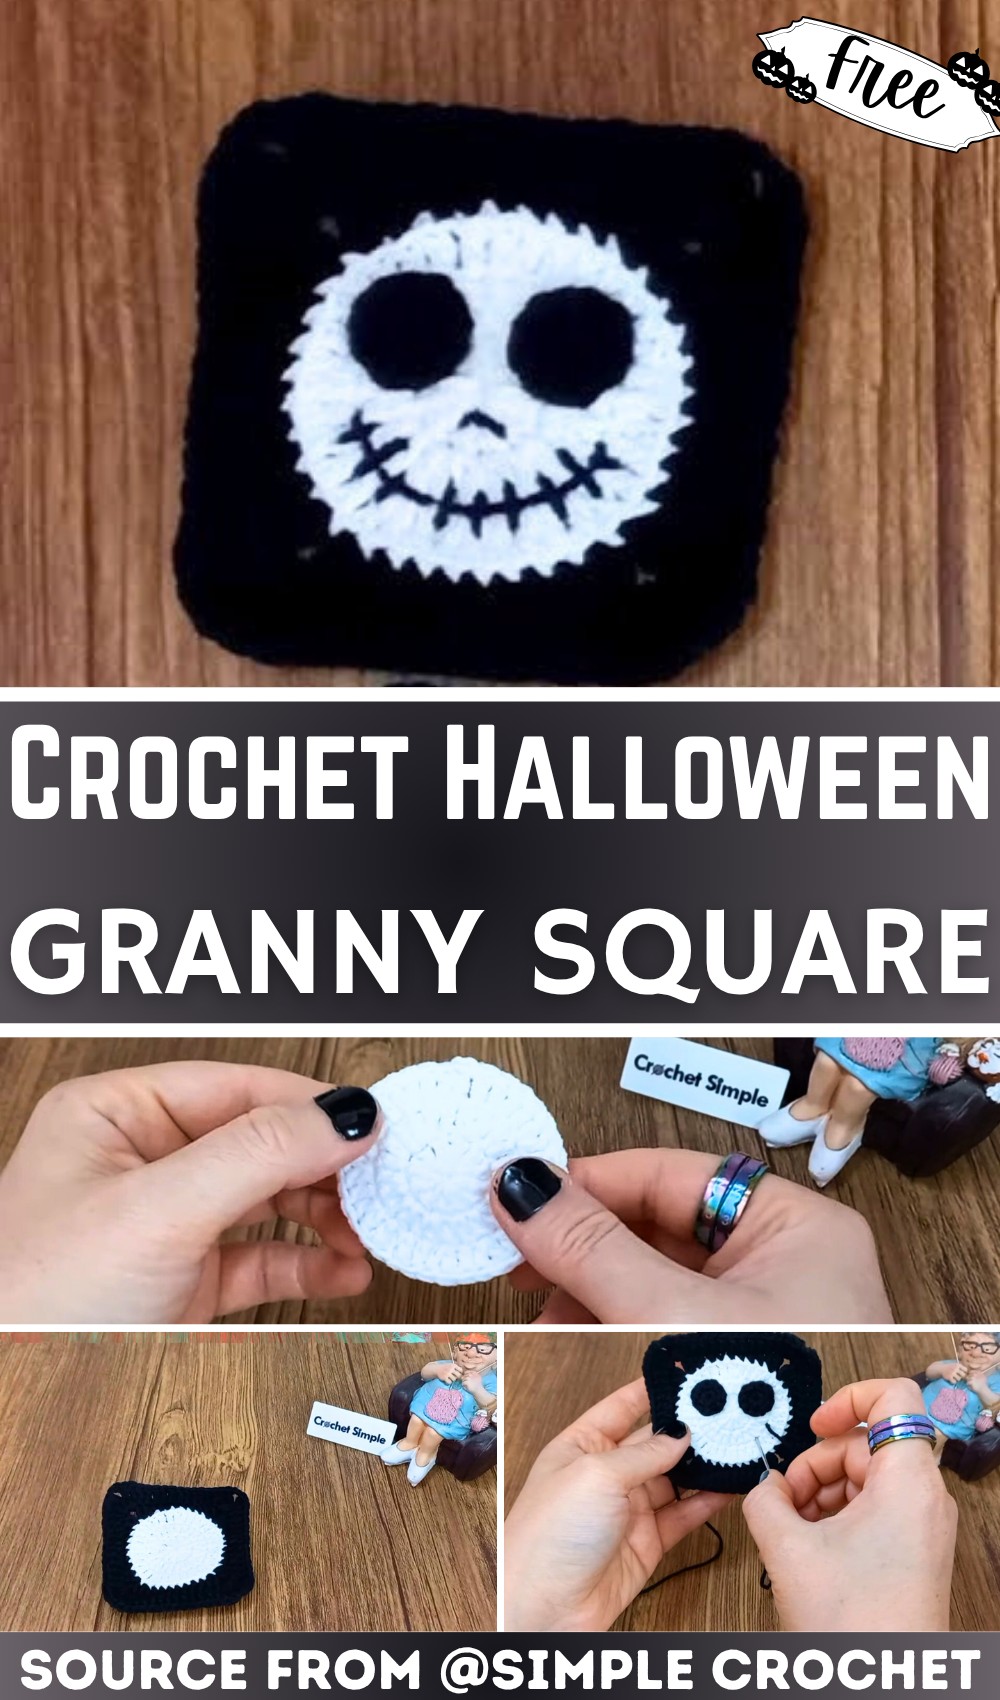
fThis Halloween-inspired crochet square combines simple granny square techniques with fun embellishments to create a spooky design ideal for seasonal patterns.

This crochet square is a fun and spooky way to bring Halloween spirit into your home. Featuring a creative design inspired by Jack Skellington, it’s perfect for Halloween decor, handmade blankets, or even festive cushions. Its playful look makes it special, and it’s just as much fun to make as it is to display.
Halloween Crochet Square Pattern
Creating this crochet square is simple and enjoyable. The crochet tutorial walks you through every step, from forming the square to adding details like Jack’s stitched face and expressive eyes. Beginners will enjoy how easy it is to follow along, while the result looks impressive and festive. The magic lies in the small touches, like the delicate stitch details that bring the iconic character to life.
Credit Simple Crochet
Key Features and Construction Overview:
- Begins with a magic ring and builds a circular base, transitioning into a classic square shape.
- Incorporates double crochet, half double crochet, and single crochet stitches for textural variation and shaping.
- Utilizes back loop and third loop-only crochet for added structural definition in the outer rounds.
- Special features include a Jack Skellington-style face, complete with crocheted eyes and stitched facial details.
- Ideal for assembling themed items like blankets, pillows, or banners for Halloween décor.
This pattern starts with a magic ring, which forms the foundation of the square. You’ll begin by working a series of double crochet stitches into the magic ring, gradually increasing in subsequent rounds to create a stable base. By the end of the first few rounds, you’ll have transitioned from a compact circle into a square shape, using carefully spaced chain stitches to form the corners. The consistent increases result in a neat and symmetrical foundation for this spooky design.

A standout feature of this pattern is the textural details added in later rounds using back loop and third loop-only crochet. These techniques create subtle angles in the stitches that elevate the visual appeal of the square while maintaining the integrity of its shape. Shaping the corners is done with strategically placed combinations of double crochet and chain spaces, ensuring the square remains balanced and crisp.

Once the square base is complete, the Jack Skellington face begins to take shape! The eyes are crocheted separately using half double crochet stitches, worked in a magic ring. They are then sewn or glued onto the square, creating an iconic, ghostly look. For the finishing touches, facial features like the mouth and nose are hand-stitched with the tail end of yarn, allowing you to customize the expression to make it as spooky or playful as you’d like.

The entire process, while beginner-friendly, includes delightful opportunities to experiment with texture, loops, and color changes. The final square is versatile and can be adapted to different patterns, making it a perfect addition to your Halloween crocheting lineup.
Video Tutorial
Step-by-Step Pattern
Materials:
To create your Halloween Granny Square, you’ll need the following supplies:
- Yarn:
- Main color (e.g., black or white for Jack Skellington’s face)
- Secondary color (e.g., orange or green for contrast)
- Crochet Hook: Size 4mm (G/6) or as recommended for your yarn.
- Other Tools:
- Yarn needle (for weaving in ends)
- Scissors
- Stitch marker (optional, for keeping count).

Pattern Instructions:
Create the Foundation (Magic Ring & Round 1)
- Start with a magic ring.
- Chain 3 to count as the first dc.
- Make 11 dc into the magic ring. You should have 12 dc total (including the starting chain-3).
- Pull the tail of the magic ring to tighten the loop, and join with a slip stitch into the top of the chain-3.
Build the Second Round
- Chain 3, which counts as the first dc.
- Make 1 dc into the same stitch as the chain-3 (now you have 2 dc in the first stitch).
- In each of the next 11 stitches, make 2 dc.
- At the end of this round, you’ll have 24 dc total.
- Join with a sl st into the top of the chain-3.
Create Increases for the Third Round
- Chain 3 to count as the first dc.
- In the same stitch, make 1 dc (total 2 dc).
- Into the next stitch, make 1 dc. Then, in the next stitch, make 2 dc.
- Continue alternating between 1 dc and 2 dc until the end of the row.
- At the end of this round, you will have 36 dc total.
- Join with a sl st into the top of the chain-3. Fasten off and cut the yarn.
Add a Border with Secondary Color
- Attach your secondary yarn color to one of the stitches using a slip knot.
- Work stitches into the back loop and third loop for this round to create texture:
- Chain 3 (counts as the first dc).
- Make 2 chain for spacing.
- In the next stitch, make 2 dc.
- Next, work: 1 hdc into the next 2 stitches, 1 sc into the next 3 stitches, and 1 hdc into the next 2 stitches.
- In the next stitch: 2 dc, 2 chain, 2 dc.
- Repeat this pattern until the square is complete.
- Join with a sl st into the chain-3.
Final Decorative Round
- Slip stitch into the corner space and chain 6 (counts as 1 triple crochet plus 2 chain).
- Work 2 triple crochet into the same corner space.
- Work 1 dc into each of the next 11 stitches.
- In each corner space, repeat:
- 2 triple crochet, 2 chain, 2 triple crochet.
- Continue working around the square. At the end, join with a sl st into the fourth chain.
Create Jack Skellington’s Facial Features
Eyes:
- Using black yarn, make a magic ring.
- Chain 2 to count as the first hdc, then make 11 hdc into the ring (12 hdc total).
- Tighten the ring and join with a sl st. Leave a long tail for sewing.
- Make 2 identical circles for the eyes.
Mouth & Nose:
- Use a yarn needle and black yarn to embroider Jack Skellington’s mouth and nose directly onto the Granny Square.
- For the mouth, make a curved line with stitched “scars” for extra spookiness.
- Place the eyes where desired and secure them by sewing or gluing.
Final Touches:
- Secure and hide any loose ends with a yarn needle.
- Block the square (optional) to maintain its shape.
Pattern Question
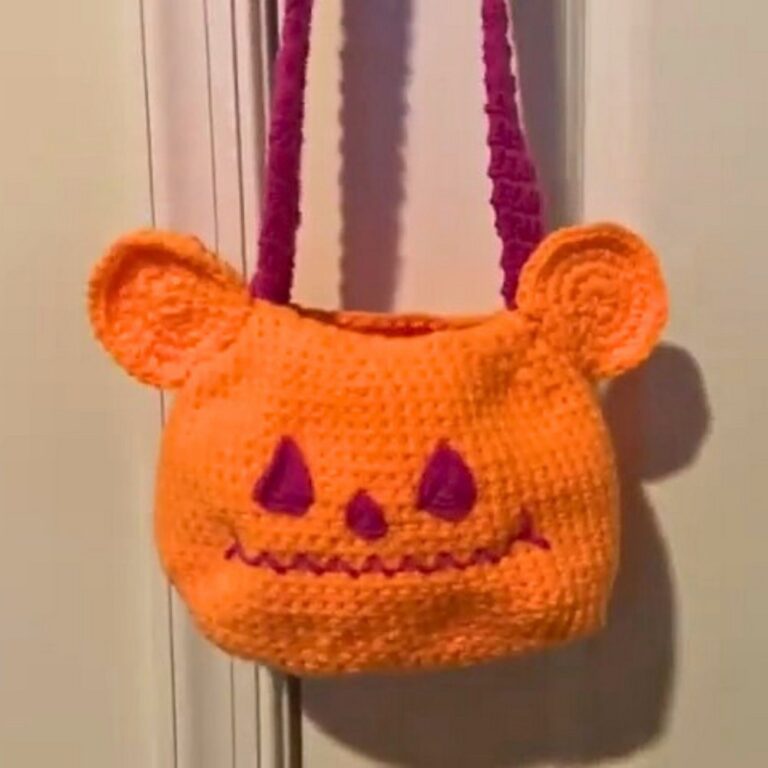
Q: Can I use this pattern for items other than squares, like bags or coasters?
A: Yes! With slight adjustments, you can integrate the design into bags, coasters, or embellishments for a larger pattern. It’s flexible and versatile.
Troubleshooting and Suggestions:
- Common Issues:
- Magic Ring Tightening: Ensure the tail of the magic ring is pulled snugly after the foundation round to avoid gaps in the stitches.
- Crochet in the Correct Loops: When working in the back loop and third loop, be careful not to accidentally grab the wrong section of the stitch, as this may distort the square’s shape.
- Consistent Stitch Tension: Maintaining even tension is particularly important in the third-loop rows to keep the square edges clean and tidy.
-
Creative Modifications:
- Color Variations: Swap the standard black-and-white colors for shades of orange, purple, or green to create a vibrant twist on the spooky design.
- Embellishments: Add decorative elements like embroidered spiderwebs, tiny crocheted bats, or pom-poms for added texture and flair.
- Multi-Purpose Uses: These squares are perfect for piecing together blankets, creating bunting, or incorporating them into festive tote bags. You could even enlarge the design for use as a centerpiece on a Halloween-themed table.