Easy Crochet Bracelet Pattern with Adjustable Length
Here’s a simple crochet bracelet you can make to fit your wrist, with an easy repeating stitch and plenty of room for color changes.
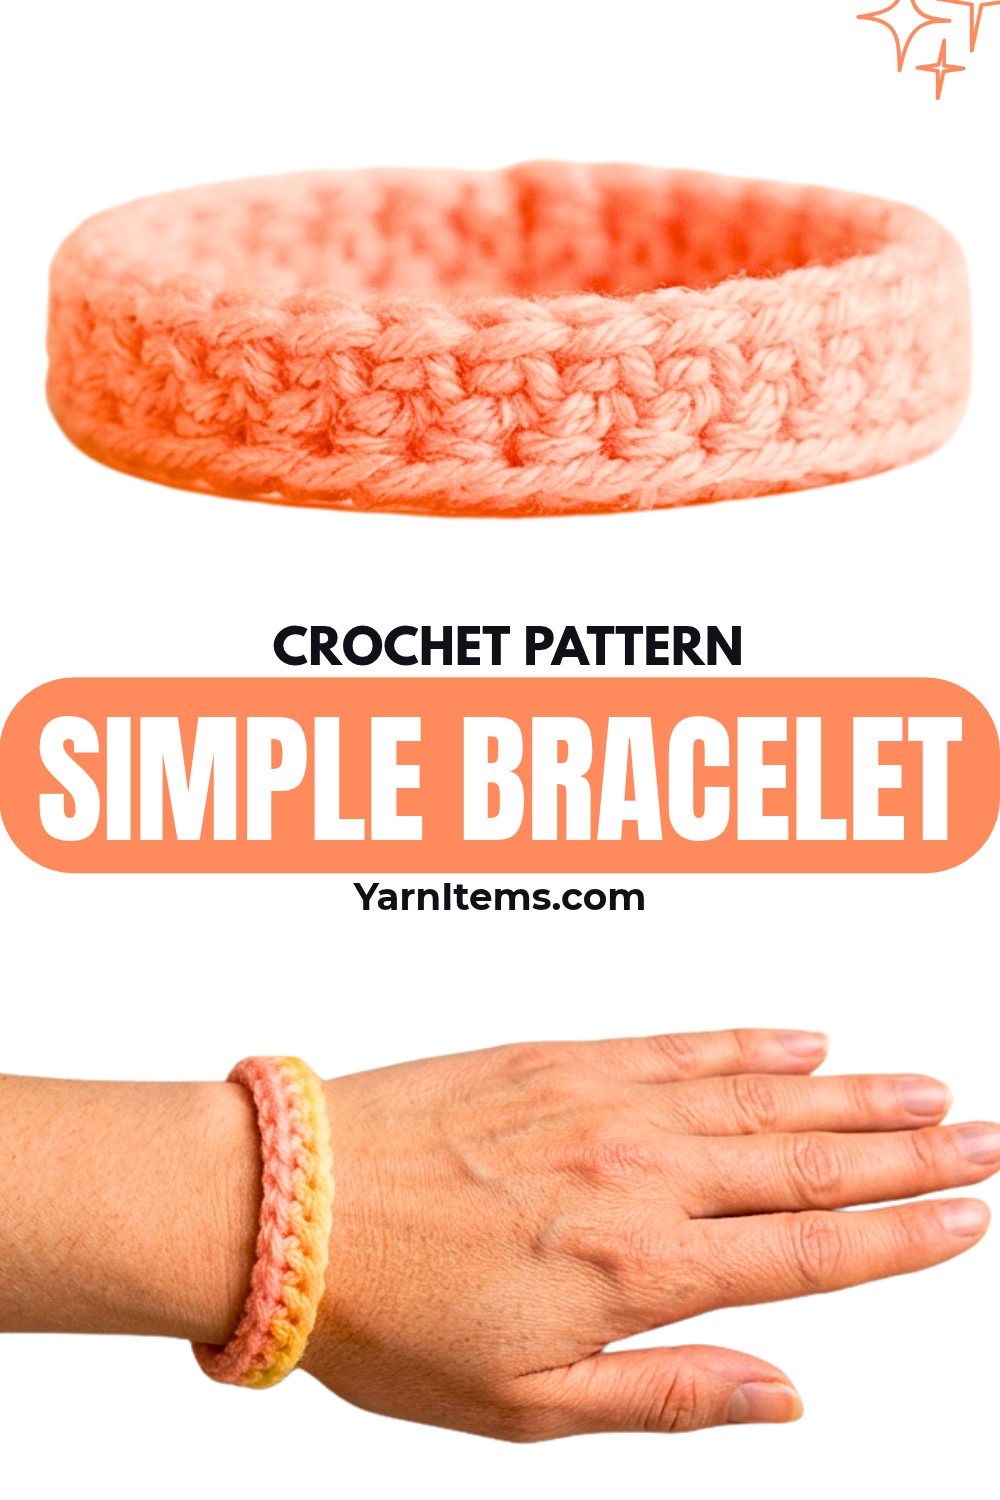
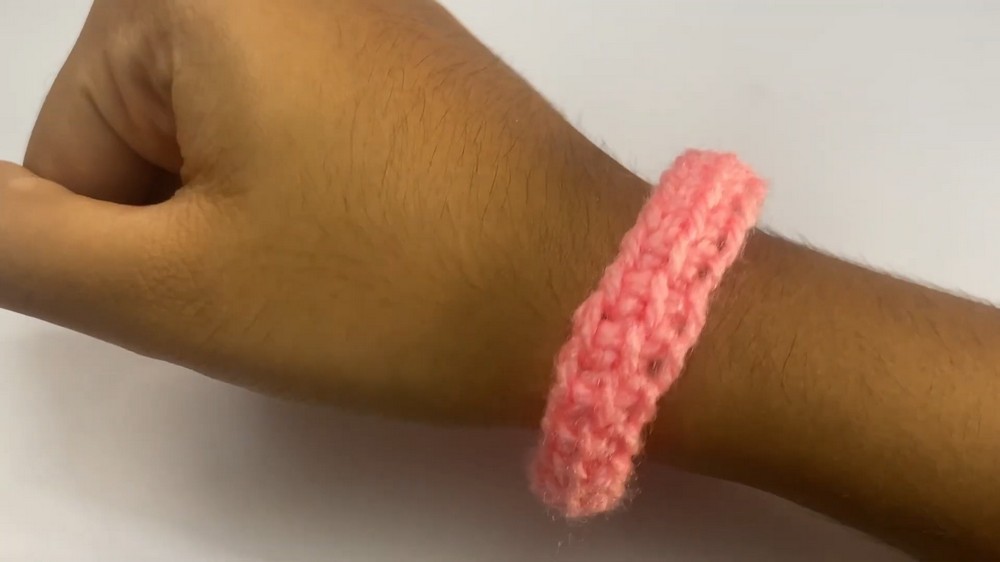
A bracelet does not need a complicated crochet stitch pattern to look polished. This design creates a slim, textured cord from a small foundation and a repeating forward-and-return sequence, making it an easy way to practice working into vertical bars while creating something wearable.
Once the basic rhythm becomes familiar, the length is completely in your hands. Stop when the cord comfortably reaches around your wrist, or keep going to turn the same crochet technique into a double-wrap bracelet, choker necklace, or longer strap.
Credit The Crochet noire
Materials & Tools
- Yarn: Medium-weight yarn. Solid and variegated or self-striping colorways both work well.
- Crochet Hook: Appropriate size for your chosen yarn; a 4.0 mm or 5.0 mm hook is standard for this yarn weight.
- Scissors
- Yarn Needle: Optional, for weaving in ends and creating a neat finish.
Finished Size & Customization
The bracelet is fully customizable because you simply repeat the pattern row until the cord comfortably fits around your wrist.
A self-striping or ombre yarn creates automatic color blocks as you crochet. For a different use, continue the cord to a longer length for a double-wrap bracelet, choker necklace, or sturdy bag strap.
Pattern Abbreviations & Terminology
- ch: Chain
- sl st: Slip Stitch
- yo: Yarn Over
- st(s): Stitch(es)
- Loop: The loops pulled up and kept on the crochet hook
- Vertical Bar: The front loops of the stitches from the previous row where you insert the hook
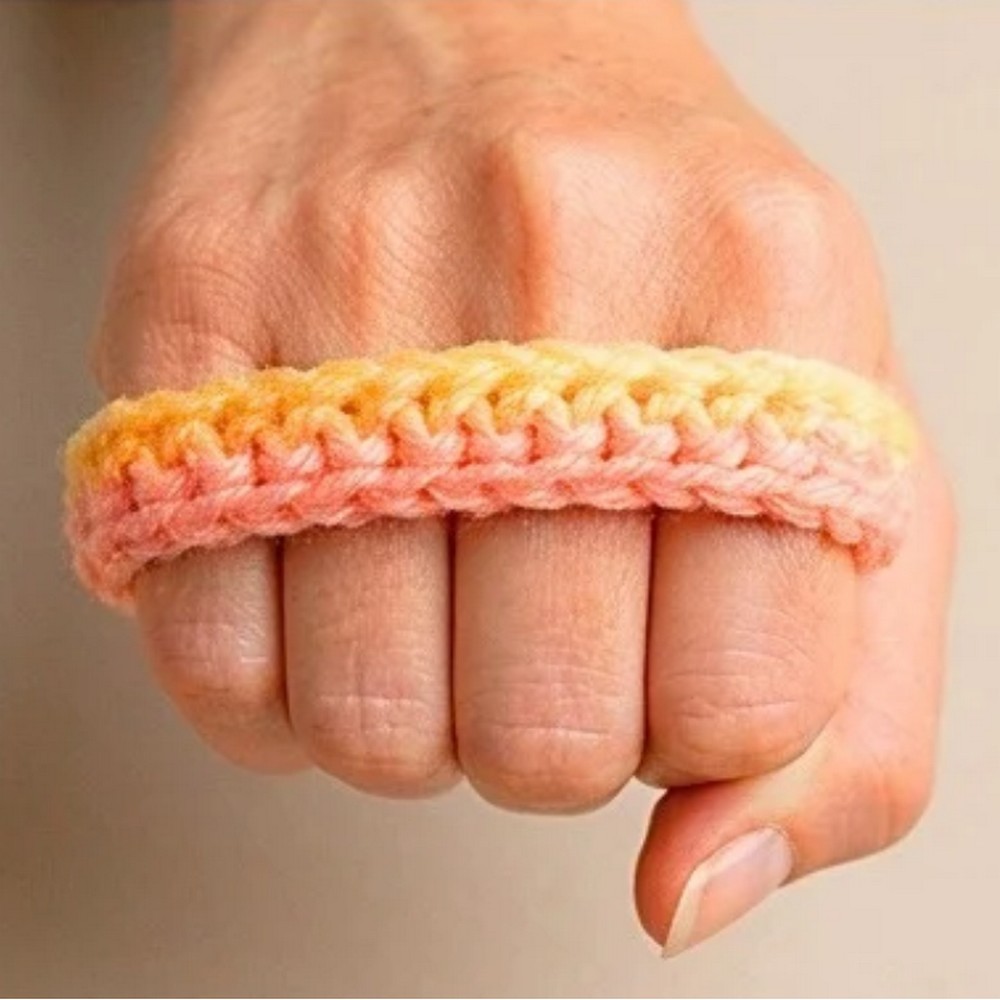
Crochet the Bracelet Cord
Foundation Row
Make a slip knot and place it on your crochet hook.
Foundation Row: Ch 3. Insert your hook into the second ch from the hook, yo, and pull up a loop. Insert your hook into the next (last) ch, yo, and pull up a loop. (3 loops on hook) Ch 1, then yo and pull through 2 loops on your hook. Finally, yo and pull through the remaining 2 loops.
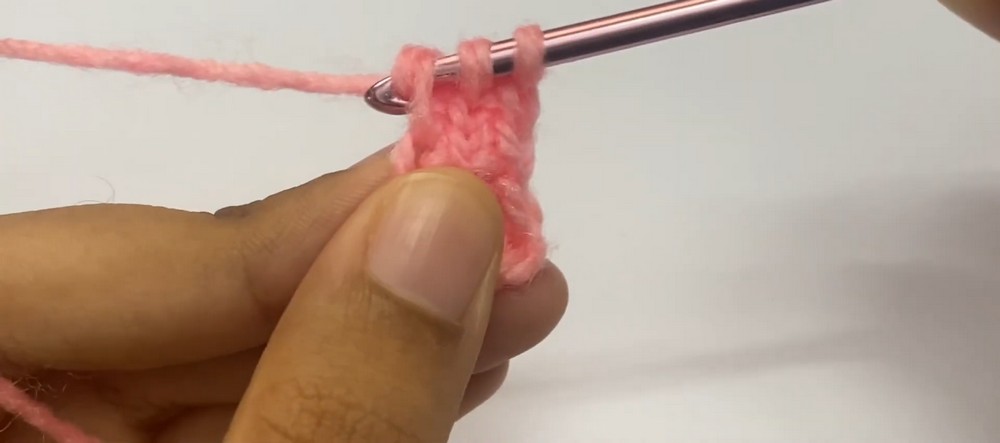
Read the Vertical Bars
The next rows become easier once you can recognize the two prominent vertical bars from the previous row. These are the places where the hook will enter during the forward pass.
Insert the hook under the first vertical bar and pull up a loop, then work under the next vertical bar and pull up another. You should have 3 loops on the hook before beginning the return pass. Keeping this count in mind makes the repeating rhythm much easier to follow.
Repeat the Main Pattern
Row 1 and Onwards: Insert your hook under the first prominent vertical bar from the previous row, yo and pull up a loop. Insert your hook under the next vertical bar, yo and pull up a loop. (3 loops on hook) Ch 1, then yo and pull through 2 loops. Yo and pull through the remaining 2 loops.
Repeat this same forward-pass and return-pass sequence continuously until the cord reaches the desired size for your wrist.
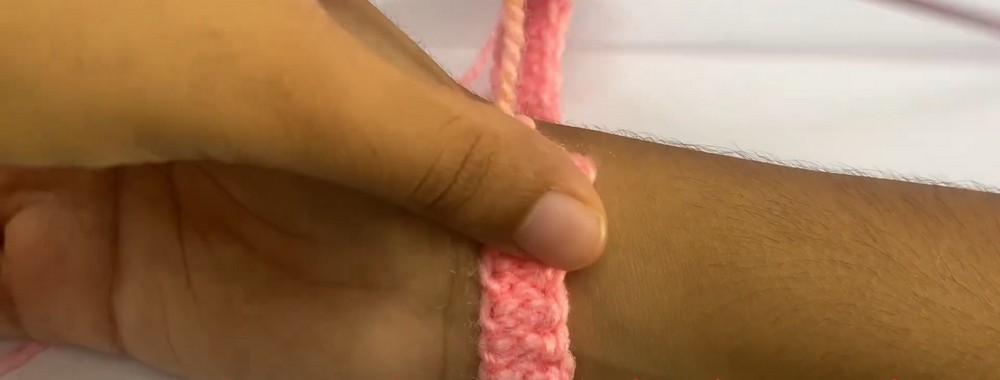
Join the Bracelet Ends
Once the cord wraps comfortably around your wrist, fold the bracelet in half so the working loop meets the starting edge.
Insert your hook through the stitch on the working edge and directly into the corresponding stitch on the foundation chain edge.
Work 3 slip stitches (sl st) evenly across the joined edges to seam the two ends together.
Ch 1 to lock the stitch, then cut the yarn thread, leaving a short tail for hiding.
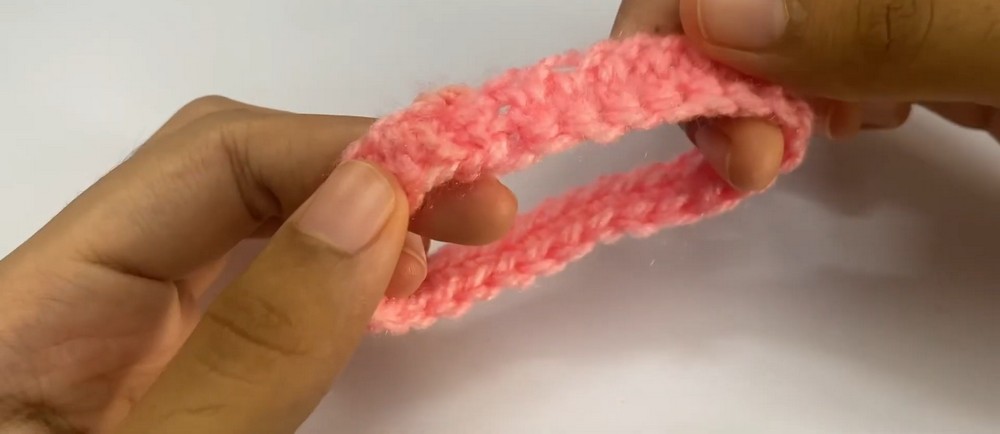
Hide the Ends and Finish
Use your crochet hook or a yarn needle to pull the loose yarn tails through the stitches on the inside, or wrong side, of the bracelet.
Trim any excess yarn neatly.
If you want the joined end to look especially smooth, sew it flat with a yarn needle so the seam sits neatly against the bracelet.
The finished bracelet is ready to wear, and the same simple cord can be made to almost any length. Try a self-striping yarn for effortless color changes, or extend the cord further when you want to turn this small accessory into something completely different.