Crochet Flower Hair Clip Pattern with 5-Petal 3D Design
Need a pretty crochet hair accessory that feels more like a tiny flower than a flat appliqué? This 5-petal design gets its dimension from simple shaping and a soft center gradient.
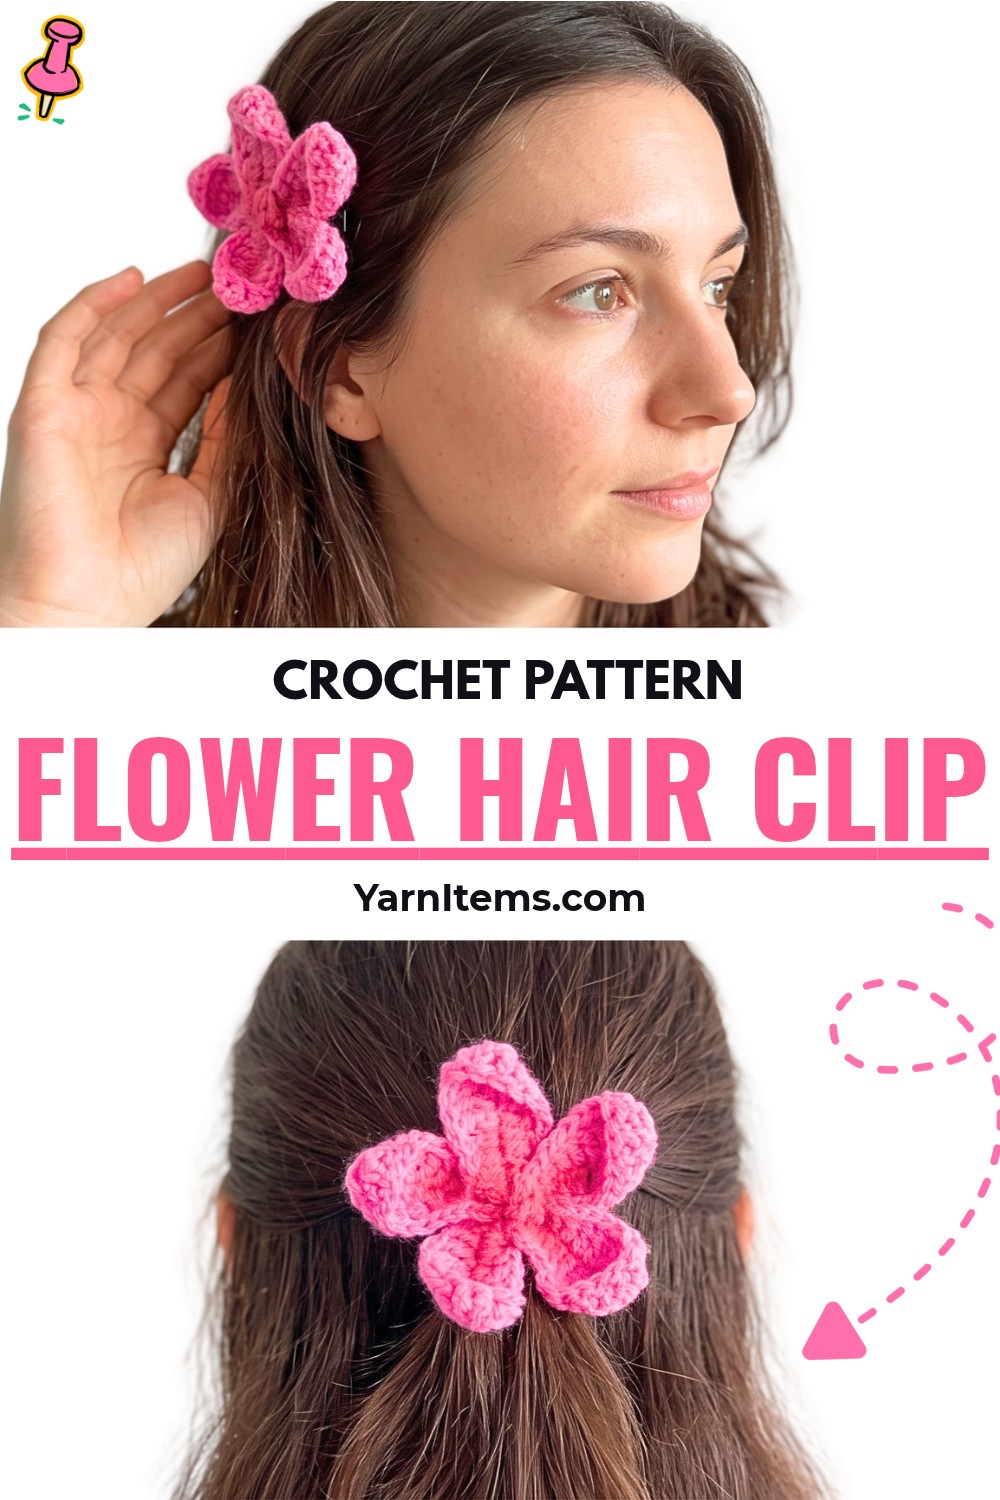
Soft pink yarn, curved petals, and a lightly shaded center turn this crochet flower into a dimensional hair clip with a surprisingly polished finish. Each petal is worked around a short foundation chain, so the stitches naturally rise toward the rounded tip before returning along the opposite side.
Once the five petals are finished, you’ll learn how to gather their bases, overlap the sides, secure the crochet flower to a 2-inch metal clip, and add the final blush shading. The pattern uses familiar stitches, but the turning point and petal assembly are worth following carefully so the crochet flower keeps its full, fan-like shape.
Materials & Tools
- Yarn: Light worsted or DK weight yarn in pink or your preferred flower color
- Crochet hook: 3.0 mm
- Hardware: Metal snap hair clip or flat alligator clip
- Finishing: Pink makeup blush or craft paint for the center shading
- Tools: Yarn or tapestry needle and scissors
- Optional: Hot glue gun if you prefer gluing the clip instead of sewing it
Finished Size & Ways to Customize It
The finished flower is a medium-sized, dimensional 5-petal design sized to cover a standard 2-inch metal hair clip. Because the flower is assembled from individual petals, you can also play with the color and where you use the finished piece.
Try autumn shades for a warm seasonal flower, brighter colors for a summer version, or different blush tones to change the center gradient. The flower can also be adapted as a headband decoration, keychain accent, or sweater appliqué.
Pattern Abbreviations
This pattern uses standard US crochet terminology:
- ch = chain
- sc = single crochet
- hdc = half double crochet
- dc = double crochet
- tr = treble crochet
- sl st = slip stitch
- st(s) = stitch(es)
Crochet Flower Petal Pattern
Make 5 petals.
Each petal is worked in one round around both sides of a foundation chain. The stitch heights gradually increase toward one end, then five treble crochets in the final chain create the rounded turning point. From there, you work back along the opposite side of the chain to mirror the first half.
Round 1: One Petal
Start with a slip knot and ch 10.
Round 2: Skip the first chain from the hook, then work 1 sc in the 2nd ch, 1 hdc in each of the next 2 chs, 1 dc in each of the next 2 chs, and 1 tr in each of the next 3 chs. In the very last chain, work 5 tr in the same stitch to form the rounded end and turn the work naturally to the opposite side of the foundation chain. Continue with 1 tr in each of the next 3 chs, 1 dc in each of the next 2 chs, 1 hdc in each of the next 2 chs, and 1 sc in the final ch. Sl st into the base, ch 1 to secure, and cut the yarn, leaving a short tail for weaving. Stitch count: 26 sts.

That group of 5 tr in one chain is the key shaping point of the petal. It gives you enough stitches to curve around the end of the foundation chain rather than leaving a sharp corner. After making the turn, the stitch heights decrease in reverse order, giving the petal its pointed, leaf-like outline.
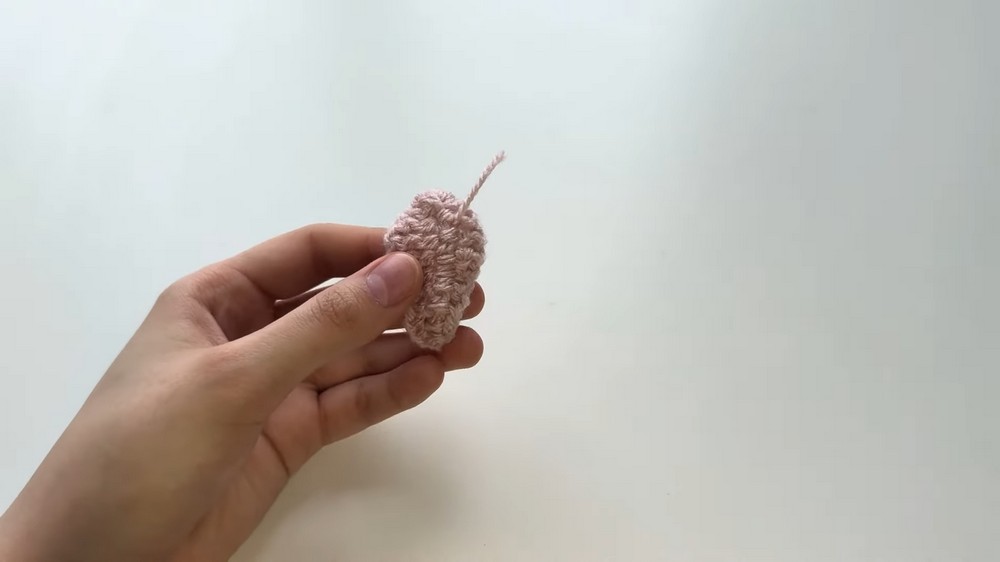
Before making the remaining petals, look at the first one from above. The two sides should curve around the rounded end and meet back at the narrow base. If the petal looks twisted, check that you have worked along the opposite side of the original chain rather than accidentally returning through the same loops.
Repeat Round 1 until you have 5 matching petals.
Clean Up the Petals
Weave in the tail of each petal before assembly. Thread the tail onto a yarn needle and pass it through several stitches on the back of the petal, keeping the front surface neat. Snip away the excess yarn once it is secure.
Having all five tails dealt with now makes the center assembly much easier—you won’t have loose ends getting in the way while you arrange the petals.
Assemble the Flower
Bring the Petal Bases Together
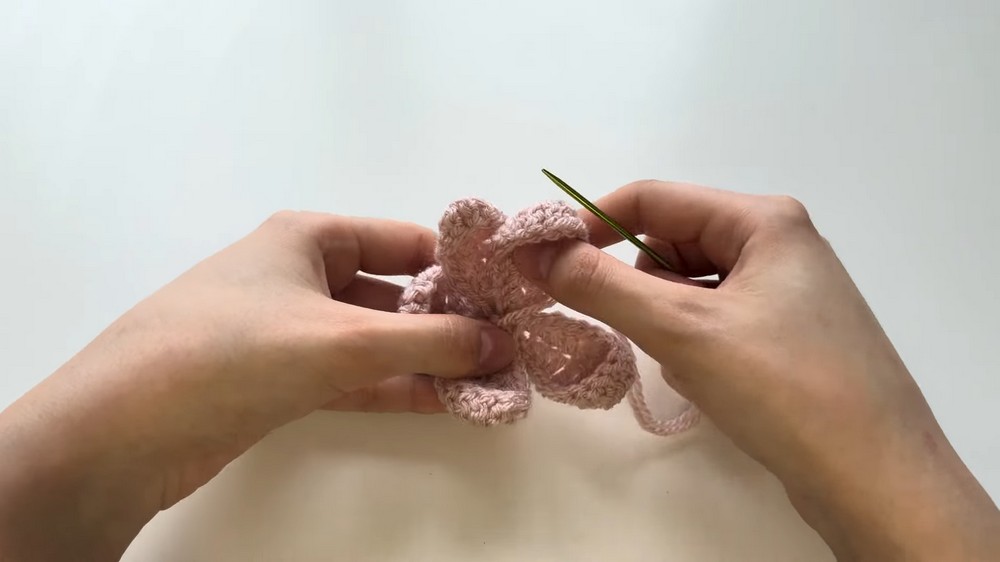
Cut a long piece of yarn and thread it onto your tapestry needle. Insert the needle through the very first sc/chain at the base of the first petal, then continue threading the same way through the bases of all five petals.
Once all five petals are on the yarn, pull firmly. Their narrow bases should draw together into a compact center circle. Tie a secure knot, but keep the petals free enough to arrange them into their final shape.
Overlap and Shape the Petals
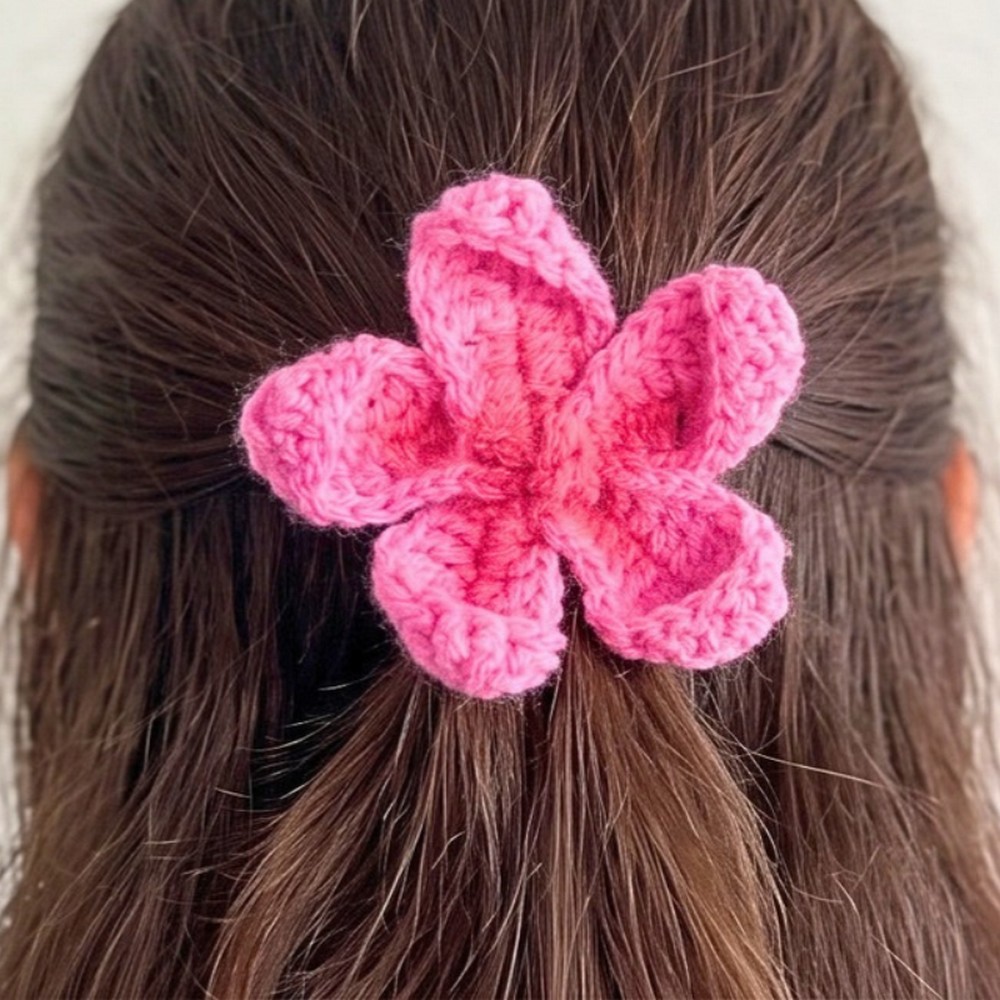
Spread the five petals around the center, allowing their sides to overlap slightly so the flower develops a fuller, dimensional appearance.
Use the same yarn and needle to sew the touching edges of neighboring petals together. Pass through the edges where two petals overlap, working around the flower so the fan shape stays in place. Secure the yarn when the petals hold their shape firmly.
The goal is not to flatten the petals together. Just catch enough of the adjoining edges to keep the overlap stable while allowing the individual petals to remain visible.
Sew on the Hair Clip
Turn the flower over and position the metal snap clip at the back center. Open the clip slightly so you can reach its holes with your needle.
Sew through the holes in the clip and into the thicker base area where several petals meet. Catching multiple petals rather than attaching only to one gives the clip a more stable foundation and helps prevent it from wobbling when opened and closed.
Tie the yarn securely on the back and trim the remaining end. If you prefer not to sew the hardware, a strong dab of hot glue can be used instead.
Add the Soft Center Gradient
For the final detail, place a small amount of pink makeup blush or craft paint at the center intersection of the five petals.
Use a small brush or your fingertip to gently blend the color outward toward the middle of each petal. Keep the color strongest at the center and gradually soften it as it travels outward, leaving the petal tips lighter.
A light touch works best here. The goal is a subtle fade that emphasizes the flower’s center without covering the stitch texture.
Final Shape Check
Open and close the clip once to make sure the hardware is secure. Then turn the flower upright and adjust the petals so their rounded ends fan evenly around the center. If one petal sits too flat, gently lift its overlapping edge and reshape it by hand.
Your finished flower should have a gathered center, five clearly visible petals, and enough overlap between the petals to give the hair clip a softly dimensional look.