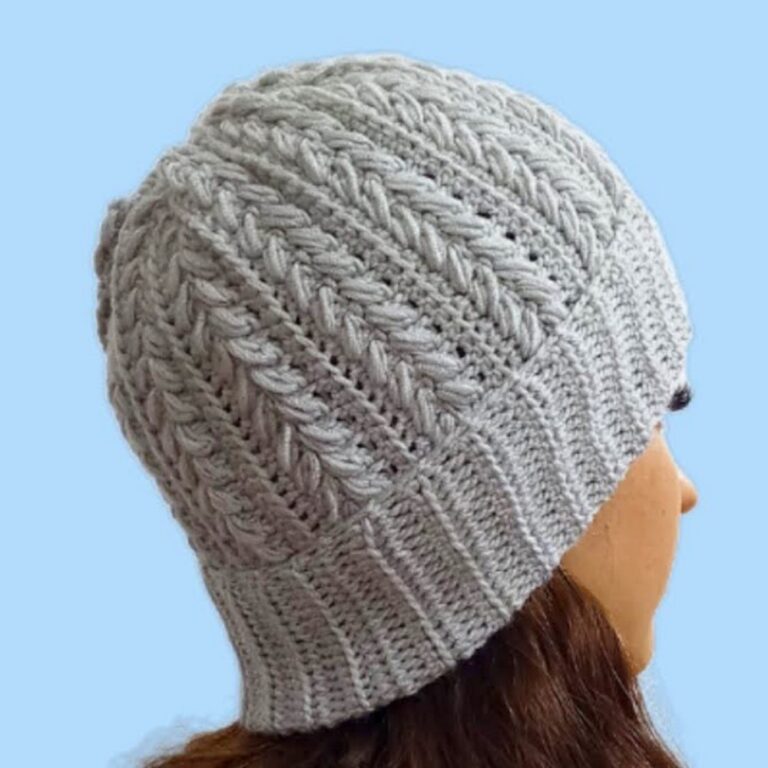
Crochet Beach Wrap With Light Mesh & Seashell Charm
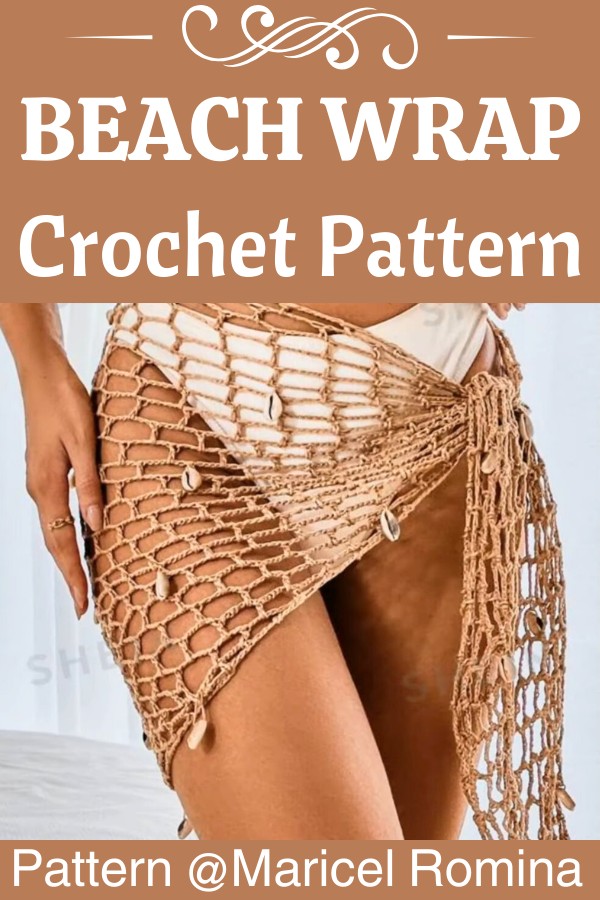
A crochet beach wrap doesn’t need bold stitches to stand out. This design lets an open mesh pattern do the work, creating a light layer that looks relaxed and beach-ready.
Tiny seashell accents add a coastal touch without taking away from its simple style. The crochet pattern ahead shows how these details come together into a wrap you’ll enjoy wearing all summer.

The crochet wrap grows quickly as the mesh repeats from row to row, making the process easy to follow and satisfying to watch. A few simple materials are all you need to create the base, then you can finish it with tassels, beads, or extra seashells if you like. Keep reading to see how this breezy crochet design comes together, one section at a time.
Credit Maricel Romina
Materials & Tools Needed
- Yarn: 120g–140g of medium-weight (approx. 2mm thick) 100% cotton yarn. Choose unmercerized (rustic, no sheen) or mercerized (shiny).
- Crochet Hook: Size 5.5 mm (US I/9). Adjust to 5.0 mm or 4.5 mm depending on tension.
- Embellishments: Spiral seashell charms, wooden beads, or sequins.
- Tools:
- Sewing needle & thread (to attach embellishments).
- Scissors.
- Cardboard (for making tassels).
Finished Size & Customization Ideas
- Width: Approx. 150–160 cm (59–63″) along the top flat edge.
- Customization Options:
- Tighter Mesh: Use shorter chains (ch 3 instead of ch 5) for less transparency.
- Begin rows with ch 3, and use normal dc instead of tr at row ends.
Pattern Abbreviations & Terminology
(US Crochet Terms are used):
- ch: Chain stitch
- sl st: Slip stitch
- sc: Single crochet
- dc: Double crochet
- tr: Treble crochet
- sp: Space/arch

Step-by-Step Instructions
Foundation Ring
- Chain 10.
- Join with sl st into the first chain to form a ring.
Expanding Triangle Instructions
Row 1
- Ch 9 (counts as tr + ch 5 space).
- Dc into the ring.
- Ch 5, then tr into the ring.
(You’ll now have 2 mesh windows.)

Row 2
- Ch 4 (counts as tr), turn work.
- Ch 5 (first chain-space).
- Dc into the first chain-space of Row 1.
- Ch 5, dc into the next chain-space.
- Ch 5, then tr into the 4th chain of Row 1’s turning chain.
(You’ll now have 3 mesh windows.)
Row 3
- Ch 4, turn work.
- Ch 5, dc into the next chain-space. Repeat this sequence across the row.
- End the row with Ch 5, then tr into the 4th chain of the previous row’s turning chain.
(4 mesh windows will now be visible.)
Rows 4 to Completion
Repeat Row 3. Each row adds 1 new mesh space. Continue until the top flat edge measures 150–160 cm.
Finishing
- Cut yarn, pull through the final loop, and weave in ends.

Adding Shells & Tassels
Attaching Seashell Charms
- Avoid adding shells to the center-back. Focus on outer diagonal edges.
- Thread your needle with sewing thread, then sew shells/beads securely into the outer mesh stitches of the wrap.
- Ensure natural movement by keeping stitches loose.

Creating Tassels
Step-by-Step Tassel Method:
- Use cardboard to wind yarn 20+ times (for thickness).
- Tie the top with a separate strand tightly into a double knot.
- Snip through the loops at the bottom to release fringe.
- Create a “neck” 1″ below the top knot using tight wraps with another strand. Trim fringe evenly.
- Attach the tassels to the wrap’s top corners securely.
Video Tutorial