Cute Bear Coaster Crochet Pattern Free
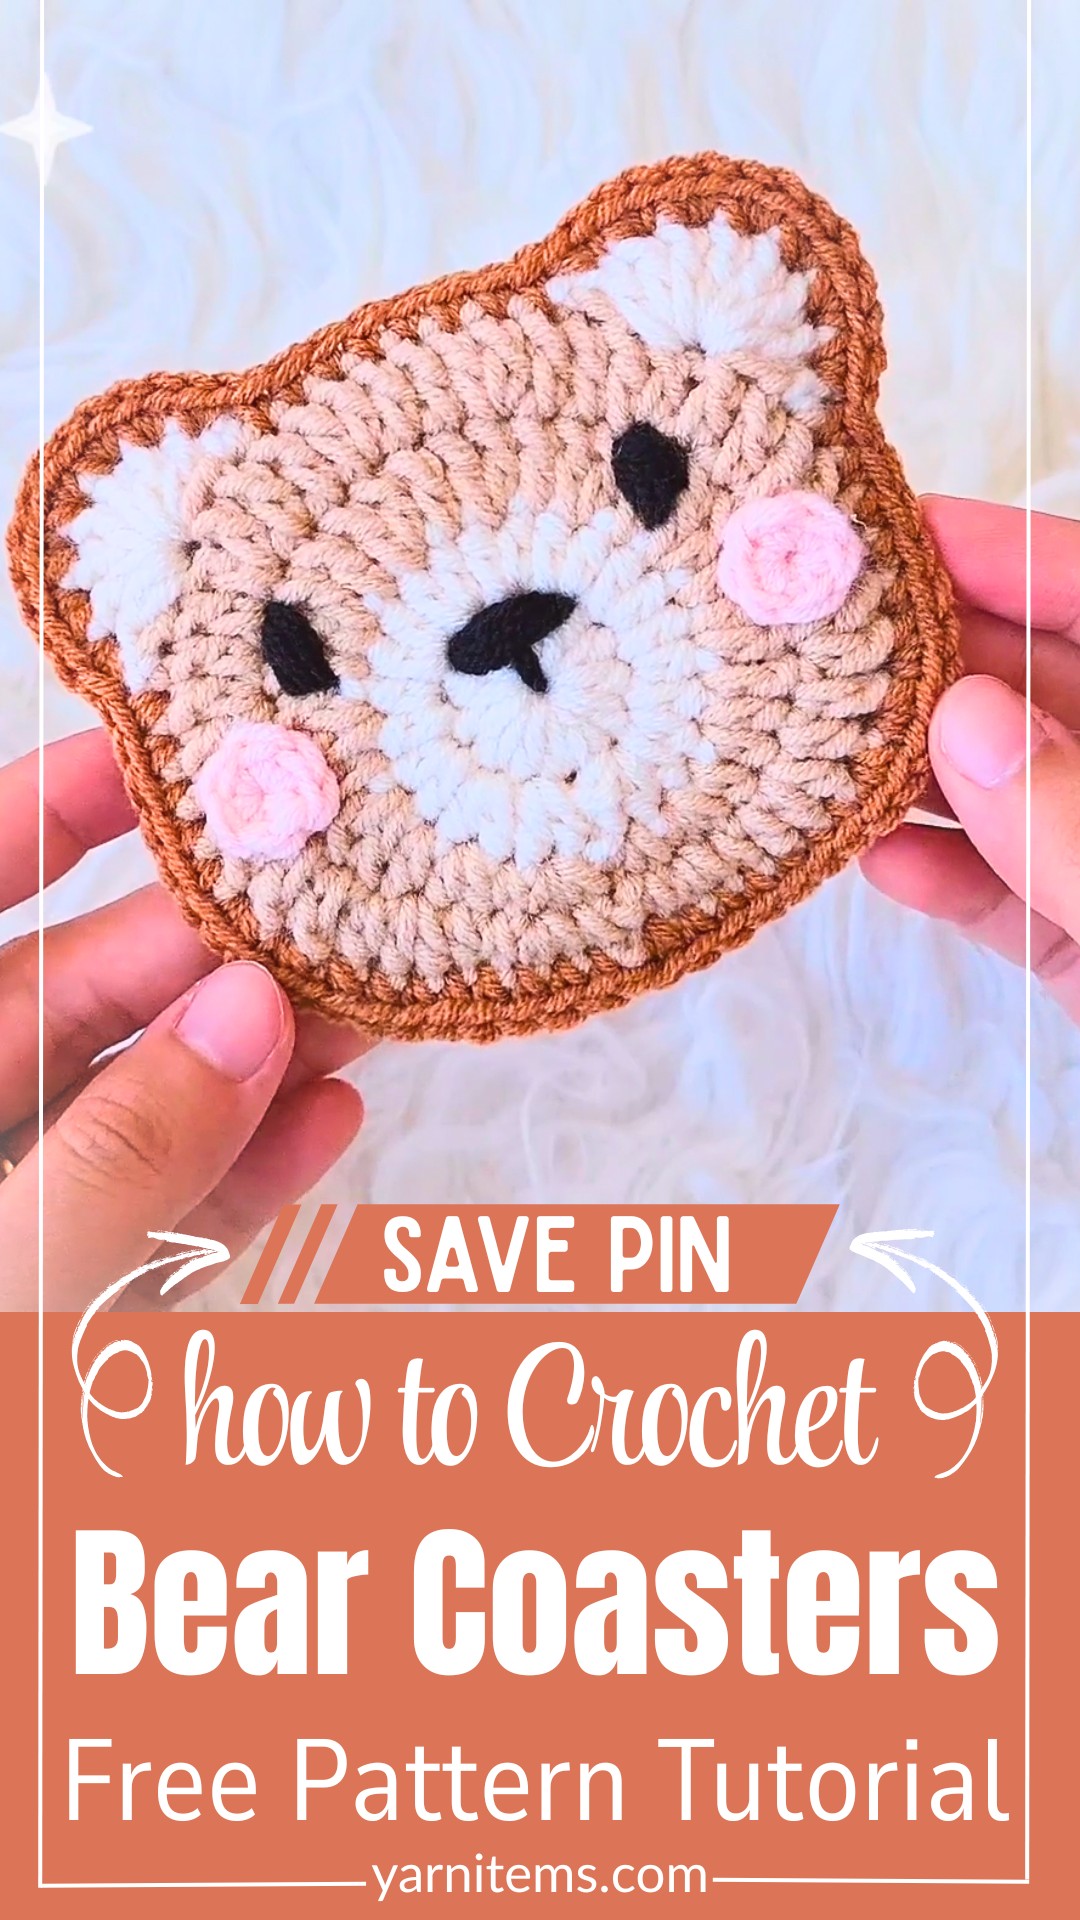
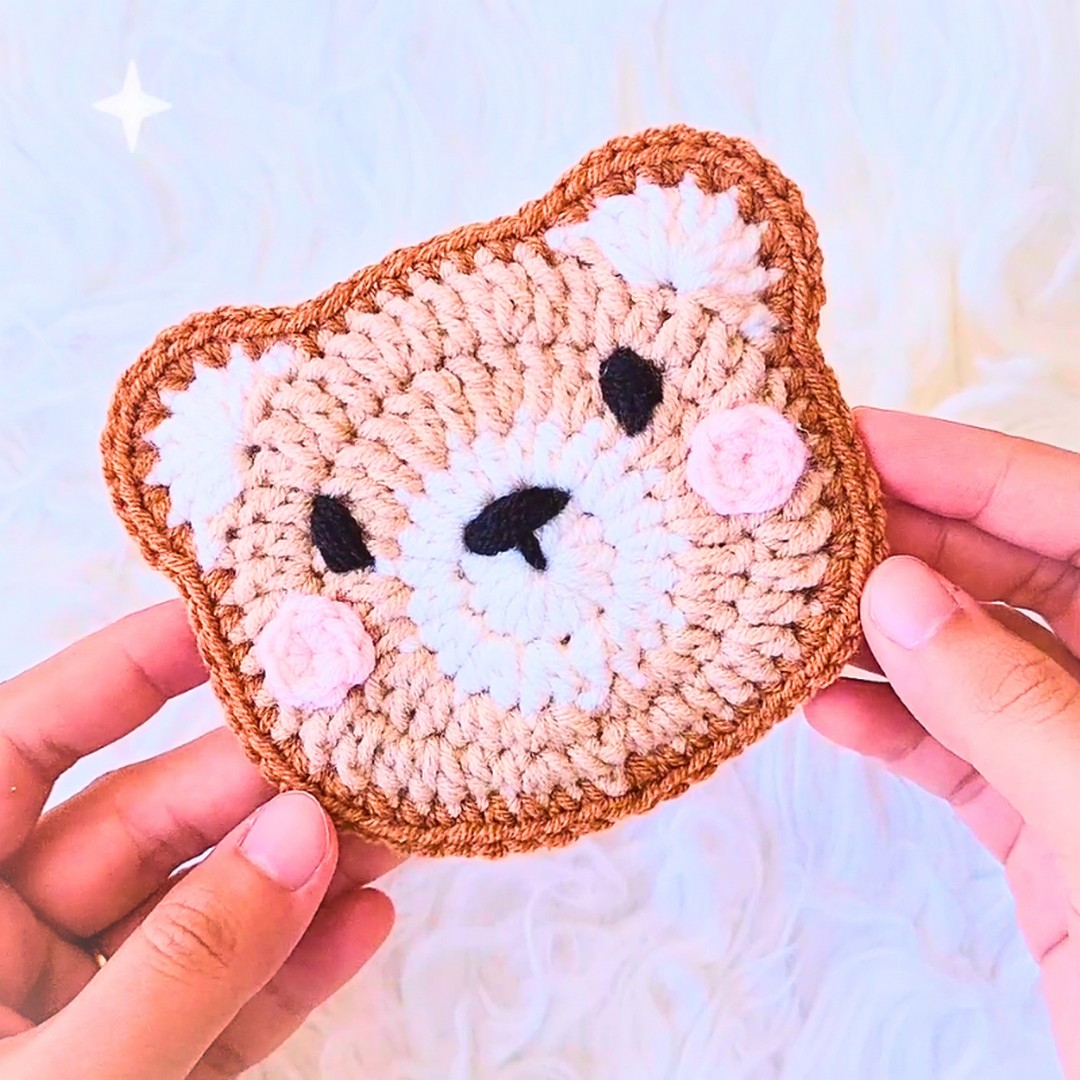
Looking for an adorable handmade coaster with personality? This cute bear design combines soft colors, rounded ears, embroidered features, and beginner-friendly crochet techniques.
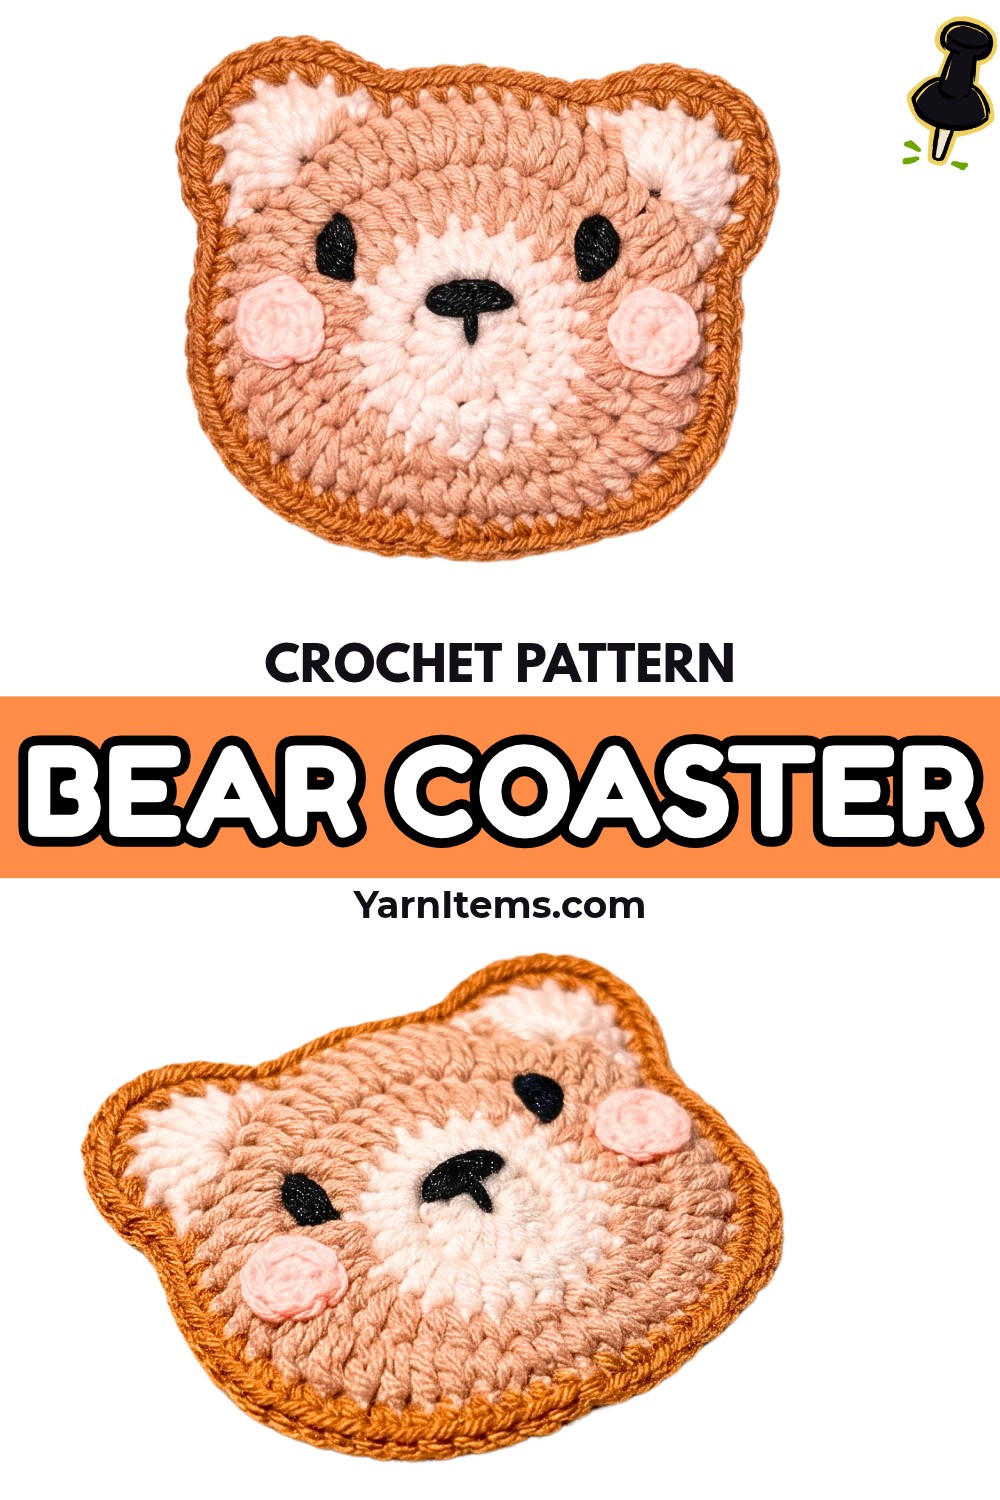
Crochet coasters bring practical use and handmade charm to everyday coffee breaks. This crochet bear design adds personality to your table while helping beginners practice circular stitches, color changes, and simple shaping.
Inside, this crochet tutorial explains yarn choices, stitch abbreviations, facial details, and panel assembly. You’ll learn how crochet techniques work together to create rounded bear ears, rosy cheeks, and neat edges. Let’s get started.
Credit melhz crochet
Materials & Tools
Gather these supplies before starting so you can work through each section without interruptions.
- 4-ply milk cotton yarn: Use off-white or cream for the snout and inner ears, light beige for the head center and backing, and medium brown for the outer border. Keep small amounts of pink for cheeks and black for facial embroidery.
- 3.5 mm crochet hook: Use this hook throughout the pattern.
- Stitch markers: Mark important stitches or round joins to help maintain your place.
- Tapestry needle: Use it for facial embroidery and weaving in yarn ends.
- Scissors: Cut yarn neatly when changing colors or finishing sections.
- Craft glue: UHU or similar glue can secure small cheek circles.
Finished Size & Customization
The completed coaster measures approximately 4.5–5 inches across, depending on yarn tension and individual stitch size.
- Change the colors: Replace medium brown with pastel pink or grey for a different animal-inspired appearance.
- Adjust the size: Changing yarn thickness or hook size can produce a larger hot pad or smaller decorative appliqué. Check the finished dimensions before using it for hot cookware.
- Create matching sets: Use different color combinations while keeping the same basic circular construction.
Crochet Abbreviations
The pattern uses standard US crochet terminology.
- ch: Chain
- st/sts: Stitch/stitches
- sl st: Slip stitch
- sc: Single crochet
- hdc: Half double crochet
- dc: Double crochet
- inc: Increase; work two stitches into one stitch
- MR: Magic ring
Before starting: In joined rounds, use a slip stitch to connect the round where instructed. A chain at the beginning of a round does not automatically count as a stitch unless your pattern specifies otherwise.
Step-by-Step: Crochet Bear Coaster
Follow the construction in order, beginning with the cream snout, shaping the head, adding ears, and preparing the backing. Facial details and the joining border come afterward.
Step 1: Crochet the Cream Snout
Yarn: Off-white or cream
Begin with the small circular snout, which provides the central area for the bear’s nose and mouth.
Round 1
- Form a magic ring.
- Ch 1.
- Work 12 hdc into the ring.
- Join with a sl st to the first stitch.
Stitch count: 12 stitches.
Round 2
- Ch 2.
- Work 2 hdc into every stitch around.
- Join with a sl st.
- Fasten off, leaving a yarn tail for securing or weaving in.
Stitch count: 24 stitches.
Teaching tip: Pull the magic ring closed firmly so the center does not leave an unwanted hole. Keep increases evenly spaced to maintain a flat circle.
Step 2: Begin the Front Head Panel
Yarn: Light beige
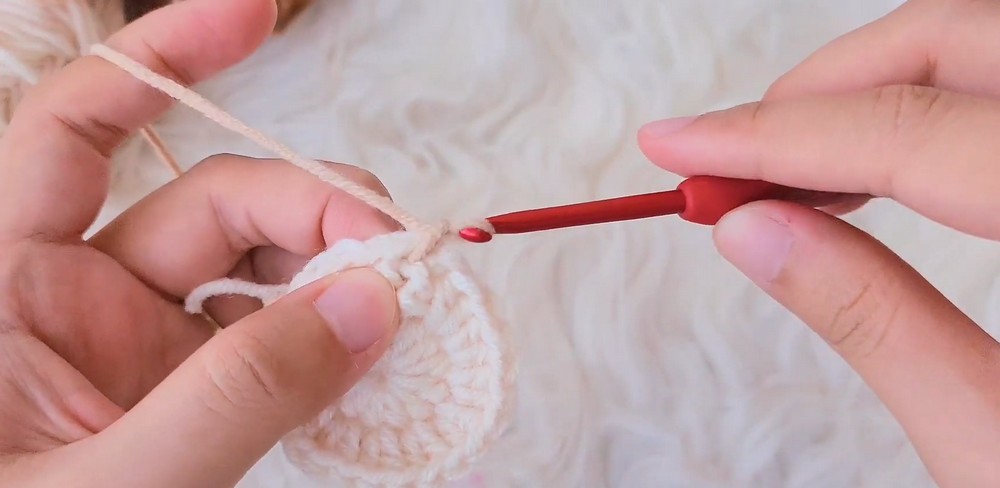
The head panel forms the larger circular base surrounding the cream snout. Attach light beige yarn and follow the color and stitch transitions provided in the tutorial.
Round 3
- Attach light beige yarn.
- Ch 1.
- Work the stated sc increase sequence: (1 sc, 1 inc) around, joining with a sl st.
- Continue through the specified hdc section, repeating (1 hdc, 1 inc).
- Change to dc and repeat (1 dc, 1 inc) eight times.
- Return to hdc for the next increase section.
- Finish with the stated sc increase section, join with a sl st, and fasten off as directed.
Teaching tip: Keep the head panel flat as it grows. If its edge begins to ruffle or cup, check your stitch placement and tension against the video before continuing.
Step 3: Shape the Outer Head
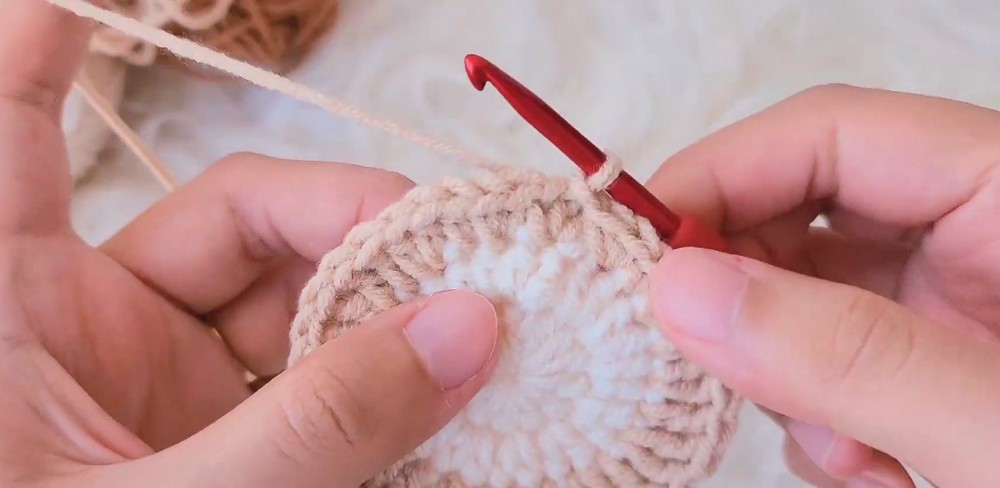
Continue with the next circular shaping round to create enough width for the bear’s head and ears.
Round 4
- Begin with ch 1.
- Work the specified sc section following the (1 sc, 1 inc, 1 sc) shaping sequence.
- Continue through the hdc sections and final sc increase sections as demonstrated in the original tutorial.
- Join with a sl st.
The provided pattern breakdown identifies 48 stitches at the end of this round.
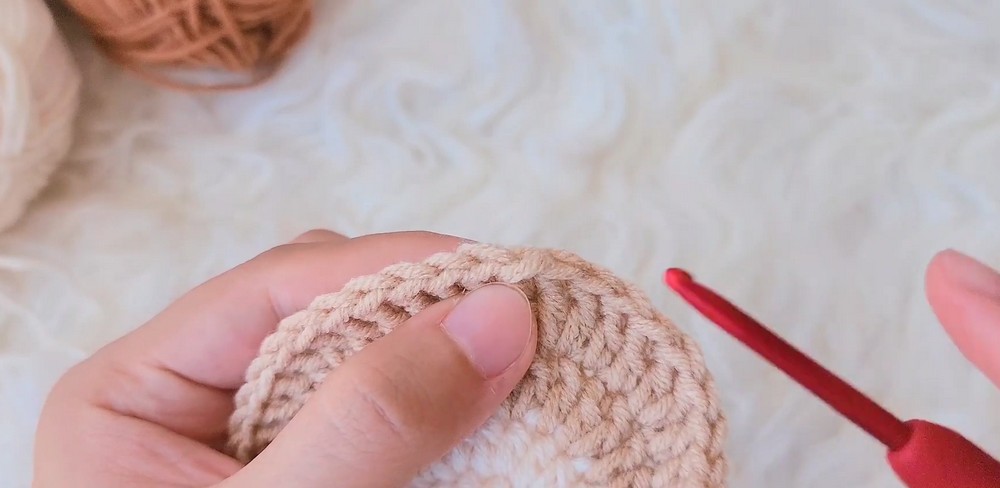
Check your work: Lay the front panel on a flat surface. It should form a reasonably even circular head base, with sufficient room for the snout and upper ears.
Teaching tip: Do not force the circle flat by stretching it. Compare stitch placement and round transitions with the original demonstration if the outline looks uneven.
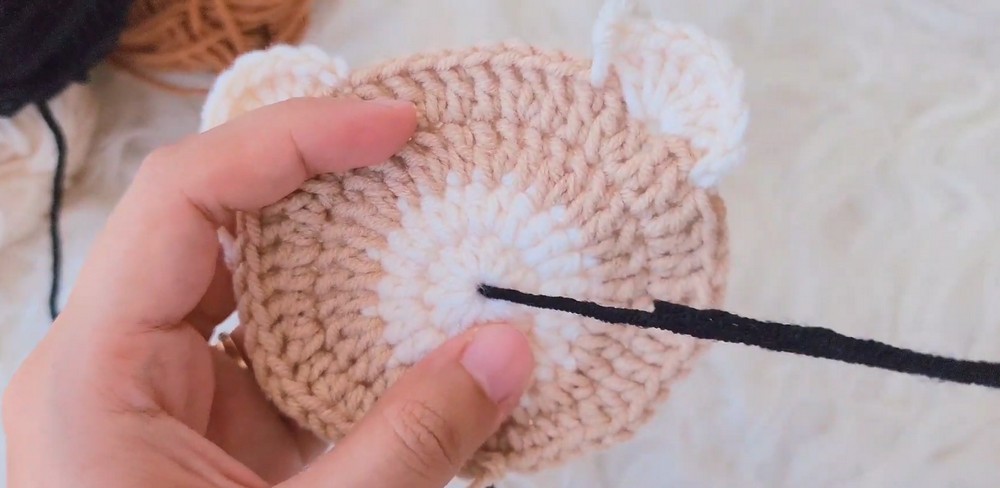
Step 4: Add Both Inner Ears
Yarn: Off-white or cream
The inner ears create the bear silhouette along the top of the head.
- Attach cream yarn at the designated upper corner of the head.
- Ch 1 and skip one stitch.
- Work 7 dc into the designated stitch to form the first curved ear shell.
- Skip one stitch and join with a sl st as instructed.
- Repeat the process at the opposite upper corner for the second ear.
- Fasten off.
Teaching tip: Check both ears before securing yarn ends. Their placement should look balanced across the top of the head, with enough space between them to preserve the bear shape.
Step 5: Crochet the Back Panel
Yarn: Light beige
The backing covers the reverse side of the coaster and gives the finished piece a neater, sturdier feel.
- Start with the same basic circular construction used for the front head panel.
- Follow the same sizing and shaping rounds, using light beige yarn throughout.
- Keep increases consistent with the corresponding front-panel rounds.
- Compare both pieces before finishing the backing.
Check your work: Place the front and back panels together. Their outer edges should align closely, including the rounded areas around both ears.
Teaching tip: Matching panel sizes now makes joining easier and helps prevent puckering along the finished border.
Step 6: Embroider the Bear’s Face
Yarn: Black
Complete the main facial details on the cream snout before joining both panels. This gives you easier access to the back of the embroidery.
- Thread black yarn through the tapestry needle.
- Embroider two sleepy or cute eyes on the cream snout.
- Add an inverted triangle nose.
- Stitch the mouth line beneath the nose.
- Secure the yarn on the reverse side and weave in loose ends.
Teaching tip: Arrange the facial features visually before making permanent stitches. Keep the eyes balanced and the nose centered so the expression looks intentional.
Step 7: Make Two Pink Cheeks
Yarn: Pink
Small cheek circles add color to the bear’s expression.
For each cheek:
- Form a magic ring.
- Work 6 sc into the ring.
- Join with a sl st.
- Fasten off and prepare the yarn ends.
Make two matching circles.
Attach the cheeks: Position one pink circle on each side of the snout area. Use a small amount of craft glue to secure them, following the supplied tutorial.
Teaching tip: Test the placement before applying glue. Keep both cheeks at similar heights and leave the embroidered mouth visible.
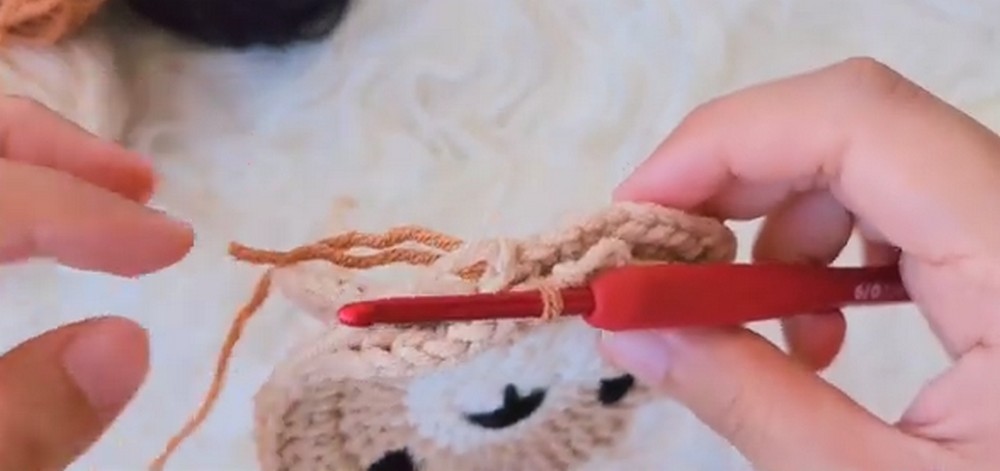
Step 8: Join Both Panels With a Brown Border
Yarn: Medium brown
Once the face is complete, place the front and back panels together with their wrong sides facing inward. The facial details should remain on the outside.
- Align the outer edges and both ears.
- Attach medium brown yarn at the joining point.
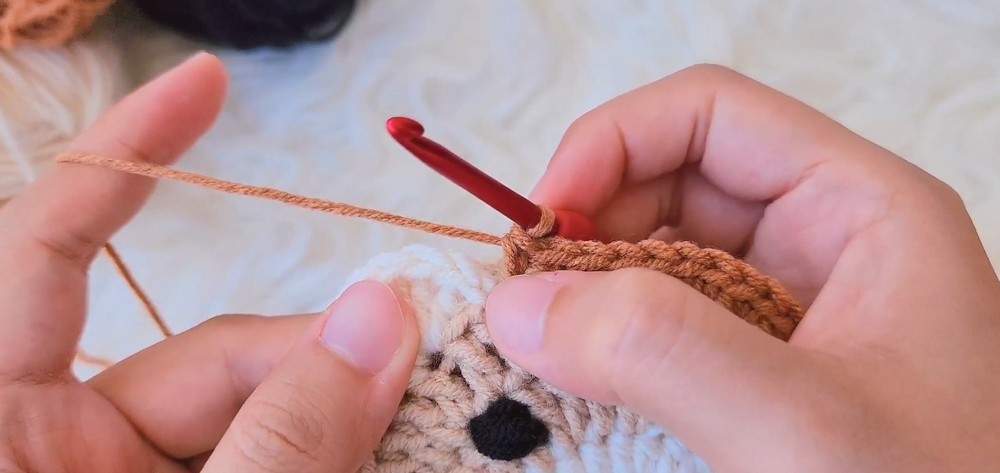
- Work sc through both layers around the outer perimeter, joining the panels as you go.
- Follow the tutorial’s shaping sequence around the top and ears.
The supplied sequence for the shaped border is:
- Ch 1
- 7 sc
- 3 inc
- 5 sc
- Skip 1 stitch
- 7 inc
- Skip 1 stitch
- 8 sc
Continue around the remaining perimeter as demonstrated, adjusting the placement to follow the head and ear contours, then fasten off neatly.
Important: The supplied breakdown does not fully specify how the listed border sequence connects to every remaining stitch around the perimeter. Refer to the original video for exact placement rather than repeating the listed sequence without checking the shape.
Teaching tip: Keep your hook passing through both layers for the joining stitches. Check frequently that the backing has not shifted and that the brown edge follows the outline without pulling the ears inward.
Step 9: Finish and Check Your Coaster
Use the tapestry needle to weave in all remaining loose yarn ends on the back. Secure them between stitches so they do not unravel during ordinary use.
Before using your coaster, check the following:
- Both panels are joined securely.
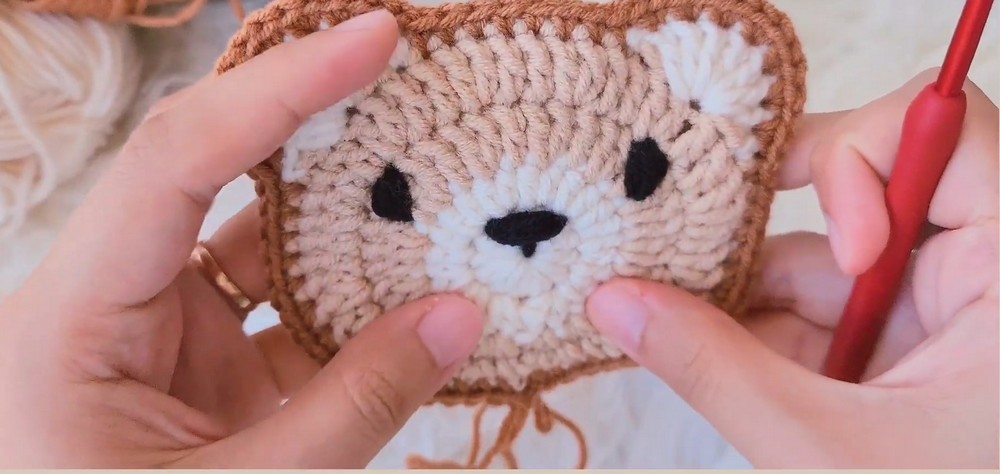
- The outer border follows the head and ears evenly.
- Facial embroidery is secure and easy to see.
- Pink cheeks are firmly attached.
- The coaster rests reasonably flat on a table.
Allow any craft glue to dry completely according to its instructions before placing the coaster in use.
Personalize Your Bear Coaster
Once you understand the basic construction, try different color combinations to create a coordinated set. Pastel pink can give the design a softer look, while grey offers a neutral alternative. The same circular base technique can inspire cat- or bunny-themed variations, although ear shapes and other details may need adjustments.
For a larger decorative piece, experiment with yarn thickness and hook size, checking the dimensions as you work. Remember that a coaster made with different materials may behave differently when exposed to heat or moisture.
Your cute bear coaster is now assembled, with a rounded head, little ears, embroidered expression, and contrasting border. Make matching pieces for your own table or prepare a handmade set for someone who enjoys cute animal-inspired crochet.