How to Crochet a Stylish Granny Squares Fanny Pack
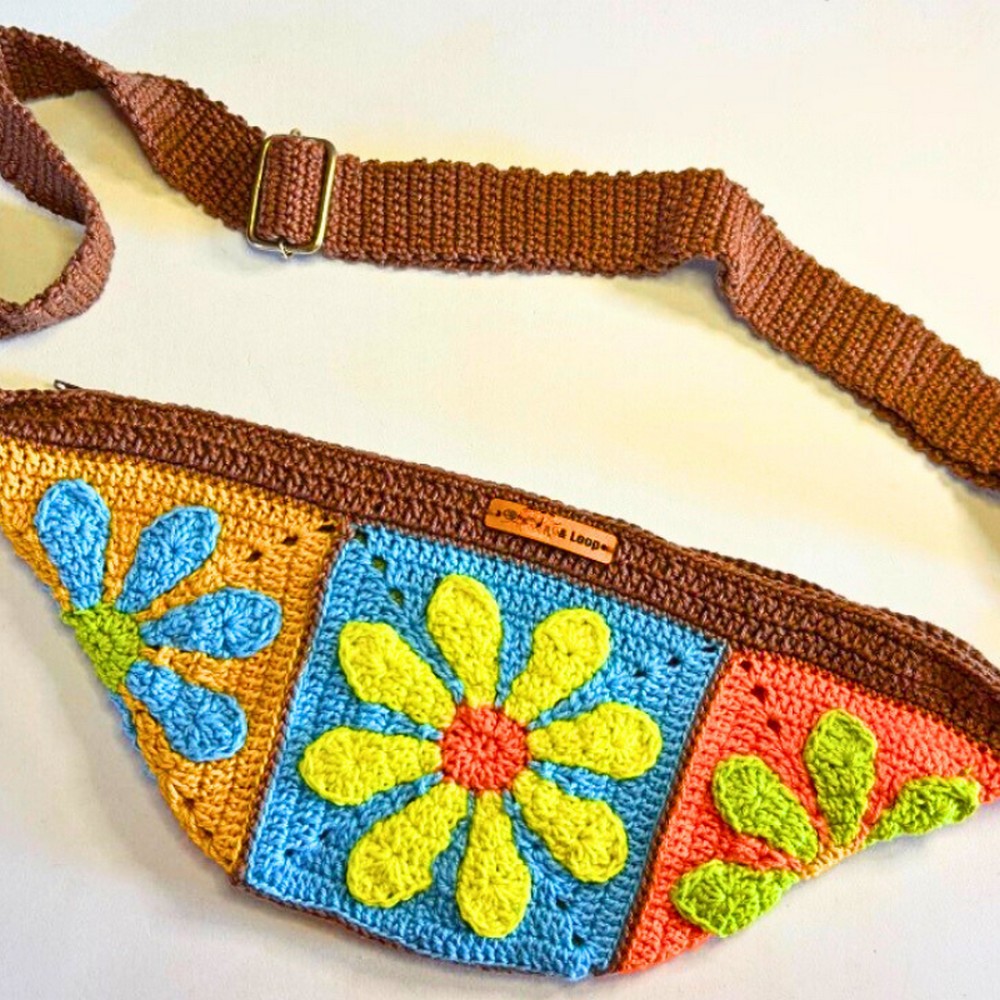
A burst of colorful granny squares can instantly become the most eye-catching accessory in your collection. This crochet fanny pack blends classic motifs with a modern shape that feels stylish and practical at the same time.
Its compact design makes it easy to carry everyday essentials without adding extra bulk. Every finished crochet piece can be personalized with colors that match your own creative style.

Bright colors and clever construction come together to create an item you’ll enjoy using every day. A secure zipper keeps small belongings safely in place, while the adjustable strap offers a comfortable fit around the waist or across the body.
The granny square layout gives this crochet piece a charming handmade look that never goes out of style. It’s a wonderful way to create something functional while adding a unique touch to your handmade collection.
Credit Hook & Loop Crochet Tutorials
Materials & Tools Needed
Yarn
- Type: 100% Cotton Yarn (DK/Sport weight)
- Hook Match: 2.0 mm hook
Crochet Hook
- Size: 2.0 mm
Granny Squares
- Quantity: 4 pre-made crochet granny squares
Hardware
- Metal Rings: 2 D-rings or O-rings
- Carabiners/Lobster Clasps: 2
- Strap Adjuster Slide: 1
Notions
- Zipper
- Matching sewing thread
- Hand-sewing needle
- Sewing pins (or basting thread)
- Scissors
- Tapestry needle
Optional
- Brand label/leather tag
Gauge & Pattern Notes
- Gauge: Depends on your granny square size and yarn weight.
- Skill Level: Intermediate.
- Construction:
- Joins 4 granny squares using slip stitches.
- Creates a bordered pouch using double crochet shaping.
- Includes a zipper and adjustable strap with hardware.
Loose Appliqués Note
If your granny squares have loose designs (e.g., leaves or floral motifs), secure them by hand-sewing to the background using matching yarn.
Finished Size & Customization Ideas
- Strap Length: Approximately 122 cm (48 inches), adjustable.
- Customization Tips:
- Use any granny square design you like (e.g., sunflower, geometric, retro floral).
- Substitute a ready-made webbing strap for the crocheted version.
Pattern Abbreviations (US Terms)
-
ch: chain
-
sc: single crochet
-
hdc: half double crochet
-
dc: double crochet
-
sl st: slip stitch
-
dc3tog: double crochet 3 together (corner decrease)
-
st(s): stitch(es)
Step-by-Step Crochet Instructions
Joining the Granny Squares
- Orient Squares: Arrange the 4 granny squares in a pouch formation.
- Position: Place two adjacent squares back-to-back, right sides outward.
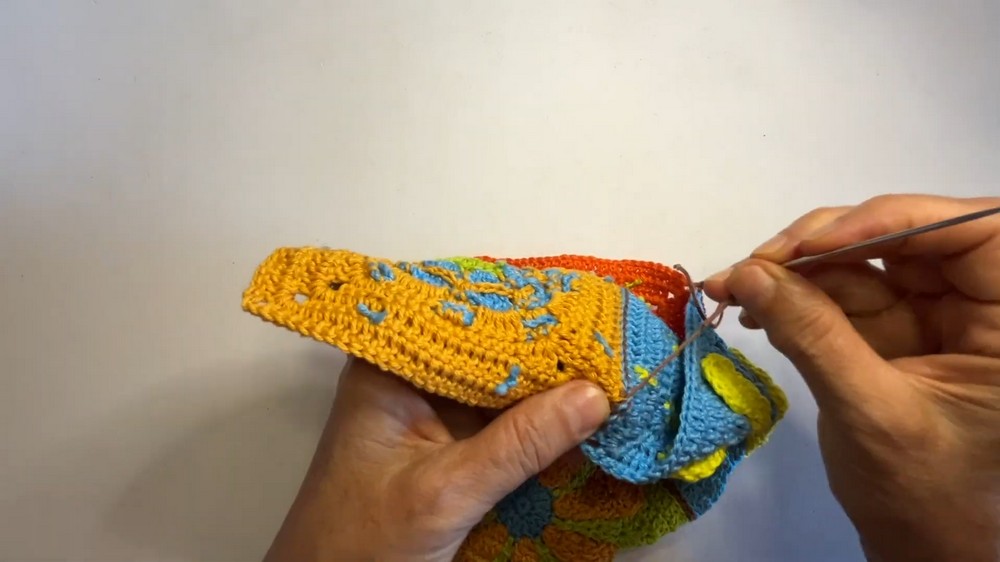
- Attach Yarn: Insert yarn in the corner with a slip knot and secure with a sl st.
- Join Seams:
- Working right to left, insert the hook under the outside loop of both squares.
- Work a sl st across to join the edges. Ensure they align.
- Tie Off & Weave In Ends: At the end of the seam, ch 1, cut the yarn, and use a tapestry needle to weave in the ends.
Repeat for all remaining seams to create the pouch shape.
Bag Border & Top Shaping
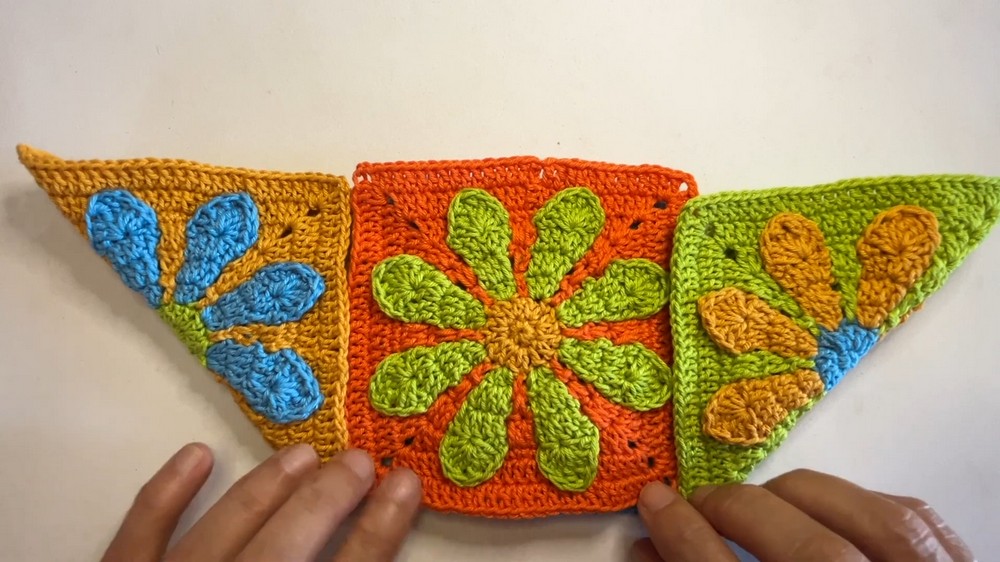
- Attach Yarn at a Top Corner: Choose a top corner of the assembled pouch.
- Round 1:
- ch 1, work 1 sc in each stitch around.
- At joins between squares: Work 1 hdc directly in the join.
- At outer corners: Work 2 sc into corner stitches for a clean turn.
- Join to the first stitch with a sl st.
- Round 2:
- Start with 1 fake dc (or ch 3).
- Work 1 dc into each stitch around.
- At inner dips (corners where granny rows meet): Work dc3tog.
- Round 3 & 4: Repeat Round 2, finishing Row 4 with sc in every stitch around.
- Fasten Off: Secure the end and weave in yarn tails.
Side Tabs for Strap Rings
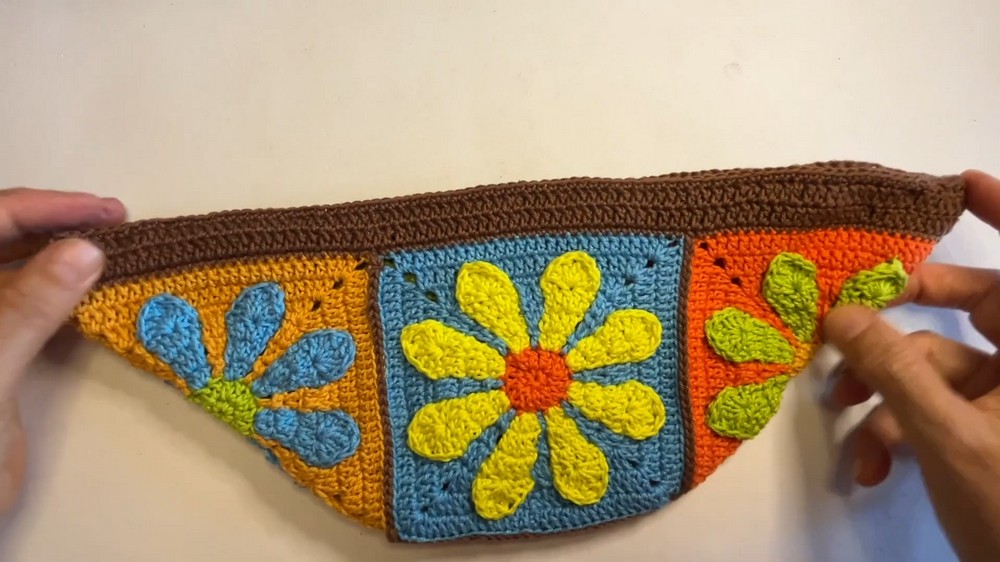
- Attach Yarn on Side Corner: Select one side corner and attach yarn with a slip knot.
- Row 1: Work 8 sc evenly across the opening of the side.
- Rows 2–8:
- ch 1, turn, work 8 dc across. Repeat for 8 rows.
- Repeat on the Other Side: Repeat the tab on the opposite side.
- Attach Rings: Slide a metal ring onto each tab, fold the tab over the ring, and sew the folded section securely with a tapestry needle.
Zipper Installation
- Pin Zipper to Bag Opening: Unzip the zipper and pin it to the bag opening.
- Optional Step: Baste the zipper with basting thread for extra security.
- Hand-Stitch the Zipper:
- Using a hand-sewing needle and matching thread, backstitch the zipper into place on both sides.
- Sew down the end stop of the zipper flat inside the bag.
Crocheting & Assembling the Adjustable Strap
Crocheting the Strap
- Ch 9: Start with a chain of 9 stitches.
- Row 1: Work 1 sc in each chain (8 sc).
- Row 2+: Ch 1, turn, and work 1 sc in each stitch (8 sc).
- Repeat: Continue until the strap reaches 122 cm (48 inches) or the desired length.
Hardware Assembly
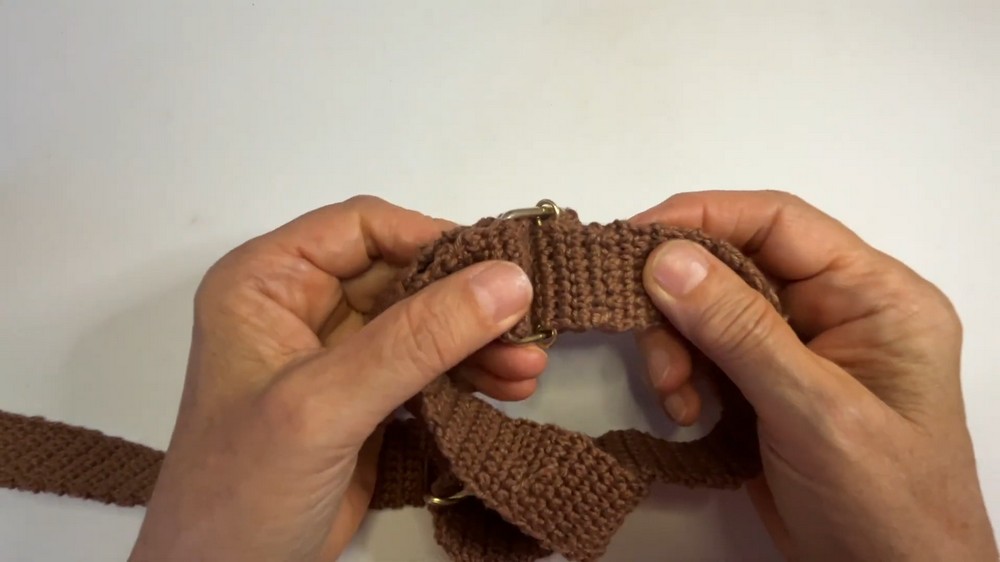
- Attach First Clasp: Slide the first carabiner clasp onto one strap end, fold it over the bar, and sew securely.
- Adjuster Slide:
- Slide the other end through the strap adjuster slide, then through the second carabiner clasp.
- Feed the strap back through the adjuster’s center bar.
- Secure End: Fold over the strap end at the adjuster’s center bar and sew securely.
Final Assembly
- Clip the carabiners to the side rings attached to the bag.
Care & Maintenance
Proper care is essential to keep your handmade bag looking great and lasting for years to come. Follow these guidelines to ensure the longevity of your project:
Cleaning Tips
- Hand Wash with Mild Detergent: Gently clean the bag with a mild detergent and lukewarm water to avoid damaging delicate fibers or embellishments.
- Do Not Bleach: Avoid using bleach or harsh chemicals that can weaken the material or alter its color.
- Lay Flat to Dry: After washing, reshape the bag and lay it flat to dry to preserve its original form.
Usage Tips
- Avoid Overloading: Overpacking the bag may cause it to stretch, lose its shape, or put strain on seams and straps. Carry only the essentials.
Storage Tips
- Store in a Cool, Dry Place: Keep your bag in a dry location away from direct sunlight to prevent color fading, moisture damage, or mildew growth.
Pattern Uses & Gift Ideas
Whether you’re crafting for yourself or others, this versatile pattern has plenty of uses. Here’s how you can make the most of it:
Uses for the Pattern:
- Everyday Crossbody or Waist Bag: Perfect for carrying keys, phone, and wallet hands-free.
- Travel Accessory: An essential for passports, boarding passes, and other small items while staying organized.
- Festival or Market Bag: Stylish and compact for events, markets, concerts, or festivals.
Gift Inspiration:
- Handmade Birthday or Holiday Gift: Great for loved ones who appreciate functional, thoughtful, handmade items.
- Craft Fair or Small Business Product: If you’re running your own shop or participating in craft fairs, these make wonderful additions to your collection with customizable designs.
Common Mistakes to Avoid
When working on this project, it’s easy to overlook small details that could affect the final result. Here are some common mistakes to watch out for and how to avoid them:
1. Mismatched Granny Square Sizes
- What Can Go Wrong: Joining granny squares of varying sizes can result in a misshapen bag.
- How to Avoid: Ensure all squares are the same size before joining. Block your squares to achieve uniformity if needed.
2. Slip Stitches Pulled Too Tight
- What Can Go Wrong: Tight slip stitches can restrict the bag’s flexibility and make seams look uneven.
- How to Avoid: Use a loose tension when slip stitching to allow for a smoother, more flexible seam.
3. Incorrect Strap Length
- What Can Go Wrong: Straps that are too short or too long may compromise the bag’s functionality and comfort.
- How to Avoid: Measure the strap length on yourself (or the intended recipient) before attaching hardware to ensure the perfect fit.
4. Faulty Zipper Functionality
- What Can Go Wrong: If the zipper doesn’t move smoothly, it could affect the bag’s usability after assembly.
- How to Avoid: Test the zipper’s movement before sewing it in, making sure it opens and closes effortlessly.
5. Weakly Reinforced Strap Tabs
- What Can Go Wrong: Strap tabs can tear or come loose from the weight of the bag.
- How to Avoid: Reinforce strap tabs with multiple layers of stitching or a secure fabric backing to ensure durability.