Crochet Loopy Amigurumi with Removable Lotso Bear Hat
Turn Loopy into a palm-sized pink plushie with a removable Lotso bear hat, sweet face details, and a cute bag-charm option.
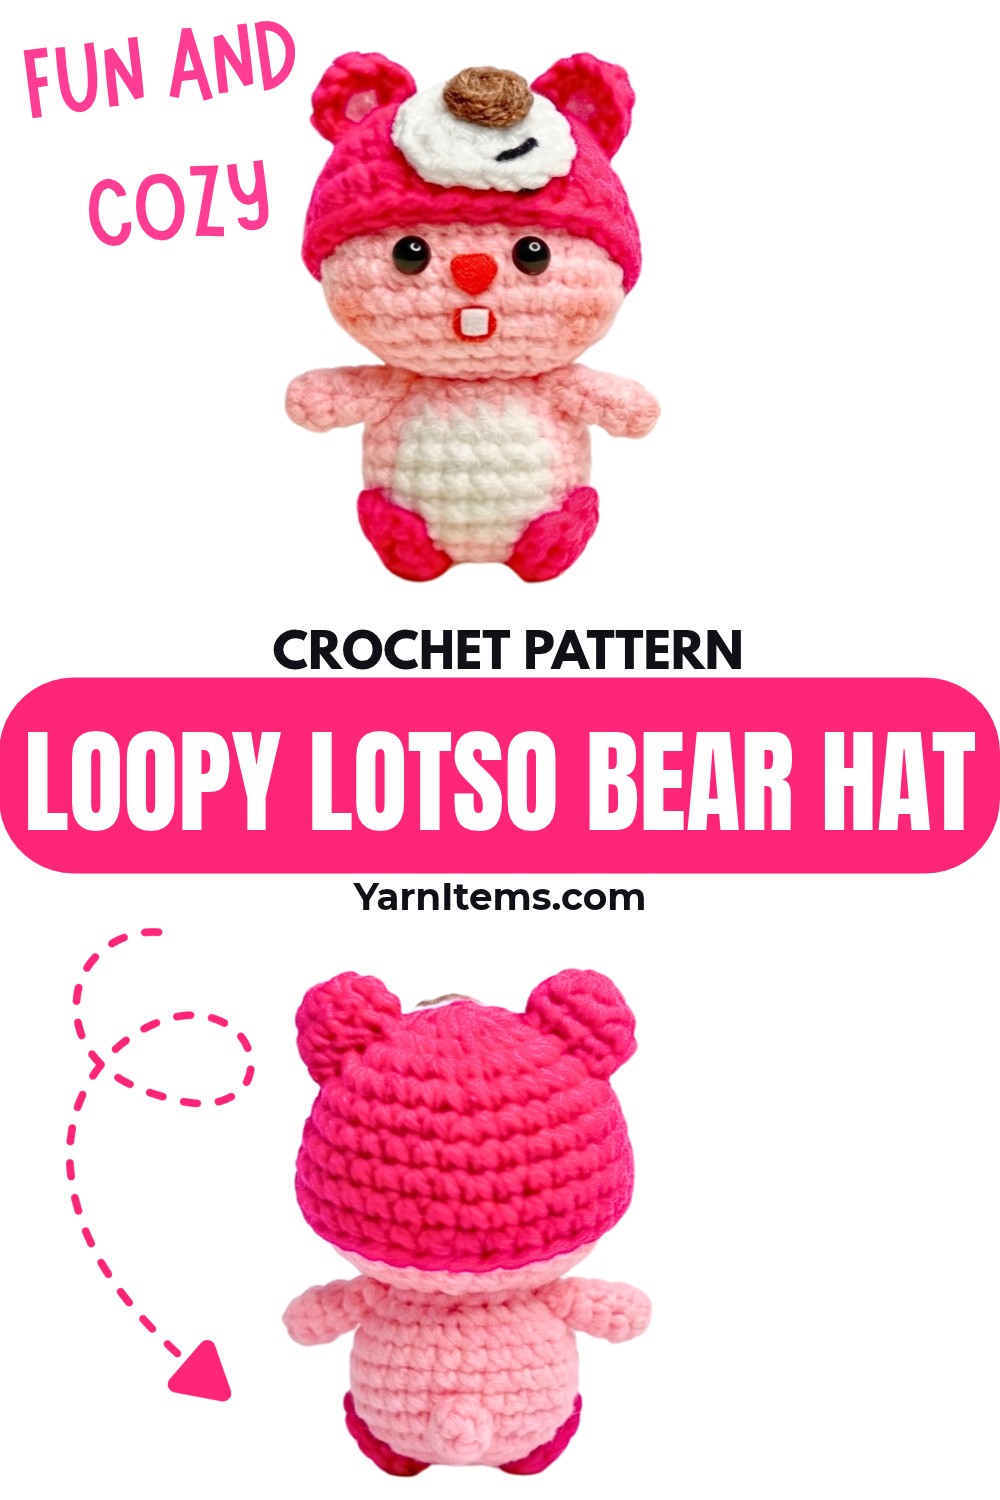
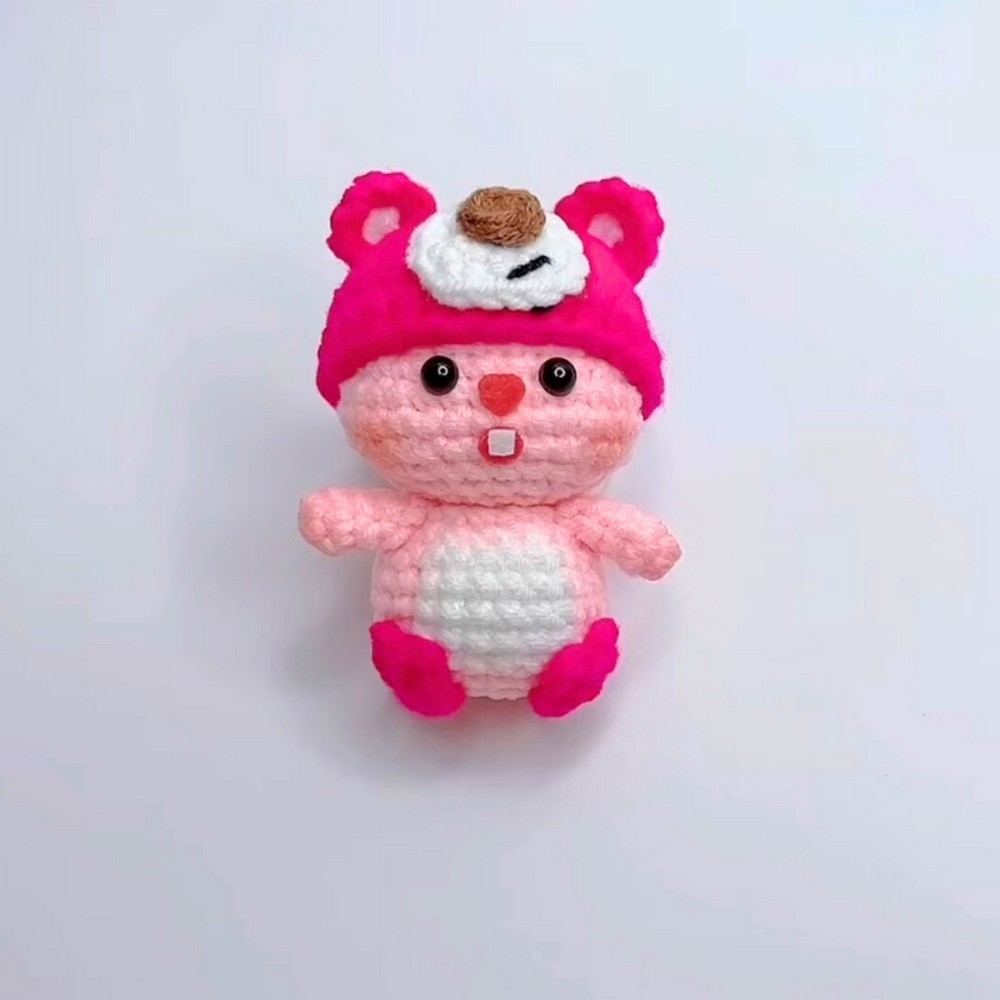
Loopy has a petite, rounded shape that makes this crochet amigurumi especially sweet once the face, little toes, and rosy cheeks are added. The soft pink body is paired with a darker pink bear hat, giving the finished crochet plushie a playful layered look rather than leaving the character with just one fixed detail.
The crochet pattern uses joined rounds throughout the head and body, includes a small white belly section, and separates the face, arms, legs, snout, nose, and hat into manageable pieces. You’ll also see where the head should be stuffed, how the body color changes are handled, and where the facial features need to sit so the finished expression comes together neatly.
Credit Xuxu Crochet
Why This Pattern Has a Fun Extra
The main Loopy plushie is already small enough to fit in your palm, but the removable bear hat gives you another way to change the finished look. You can keep the dark pink hat as written, swap its color for a white bunny or brown bear version, or add a small keychain through the top to turn Loopy into a cute bag charm.
Because the hat is made separately, it can also be taken off when you want to display Loopy without the accessory.
Materials and Tools
- Yarn: 50g Milk Cotton yarn in Pink, Dark Pink, White, and Brown
- Crochet Hook: 2.5 mm
- Eyes: 2 × 5mm safety eyes
- Felt: Small scraps of white and red felt for Loopy’s face
- Stuffing: Fiberfill for the head and body
- Other Essentials: Tapestry needle for sewing, stitch markers, hot glue gun, a small amount of black yarn for embroidery, and pink blush for the cheeks
Finished Size and Easy Customization
Made with the suggested Milk Cotton yarn and 2.5mm hook, Loopy comes out as a petite, palm-sized plushie.
The easiest customization is the Lotso hat. Replace the dark pink yarn with another color to create a different animal-style hat, such as a white bunny or brown bear. You can also string a small keychain through the top of the hat if you want to use Loopy as a bag charm.
Keep the Joined Rounds Consistent
The entire pattern is worked in joined rounds. At the end of every round, slip stitch into the very first stitch of the round to join, then chain 1 before beginning the next round. For the hat, chain 2 instead.
The starting chain does not count as a stitch. Keeping this point consistent is important because the stitch counts given throughout the pattern depend on it.
When the body reaches the color-change section, carry the unused yarn behind the stitches so the fabric does not pull tight.
Pattern Abbreviations
- MR: Magic Ring
- ch: Chain
- sc: Single crochet
- hdc: Half double crochet
- inc: Single crochet increase – 2 sc in the same stitch
- hdc inc: Half double crochet increase – 2 hdc in the same stitch
- dec: Single crochet decrease
- sl st: Slip stitch
- st(s): Stitch(es)
- FO: Fasten off
- (…) x: Repeat whatever is inside the parentheses the number of times indicated
Step-by-Step Crochet Pattern
Head – Pink Yarn
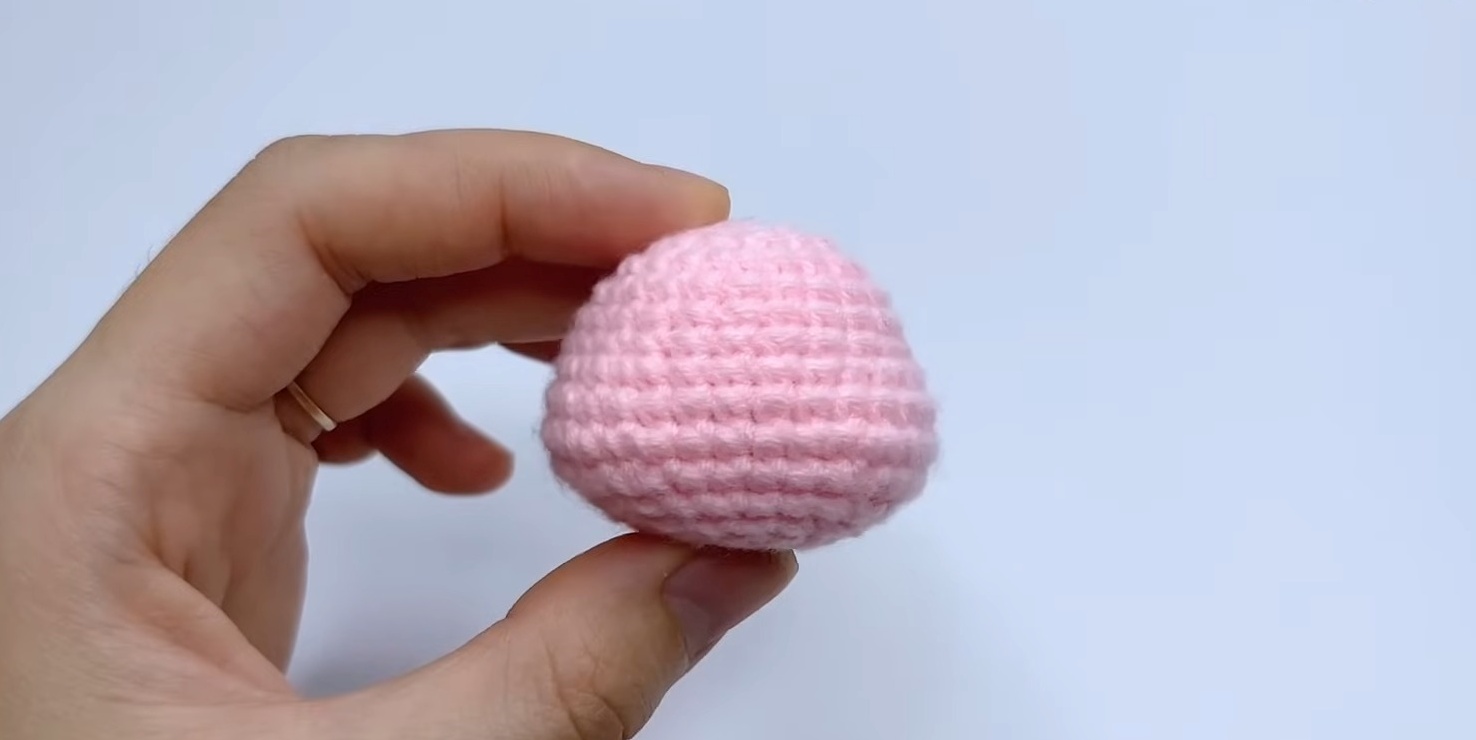
Work in joined rounds. The increases through the early rounds widen the head, while the later increase-and-decrease sections create the rounded cheek area. The stuffing point is deliberately placed before the final closing rounds, so the head can be filled while the opening is still easy to reach.
Rnd 1: MR, ch 1, 6 sc in the ring. sl st to join. (6)
Rnd 2: ch 1, 6 inc. sl st to join. (12)
Rnd 3: ch 1, (1 sc, 1 inc) x 6. Sl st to join. (18)
Rnd 4: ch 1, (1 sc, 1 inc, 1 sc) x 6. sl st to join. (24)
Rnd 5–7: ch 1, 24 sc. Sl st to join. (24) (3 rounds total)
Rnd 8: ch 1, 6 sc, 3 inc, 5 sc, 3 inc, 7 sc. sl st to join. (30)
Rnd 9: ch 1, 30 sc. Sl st to join. (30)
Rnd 10: ch 1, 6 sc, (1 sc, 1 inc) x 3, 5 sc, (1 inc, 1 sc) x 3, 7 sc. sl st to join. (36)
Rnd 11: ch 1, 6 sc, (1 sc, 1 dec) x 3, 5 sc, (1 dec, 1 sc) x 3, 7 sc. sl st to join. (30)
Rnd 12: ch 1, 6 sc, 3 dec, 5 sc, 3 dec, 7 sc. sl st to join. (24)
Rnd 13: ch 1, (1 sc, 1 dec, 1 sc) x 6. sl st to join. (18)
Stuff the head firmly with fiberfill here, before closing the remaining rounds.
Rnd 14: ch 1, (1 sc, 1 dec) x 6. sl st to join. (12)
FO, cut the yarn, and weave the end neatly inside the head.
Head Check
The increase and decrease placement in Rnds 8–12 creates the puffy cheek area that will later help determine where the eyes sit. This is why the face should be checked against the completed head shape before attaching the features.
Body – Start with Pink Yarn
The body begins in the same basic joined-round rhythm as the head, but Rnds 5–9 introduce the white belly. Keep the carried yarn loose enough behind the stitches that the color changes do not narrow the body.
Rnd 1: MR, ch 1, 6 sc in the ring. Sl st to join. (6)
Rnd 2: ch 1, 6 inc. sl st to join. (12)
Rnd 3: ch 1, (1 sc, 1 inc) x 6. sl st to join. (18)
Rnd 4: ch 1, (1 sc, 1 inc, 1 sc) x 6. sl st to join. (24)
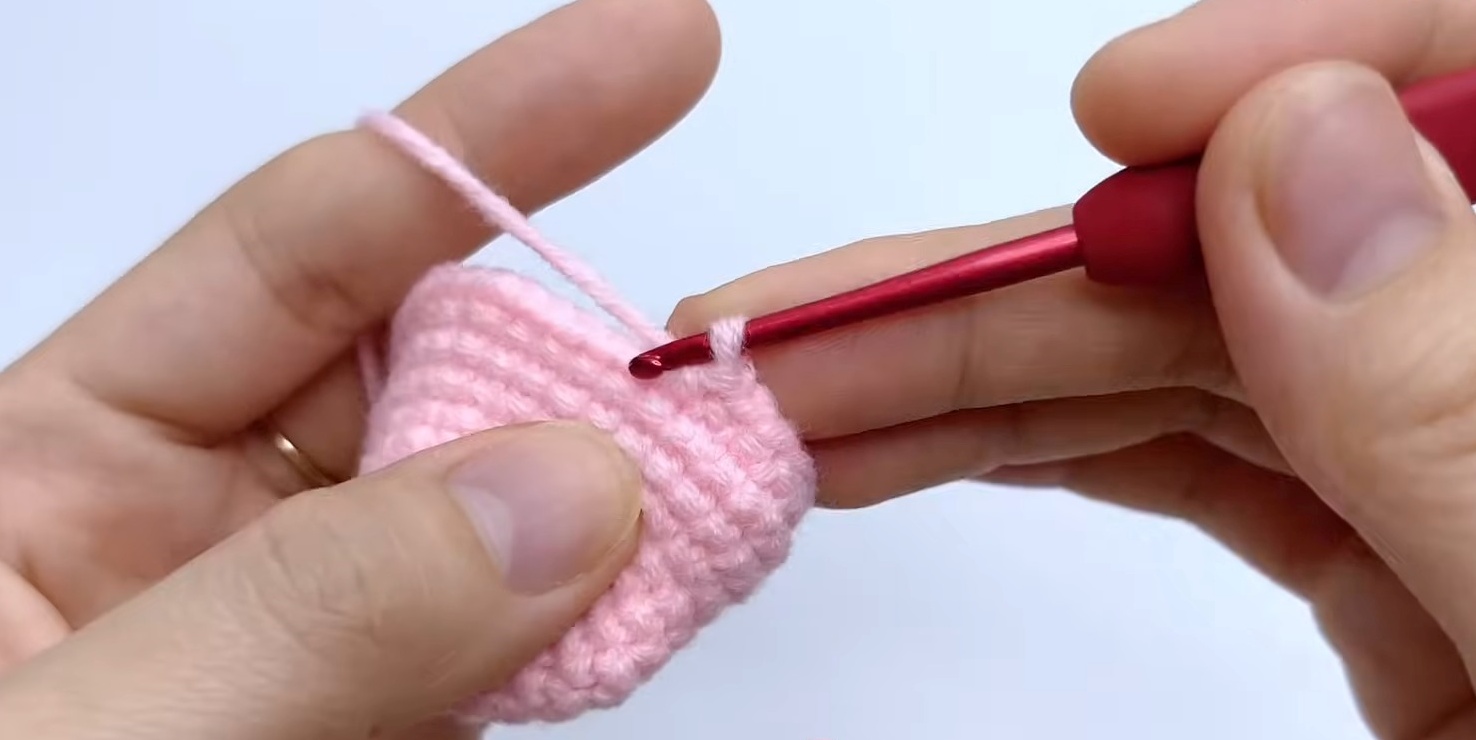
Rnd 5: ch 1. In Pink: 9 sc. Change to White: 6 sc. Change to Pink: 9 sc. sl st to join. (24)
Rnd 6-9: Repeat Rnd 5. (24) (4 rounds total)
Rnd 10: Use Pink yarn only from here on. ch 1, (2 sc, 1 dec) x 6. sl st to join. (18)
Rnd 11: ch 1, (1 sc, 1 dec) x 6. sl st to join. (12)
FO, leaving a long tail for sewing. Stuff the body firmly.
Color-change check: The white section should remain together as the belly area. Keep the carried pink yarn relaxed behind the white stitches so the body does not pull inward.
Arms – Pink Yarn, Make 2
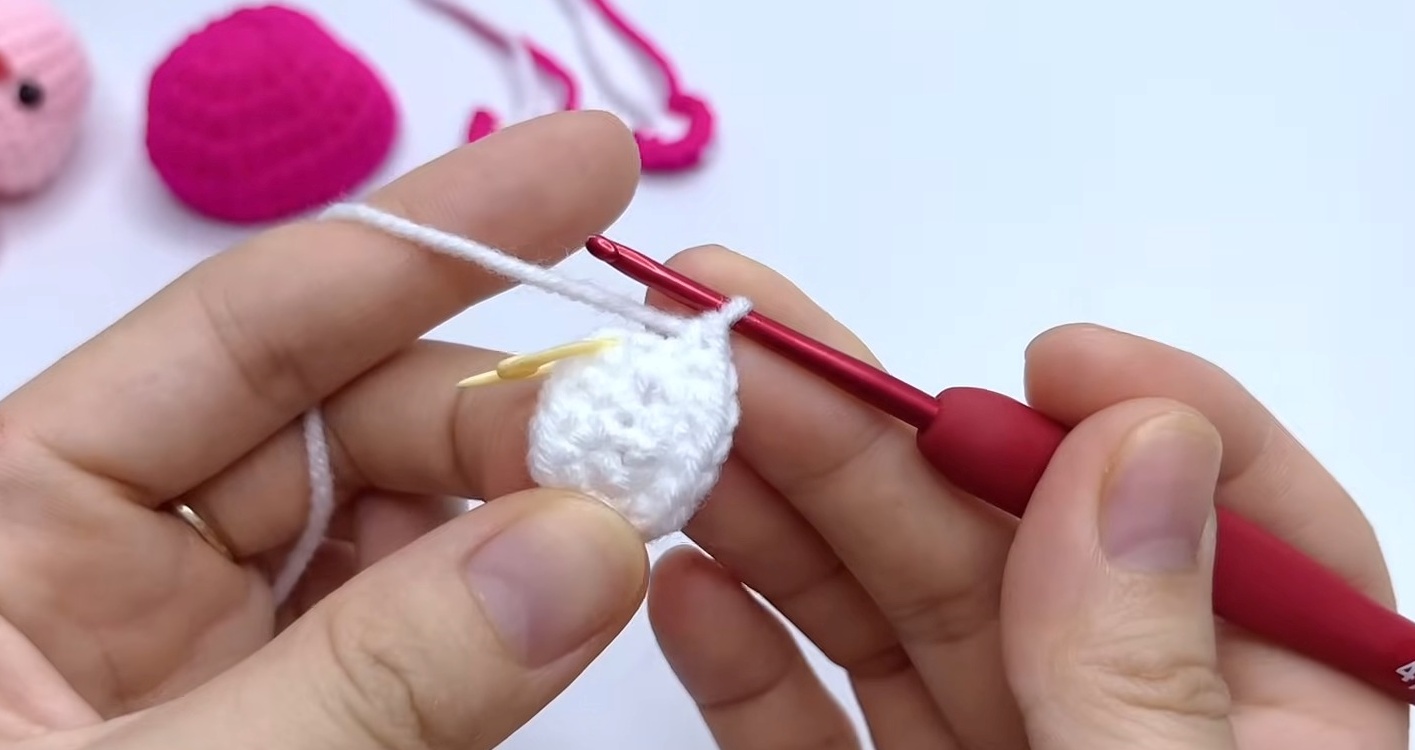
The arms remain small and unstuffed, so there is no need to add fiberfill before closing them.
Rnd 1: MR, ch 1, 5 sc in the ring. Sl st to join. (5)
Rnd 2–4: ch 1, 5 sc. sl st to join. (5) (3 rounds total)
FO, leaving a long tail for sewing. Do not stuff the arms.
Legs – Dark Pink Yarn, Make 2
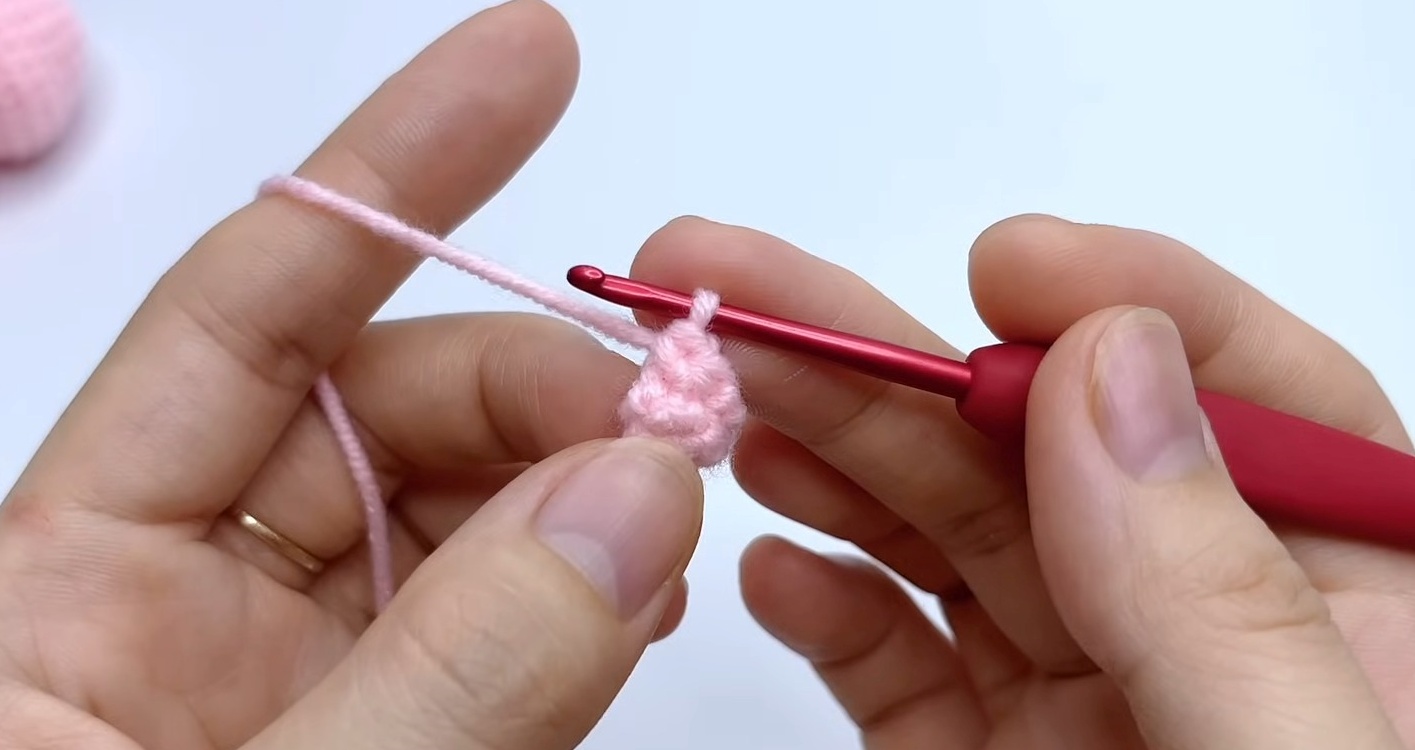
The legs use a short chain-and-slip-stitch sequence to form three toes. Work the toe stitches directly into the indicated stitches so the three small projections stay together at the end of the piece.
Rnd 1: MR, ch 1, 6 sc in the ring. Sl st to join. (6)
Rnd 2: ch 3, sl st directly into the SAME stitch. ch 3, sl st into the NEXT stitch. ch 3, sl st into the NEXT stitch.
FO, pull the yarn tight, tie the two yarn tails together to secure a knot at the back, and trim the excess yarn. These will be glued, so no long tail is needed.
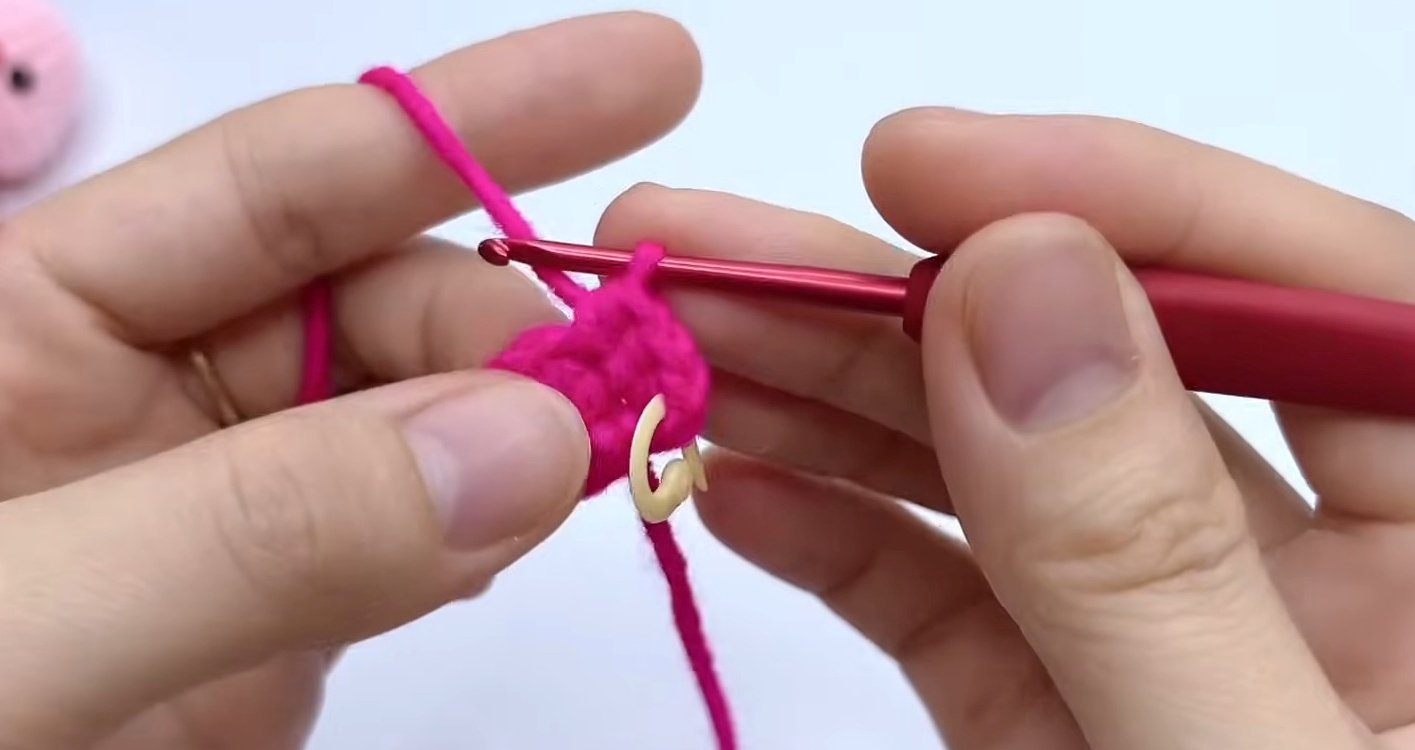
Lotso Bear Hat – Dark Pink Yarn
The hat is worked separately from Loopy’s head and uses half double crochets instead of single crochets. Its increasing rounds widen the hat before two even rounds give it its finished depth.
Rnd 1: MR, ch 2, 7 hdc in the ring. Sl st to the first hdc to join. (7)
Rnd 2: ch 2, 7 hdc inc. sl st to join. (14)
Rnd 3: ch 2, (1 hdc, 1 hdc inc) x 7. sl st to join. (21)
Rnd 4: ch 2, (2 hdc, 1 hdc inc) x 7. sl st to join. (28)
Rnd 5-6: ch 2, 28 hdc. Sl st to join. (28) (2 rounds total)
FO, weave in the ends.
Bear Ears – Make 2
The ear starts in white and then changes to dark pink. Turning the work after the color change is part of the supplied ear instructions.
Rnd 1 (White Yarn): MR, ch 1, 4 sc in the ring. Sl st to join. (4)
Rnd 2 (Dark Pink Yarn): Change to Dark Pink yarn. ch 1, TURN your work around. 4 inc. (8)
FO, leaving a tail. Trim any messy excess yarn.
Lotso Snout – White Yarn
The snout is worked as an oval around a foundation chain. Pay attention to the point where the work rotates, because the remaining stitches are worked along the opposite side of the chain to complete the oval.
Rnd 1: ch 4. Starting in the 2nd ch from the hook: 1 sc, 1 sc in the next ch, 3 sc in the last ch. Rotate your work to crochet along the opposite side of the chain: 1 sc in the next ch, 2 sc in the last ch. (8)
Rnd 2: sl st to the first sc to join. ch 1. 1 inc, 1 sc, 3 inc, 1 sc, 2 inc. sl st to join. (14)
FO, weave in ends.
Lotso Nose – Brown Yarn
Rnd 1: MR, ch 1, 4 sc in the ring. sl st to join. (4)
FO, weave in ends.
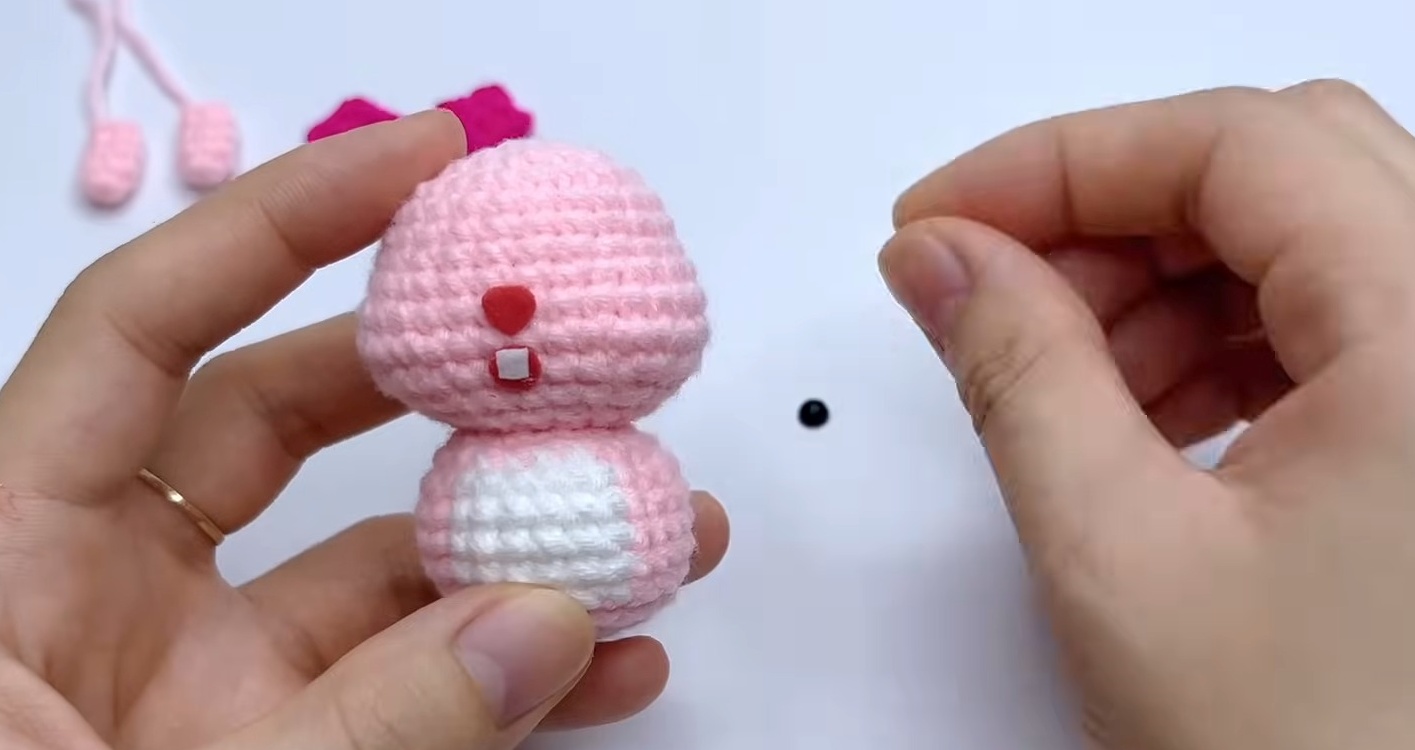
Assembly and Face Placement
Assembly is where the separate crocheted pieces become Loopy, so placement matters more than simply attaching everything as quickly as possible.
Face Details
Cut small, neat pieces of white and red felt for Loopy’s beaver teeth and mouth. Using your hot glue gun, attach the felt mouth right in the middle between Rnds 8 and 9 of the Head.
Glue the 5mm eyes directly above the puffy cheeks formed by the Rnd 8–12 increases and decreases.
Attach the Head to the Body
Use the long yarn tail left from the Body to sew the Head to the Body. Pin the pieces first so the white belly on the Body aligns perfectly straight with the front of Loopy’s face.
This alignment is worth checking before sewing permanently: the belly and face should point in the same direction once the head is attached.
Attach the Arms
Sew the Arms to the sides of the Body, positioning them right near the neck seam.
Attach the Legs
Using a little hot glue, stick the 3-toed Legs to the bottom front of the body, angled slightly outward in a cute sitting position.
Finish the Bear Hat
The hat is assembled separately, so finish its ears and facial pieces before placing it onto Loopy’s head.
- Sew the Bear Ears securely onto Rnd 3 of the Hat on opposite sides.
- Glue the tiny Brown Nose onto the upper half of the White Snout piece.
- Separate a strand of black yarn so it’s thin, and use your tapestry needle to embroider a small, sweet smiling mouth just below the nose.
- Glue the completed snout directly to the front center of the Hat.
- Swirl a little pink blush onto Loopy’s cheeks.
The Last Fit Check
Slide the Lotso Bear Hat right onto Loopy’s head. Because the accessory is removable, check that it sits comfortably over the finished head without disturbing the facial details.
Loopy is now ready to be displayed or gifted, and the hat can be changed later for another animal-inspired color combination. A small keychain can also be strung through the top of the hat to turn the finished plushie into a cute bag charm.