How to Crochet a Mini Bird Pattern
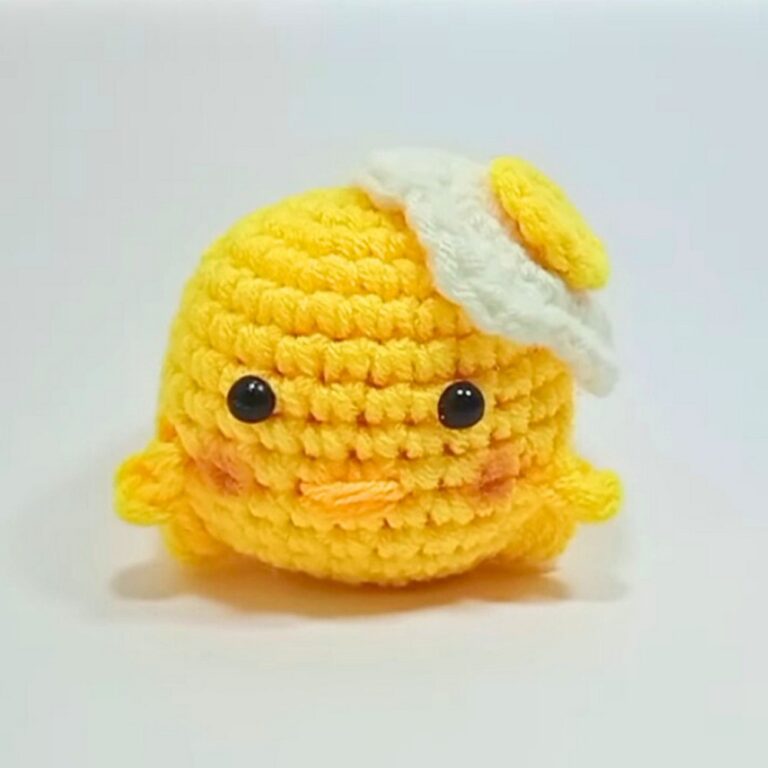
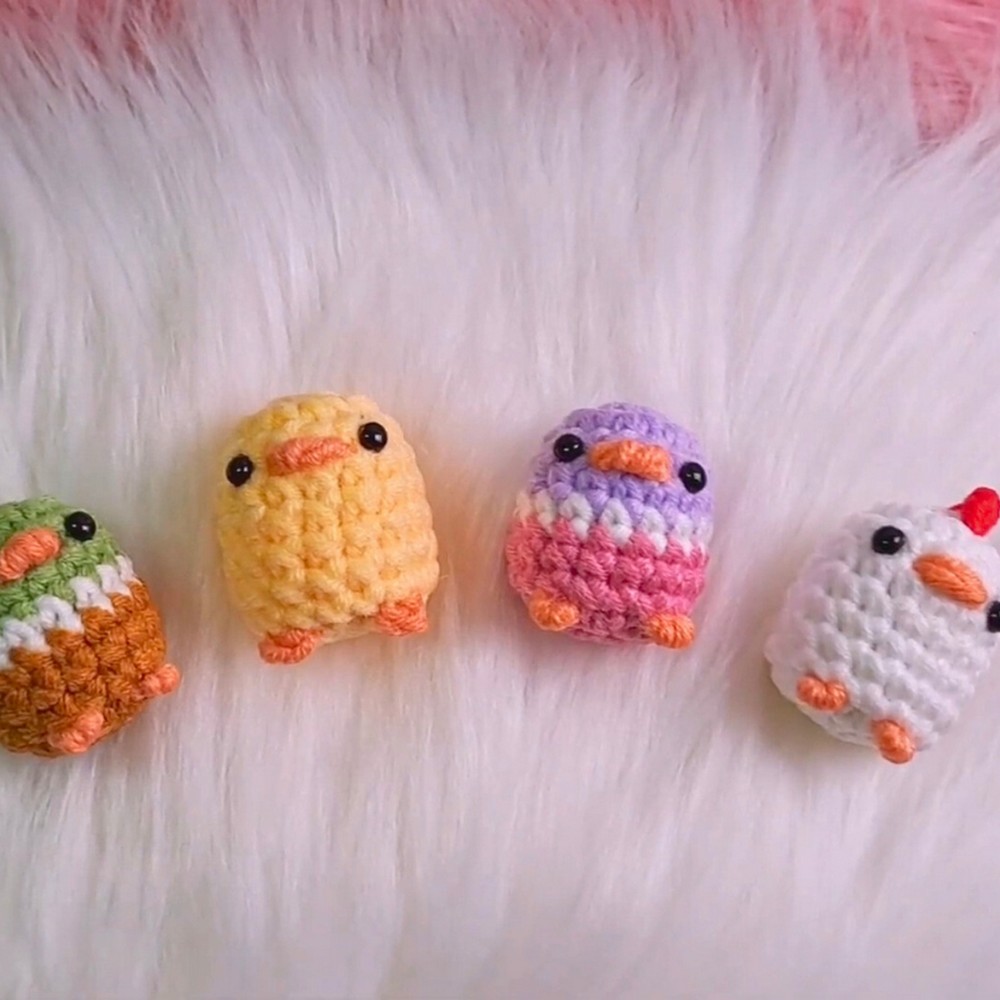
Create your own mini crochet bird with this fun and versatile craft project! Adorably detailed, this tiny bird is the perfect accessory, gift, or decorative piece.
Its small size makes it ideal for beginner crocheters while still offering room for creativity with colors and textures.

The mini crochet bird is both decorative and practical. Use it as a keychain, ornament, or cute desk accessory. Its compact design ensures it’s lightweight yet eye-catching.
You can customize the colors for any theme, making it a thoughtful handmade gift that’s as durable as it is charming.
Step By Step Pattern
Materials
To crochet a mini bird, gather the following materials:
- Yarn: Worsted weight yarn or lightweight yarn in three colors (e.g., blue for the body, yellow for the beak, and white for accents).
- Crochet Hook: 2.5mm (or adjust based on yarn thickness).
- Stuffing/Fiberfill: Light and soft stuffing for the bird’s body.
- Yarn Needle: For sewing parts together.
- Safety Eyes (Optional): Add eyes for a professional-looking finish, or use black yarn to sew eyes.
- Scissors: For cutting the yarn.
- Stitch Markers (Optional): To keep track of rounds.
Stitch Guide
Here’s a quick guide to the basic stitches and techniques you’ll use:
- Magic Ring: Create a tight adjustable loop to serve as the foundation. This is ideal for starting amigurumi projects.
- Single Crochet (sc): Insert hook into stitch, yarn over, pull through, yarn over again, and pull through both loops.
- Increase: Crochet two single crochet stitches into the same stitch to expand the work.
- Decrease: Crochet two single crochet stitches together to reduce the number of stitches.
- Slip Stitch (sl st): Insert hook, yarn over, and pull through the stitch and loop on the hook.
If you are new to these stitches, practice them before starting your project.
Notes
- Gauge: While gauge isn’t critical for this project, using a consistent yarn weight and hook size ensures a proportional bird shape.
- Customization Ideas: Experiment with colors to create your own bird species, add wings or tail feathers with felt, or sew decorative patterns.
- Pro Tips: Use a stitch marker to track rounds, and stuff the body before closing to maintain its shape.
Pattern Instructions
Follow these instructions step by step:
Body (Blue Yarn)
- Start with a magic ring and crochet 6 single crochets (sc) into the ring.
- Round 2: Increase in each stitch (2 sc in each stitch) — total of 12 stitches.
- Round 3: (1 sc, increase) repeat around — total of 18 stitches.
- Round 4-6: Sc in each stitch around (keep 18 stitches constant).
- Round 7: (2 sc, decrease) repeat around — total of 12 stitches.
- Start lightly stuffing the bird before finishing the body.
- Round 8: (1 sc, decrease) repeat around — total of 6 stitches.
- Slip stitch to close, leaving a long tail for sewing.
Beak (Yellow Yarn)
- Chain 4 stitches.
- Turn and sc in each stitch (3 stitches).
- Fasten off and leave a tail for attaching to the body.
Eyes (White Yarn)
- Create two small circles by starting with a magic ring and crocheting 6 sc.
- Fasten off and leave a tail for sewing. Alternatively, use safety eyes for a quick finish.
Assembly
- Sew the beak onto the front of the bird’s head at the center.
- Attach the eyes above the beak, ensuring symmetry.
- Add any extra decorative touches, such as sewn wing lines or tail feathers.
Finishing Touches
- Check for loose yarn ends and weave them in.
- If your stuffing feels slightly uneven, gently reshape the body of the bird with your hands.
Pattern Question:
Question: What kind of yarn is best for this mini bird project?
Answer: Lightweight cotton or acrylic yarn works best for this pattern. It provides the right texture and ensures the bird holds its shape while being soft to the touch.
Conclusion:
Crocheting a mini bird is a creative, relaxing, and rewarding project. Its compact size and customizable design make it enjoyable and practical for crafters of all skill levels. Whether as a handmade gift, decoration, or personal keepsake, this charming project is definitely worth trying.