How to Crochet a Cute Little Ghost for Halloween
A crochet little ghost begins with a small rounded foundation that gradually forms its soft floating shape. Simple stitch placement creates a neat body with smooth curves and balanced proportions, making it perfect for Halloween décor. With each round, its gentle silhouette becomes more defined, giving the piece its classic crochet ghostly charm.
Crochet a Little Ghost Pattern
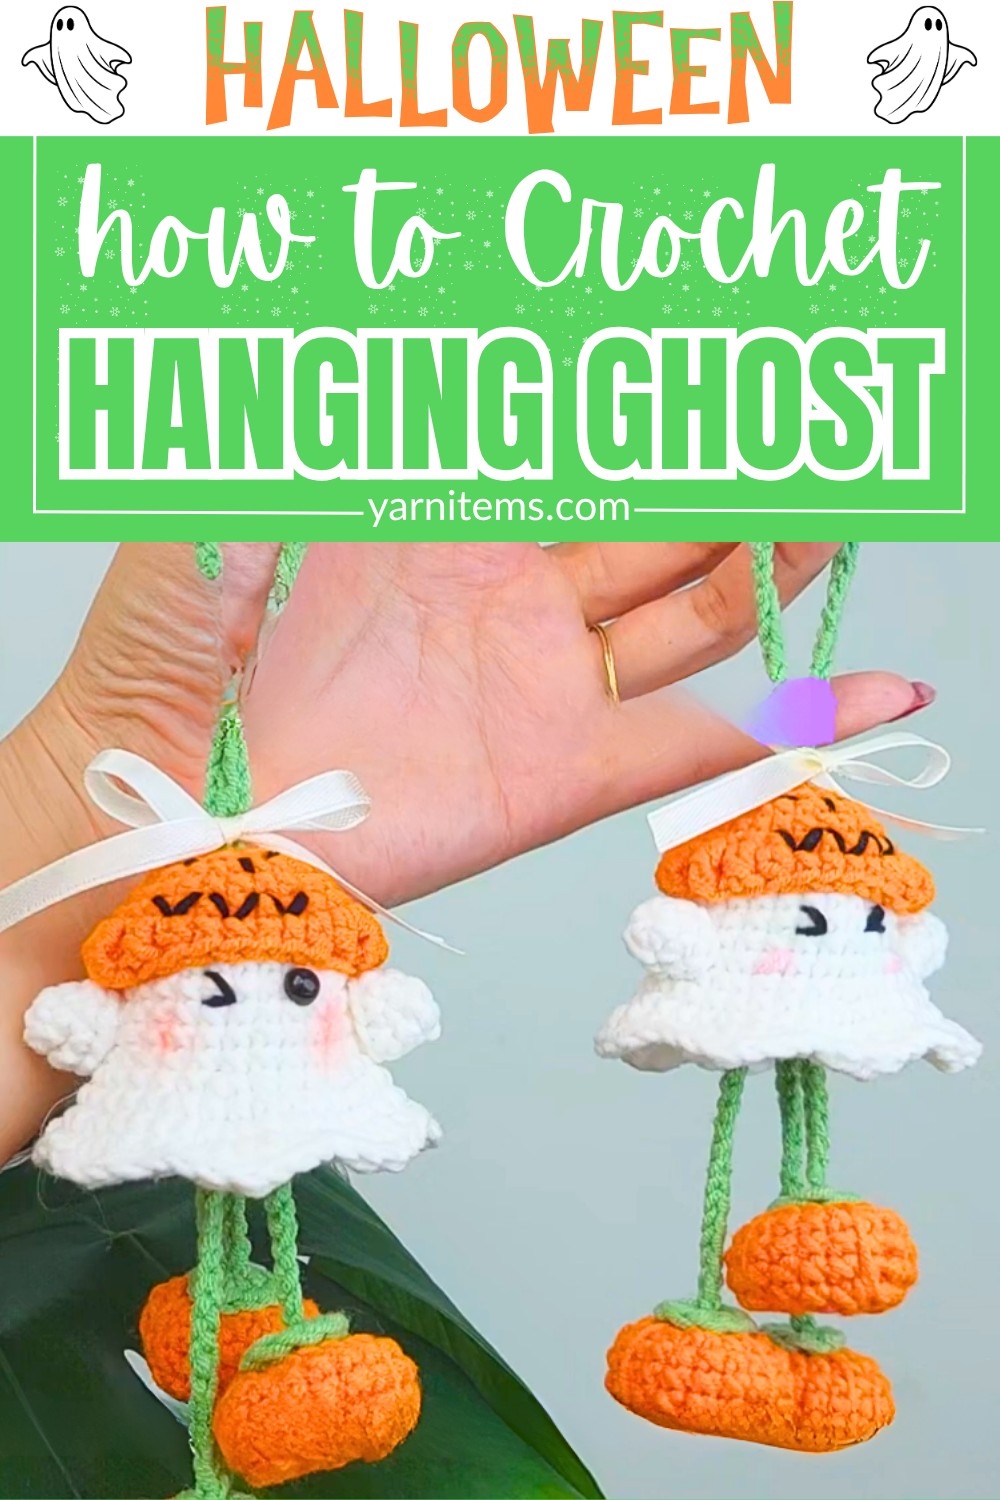
Careful finishing details complete the little crochet ghost without adding unnecessary complexity. Once finished, it fits naturally into ornaments, shelf displays, or festive garlands. Clean final shaping gives every crochet piece a polished look. Making it a playful handmade accent for any Halloween display.
Credit Pukasnow Crochet
Materials & Tools Needed
- Yarn: 4-ply combed cotton yarn (or similar Sport/DK weight yarn) in:
- White (Ghost Body & Arms)
- Orange (Hat & Mini Pumpkins)
- Green (Pumpkin Stems, Hat Stem, Hanging Cord)
- Black (Face embroidery details)
- Crochet Hook: 2.5 mm
- Other Supplies: Stitch markers, yarn needle, scissors, polyester fiberfill stuffing, safety eyes (optional, or embroider the face with black yarn), decorative ribbon for the bow.
Finished Size & Customization Ideas
- Size: Approximately 3–4 inches tall (excluding the hanging loop). Can be used as garlands, bag charms, or tree ornaments.
- Customization Ideas:
- Add various facial expressions—spooky, happy, sleepy, or mischievous.
- Use glow-in-the-dark or neon yarn for an extra eerie effect.
- Adjust the hanging cord length to suspend ghosts at different heights.
Pattern Abbreviations & Terminology
- MR: Magic Ring
- CH: Chain
- SC: Single Crochet
- HDC: Half Double Crochet
- DC: Double Crochet
- DTRC: Double Treble Crochet (Yarn Over 3 times)
- INC: Increase (2 stitches in 1 stitch)
- DEC: Decrease (Single crochet 2 stitches together)
- SLST: Slip Stitch
Step-by-Step Detailed Crochet Instructions
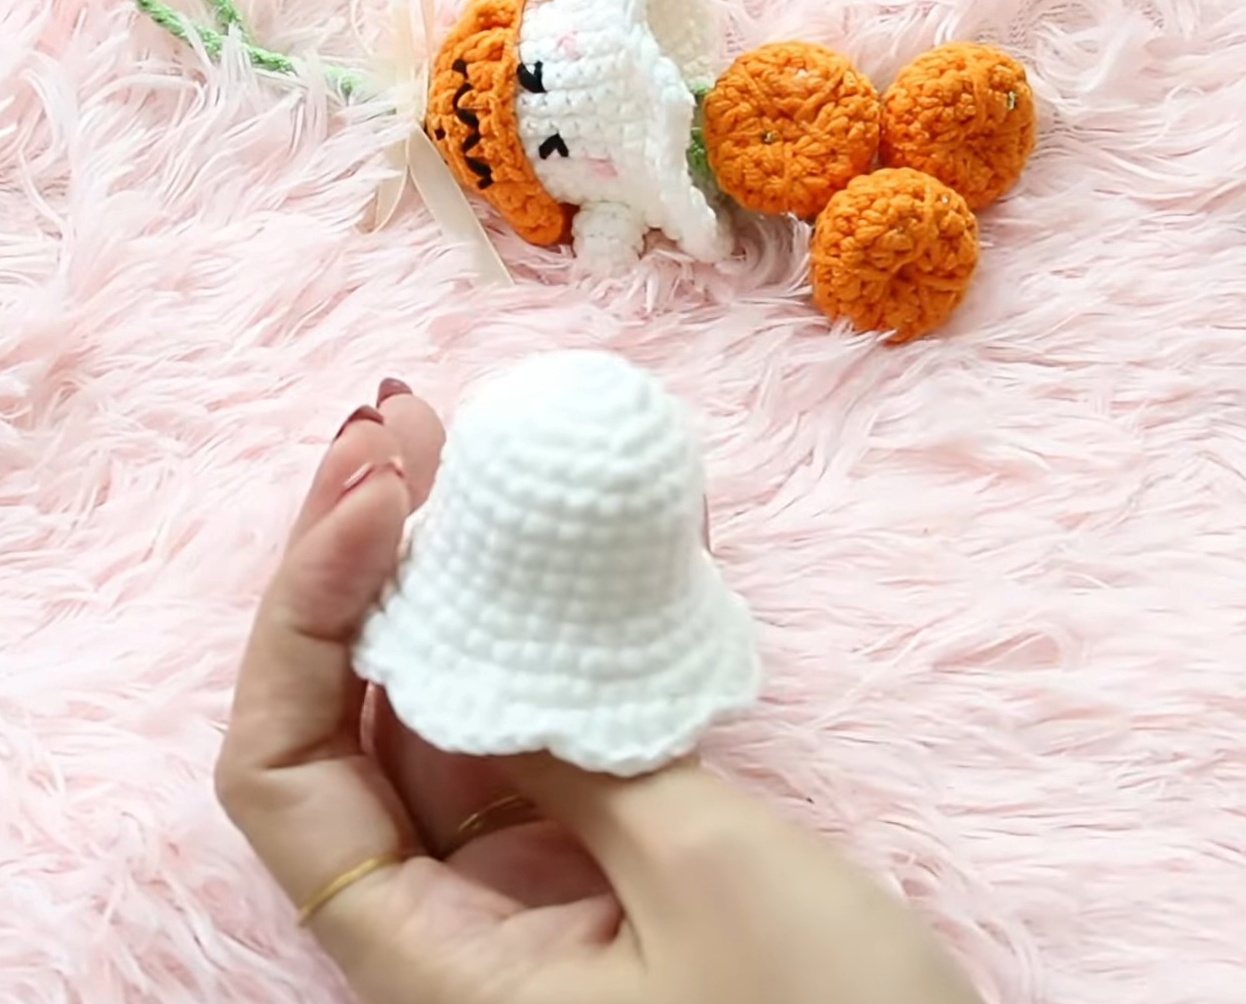
1. The Ghost Body (White Yarn)
The ghost’s body is worked in continuous rounds, joined by a slip stitch at the end of each round to keep rows level.
Rounds 1–3: The Crown — Increasing to 18 stitches
- R1: MR, 6 SC inside the ring. Join to the first stitch with a SLST.
- (6 sts)
- R2: CH 1, work 6 INC around. Join with SLST.
- (12 sts)
- R3: CH 1, [1 SC, 1 INC] x 6. Join with SLST.
- (18 sts)
Rounds 4–9: Shaping the Head & Mid-Section — Steady Growth and Length
- R4: CH 1, [1 SC, 1 INC, 1 SC] x 6. Join with SLST.
- (24 sts)
- R5–9: CH 1, SC around. Join with SLST. Repeat this row 5 times in total.
- (24 sts)
Rounds 10–12: Flaring the Skirt — Expanding the Base
- R10: CH 1, [3 SC, 1 INC] x 6. Join with SLST.
- (30 sts)
- R11: CH 1, [2 SC, 1 INC, 2 SC] x 6. Join with SLST.
- (36 sts)
- R12: CH 1, [5 SC, 1 INC] x 6. Join with SLST.
- (42 sts)
Round 13: The Ruffle Edging — Ghostly Wavy Bottom
- R13: CH 1, [1 SC, 1 HDC, 1 DC, 1 HDC, 1 SC, 1 SLST] across the next 6 stitches. Repeat this shell sequence 7 times around. Fasten off and weave in ends.
2. The Arms (White Yarn — Make 2)
- R1: MR, 5 SC. Join with SLST.
- (5 sts)
- R2: CH 1, [1 SC, 1 INC] x 2, then 1 SC, SLST to join.
- (7 sts)
Fasten off, leaving a long tail for sewing onto the ghost body.
3. The Pumpkin Hat (Orange Yarn)
The hat resembles a tiny, textured pumpkin resting atop the ghost’s head.
Rounds 1–3: Starting the Hat — Foundation Base
- R1: MR, work 8 SC into the ring. Join with SLST.
- (8 sts)
- R2: CH 1, work 8 INC around. Join with SLST.
- (16 sts)
- R3: CH 1, [1 SC, 1 INC] x 8. Join with SLST.
- (24 sts)
Rounds 4–5: Sides of the Hat — Building Depth
- R4–R5: CH 1, SC around. Join with SLST at the end of each round.
- (24 sts)
Round 6: The Pumpkin Brim Texture
- R6: CH 1, [4 SC, 1 HDC, 1 DC, 1 DTRC, 1 DC, 1 HDC] x 2.
- Repeat sequence across entire round (24 sts), then SLST.
- Fasten off securely.
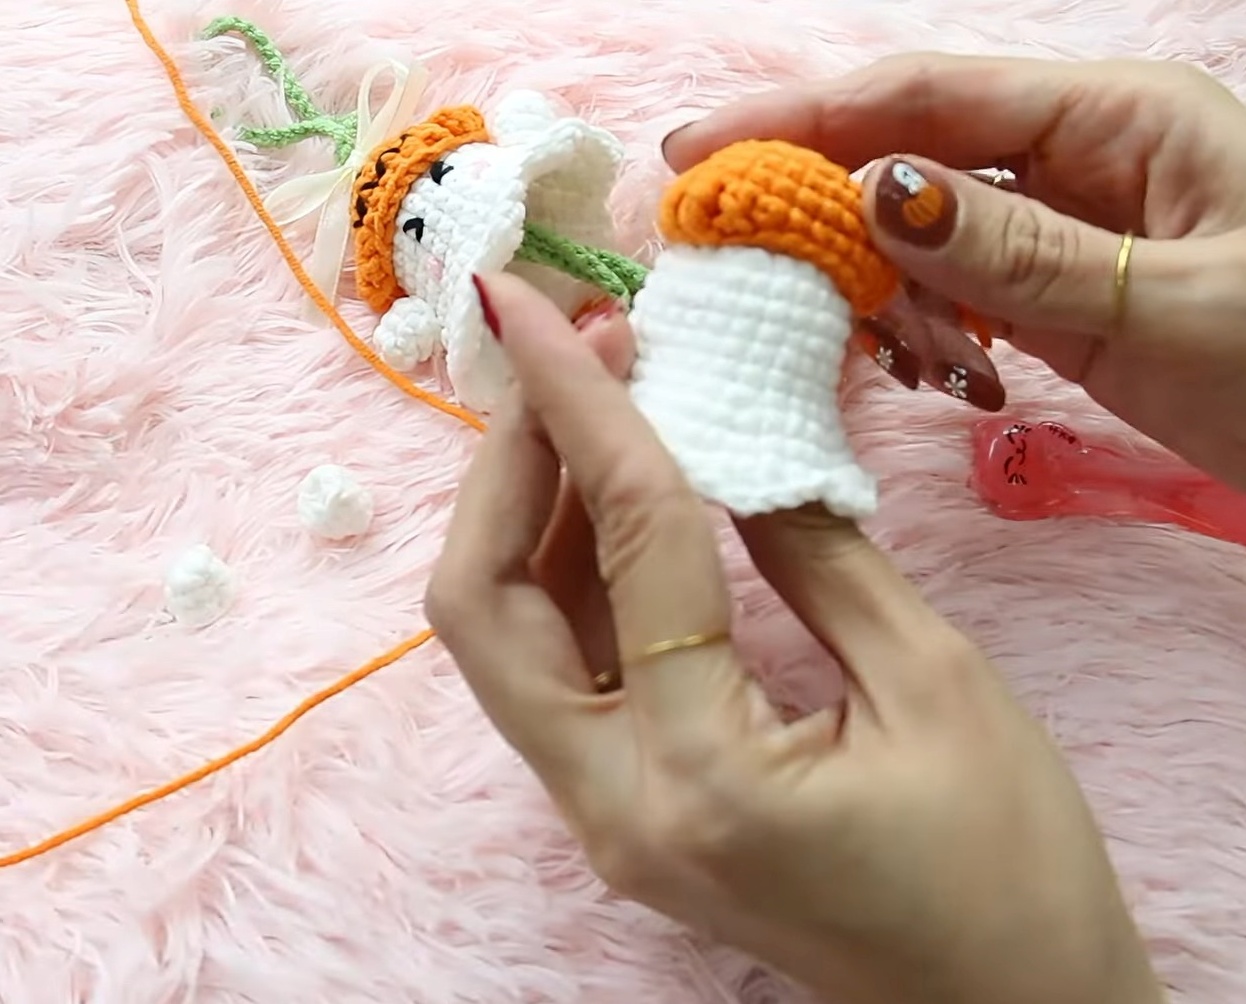
Hat Decorations
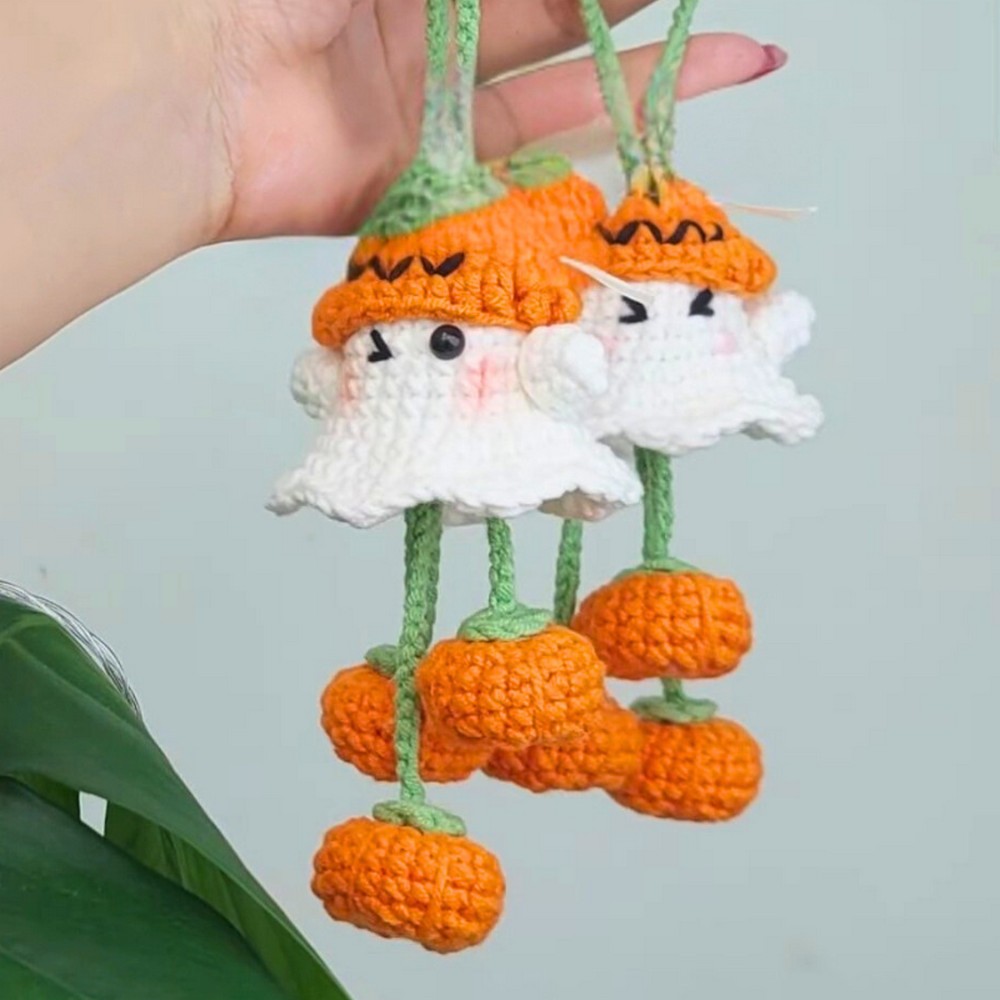
- Embroider the Face: Using black yarn or thread, create triangular Jack-o’-lantern eyes and a jagged smile.
- Hat Stem: With green yarn, join directly to the top center of the hat (R1 location).
- Work MR, 8 SC, SLST to secure.
- This forms the stem.
4. Mini Dangling Pumpkins (Orange Yarn — Make 2)
Small pumpkins dangle below the ghost to add movement and charm.
Rounds 1–6: Pumpkin Sphere
- R1: MR, work 6 SC. Join with SLST.
- (6 sts)
- R2: CH 1, work 6 INC around. Join with SLST.
- (12 sts)
- R3: CH 1, [1 SC, 1 INC] x 6. Join with SLST.
- (18 sts)
- R4–R6: CH 1, SC around (maintain stitch count). Join with SLST at the end of each round.
- (18 sts)
Stuff the pumpkin with fiberfill before closing.
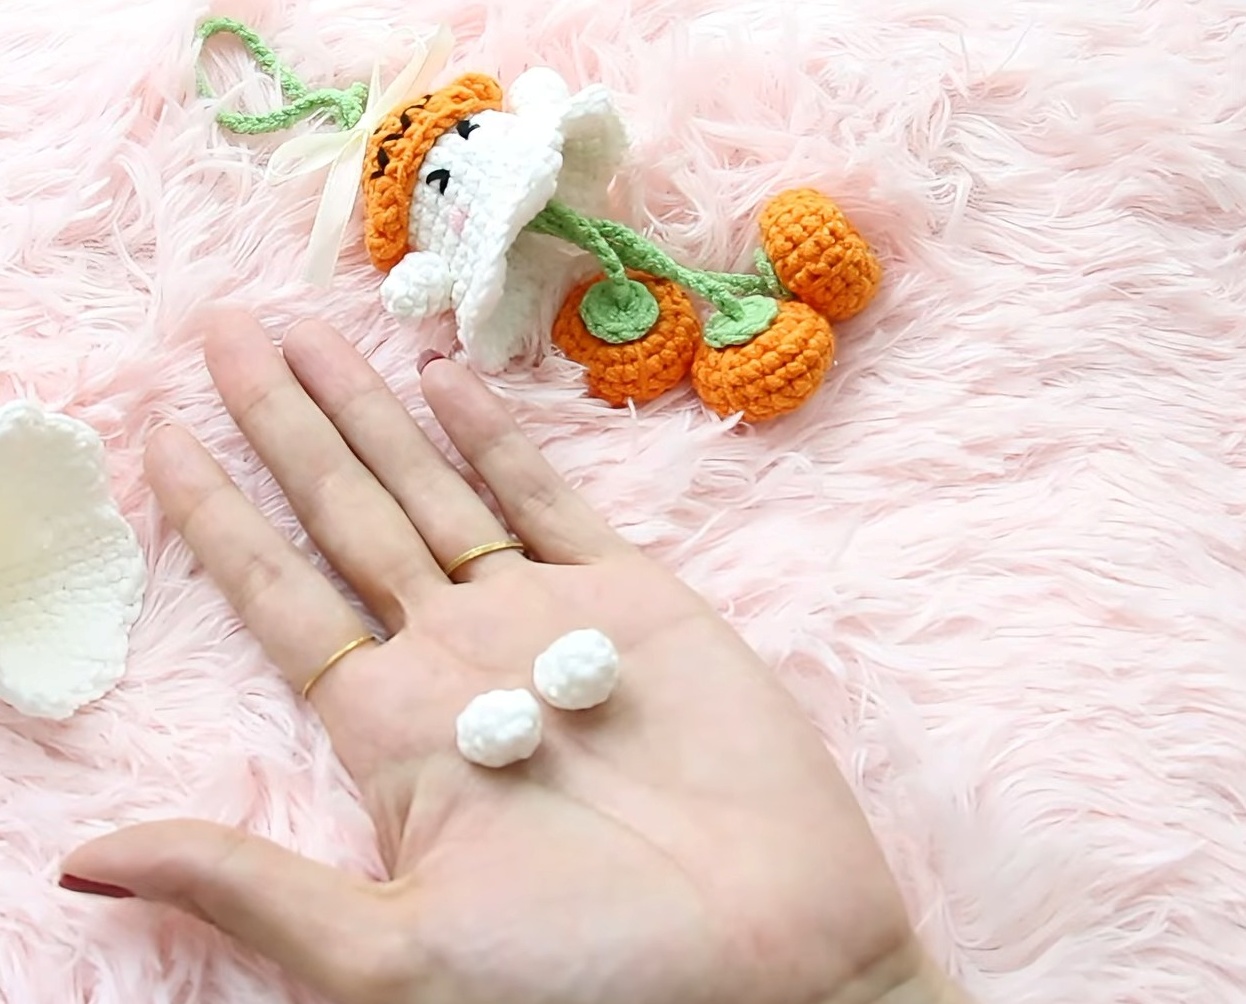
Round 7: Closing & Segmenting
- R7: CH 1, work 6 DEC. Join with SLST. (6 sts)
- Fasten off, leaving a long tail.
Sculpting Segments
Using the yarn tail and needle, wrap yarn tightly around the outside of the pumpkin, pulling it through the bottom center to the top center.
Repeat 6 times, spacing evenly to create a ribbed texture resembling a pumpkin.
Pumpkin Stem & Cord
- Mini Stem: With green yarn, MR, 8 SC, SLST to create a loop and attach it to the top of the pumpkin.
- Hanging Cords: Use green yarn to create two chain strings:
- Short cord: ~20 chains.
- Long cord: ~100 chains to serve as the main hanging loop.
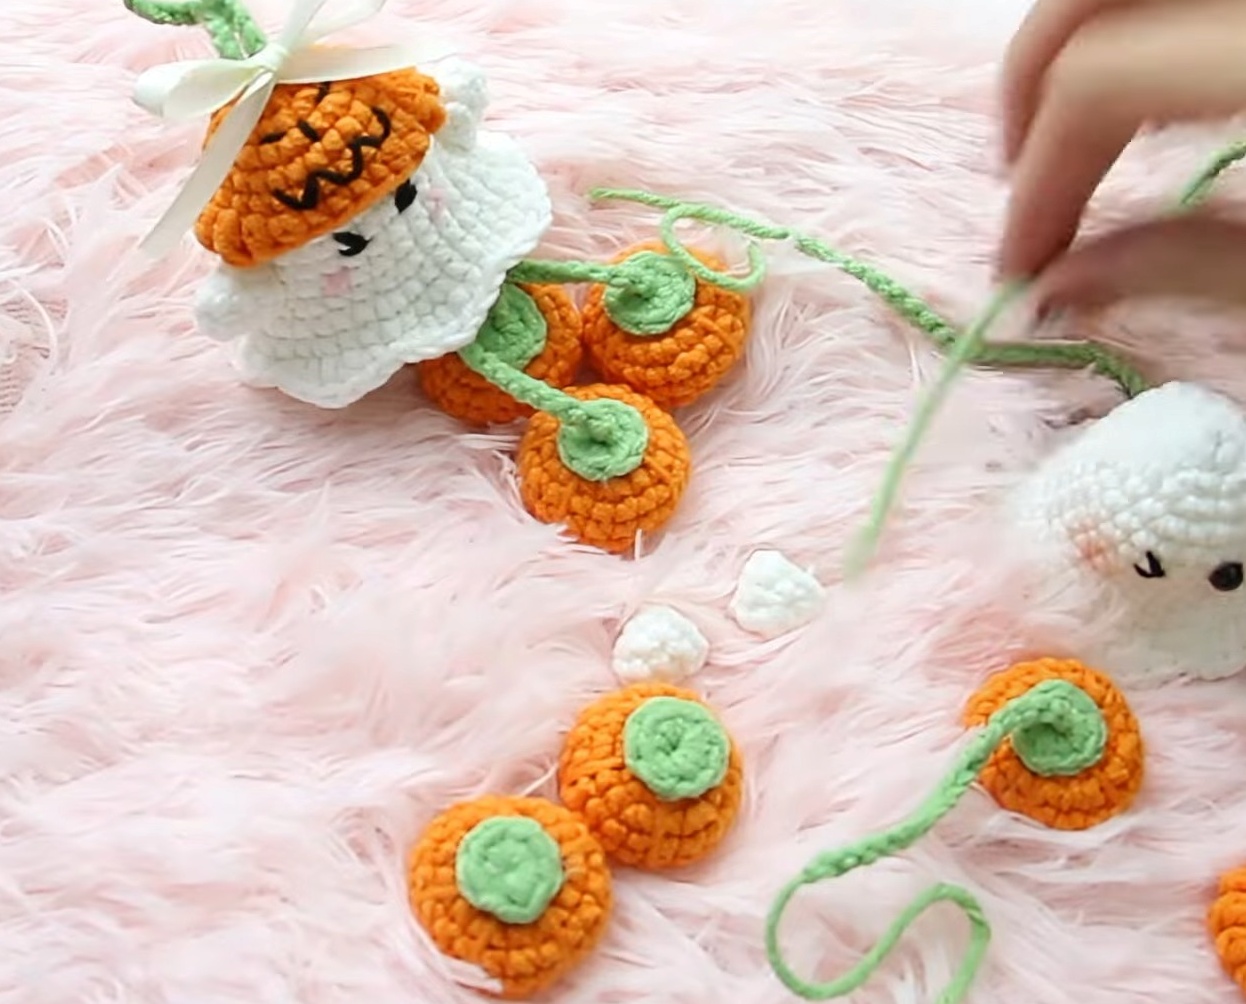
Assembly & Finishing Touches
1. Facial Features: Embroider squinting, happy, or spooky eyes onto the ghost body with black yarn. Add a touch of pink for blush details beneath the eyes.
2. Attach Arms: Sew the white arms symmetrically onto the ghost body’s sides, aligning with R8 or R9.
3. Thread Hanging Loop: Use the long green chain cord (from the mini pumpkin) to feed upward through the ghost’s body and out through the top of its head.
4. Position Pumpkin Hat: Place the hat snugly on the ghost’s head. Align the hat stem over the green cord.
5. Finish with a Bow: Tie a white ribbon into a bow around the green cord directly above the pumpkin hat.