Easy Beginner Crochet Hat Pattern Free
Discover how a simple skein of yarn can turn into a cozy handmade favorite. This beginner-friendly crochet hat is easy to follow and creates a warm, stylish piece for everyday wear.
The clean design makes it suitable for all ages, and you can easily adjust the colors to match your personal style. It’s a relaxing way to enjoy crocheting while making something you’ll actually love to wear.
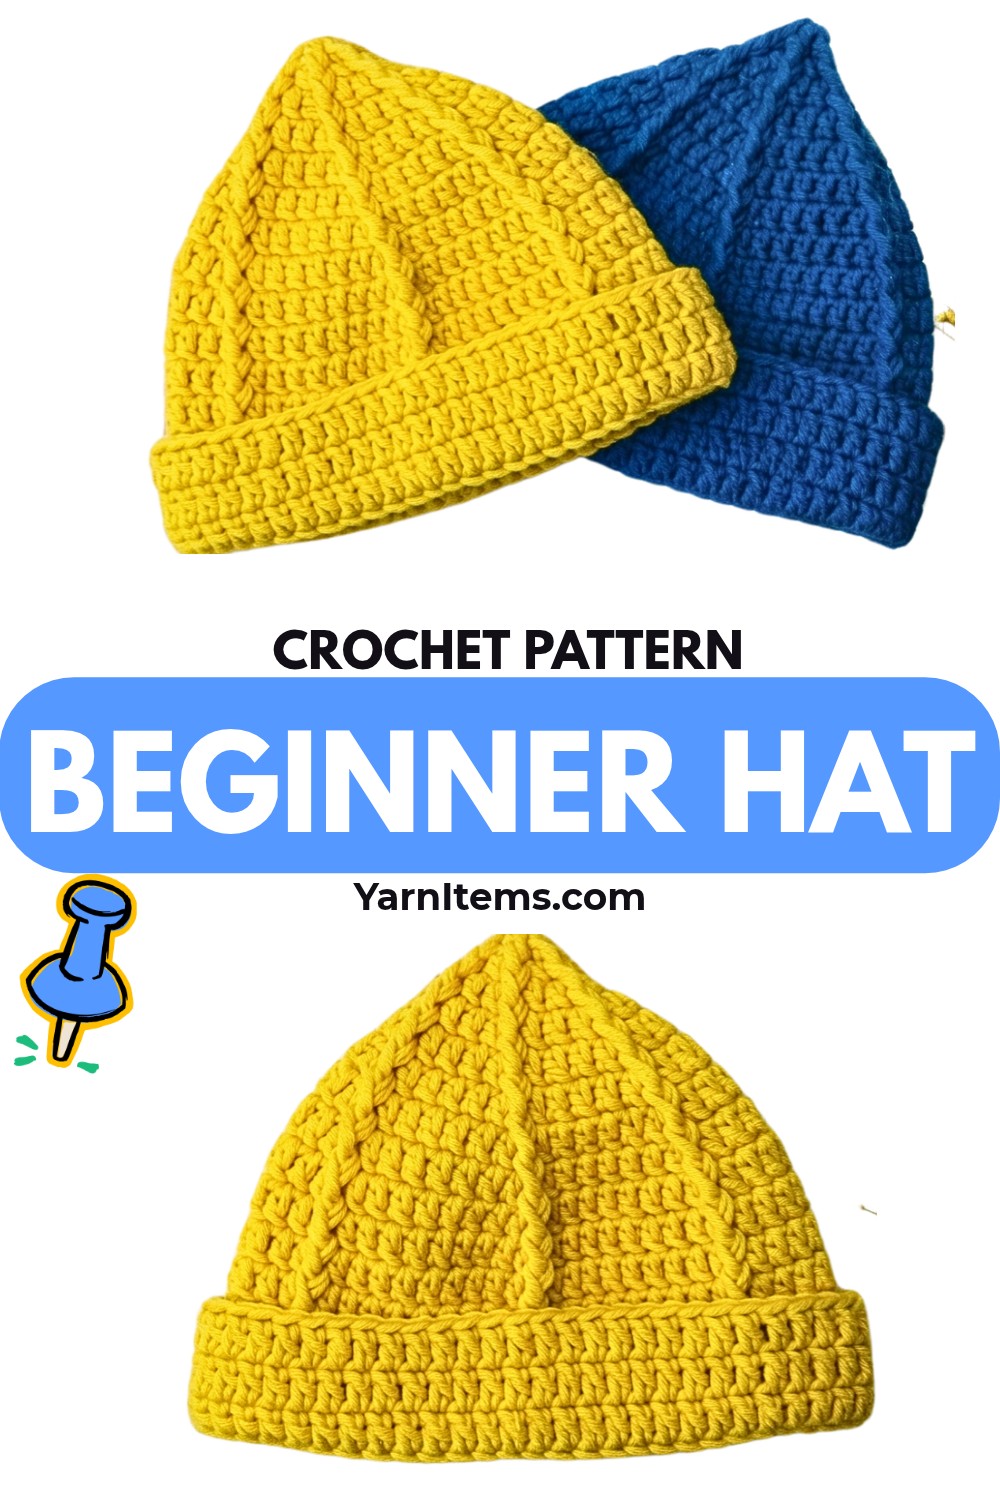
Nothing feels more satisfying than wearing something you made yourself. This crochet hat comes together with simple stitches that are ideal for beginners who want beautiful results without unnecessary complexity.
The finished piece is soft, comfortable, and perfect for cool weather, thoughtful gifts, or adding a handmade touch to your wardrobe. With plenty of room for color combinations and creative details, it’s easy to make each hat feel unique.
Credit Nala Crochet
Materials & Tools Needed
- Yarn: Silk yarn (as used in the original tutorial)
- Hook: 5.0mm crochet hook (Korean 8/0 size)
- Tapestry needle: For weaving in ends
- Scissors
- Measuring tape: To check sizes and gauge (optional)
Pattern Notes
This pattern is worked in a spiral (joined rounds) starting from the crown of the hat, so no magic circle is needed. Carefully follow the instructions to ensure smooth transitions between rounds.
Key Details
- Chain stitches at the beginning of rounds serve as the first double crochet (dc).
- The pattern allows for customization in sizing:
- Small: Stop increasing at Row 10
- Medium: Stop increasing at Row 11
- Large: Stop increasing at Row 12
- After the increase rows, you will work without adding stitches (no increases) for 5 rounds to build height before adding the brim.
Additional Tips
- Use a stitch marker to mark the first stitch of each round when working in spirals, to help keep track of where you’re starting and ending.
- Ensure you check the size as you’re working to make adjustments if needed for a perfect fit.
Finished Sizes & Instructions
- Small
- Fits head circumference: 52-55 cm
- Customization: Stop increases at Row 10
- Medium
- Fits head circumference: 55-57 cm
- Customization: Stop increases at Row 11
- Large
- Fits head circumference: 57-59 cm
- Customization: Stop increases at Row 12
Additional Customization Ideas
- Adjust for a snug or looser fit:
- For a snug fit, stop increases one row earlier.
- For a slightly looser fit, add an extra increase row.
- Experiment with stitch patterns:
- After stopping increases, consider switching to a textured or decorative stitch to add flair.
- For example, use ribbing, cables, or a basketweave texture.
- Length adjustments:
- If you’d like a slouchy hat, add more rows after the increases before starting any decreases or finishing the piece.
- Edge finishing:
- For the brim, you might crochet or knit a ribbed edge, fold-over hem, or add elastic for a polished and adjustable fit.

Customization Tips:
Here are some customization tips for creating a unique hat:
- Adjusting Hat Height:
- After completing the final increase round, you can add or remove rows in the body of the hat as needed to make it longer or shorter.
- This allows you to tailor the hat to your preferences or head size.
- Decorative Edging:
- Add a creative touch by incorporating textured stitches (like scallops or picots) at the brim or edges of the hat.
- This enhances both functionality and style.
- Color Changes:
- Use different yarn colors at various stages of the pattern for stripes, color blocking, or patterns.
- Switching colors between rows or rounds can completely alter the design vibe.
- Personalized Embellishments:
- Consider adding appliques, buttons, pom-poms, or embroidery to give your hat a one-of-a-kind look.
- Textured Patterns:
- Experiment with stitch patterns like cables, bobbles, or ridges while working on the body or brim of the hat to introduce unique design elements.
Pattern Abbreviations & Terminology
- ch: Chain
- sl st: Slip stitch
- f: Double crochet (dc)
- st(s): Stitch(es)
- R: Round/Row
Step-by-Step Detailed Crochet Instructions
Crown/Increase Rounds
- Start (Round 1):
- Chain 3 (acts as the first double crochet).
- Work 6 double crochets (f) into the first chain (or starting loop).
- Join with a slip stitch into the 3rd chain of the starting chain-3.
- Total stitches: 6.
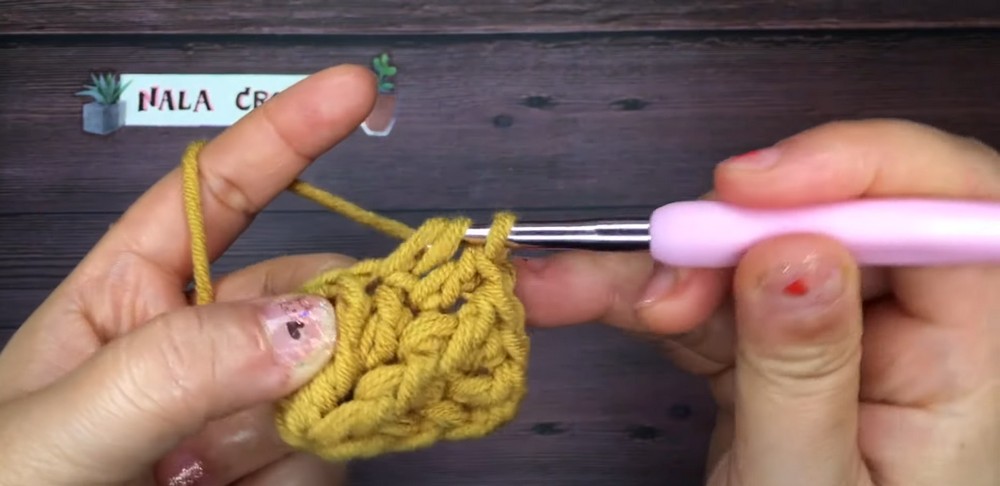
- Round 2:
- Chain 3.
- Work 2 double crochets into every stitch around.
- Join with a slip stitch into the 3rd chain of the starting chain-3.
- Total stitches: 12.
- Round 3:
- Chain 3.
- Work [2 double crochets into the first stitch, then 1 double crochet into the next stitch]. Repeat brackets around.
- Join with a slip stitch into the 3rd chain of the starting chain-3.
- Total stitches: 18.
- Round 4:
- Chain 3.
- Work [2 double crochets into the first stitch, then 1 double crochet into each of the next 2 stitches]. Repeat brackets around.
- Join with a slip stitch into the 3rd chain of the starting chain-3.
- Total stitches: 24.
- Round 5:
- Chain 3.
- Work [2 double crochets into the first stitch, then 1 double crochet into each of the next 3 stitches]. Repeat brackets around.
- Join with a slip stitch into the 3rd chain of the starting chain-3.
- Total stitches: 30.
- Round 6:
- Chain 3.
- Work [2 double crochets into the first stitch, then 1 double crochet into each of the next 4 stitches]. Repeat brackets around.
- Join with a slip stitch into the 3rd chain of the starting chain-3.
- Total stitches: 36.
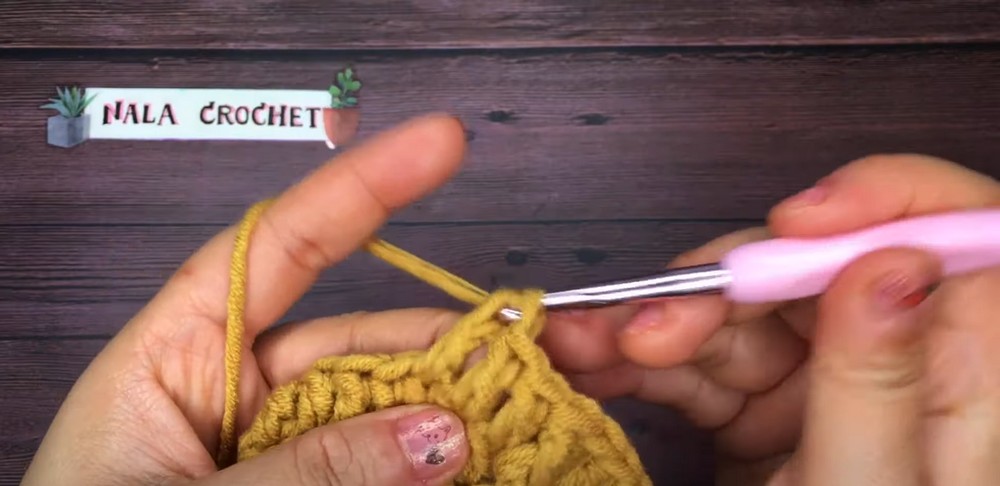
- Round 7:
- Chain 3.
- Work [2 double crochets into the first stitch, then 1 double crochet into each of the next 5 stitches]. Repeat brackets around.
- Join with a slip stitch into the 3rd chain of the starting chain-3.
- Total stitches: 42.
- Round 8:
- Chain 3.
- Work [2 double crochets into the first stitch, then 1 double crochet into each of the next 6 stitches]. Repeat brackets around.
- Join with a slip stitch into the 3rd chain of the starting chain-3.
- Total stitches: 48.
- Round 9:
- Chain 3.
- Work [2 double crochets into the first stitch, then 1 double crochet into each of the next 7 stitches]. Repeat brackets around.
- Join with a slip stitch into the 3rd chain of the starting chain-3.
- Total stitches: 54.
- Round 10:
- Chain 3.
- Work [2 double crochets into the first stitch, then 1 double crochet into each of the next 8 stitches]. Repeat brackets around.
- Join with a slip stitch into the 3rd chain of the starting chain-3.
- Total stitches: 60.
- For Small Size: Stop increasing after this round.
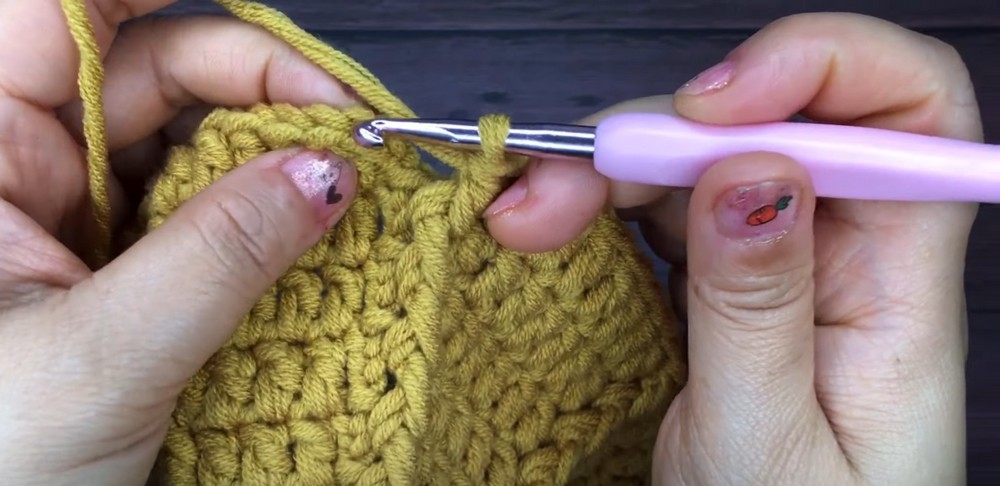
- Round 11:
- (For Medium Size) Chain 3.
- Work [2 double crochets into the first stitch, then 1 double crochet into each of the next 9 stitches]. Repeat brackets around.
- Join with a slip stitch into the 3rd chain of the starting chain-3.
- Total stitches: 66.
- Round 12:
- (For Large Size) Chain 3.
- Work [2 double crochets into the first stitch, then 1 double crochet into each of the next 10 stitches]. Repeat brackets around.
- Join with a slip stitch into the 3rd chain of the starting chain-3.
- Total stitches: 72.
Body of the Hat
- Once you’re done with increasing at your desired size (Small, Medium, or Large), begin creating the body of the hat:
- Chain 3.
- Work 1 double crochet in each stitch around.
- Join with a slip stitch into the 3rd chain of the starting chain-3.
- Repeat this step for 5 rounds.
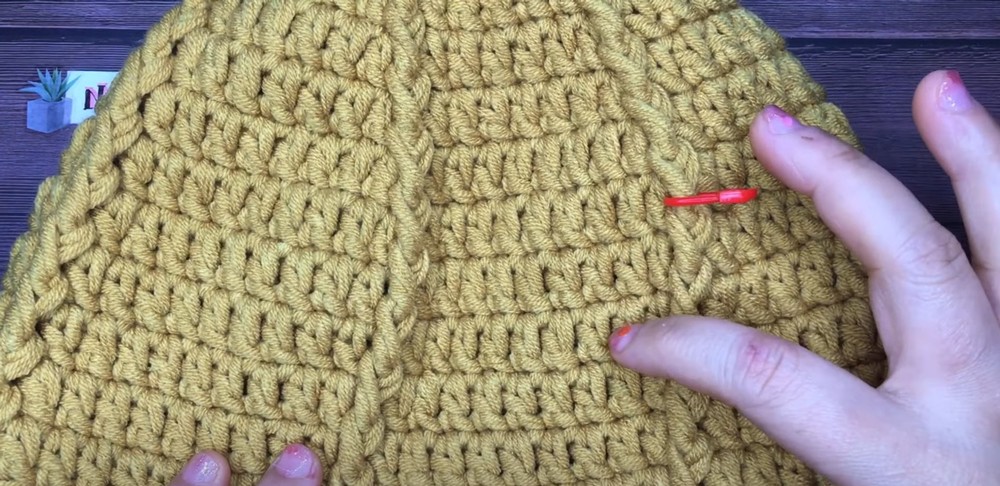
Creating the Brim
- Chain 3.
- Work 1 double crochet into the back loop only of each stitch around.
- Join with a slip stitch into the 3rd chain of the starting chain-3.
- Repeat for 5 rounds. This creates a neat brim for the hat with a clean finish.
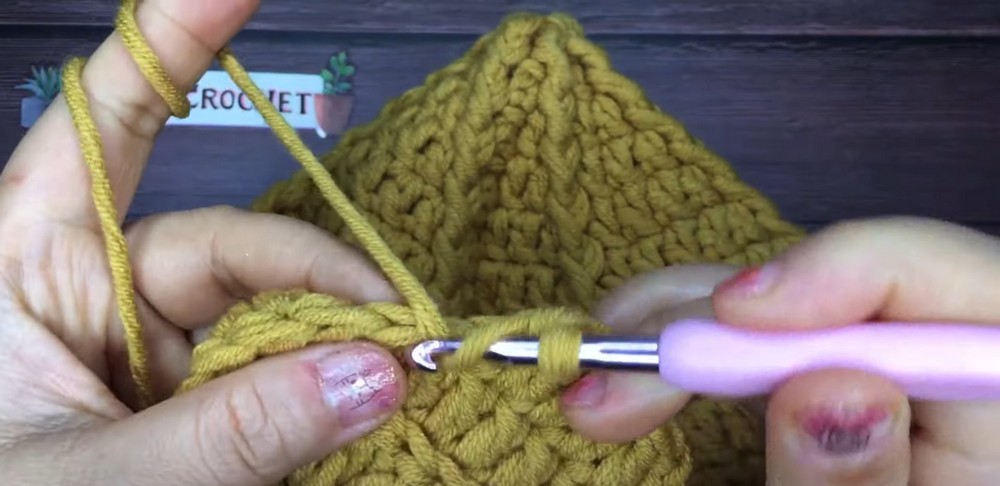
Finishing Up Instructions:
- Secure with a Slip Stitch:
- Once you’ve completed the brim, slip stitch into the next stitch to secure your work.
- Cut the Yarn:
- Cut the yarn, leaving a tail that’s at least 4–6 inches long for weaving in later.
- Weave in the Loose Ends:
- Thread the yarn tail onto a tapestry needle.
- Carefully weave the loose ends into your work to ensure they are secure and hidden.