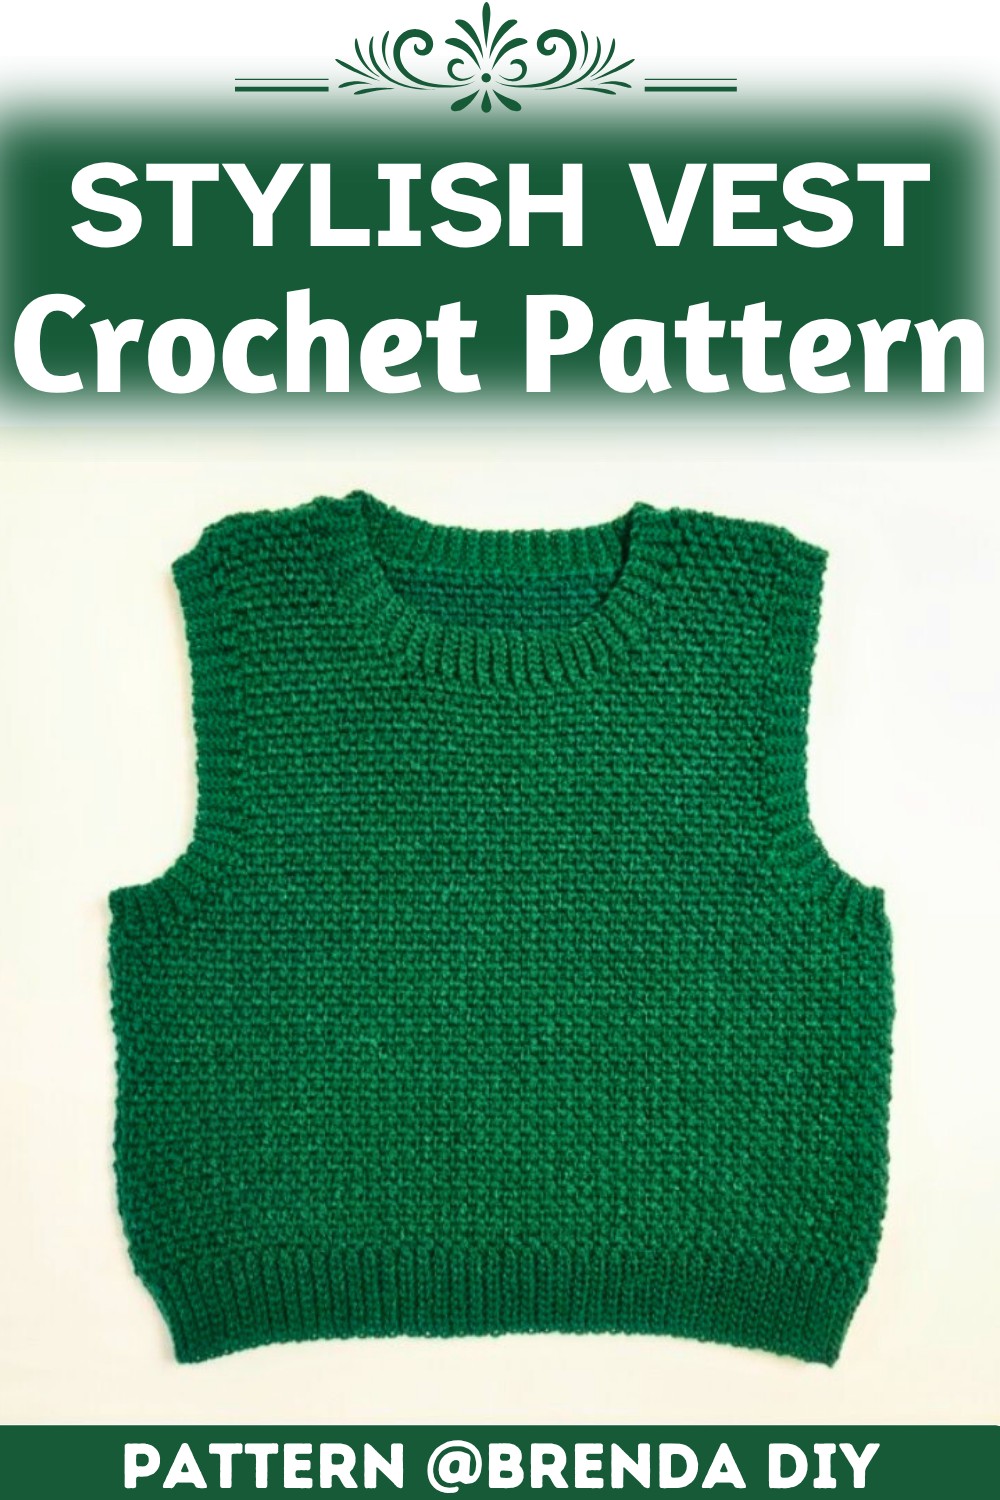
This trendy, lightweight vest combines texture, shaping, and polish to create a versatile, handmade piece that’s perfect for layering or making a fashion statement.

A crochet vest is a wonderful piece you can wear over casual or dressy outfits. It’s lightweight yet cozy, making it perfect for adding flair to your look in any season. With its unique texture and handmade charm, this crochet vest stands out as both stylish and practical. It’s a fun way to express your style while staying comfortable.
Lightweight Crochet Vest Pattern for Summer
If you’re curious about how it’s made, crocheting this vest is simpler than it seems. It’s created stitch by stitch, using a soft yarn that feels great on the skin. The vest pattern combines elegance and ease, making it ideal for beginners or anyone ready to try something new. You’ll love seeing your creation come to life and having a wearable piece that’s uniquely yours.
Credit Brenda DIY
Key Highlights of the Pattern:
- Foundation work: Start with a strong foundation chain followed by single crochet (SC) stitches to set up the base.
- Textured bottom ribbing: Rows of half double crochet (HDC) create a sturdy yet stretchy ribbed band.
- Main body construction: Double crochet (DC) stitches work up the body, with optional shaping through increases or decreases.
- Armholes and shaping: Split the work into panels, leaving space for armholes and contouring the edges for a professional look.
- Seamless assembly: Use slip stitches (SL ST) or SC for joining panels and ensuring a clean, structured finish.
- Polished details: Add decorative edging to armholes and necklines for an elevated, finished touch.
Construction Overview
1. The Foundation and Textured Base:
The piece begins with a foundation chain, tailored to match your desired vest size. Working single crochet (SC) stitches across ensures an even and clean base, essential for a professional-looking garment. To give the vest its stylish structure, several rows of half double crochet (HDC) are added, creating a stretchy ribbed texture perfect for the bottom band of the vest. This band hugs the waist gently, adding both form and function.
2. Building the Body:
The main body of the vest is constructed with rows of double crochet (DC), which work up quickly while providing a breathable and flexible fabric. For those seeking a personalized fit, shaping is incorporated at this stage through increases or decreases at the edges of the rows. This allows for a slightly tapered effect or additional flow, depending on the desired look. The length of the body is also customizable—simply add or reduce the number of DC rows as you go.
3. Creating Armholes and Panels:
The armholes are formed by splitting the work into separate panels, with chains skipped to leave openings for the arms. This step is a turning point in the pattern, as it transforms the flat piece into something with wearable structure. Switching to more compact stitches, like SC or HDC, helps shape the curved areas around the armholes and provides a clean, polished edge.
4. Seamless Joining:
Once the panels are complete, the front pieces are neatly joined to the back panel using a slip stitch (SL ST) or single crochet seam. This method not only secures the panels but also maintains the aesthetic flow of the stitches. Careful alignment of the panels ensures symmetry, essential for a tailored, professional finish.

5. Finishing Touches:
The final step showcases the true artistry of the vest: adding a decorative border. Edging stitches such as SC or Picot Stitch bring elegance to the armholes and neckline, framing the piece beautifully. To complete the pattern, any loose ends are woven in using a yarn needle. Small details like these provide the vest with its polished, ready-to-wear appeal.

Video Tutorial
Materials and Preparation
To create this crochet vest, you will need:
- Yarn: Medium-weight yarn (you can use cotton, acrylic, or wool depending on your preference).
- Hook Size: Recommend using a 4mm (G-6) or 5mm (H-8) crochet hook, depending on your desired gauge.
- Yarn Weight: Size 4 (Medium) or DK weight yarn. Adjust as needed for your pattern.
- Additional tools:
- Stitch markers
- Measuring tape
- Scissors
- Yarn needle (for weaving in ends)
Step-by-Step Pattern
Section 1: Foundation Row
- Begin by creating a foundation chain depending on the desired width of the vest (e.g., CH 100 for a small, CH 120 for medium, CH 140 for large).
- In the second chain from hook, SC across, ensuring an even tension.
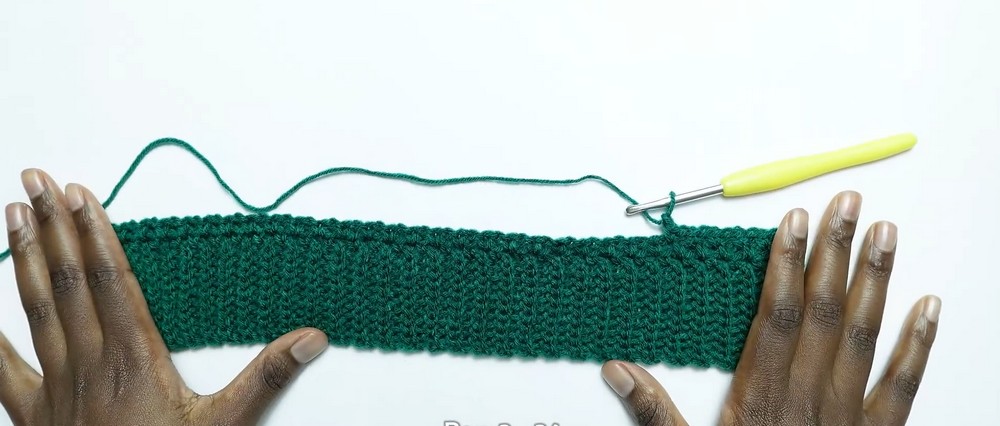
Section 2: Setting the Base
- For Row 1, work HDC across. At the end of the row, CH1 and turn.
- Repeat Row 1 for 4-5 more rows to form the base of the vest. This creates the bottom rib or textured band.
Section 3: Building the Body
- Switch to DC stitches. For Rows 6-25 (or based on vest length), work evenly in DC across.
- Add increases/decreases at the beginning and end of rows as needed, following the tutorial in the video for shaping the vest.
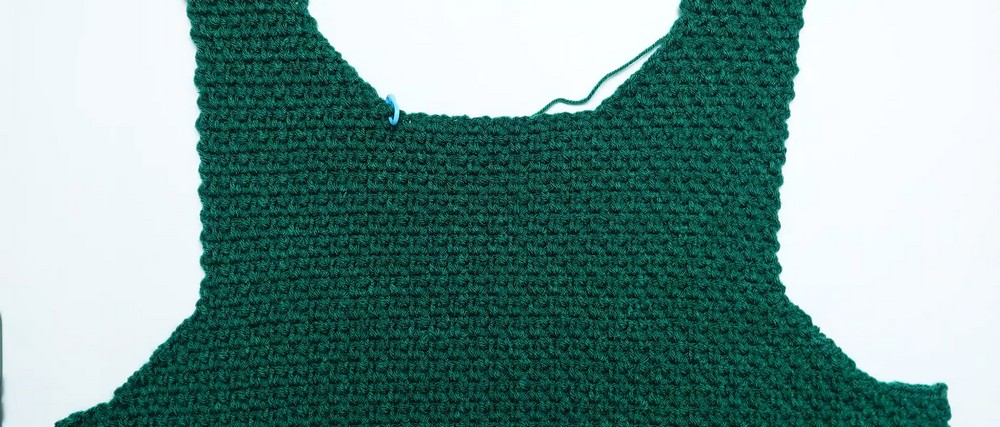
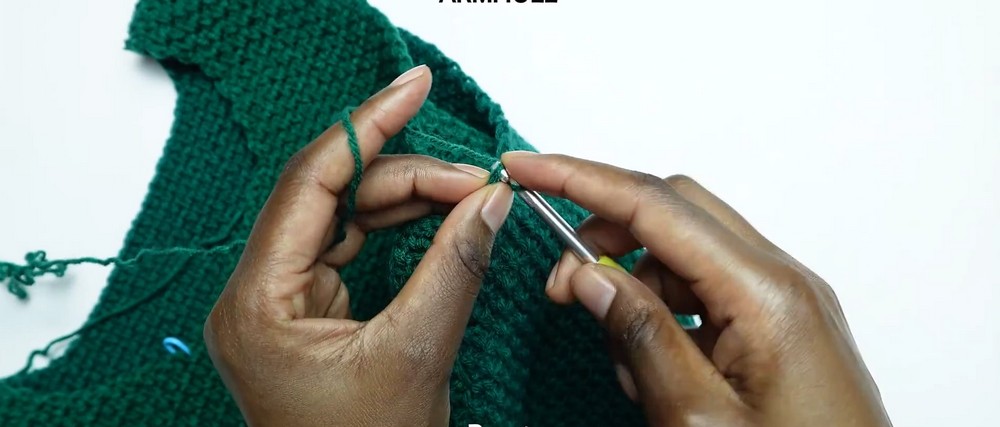
Section 4: Forming Armholes
- When you reach the armhole area, divide your work into two parts to create front panels. Skip stitches for the arm opening and continue crocheting the panel sections.
- Use HDC or SC for shaping curves and arm edges for cleaner finishing.
Section 5: Joining Panels
- Use a SL ST or SC seam to join the front panels to the back panel. Be sure to align stitches evenly for symmetry.
Section 6: Adding Finishing Touches
- Work a decorative border around the armholes and the neckline. This could be a row of SC or Picot Stitch for added interest.
- Weave in all loose ends with a yarn needle.
Troubleshooting and Suggestions
Common Issues and Fixes:
- Uneven tension: Ensure consistent tension in your foundation chain and throughout the base rows to prevent puckering or waviness.
- Armhole gaps: When creating armholes, avoid skipping too many stitches for a snug fit; alternatively, add extra border rows to cinch them slightly if needed.
- Misaligned seams: Be precise while joining panels—pin the edges together first to check alignment before seaming.
Creative Modifications:
- Experiment with color blocking by switching yarn colors halfway through the body or creating contrasting ribbing.
- Add embellishments like buttons or appliqués for a personalized touch.
- For a cozier winter vest, use a chunky yarn and adjust the hook size to match, creating a thicker and warmer fabric.
- Shorten the body length to turn the pattern into a chic cropped vest or extend it for a long, tunic-style layer.