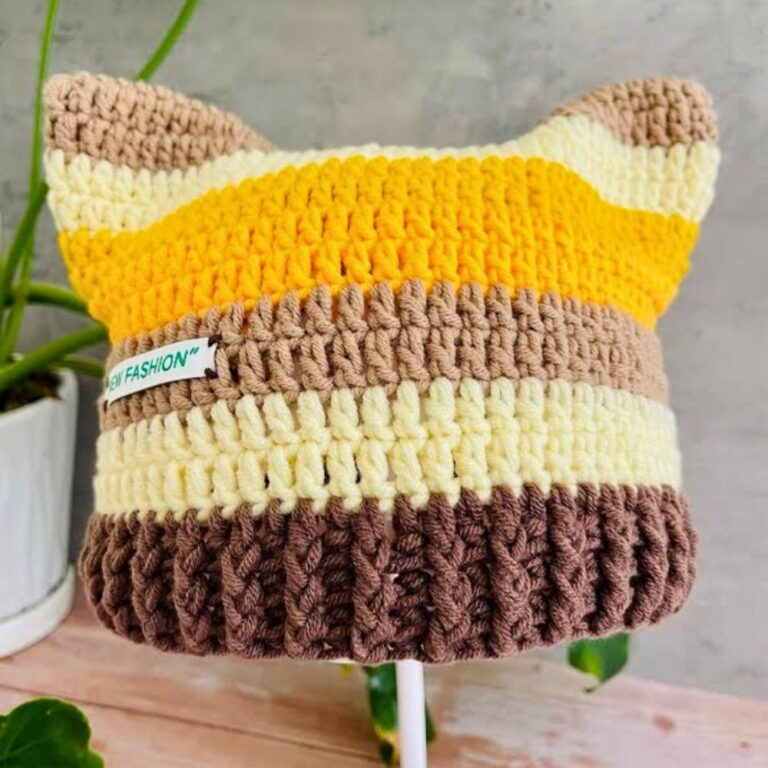
Step-by-Step Guide to Crochet a Stylish Beanie Hat
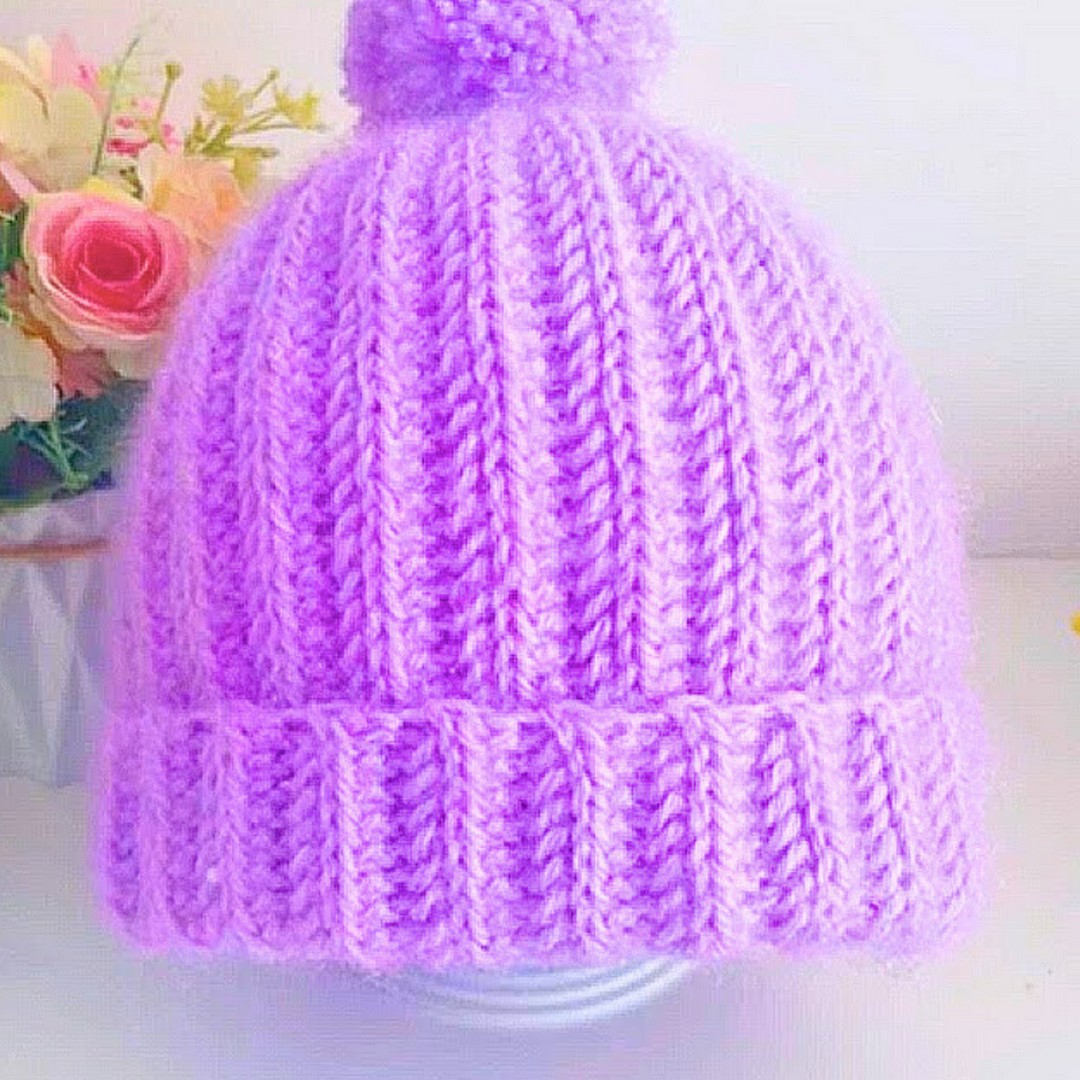
Discover the secret behind a beanie that looks professionally made while remaining surprisingly enjoyable to crochet. This cozy piece combines a stretchy ribbed texture with a neatly shaped crown for a polished finish that feels as good as it looks.
Its clean design works beautifully with solid shades, bold color blocks, or a playful pom-pom to match your personal style. Every crochet section is thoughtfully constructed to create a warm, comfortable fit for everyday wear.

Nothing compares to wearing a handmade crochet beanie that fits just the way you want it to. This guide explains the materials, sizing adjustments, stitch details, and finishing methods needed to create a durable and attractive item.
You’ll also find practical ideas for personalizing the design with different colors, brim styles, and decorative accents. From the first foundation chain to the final finishing touches, each step builds toward a timeless crochet piece you’ll enjoy for seasons to come.
Credit anxin_crochet
Materials Needed
- Yarn: Chunky/bulky squirrel wool yarn or 8-strand cotton yarn.
- Custom Faux Leather/Fabric Label (optional): For finishing accents.
Tools
- Crochet Hook: Size 5.0 mm – 6.0 mm (appropriate for bulky yarn weight).
- Pom-Pom Maker: Standard plastic tool (~8–9 cm diameter).
- Tapestry/Yarn Needle: Large-eye needle for seaming and crown cinching.
- Sewing Needle & Thread: Single strand of yarn or standard sewing thread for attaching labels.
- Stitch Markers: 1–2 markers to secure first/last stitches of each row.
- Fabric Scissors: Sharp scissors for trimming yarn and pom-pom fluff.
Pattern Notes:
- Turning Chains:
- Each row ends with a Ch 1 turning stitch that does NOT count as a stitch.
- Begin the next row by inserting the hook into the second stitch from the hook.
- Sections of the Hat:
- The hat is worked flat and sideways in rows.
- Each row has two parts:
- Main Body: 35 stitches using a textured modified stitch.
- Top Taper (Crown): 7 stitches worked in front loop slip stitches.
- Loop Technique:
- Always work into the front loop (outer half) of the braid unless otherwise specified.
- This creates a ribbed texture with vertical elasticity.
- Tension Notes:
- Keep the slip stitches at the crown relaxed.
- Slip stitches that are too tight will make return rows harder to work.
Pattern Abbreviations & Terminology
-
Ch: Chain
-
St(s): Stitch(es)
-
Sl St: Slip Stitch
-
FLO: Front Loop Only (outer half of the braid closest to you)
-
SC: Single Crochet
-
MSS (Modified Surface/Side-Bar Stitch): Insert hook into the vertical bar/yarn of the previous stitch, then into the FLO of the next chain/stitch, yarn over, and pull through all 3 loops on the hook.
Step-by-Step Crochet Instructions
Foundation Chain
- Slip Knot: Begin by making a slip knot and placing it onto your crochet hook.
- Chain Stitches: Crochet 42 chain stitches, ensuring they are slightly loose for flexibility. Lay your chain flat and measure; it should measure approximately 27.5 cm.
Tip: Looser chains help ensure your project doesn’t pucker or curl. - Add Turning Chain: Crochet 1 extra chain to serve as the turning chain (this does not count as a stitch).
Row 1: Setting Up the Taper and Body
- Main Body Preparation (1st Stitch):
- Turn your work.
- Insert your hook into the 2nd chain from the hook.
- Yarn over, pull up a loop, yarn over again, and pull through both loops.
- You’ve now created 1 regular SC! Mark this first stitch with a stitch marker for reference.
- Body Stitches (Stitches 2–35):
- Find the vertical side bar of the Single Crochet you just worked (the vertical strand on the side of the stitch).
- Insert your hook under this vertical bar.
- Then, insert your hook into the Front Loop Only (FLO) of the next chain in your foundation chain.
- Yarn over and pull through all 3 loops on the hook in one smooth motion.
Repeat this process until you’ve completed 35 body stitches in total.
- Crown Taper (Stitches 36–42):
- Work 7 Slip Stitches (Sl Sts) into the FLO of the remaining 7 chains.
- Keep these Slip Stitches loose and supple—don’t tighten them.
- After completing the crown taper section, chain 1 to prepare for the next row and turn your work.
Row 2: Crown Taper to Bottom Brim
- Crown Taper (Stitches 1–7):
- Starting in the 2nd stitch from the hook, work 7 Slip Stitches (Sl Sts) into the FLO of the taper section.
- Be precise—make sure to count out exactly 7 stitches in this step!
- Main Body Transition (Stitch 8):
- In the first stitch of the body section, work 1 SC into the FLO. This helps re-establish the vertical side bar for the main body stitches.
- Main Body (Stitches 9–42):
- Find the vertical side bar of the previous SC.
- Insert your hook under this bar, then into the FLO of the next stitch in the row.
- Yarn over and pull through all 3 loops on the hook.
- Repeat this process for the remaining body stitches (35 stitches total down to the brim).
- At the end of the row, chain 1 and turn your work.
Rows 3 and Beyond: Repeat Rows 1–2
- Repeat Row 1 and Row 2 alternately.
- Ensure each row maintains:
- 35 Body Stitches
- 7 Crown Taper Stitches
- Total: 42 stitches per row
- Continue until the piece measures Head Circumference minus 5 cm (e.g., for a head circumference of 51 cm, stop at 46 cm; for 55 cm, stop at 50 cm).
Finishing Instructions
- Don’t Fasten Off Yet: Once your desired width is reached, leave a long tail (~50 cm).
- Seaming and Cinching:
- Use the tail for sewing the edges together to close the piece into a tube or to cinch up one edge (depending on your intended design).
- If this is for a hat, you’ll likely cinch the top tightly and secure the seam before weaving in ends.
Final Assembly Instructions
Step 1: Seam the Side Edge (Form the Tube)
- Fold the rectangular piece in half with right sides together, aligning:
- the first foundation row with the final row.
- Thread your tapestry needle with the long yarn tail from your last row.
- Match the stitches 1-to-1 from brim to crown.
- Insert the needle through the outer half loops of both edges at the same time (this keeps the seam flat).
- Double-stitch (go through twice) in the:
- very first stitch
- very last stitch
to lock the seam securely.
- Continue seaming straight up the edge to the crown, taking care not to pull diagonally so the seam doesn’t distort.
Step 2: Cinch the Crown Closed
- At the top opening (crown), insert the tapestry needle under two vertical ridges/stripes along the edge.
- Skip two ridges, then pass under the next two.
- Repeat this pattern (under 2, skip 2) all the way around the top opening, creating a drawstring path.
- Gently pull on the yarn tail to tighten and close the crown opening.
- Work a second pass along the same path with a double strand of yarn:
- This reinforces the cinch
- Helps prevent the crown from loosening over time.
Step 3: Shape the Crown Folds
- After cinching, pinch the top into 6 neat, evenly spaced folds so they look symmetrical and structured.
- Pass the needle through the center core of each fold, stitching from fold base through to the interior.
- Secure each fold with a small stitch so it holds its shape.
- Tie a double dead knot on the inside of the hat to secure.
- Weave in all ends neatly on the interior so nothing is visible from the outside.
Step 4: Make & Attach the Pom-Pom (Optional)
Make the Pom-Pom:
- Open both halves of your pom-pom maker.
- Wind yarn evenly around both sides until the arches are full and well-covered.
- Close the pom-pom maker.
- Slide scissors into the center gap and cut all the loops around the perimeter, keeping the center pivot held shut with your index finger.
Tie & Secure:
- Cut a double-strand yarn tail (~20 cm / 8 in).
- Pass this double-strand through the center gap of the maker.
- Wrap it around the middle and pull into a tight knot.
- Flip to the opposite side and tie a second dead knot for extra security.
Release & Attach:
- Open the pom-pom maker halves and remove the finished pom-pom.
- Trim any long or uneven strands to round out the shape.
- Thread both tail strands from the pom-pom through the center of the crown into the hat interior.
- Tie the tails tightly inside the hat.
- Weave the ends into the pom-pom core so they disappear.
Step 5: Attach the Tag/Label
- Position your faux leather or woven tag centered over the folded brim.
- Separate one thin strand from your 8-strand yarn (or use regular sewing thread).
- Thread a small sewing needle with this strand.
- Stitch through the eyelets or holes on both sides of the tag:
- Pass through the brim and back
- Make several small, neat stitches to secure.
- Knot the thread on the inside of the brim and trim or weave in the ends.

Conclusion
This crochet beanie, featuring a front-loop ribbed texture and tapered crown, offers a snug, comfortable fit without bulky excess. Customizing the size is easy — adjust the row count to your head circumference minus 5 cm (2 in) for stretch! Perfect for gifting, selling, or showing off your handiwork.